Siegel Dining Table
Hi Francie,
This is a place for you and yours to check out progress on the dining table. We send you notification when we make an update.
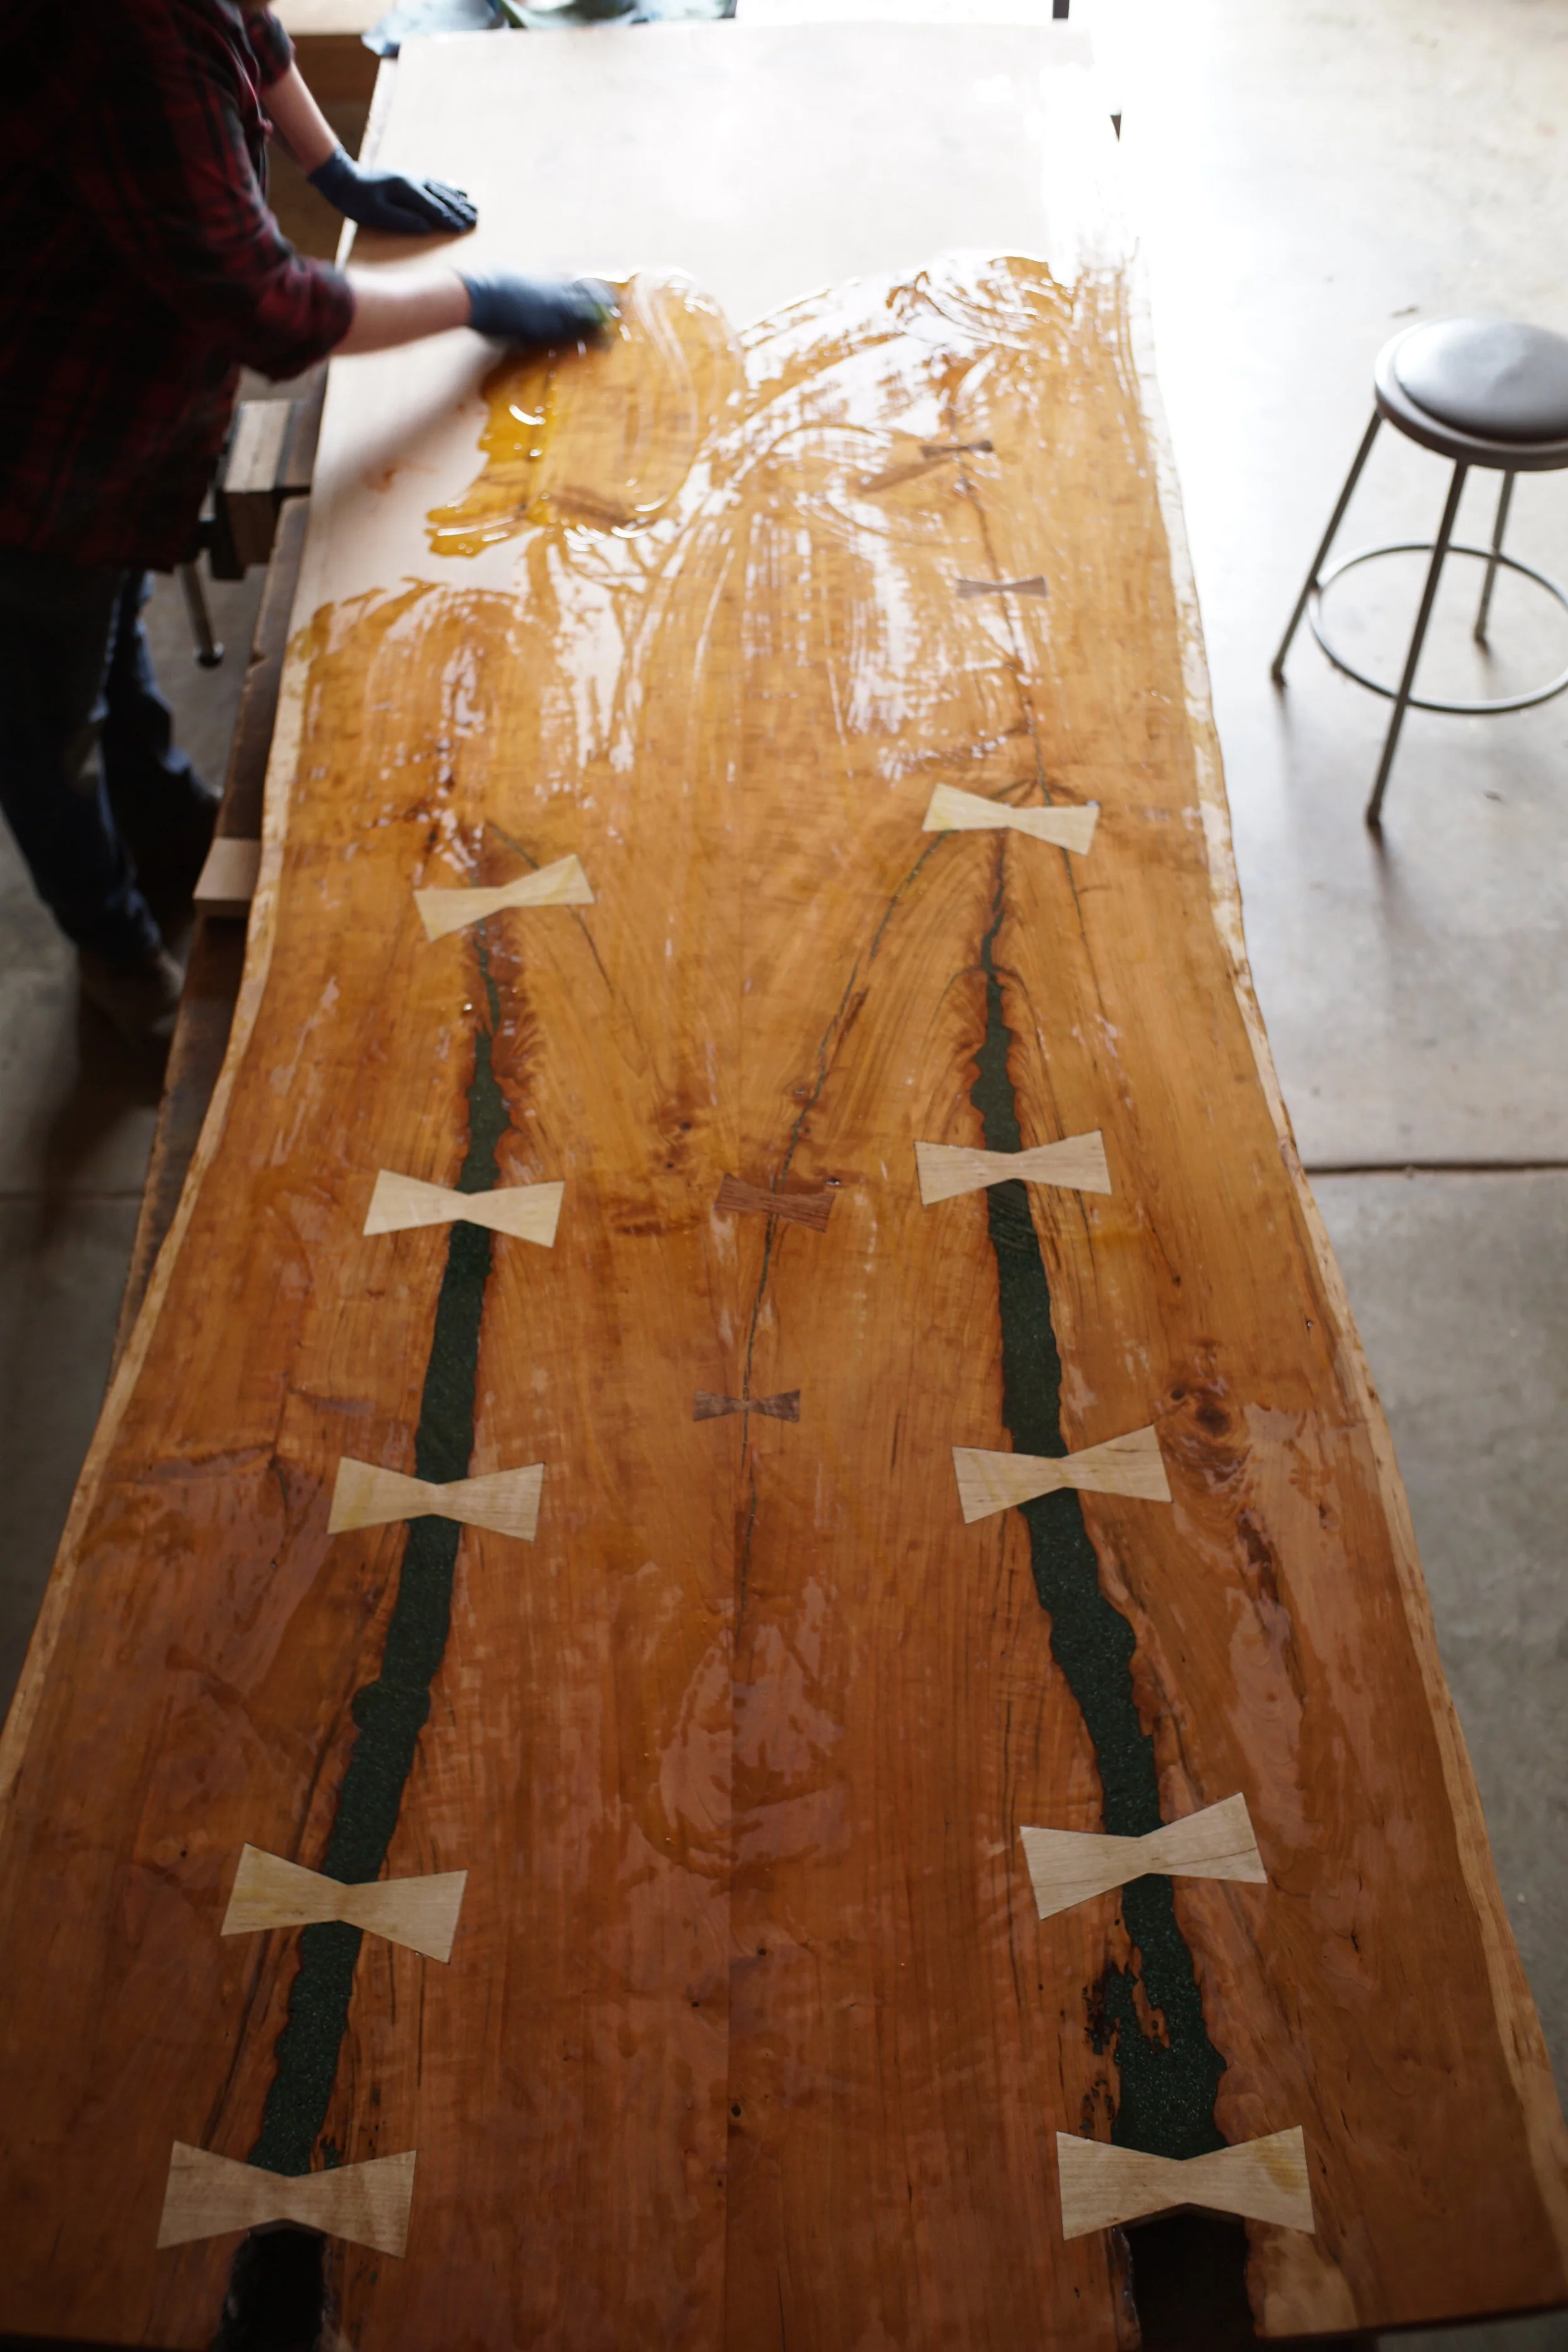
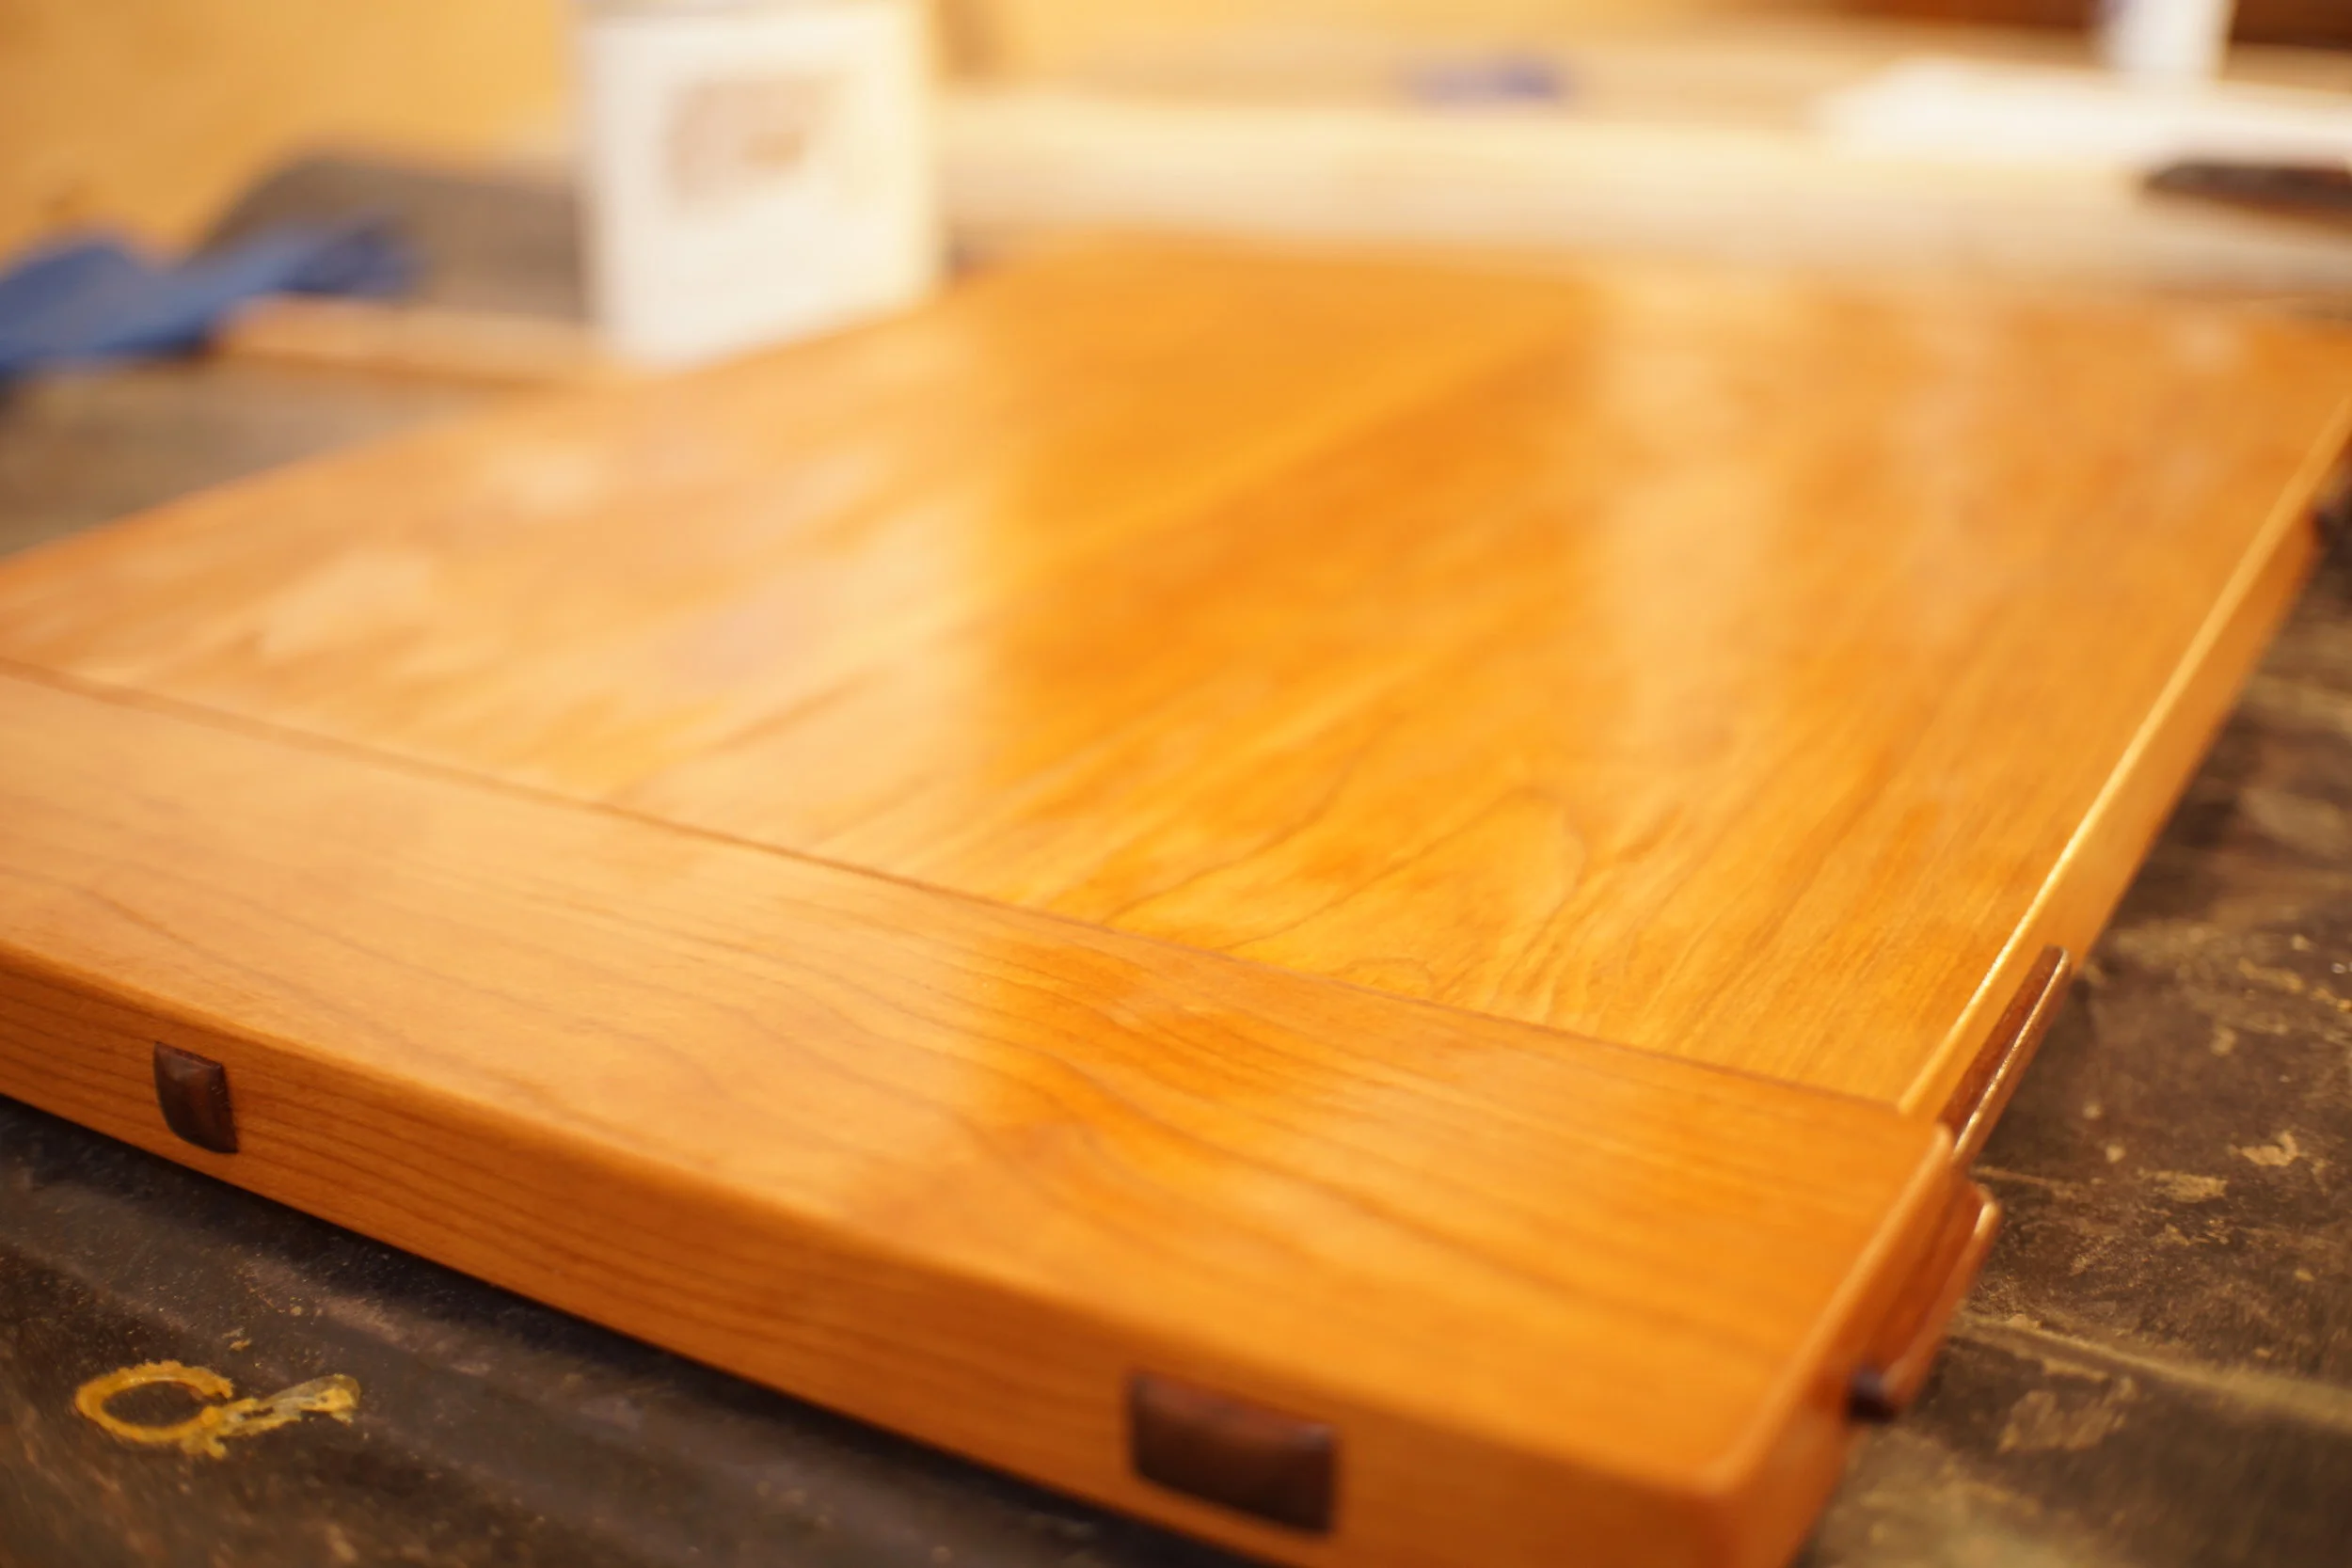
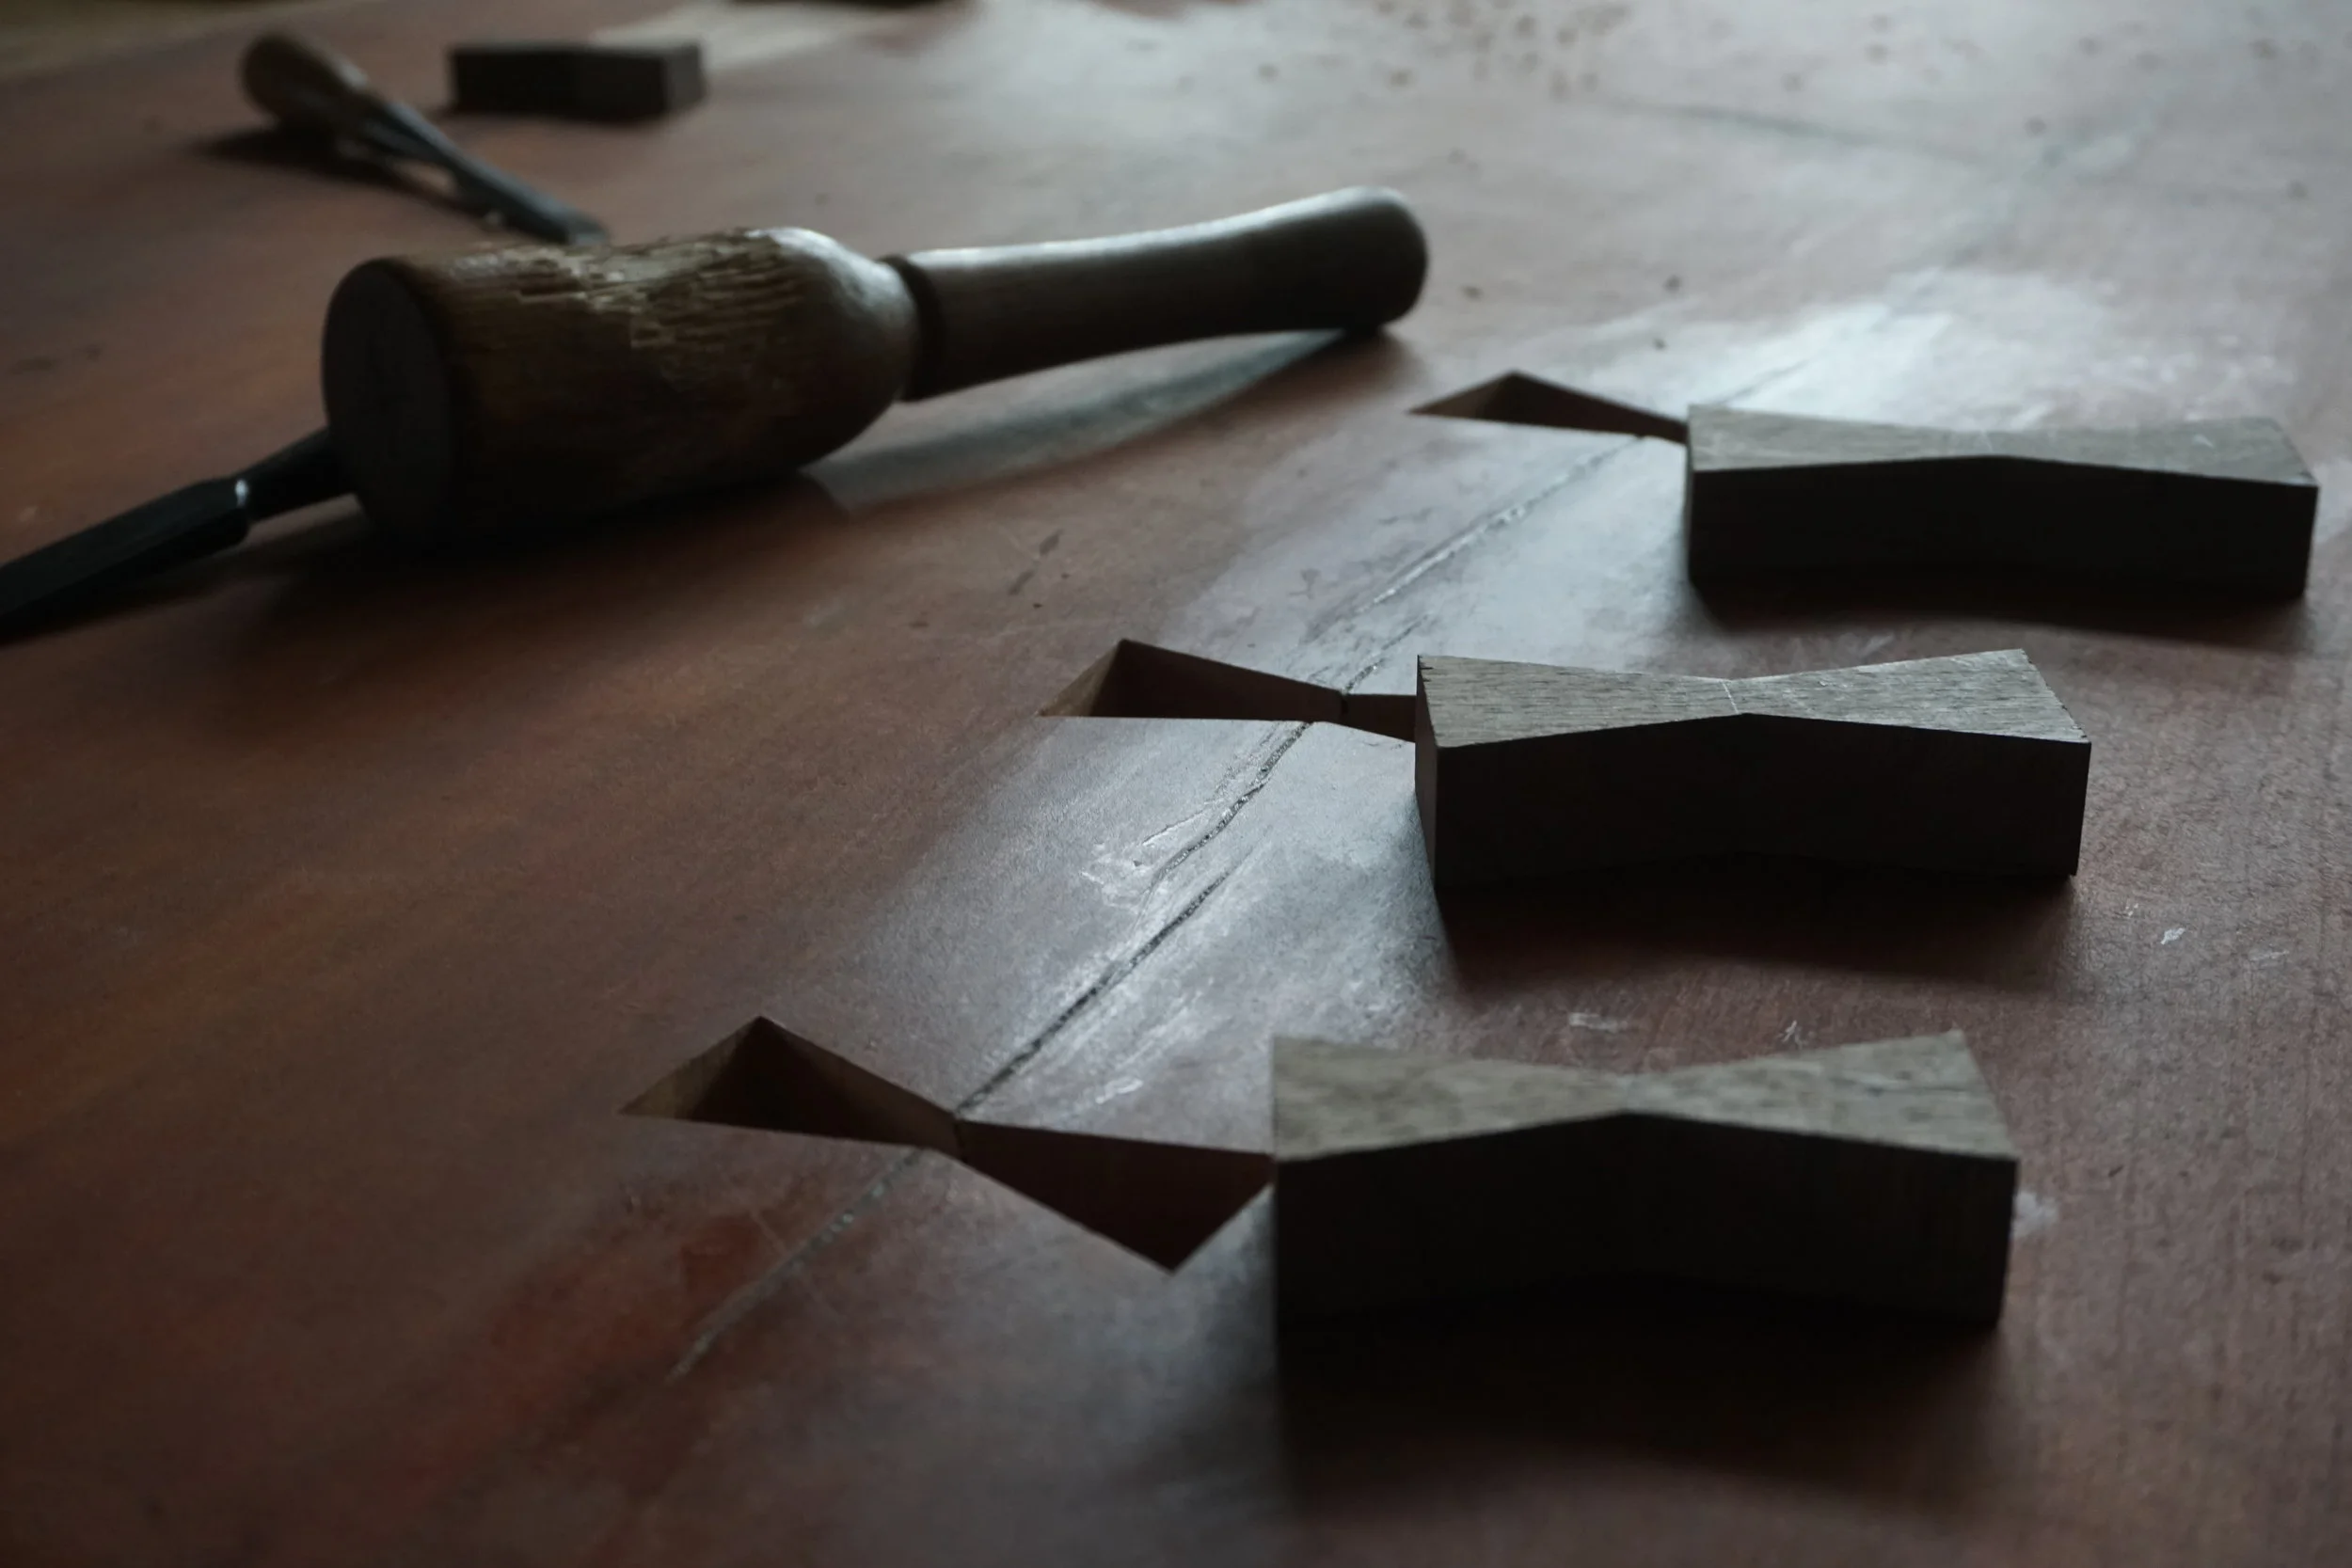
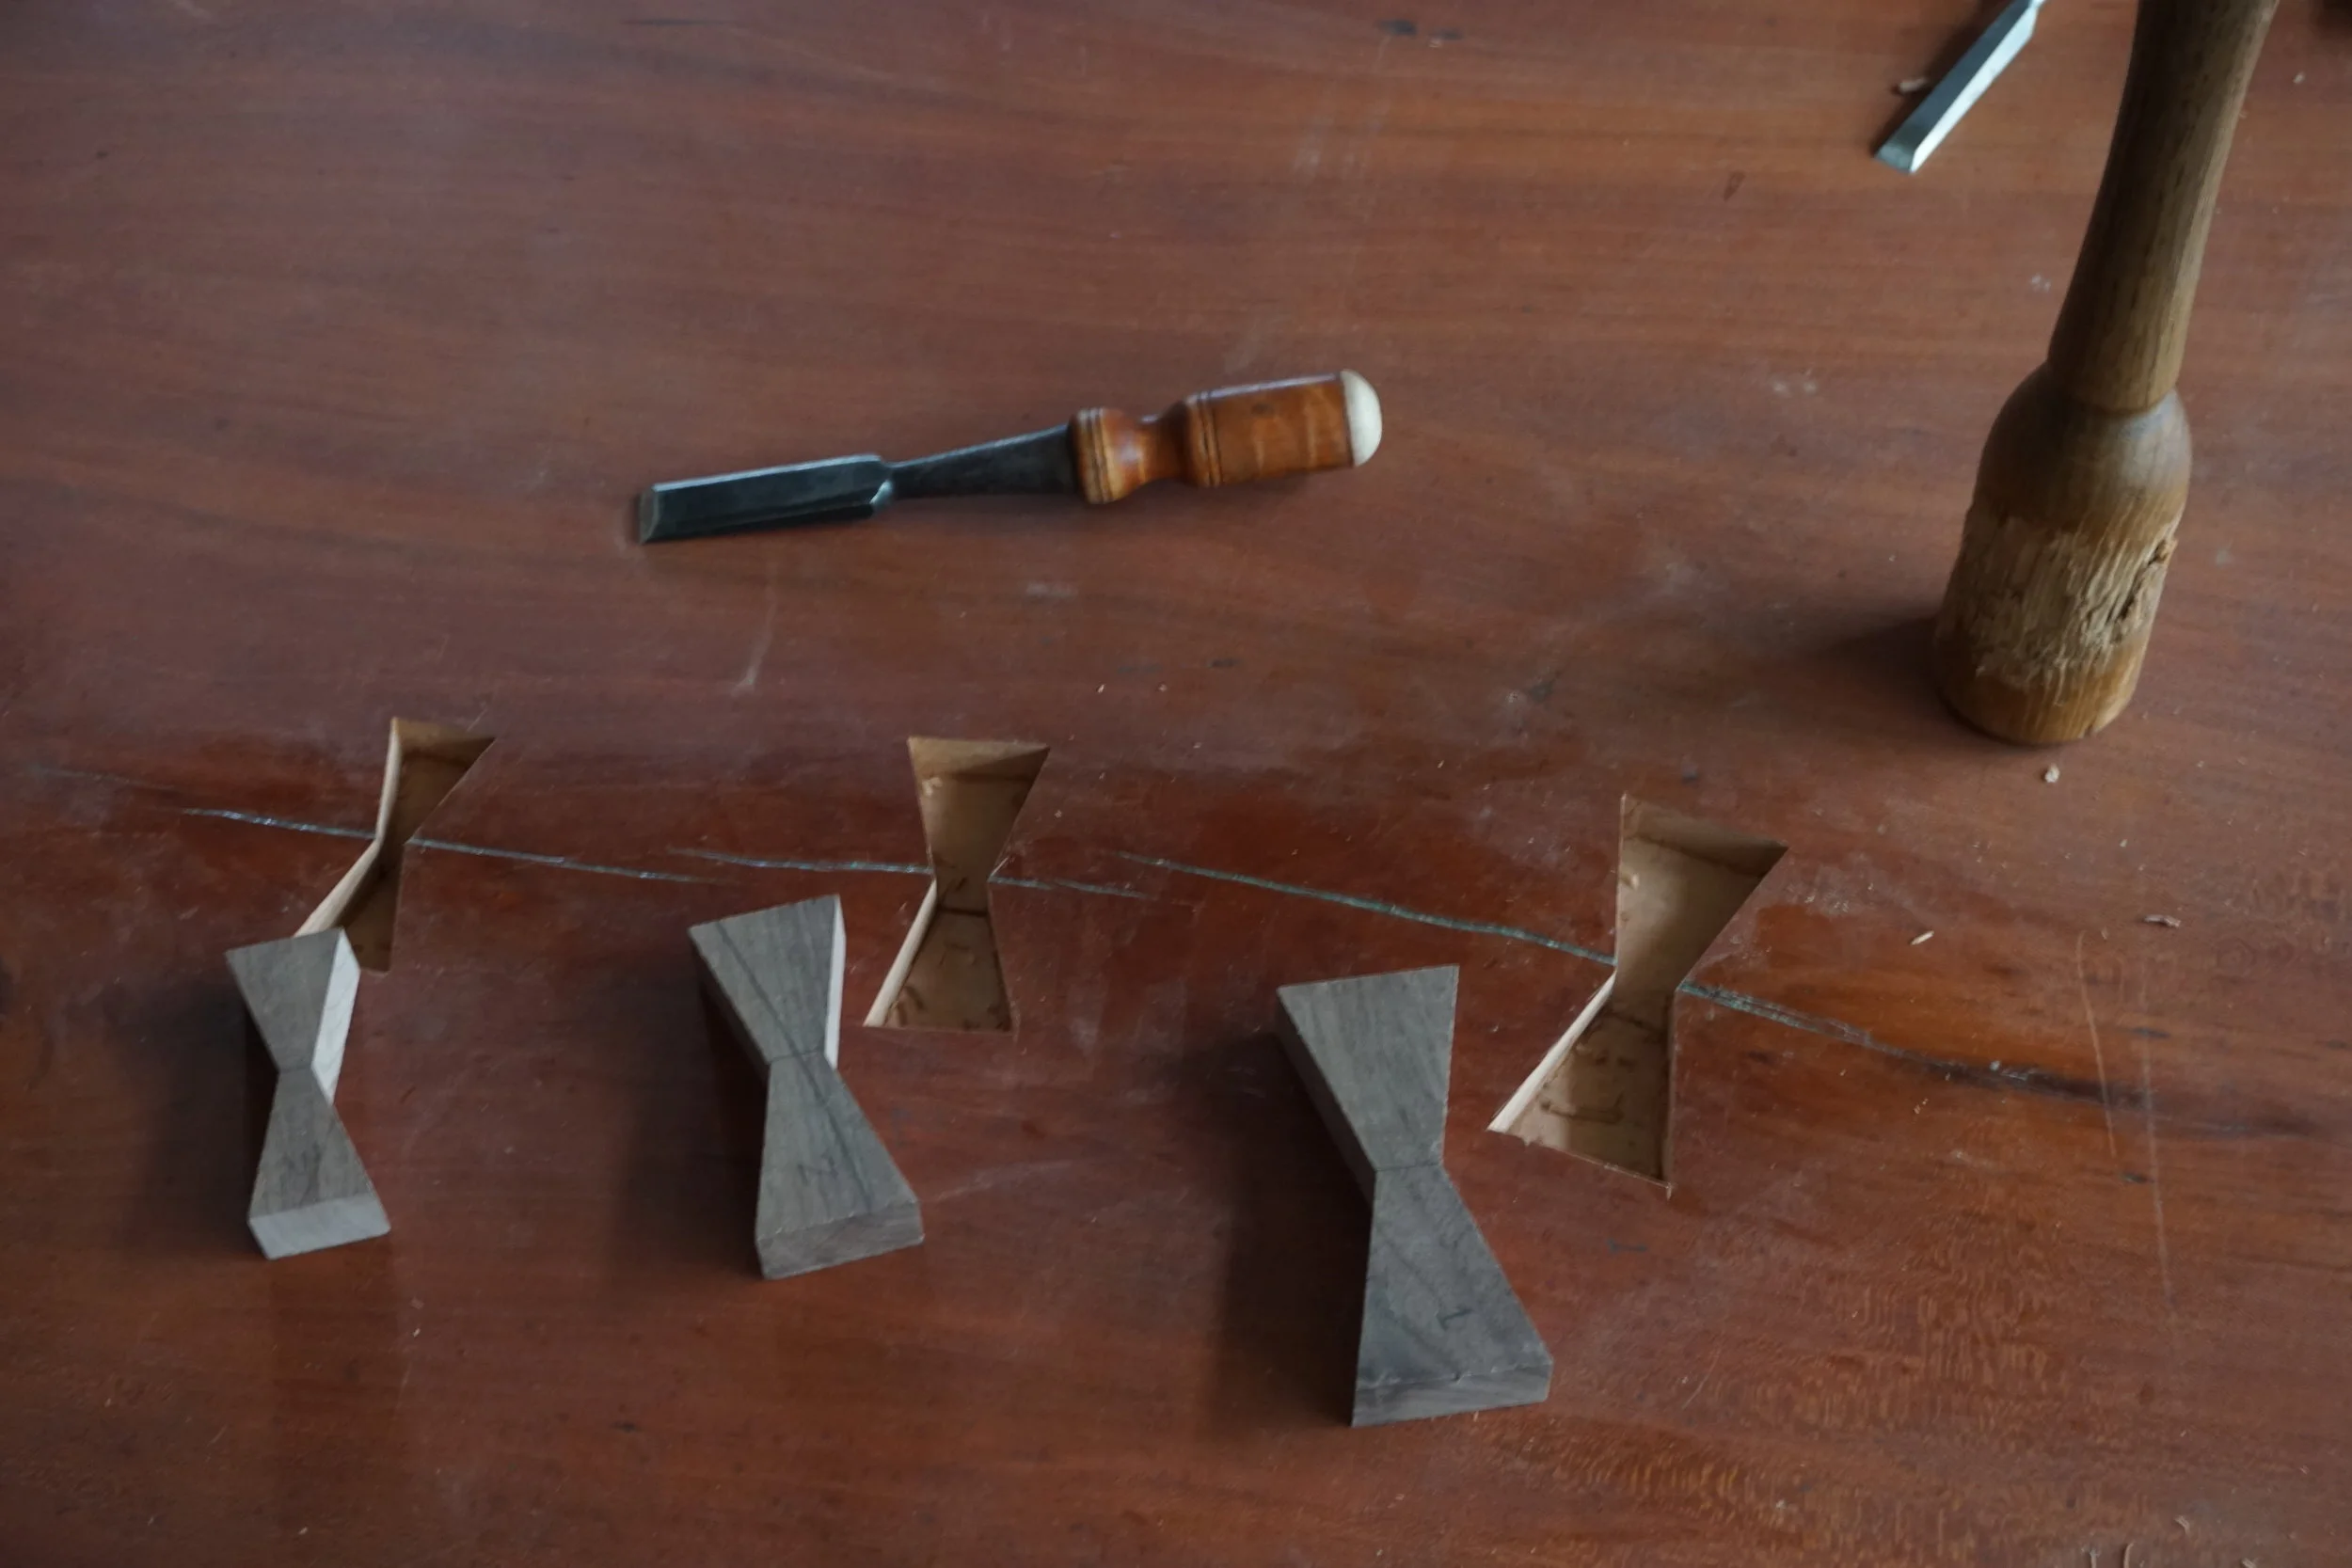
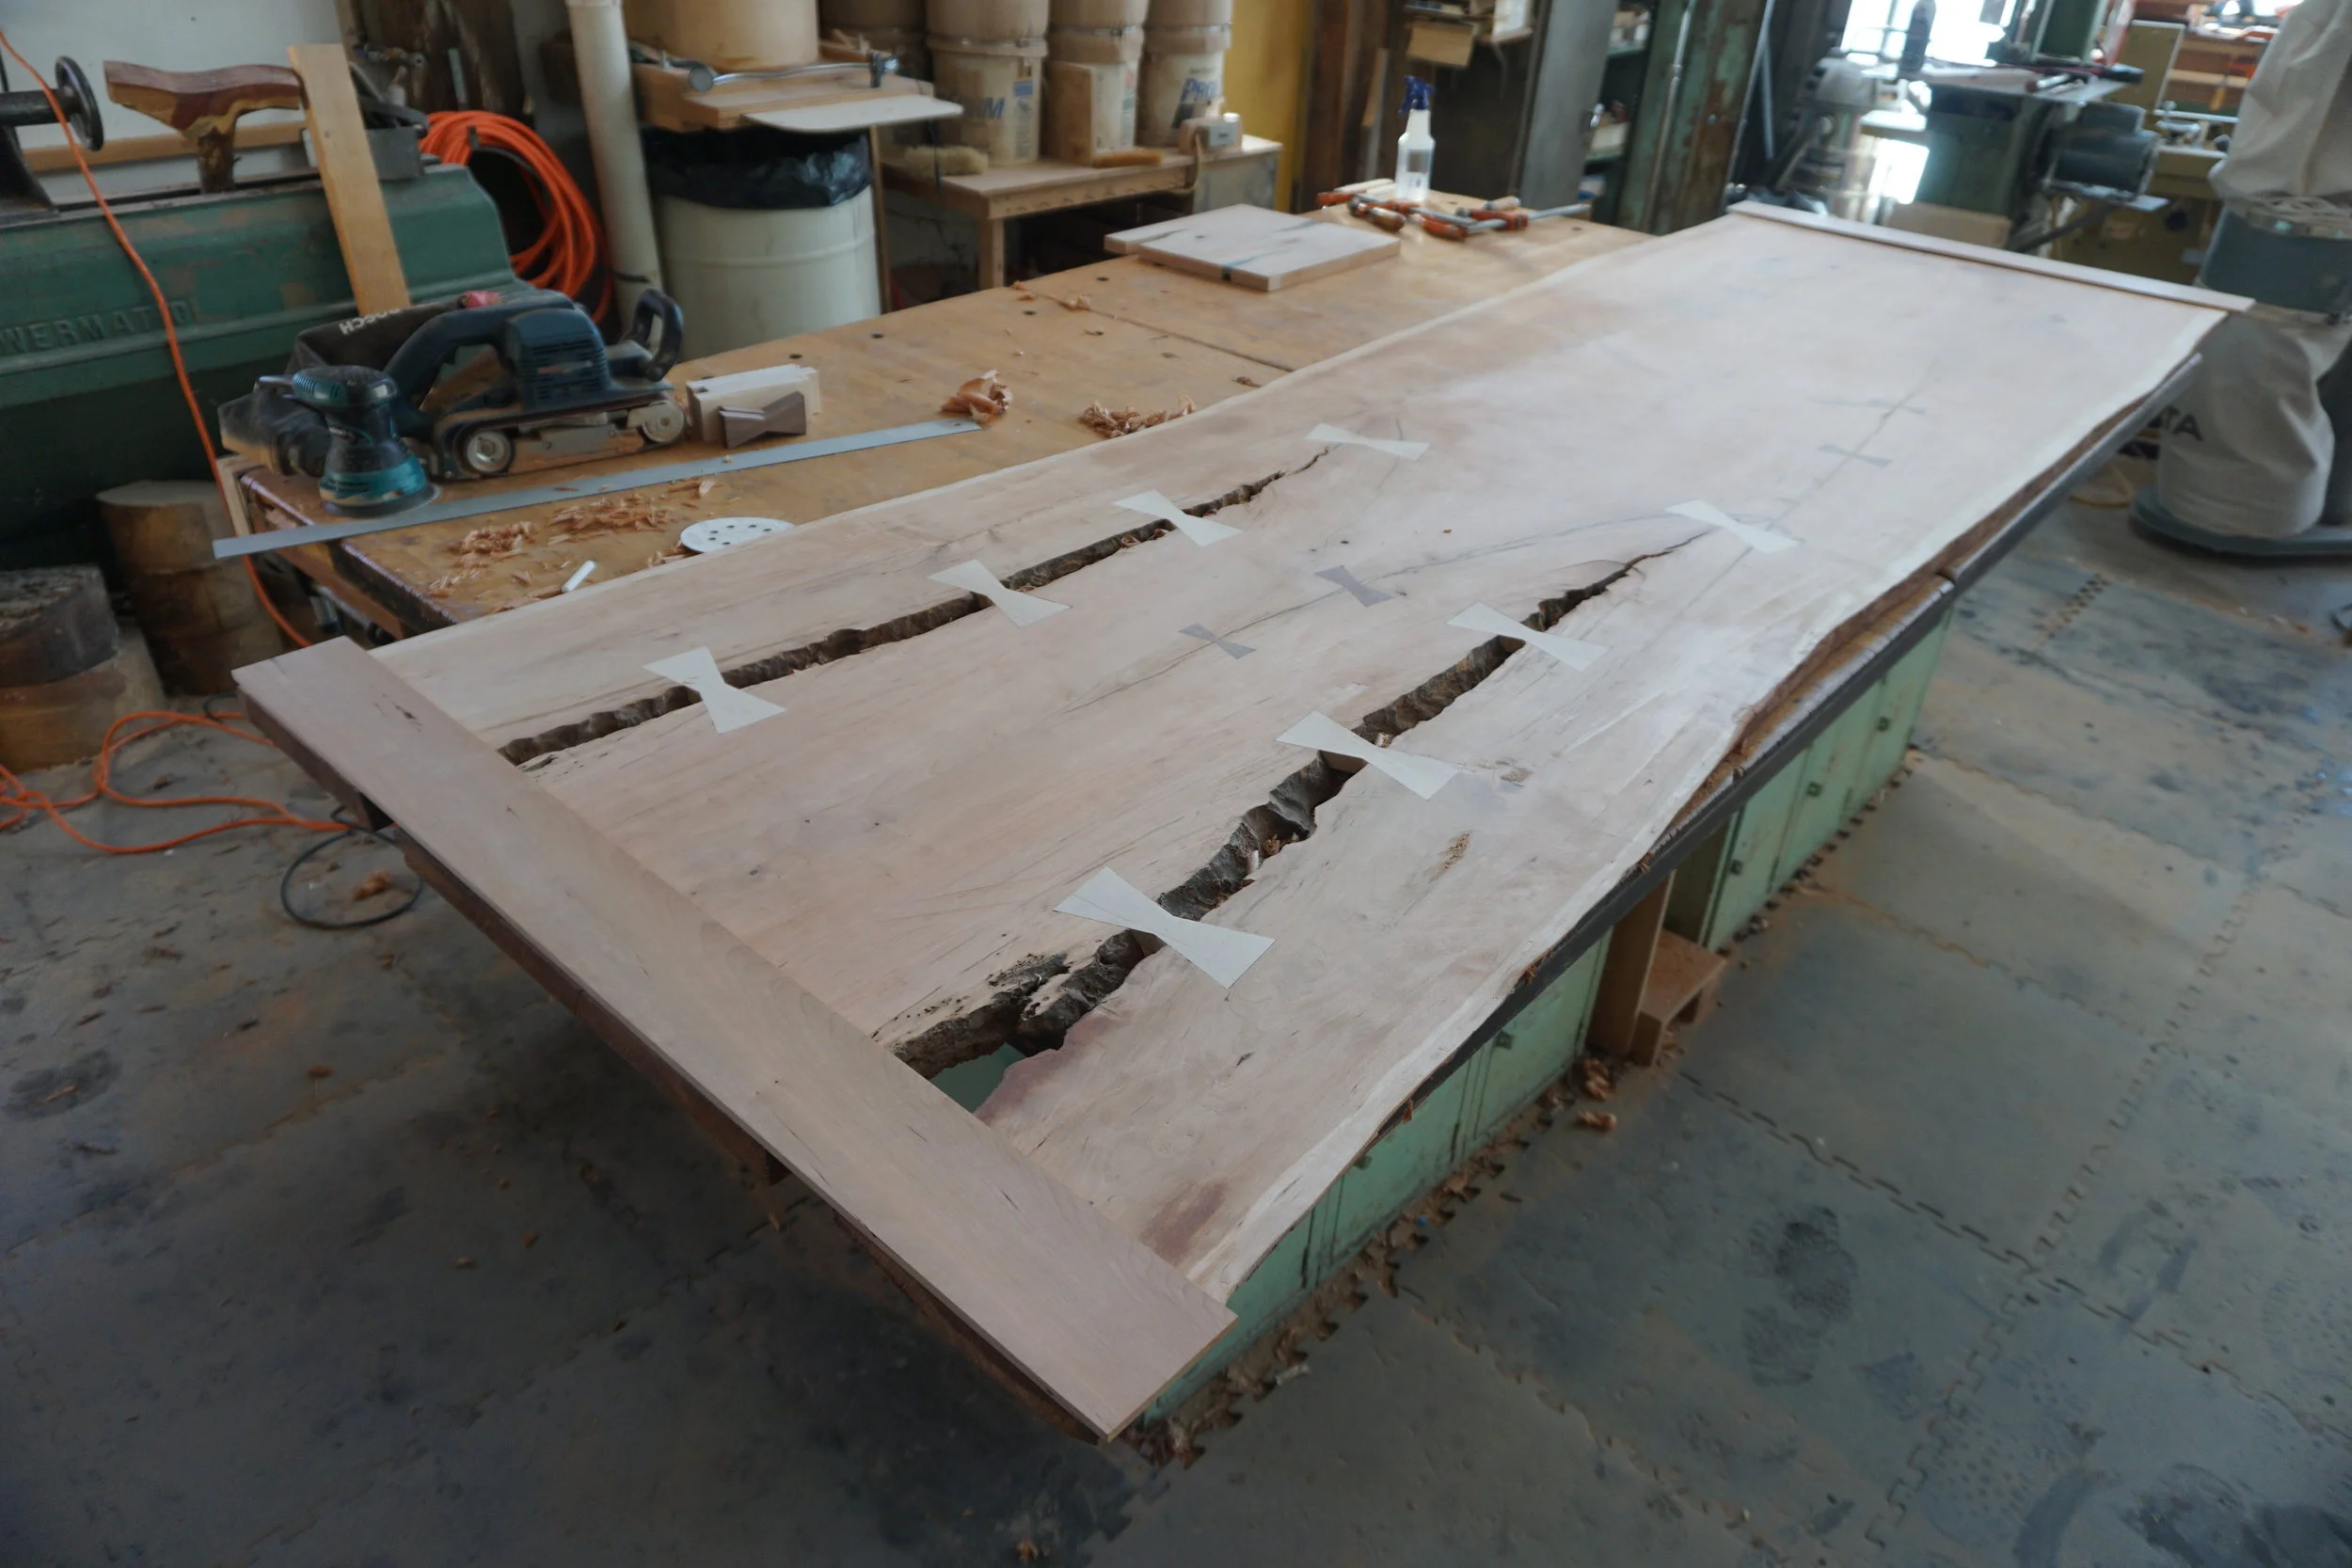
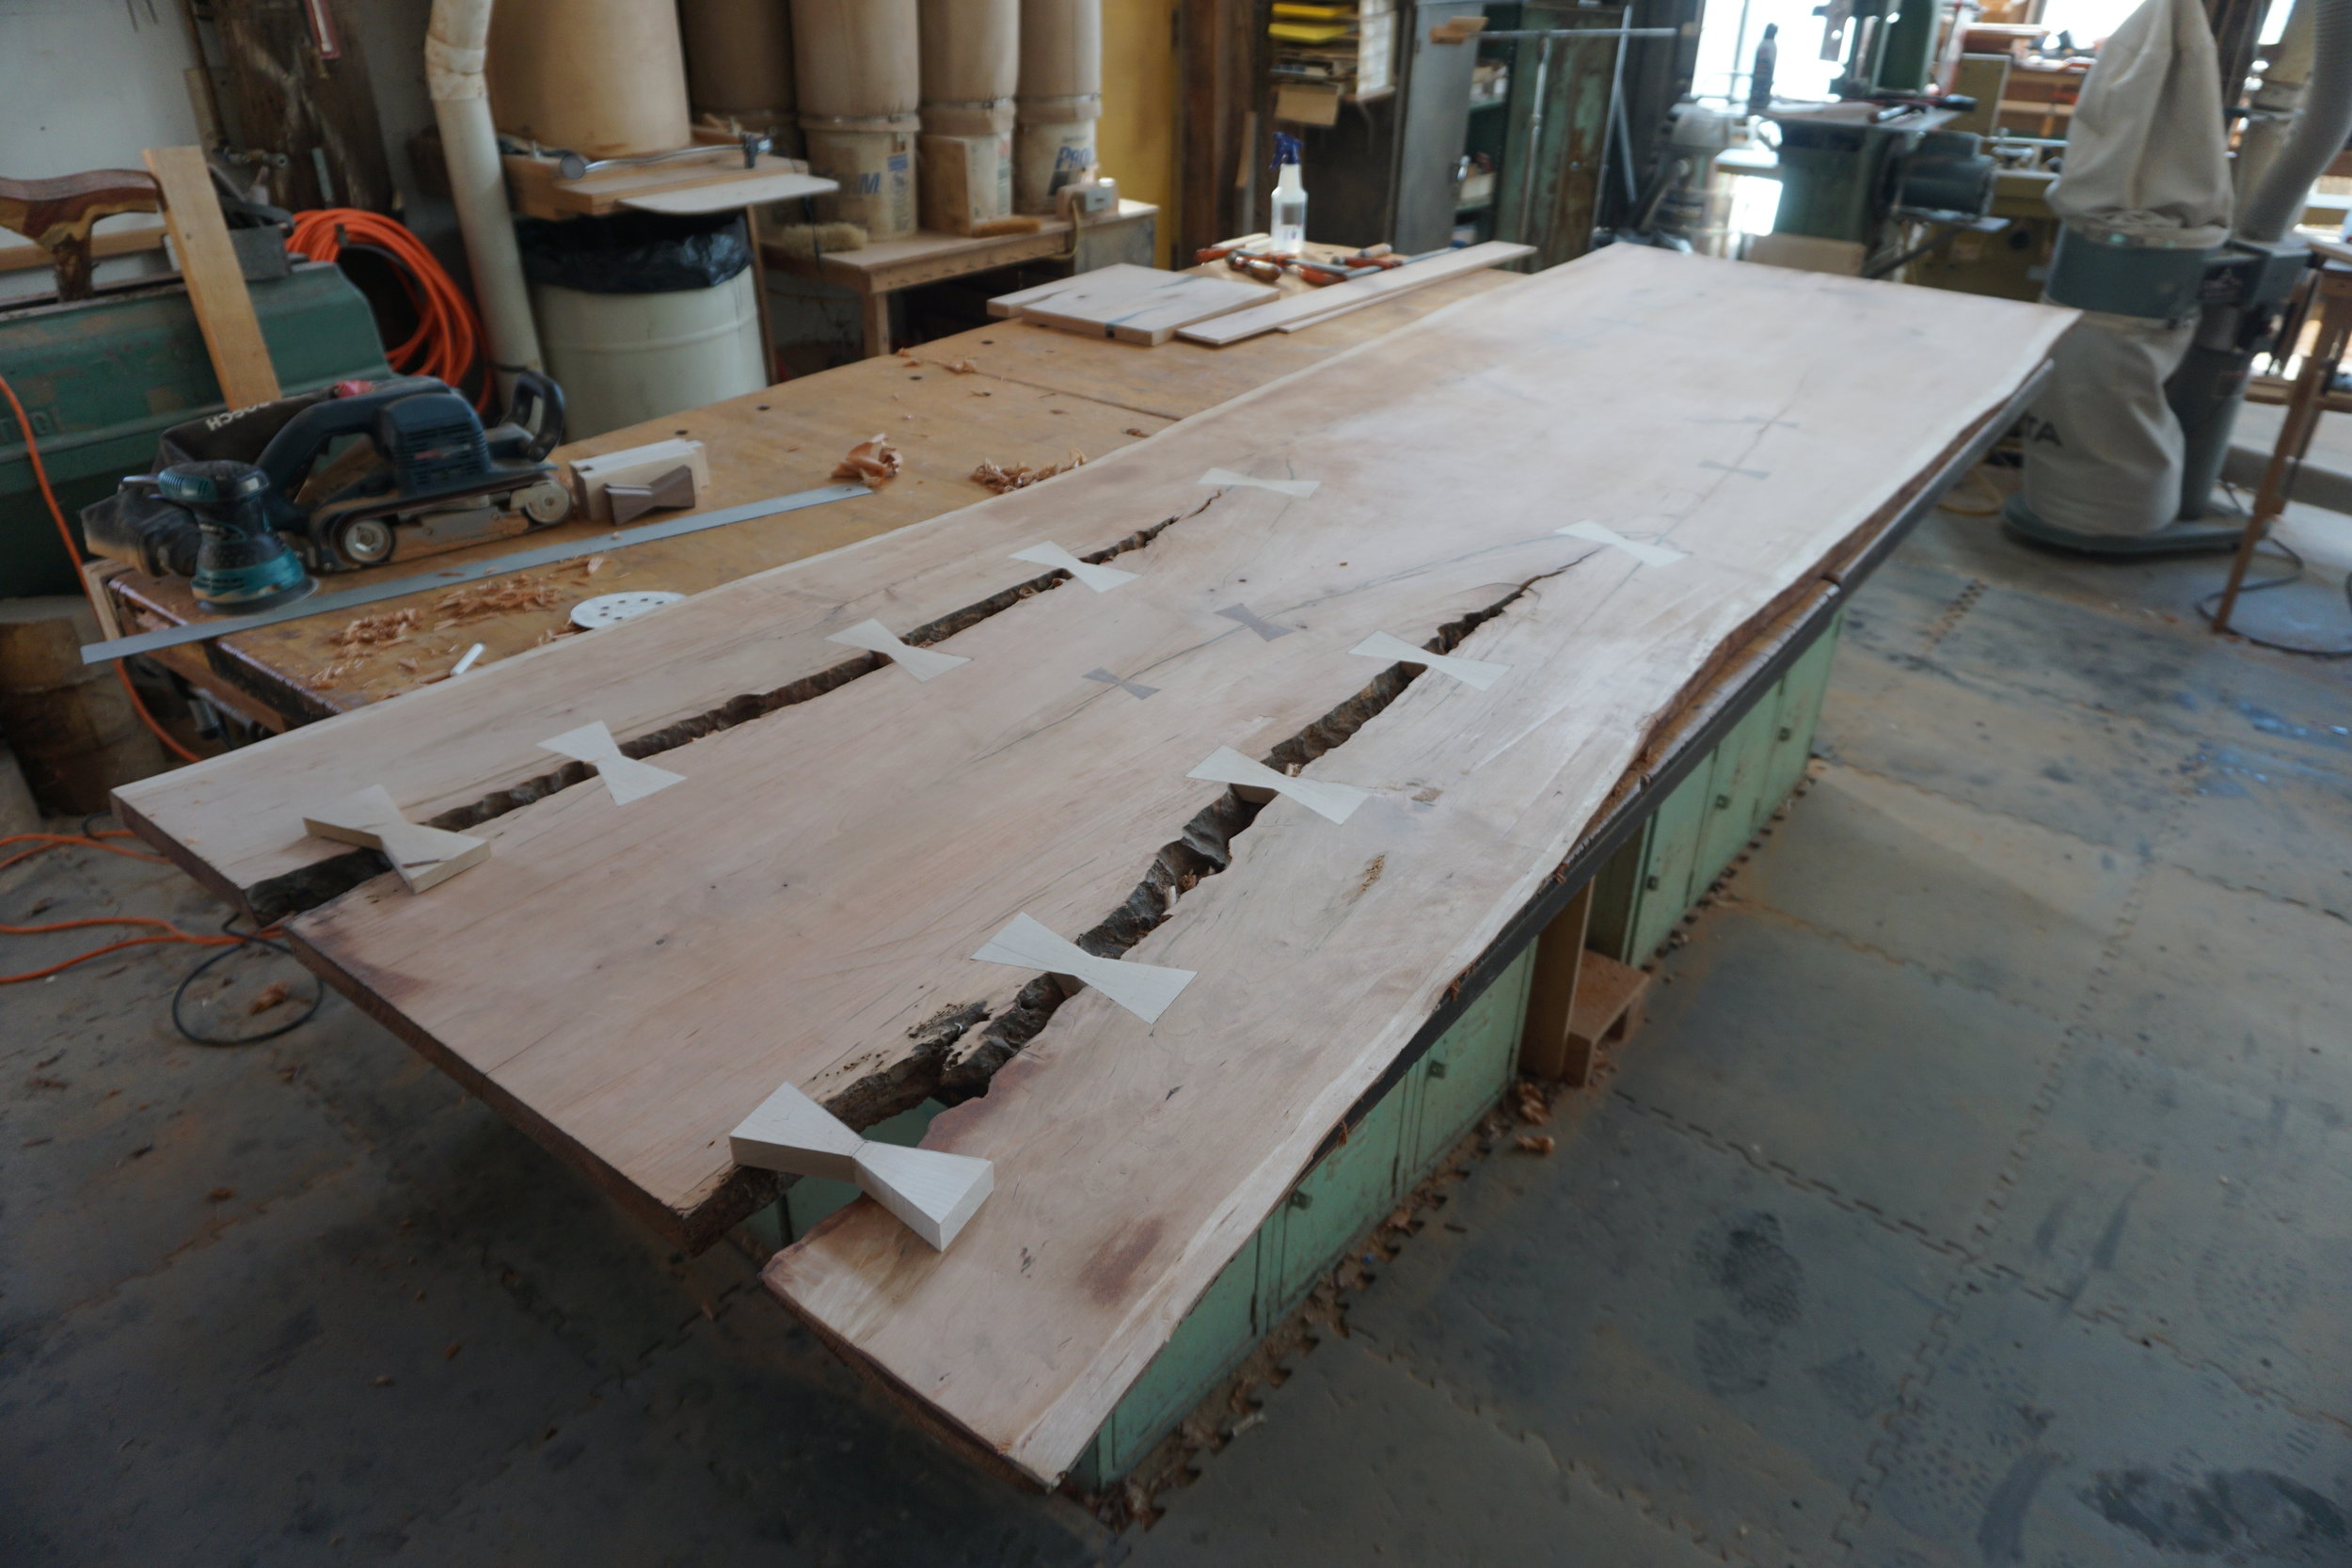
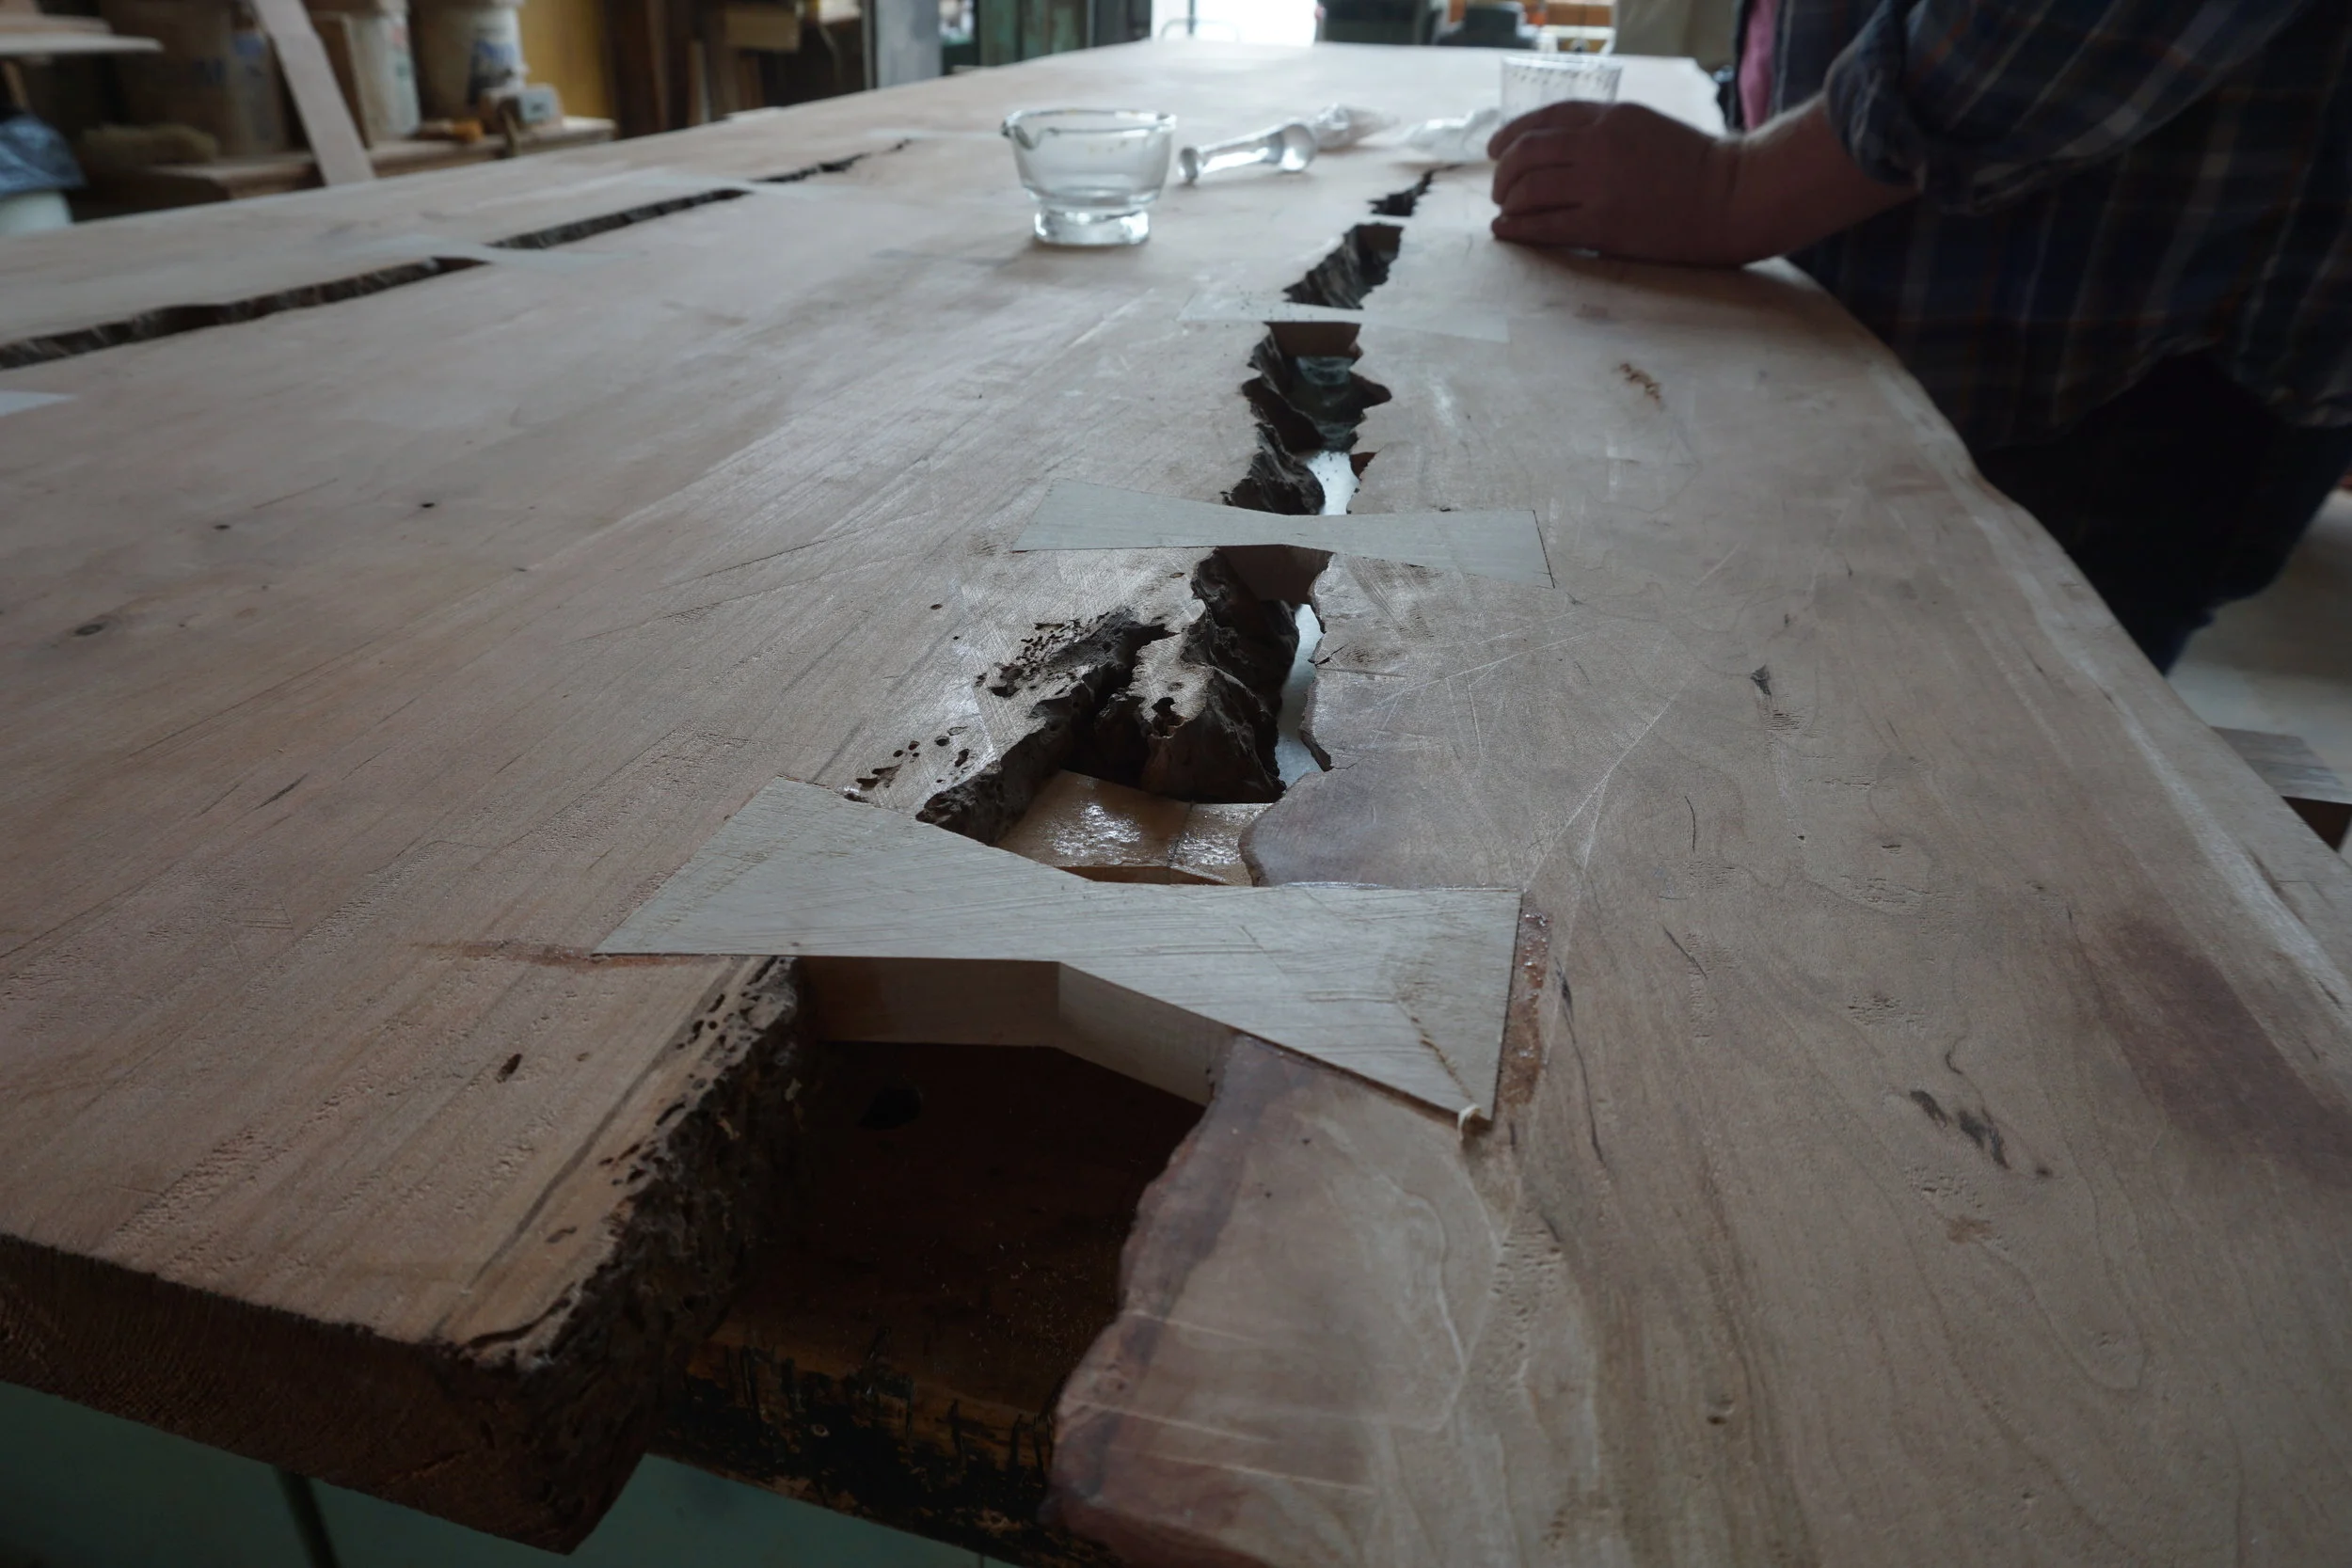
Butterfly Inlays
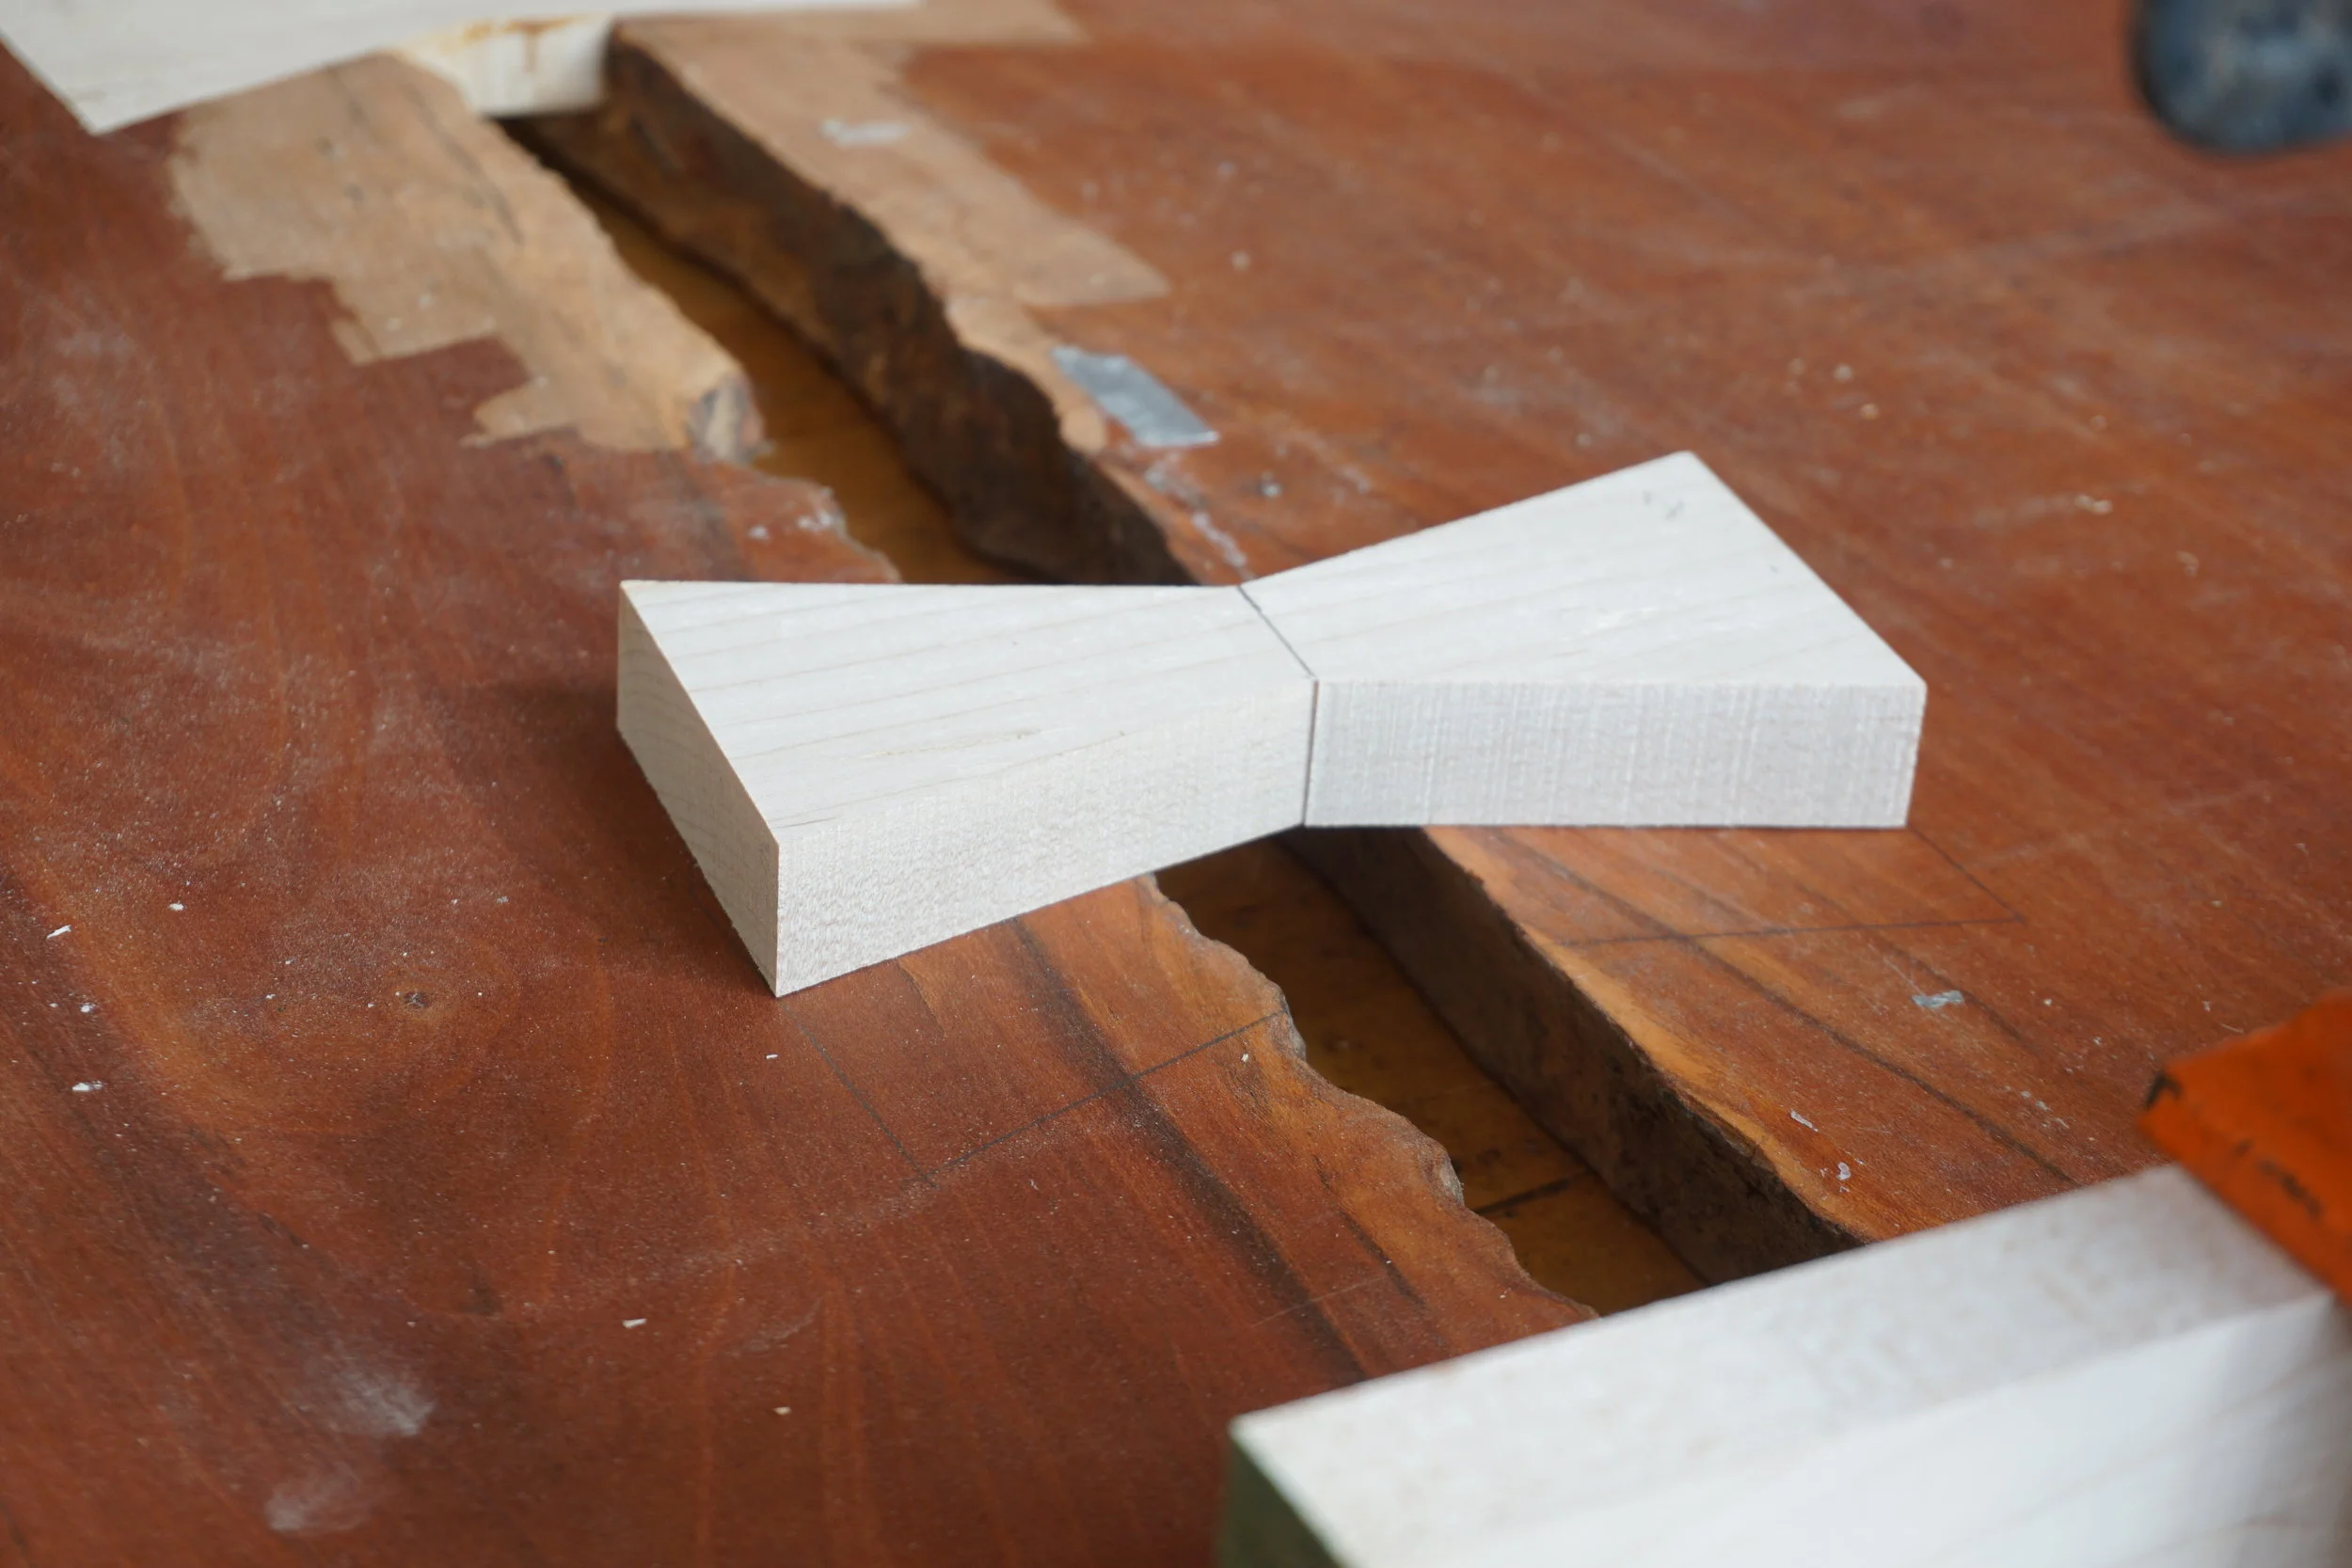

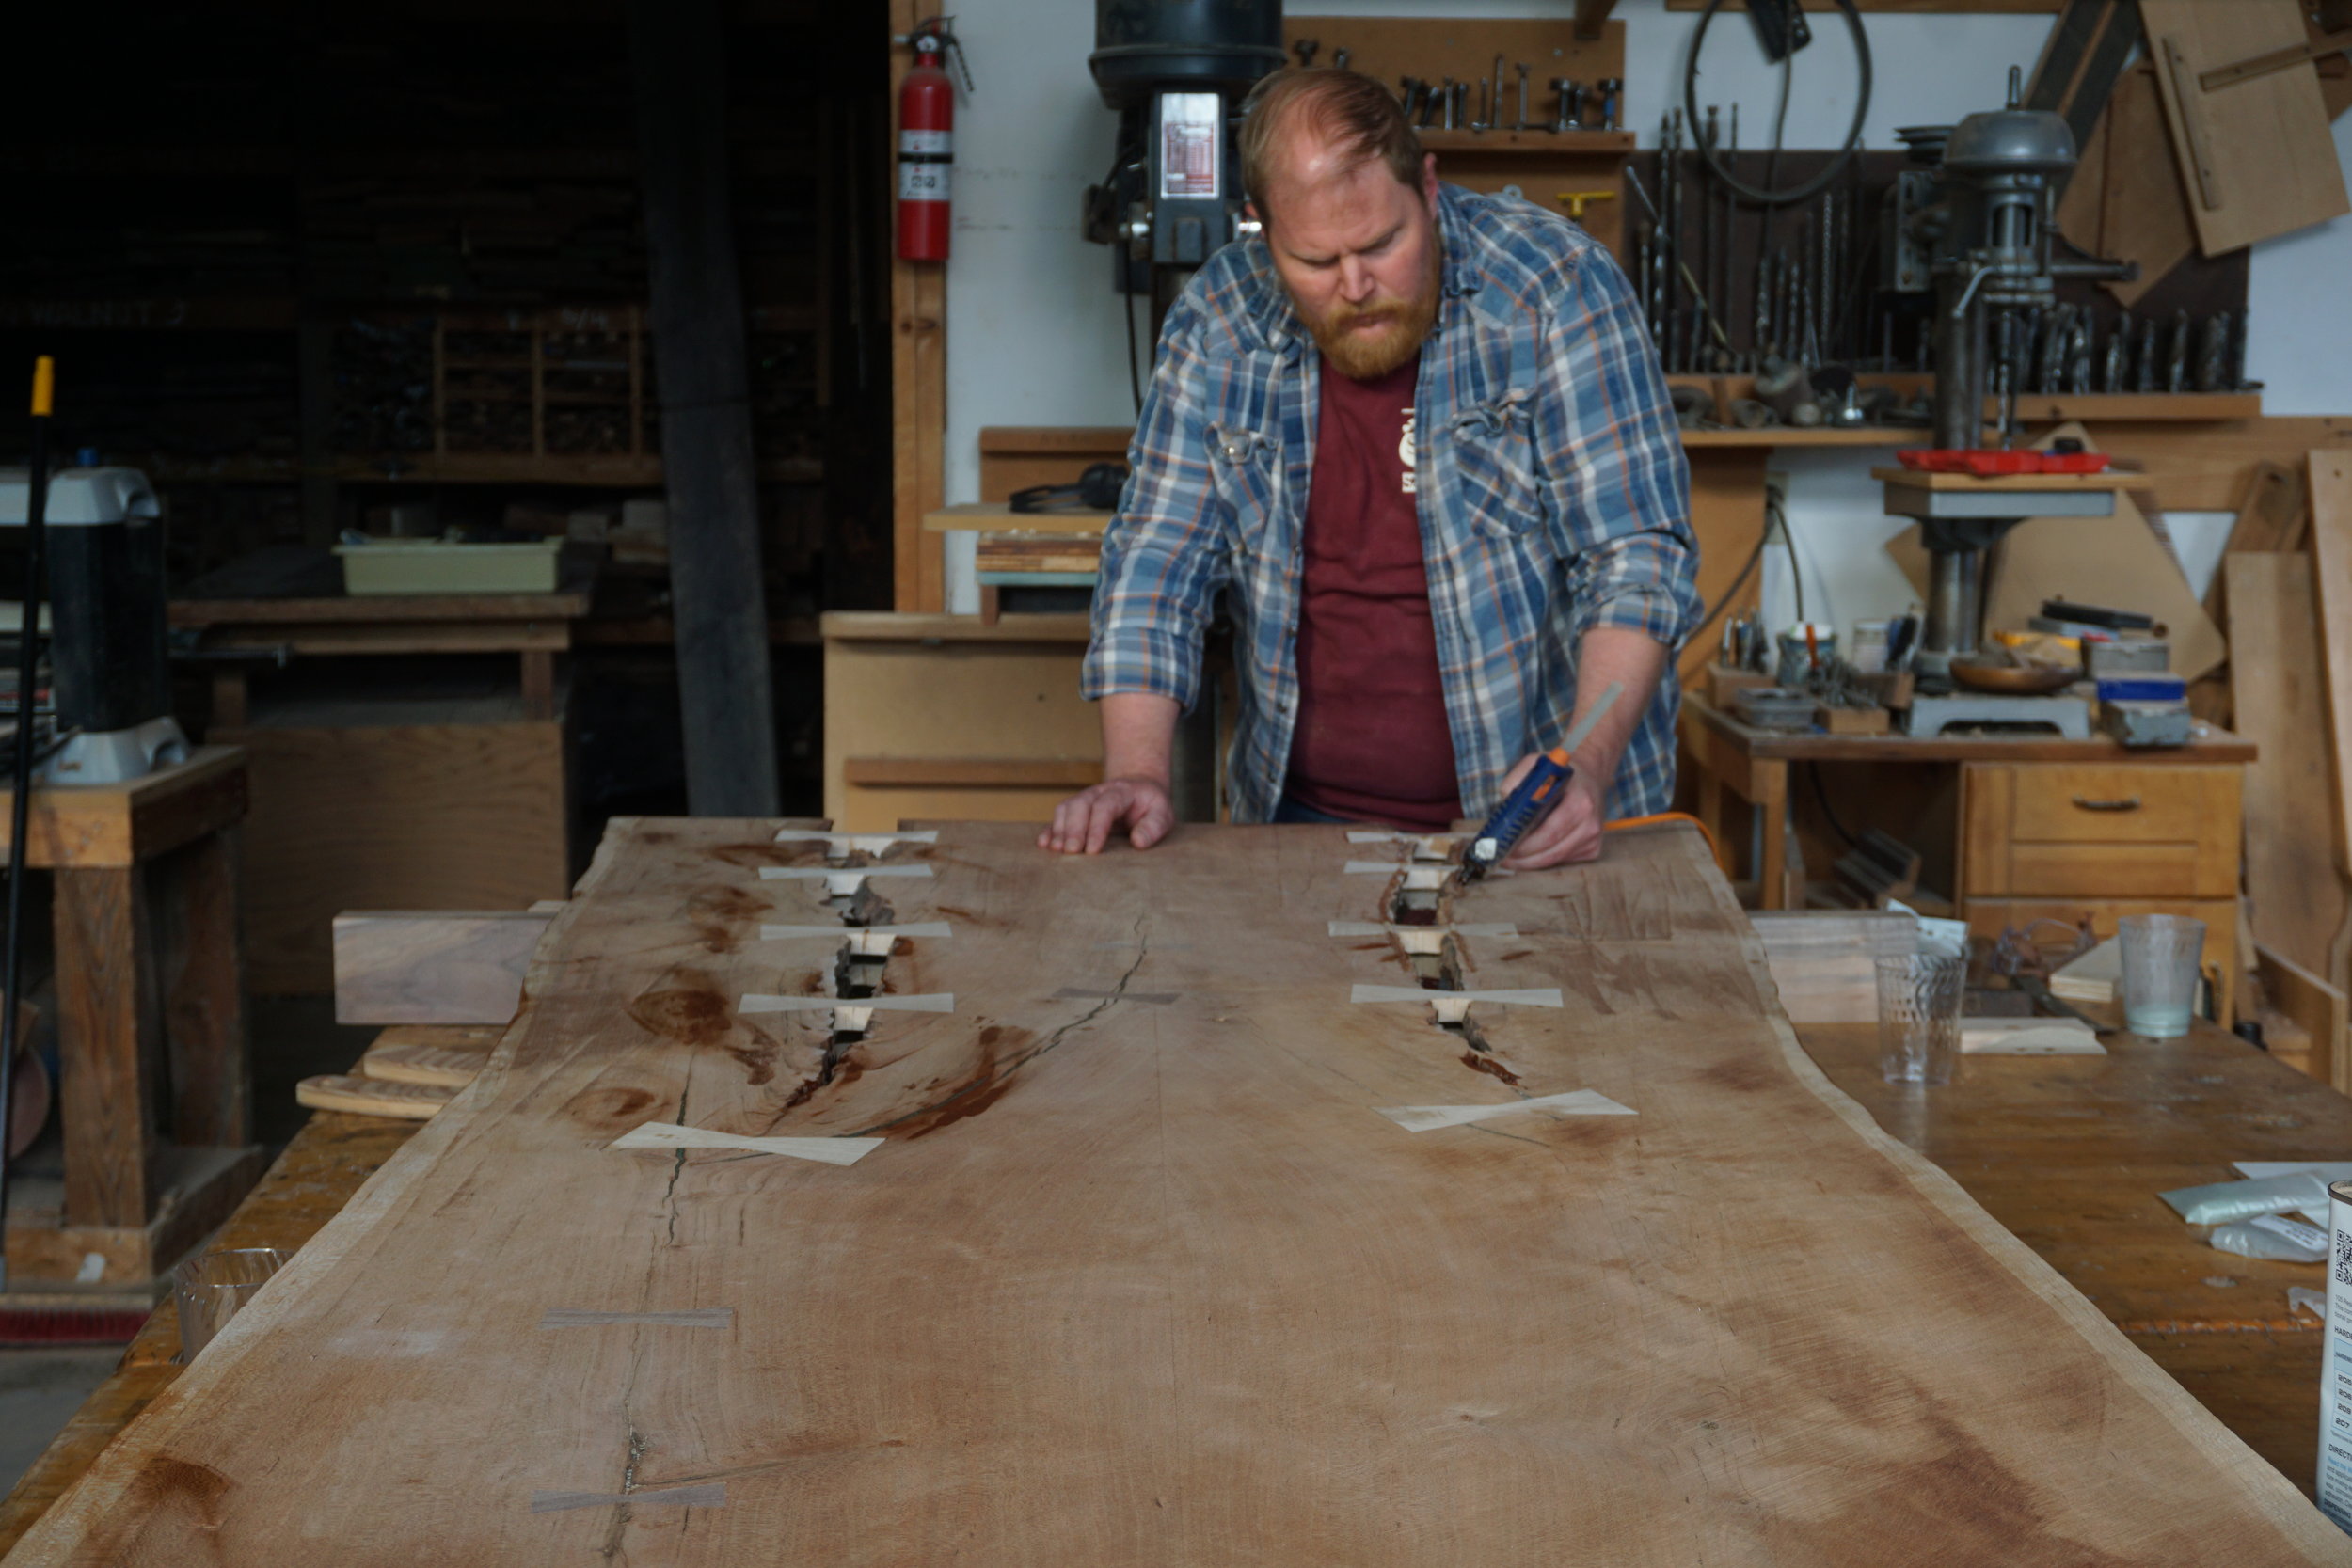
We began by continuing progress on the butterfly inlays. These add structure to checks and large voids by using a mechanical dovetail to hold them together. We took cues from Mike and reproduced the same sizes and angles for new butterflies that we made.
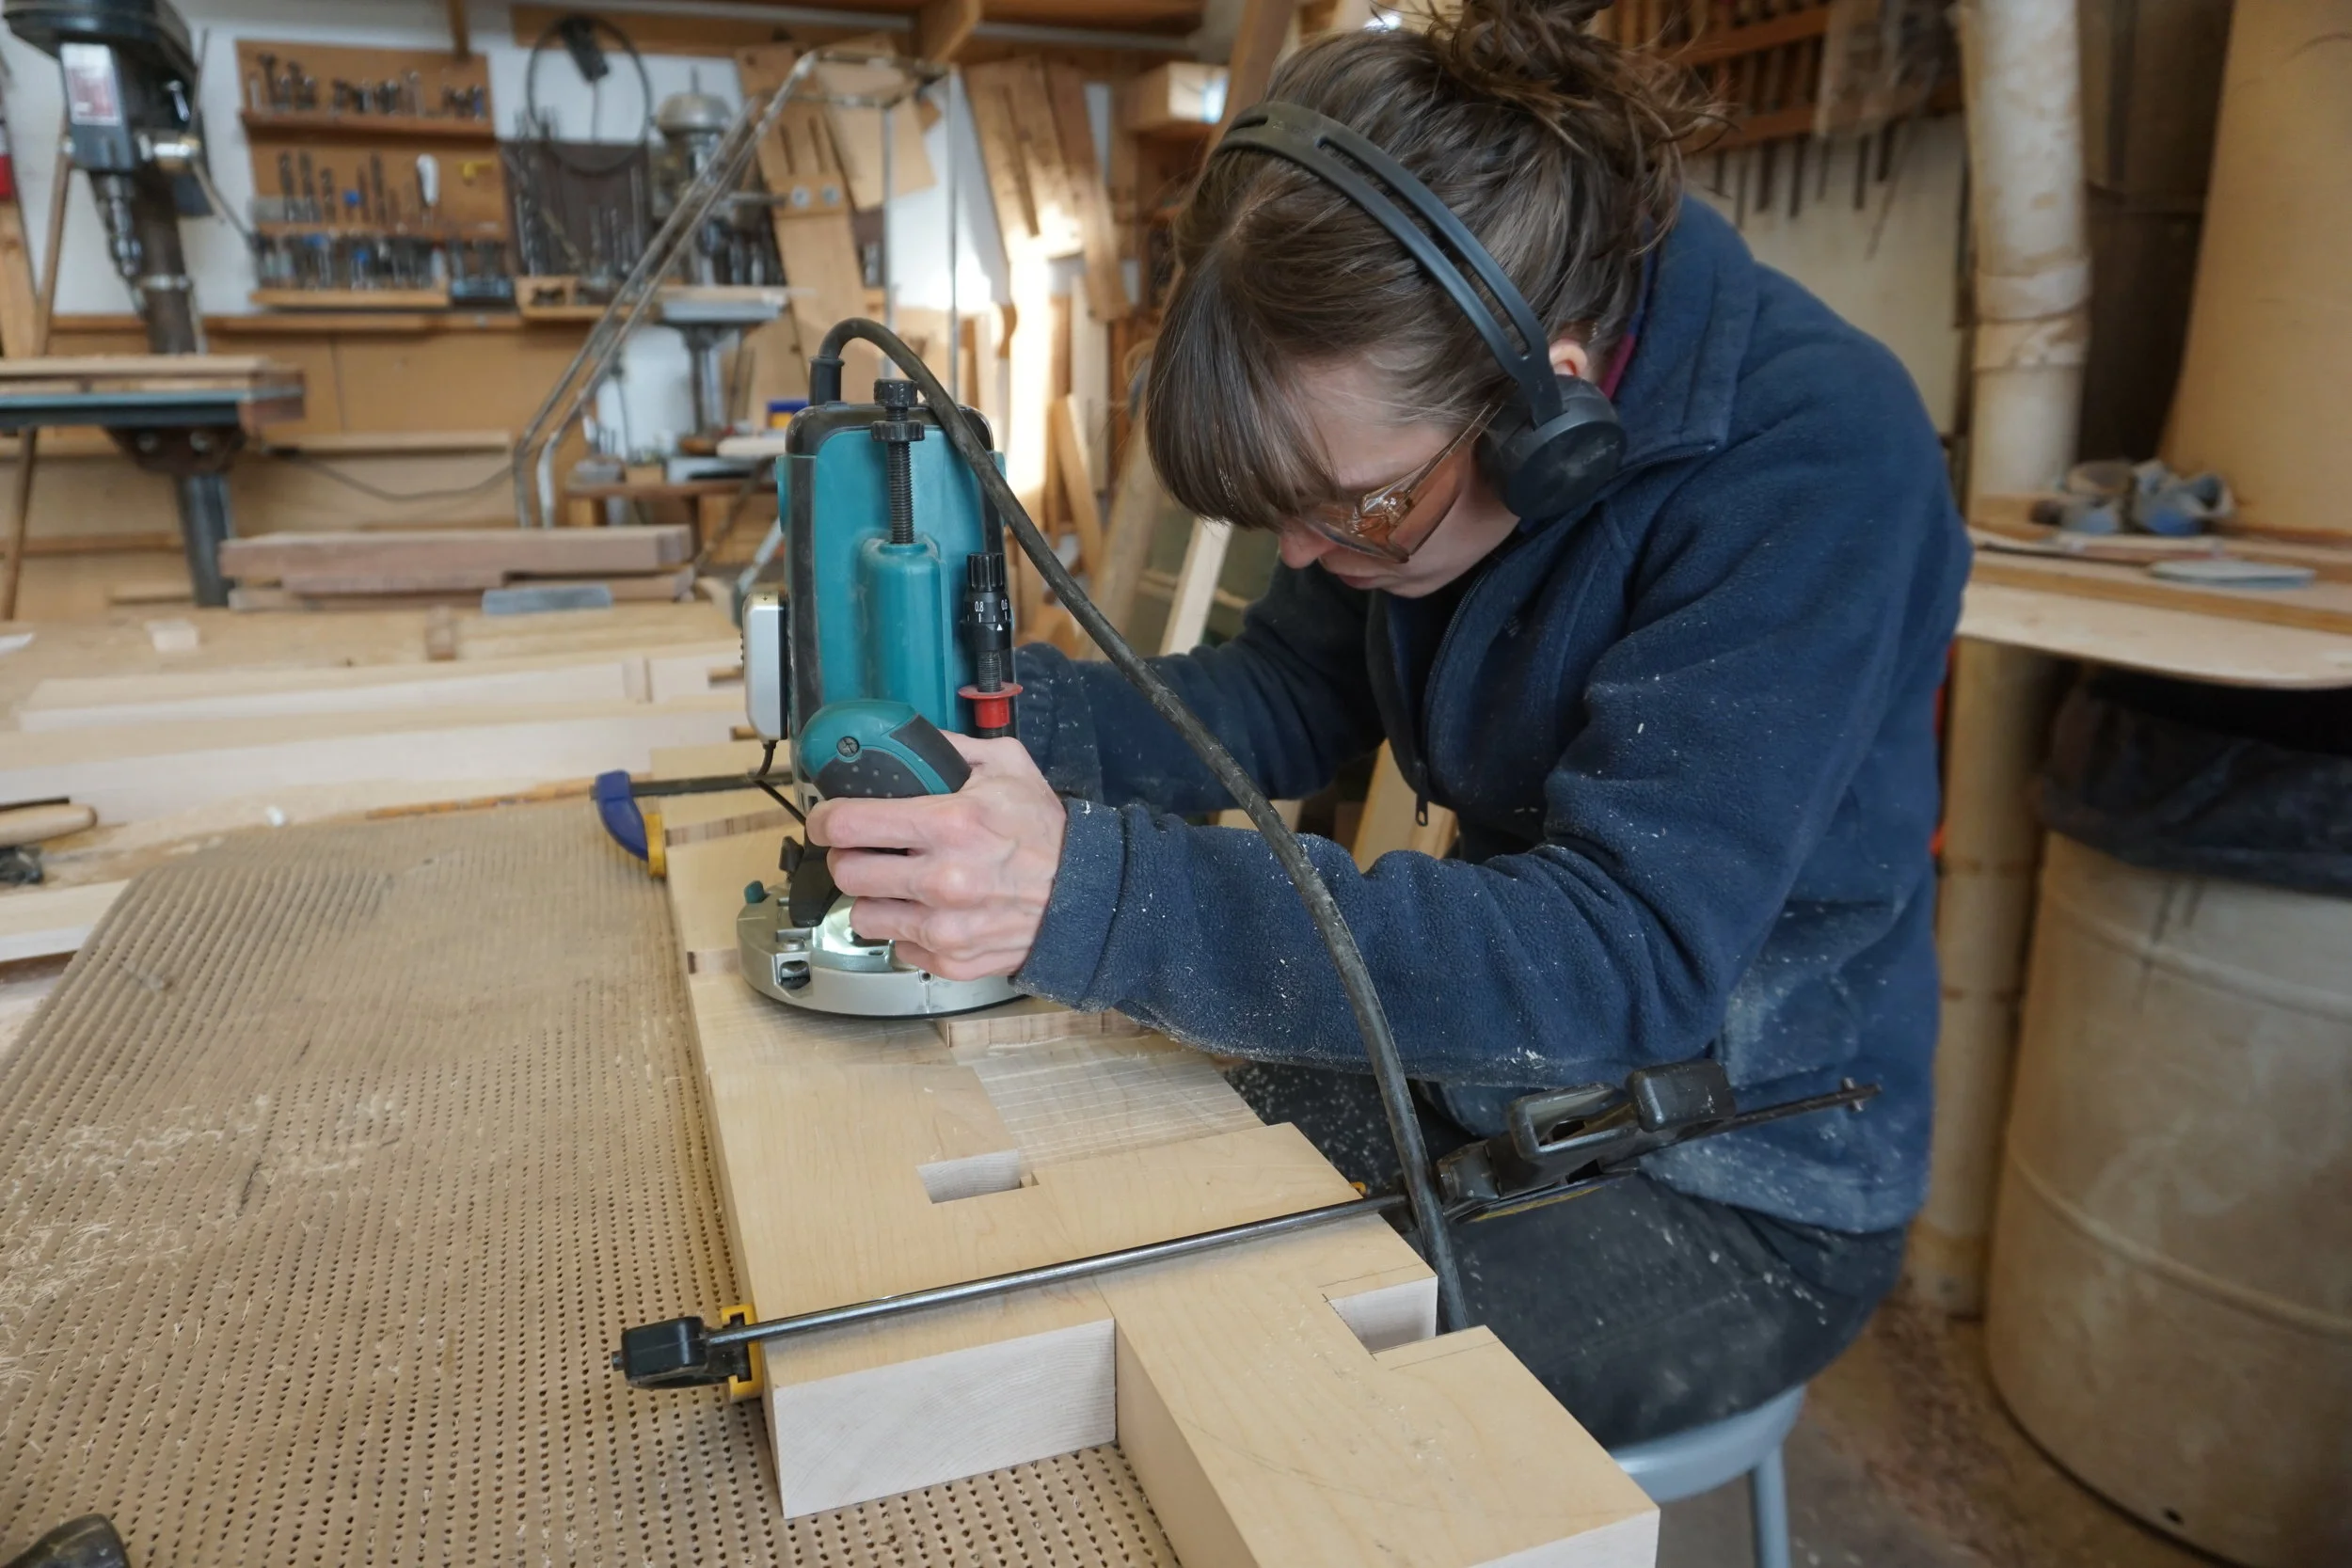
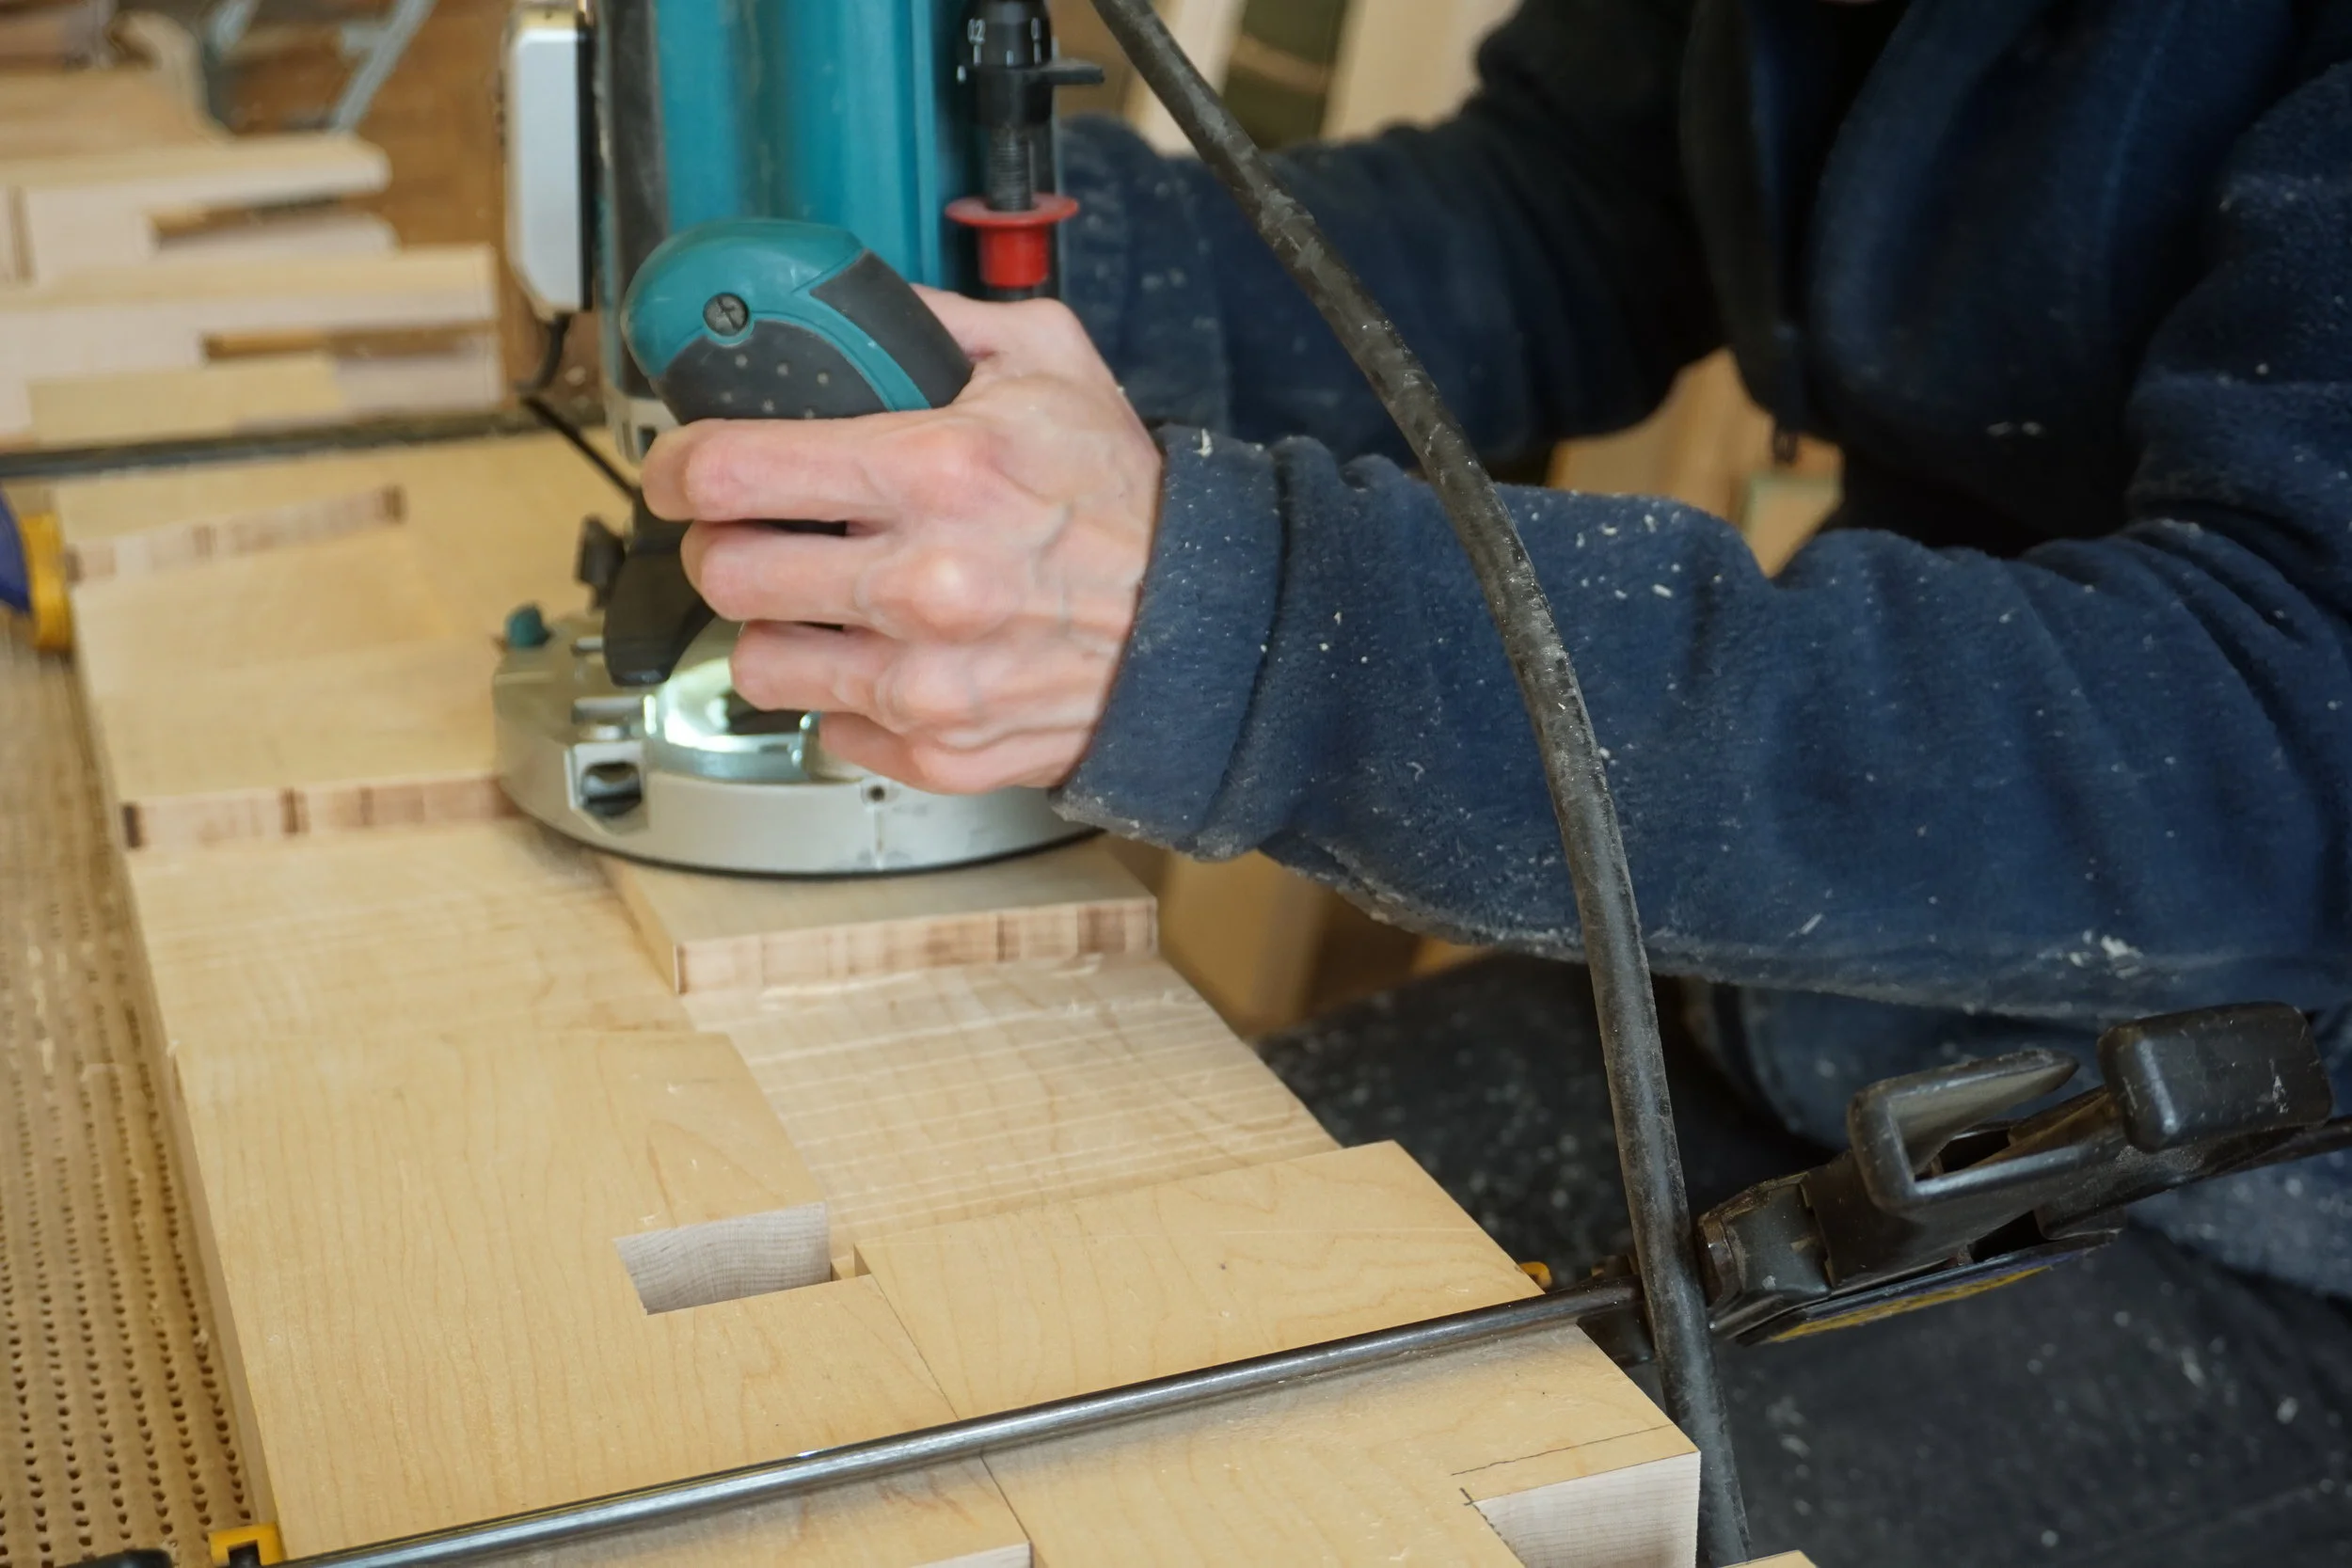
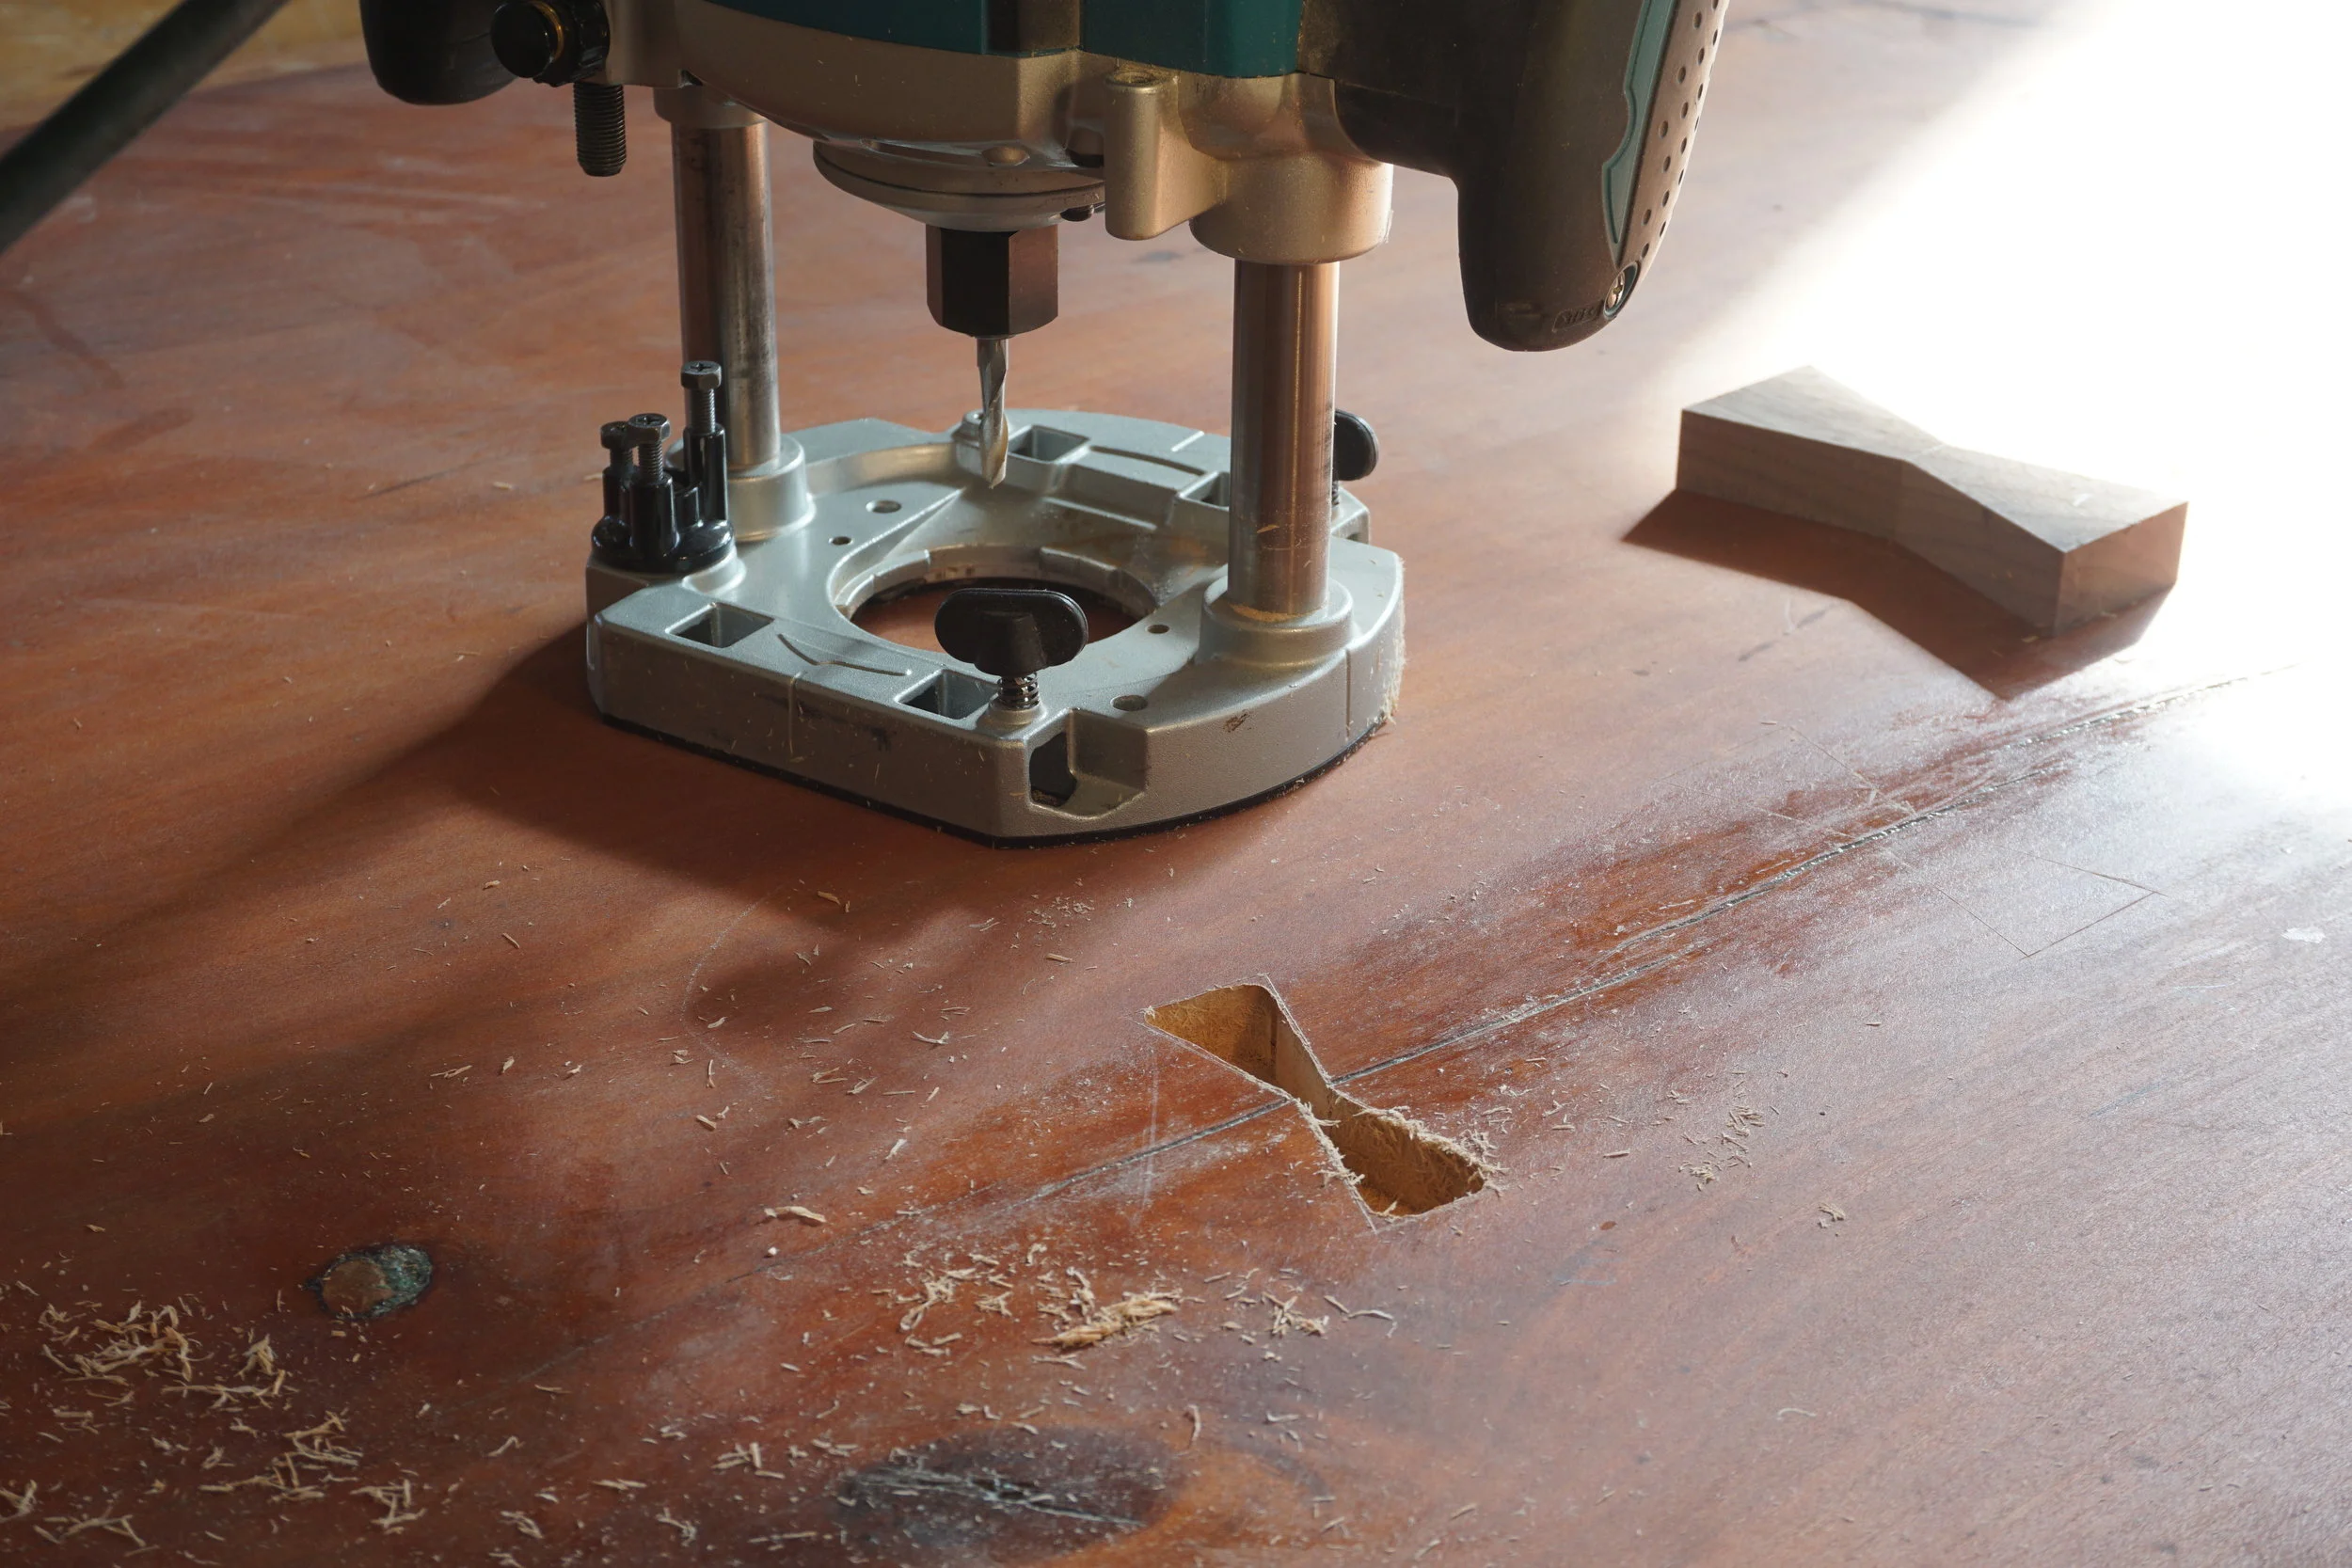
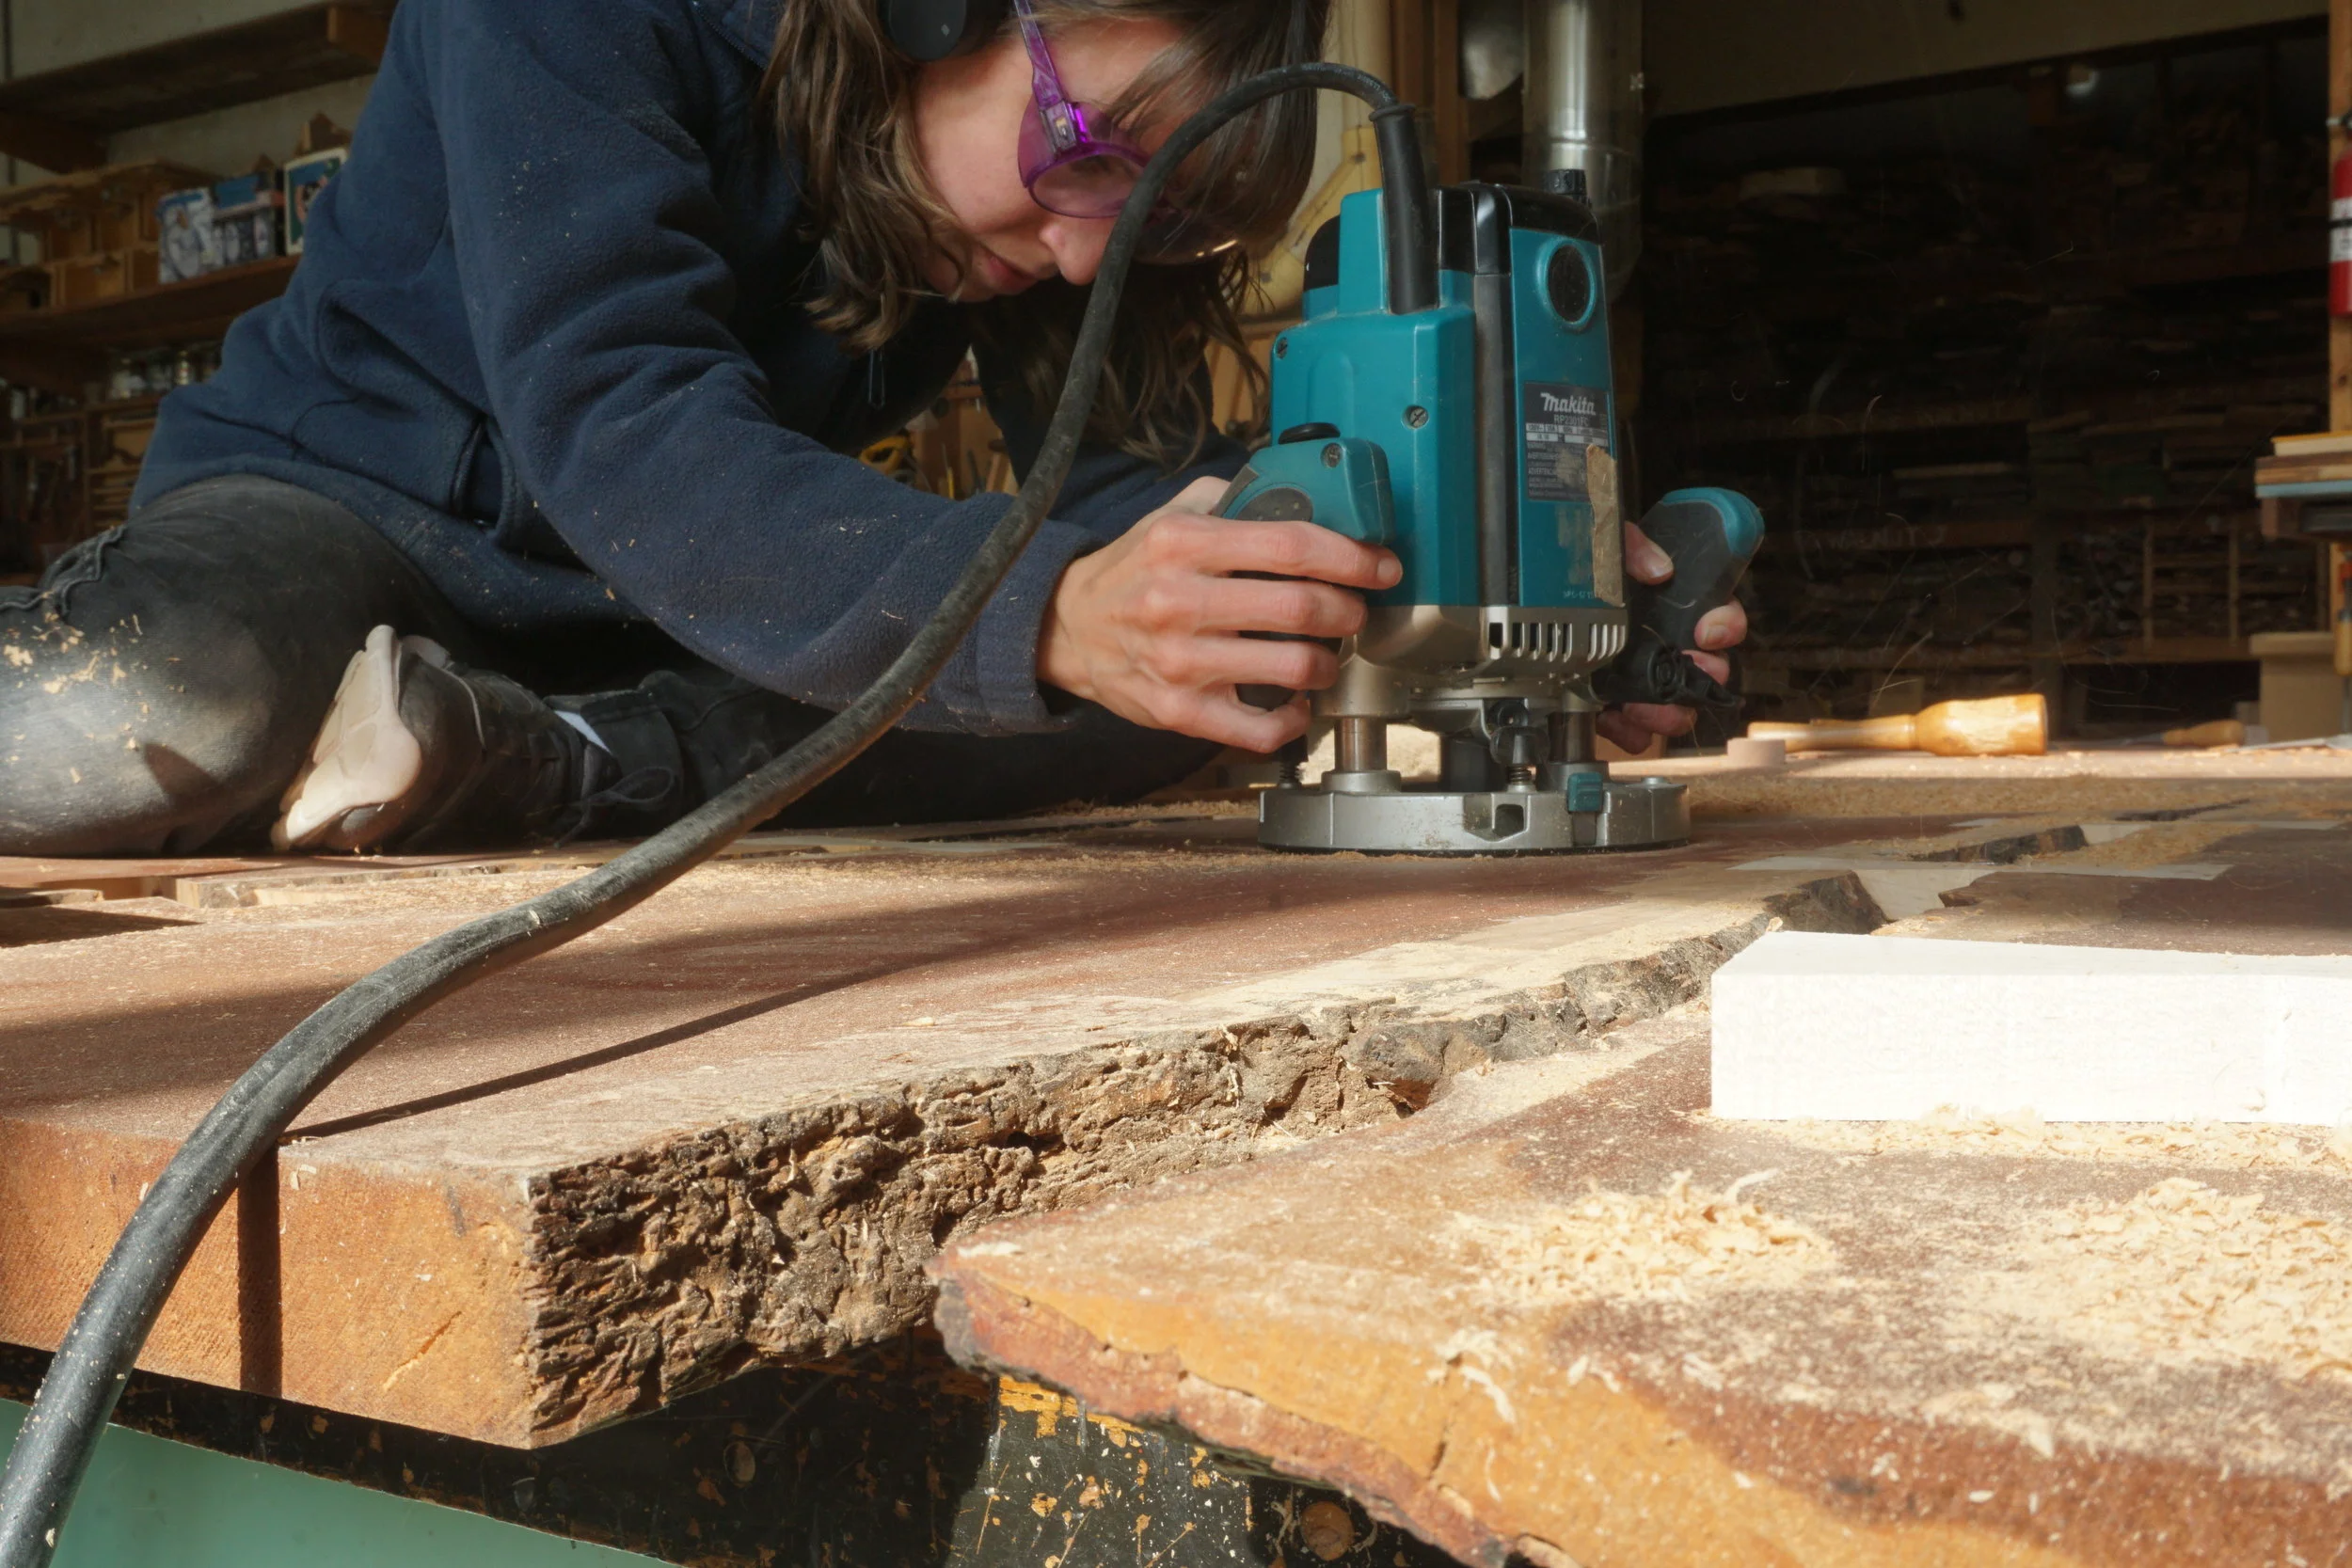
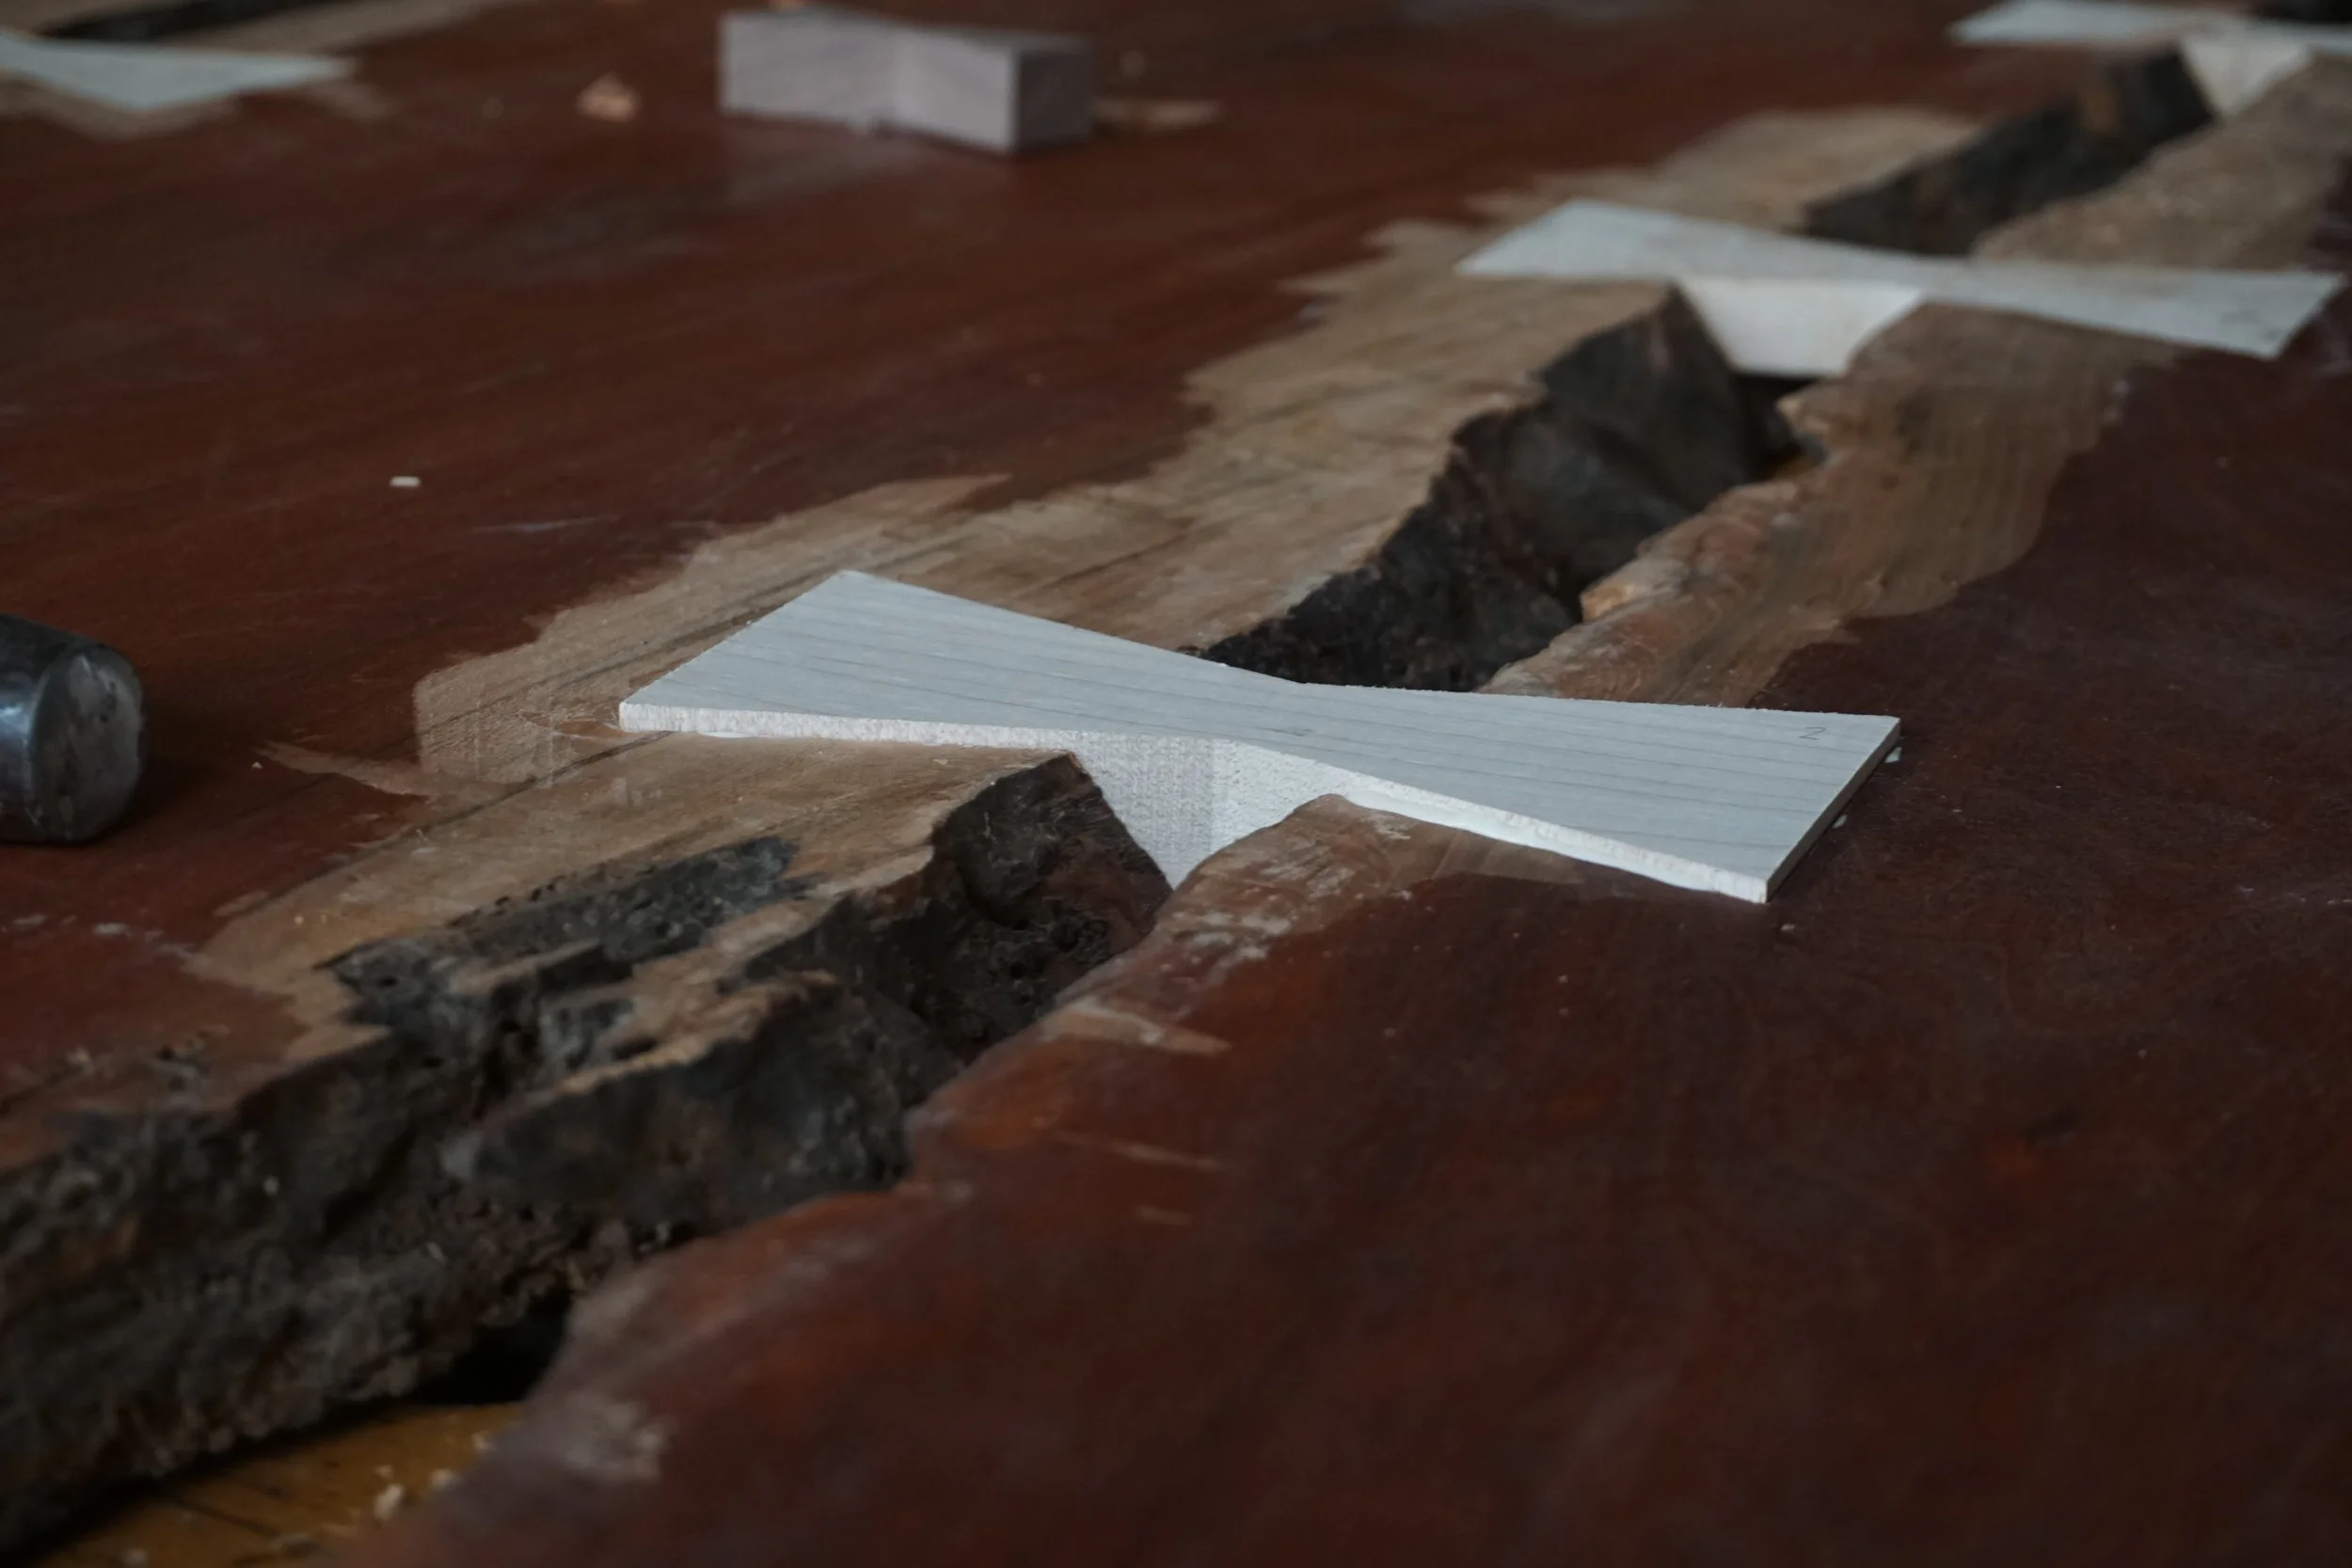
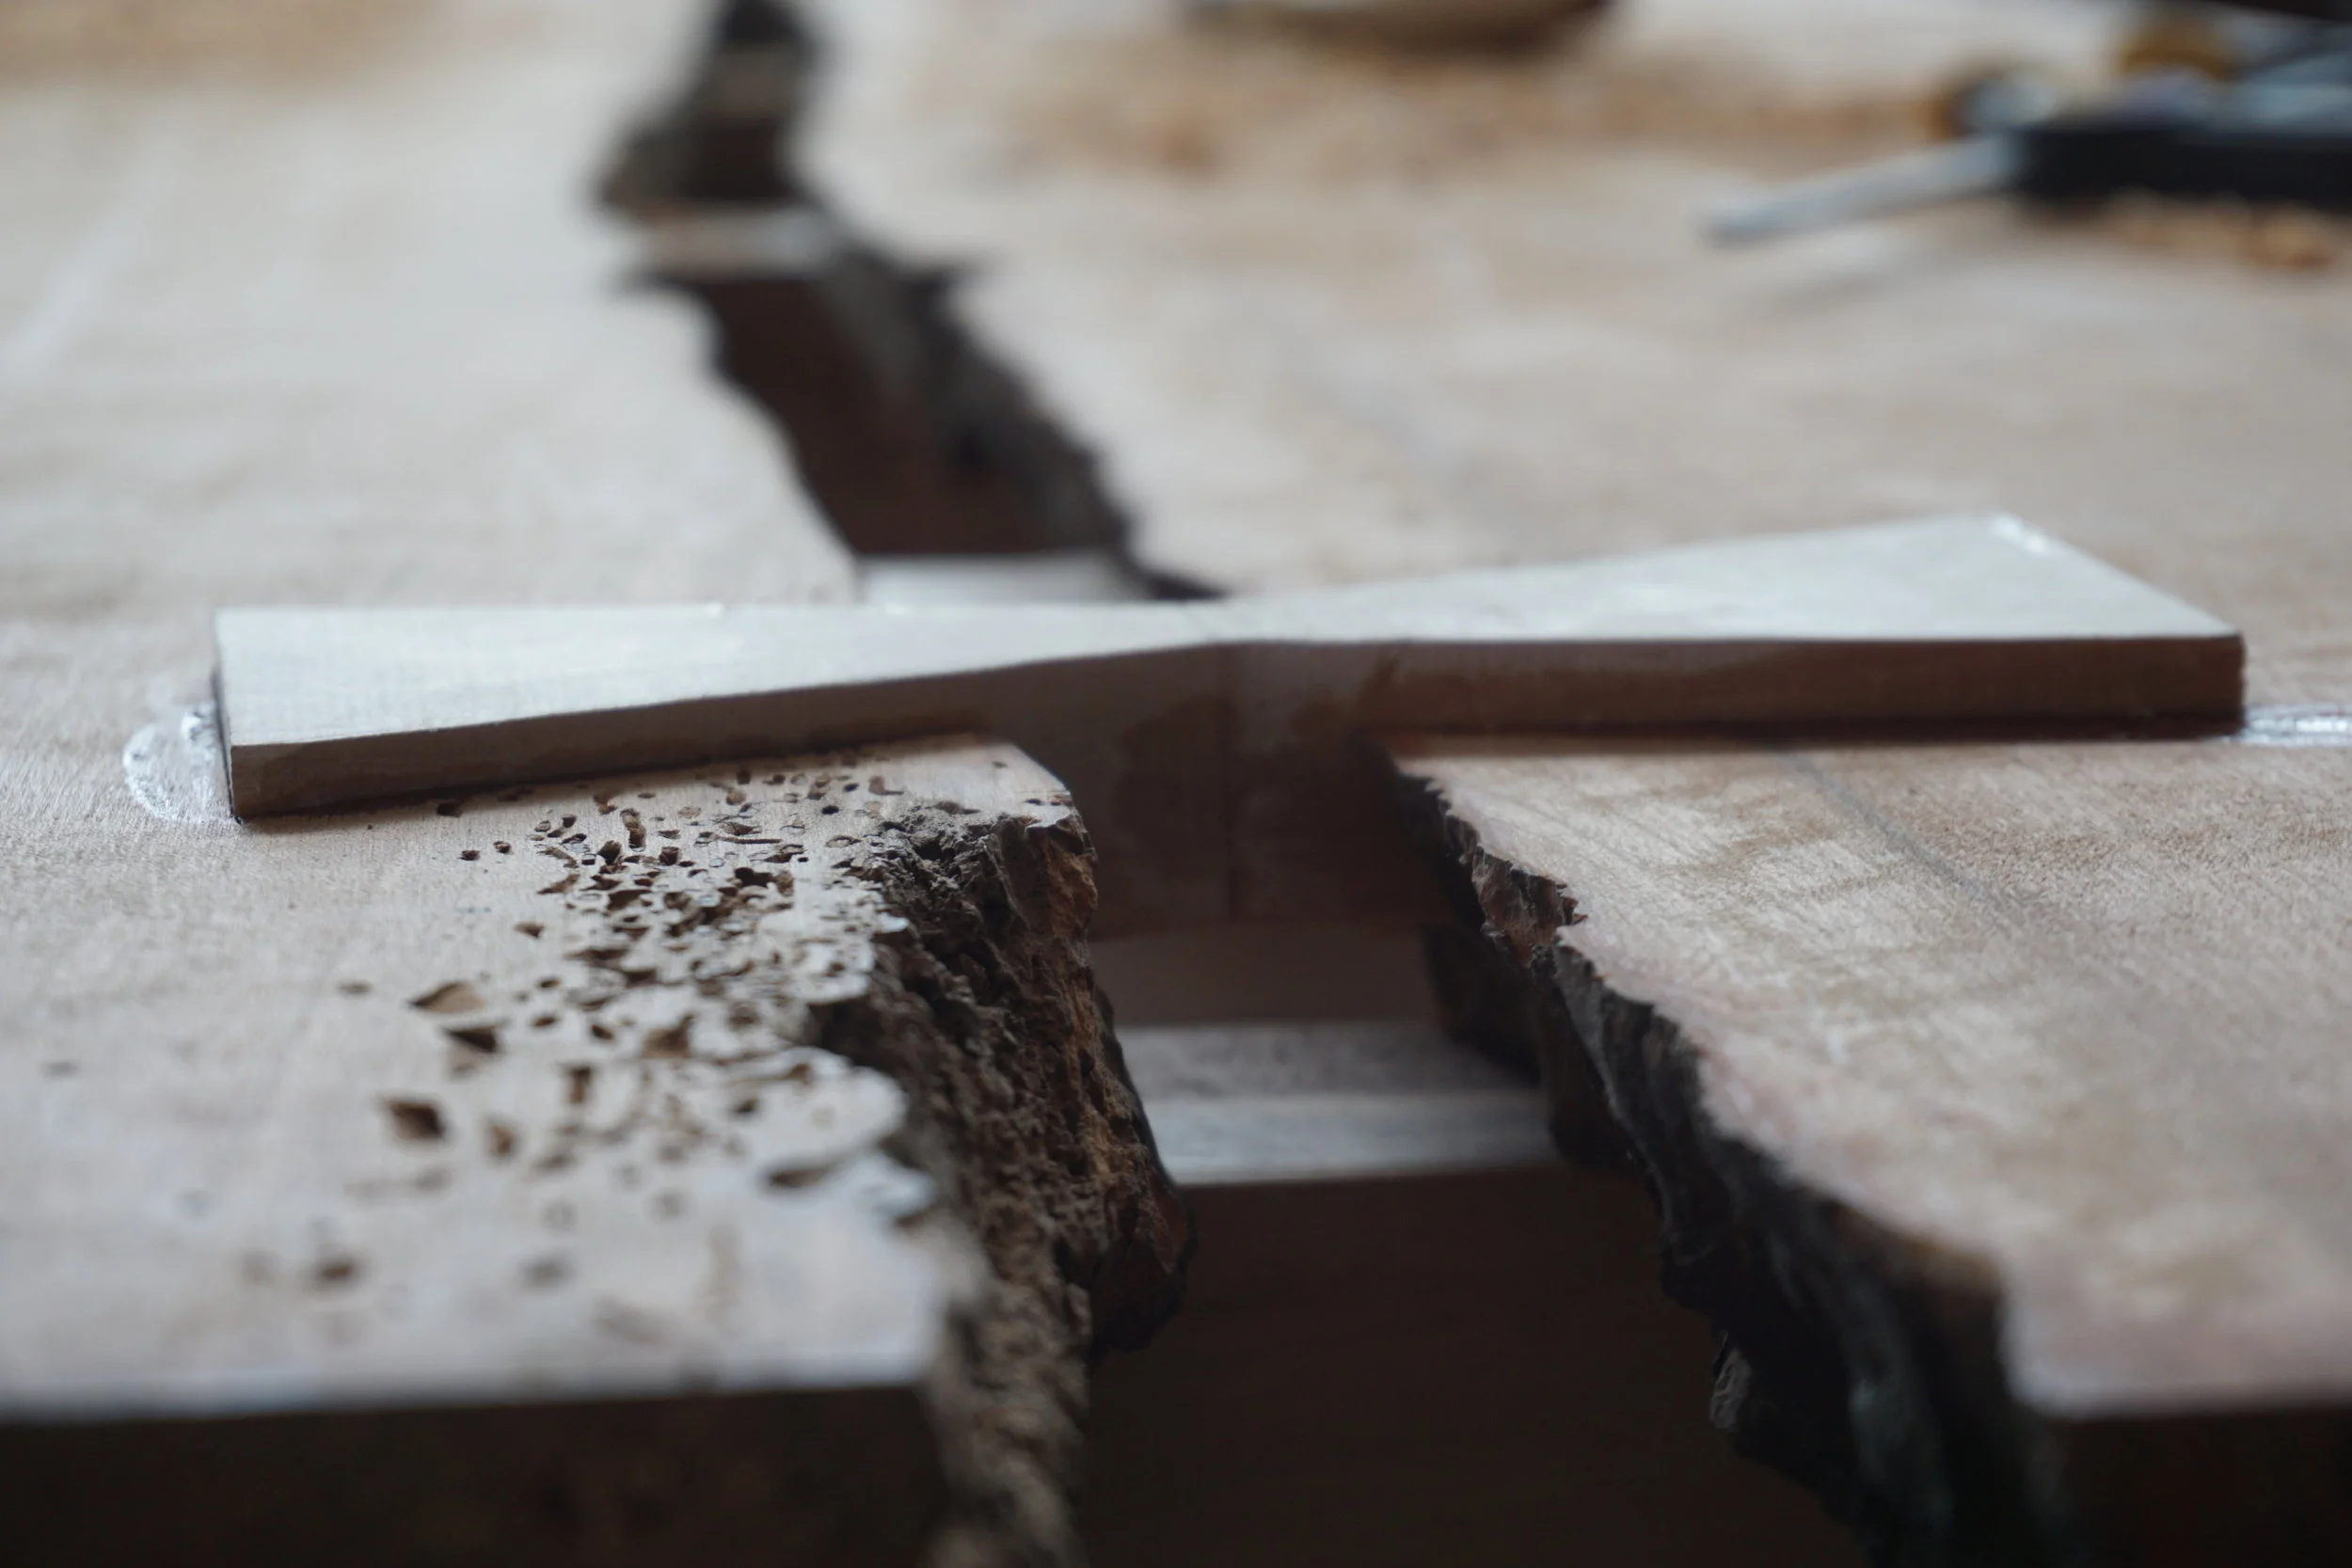
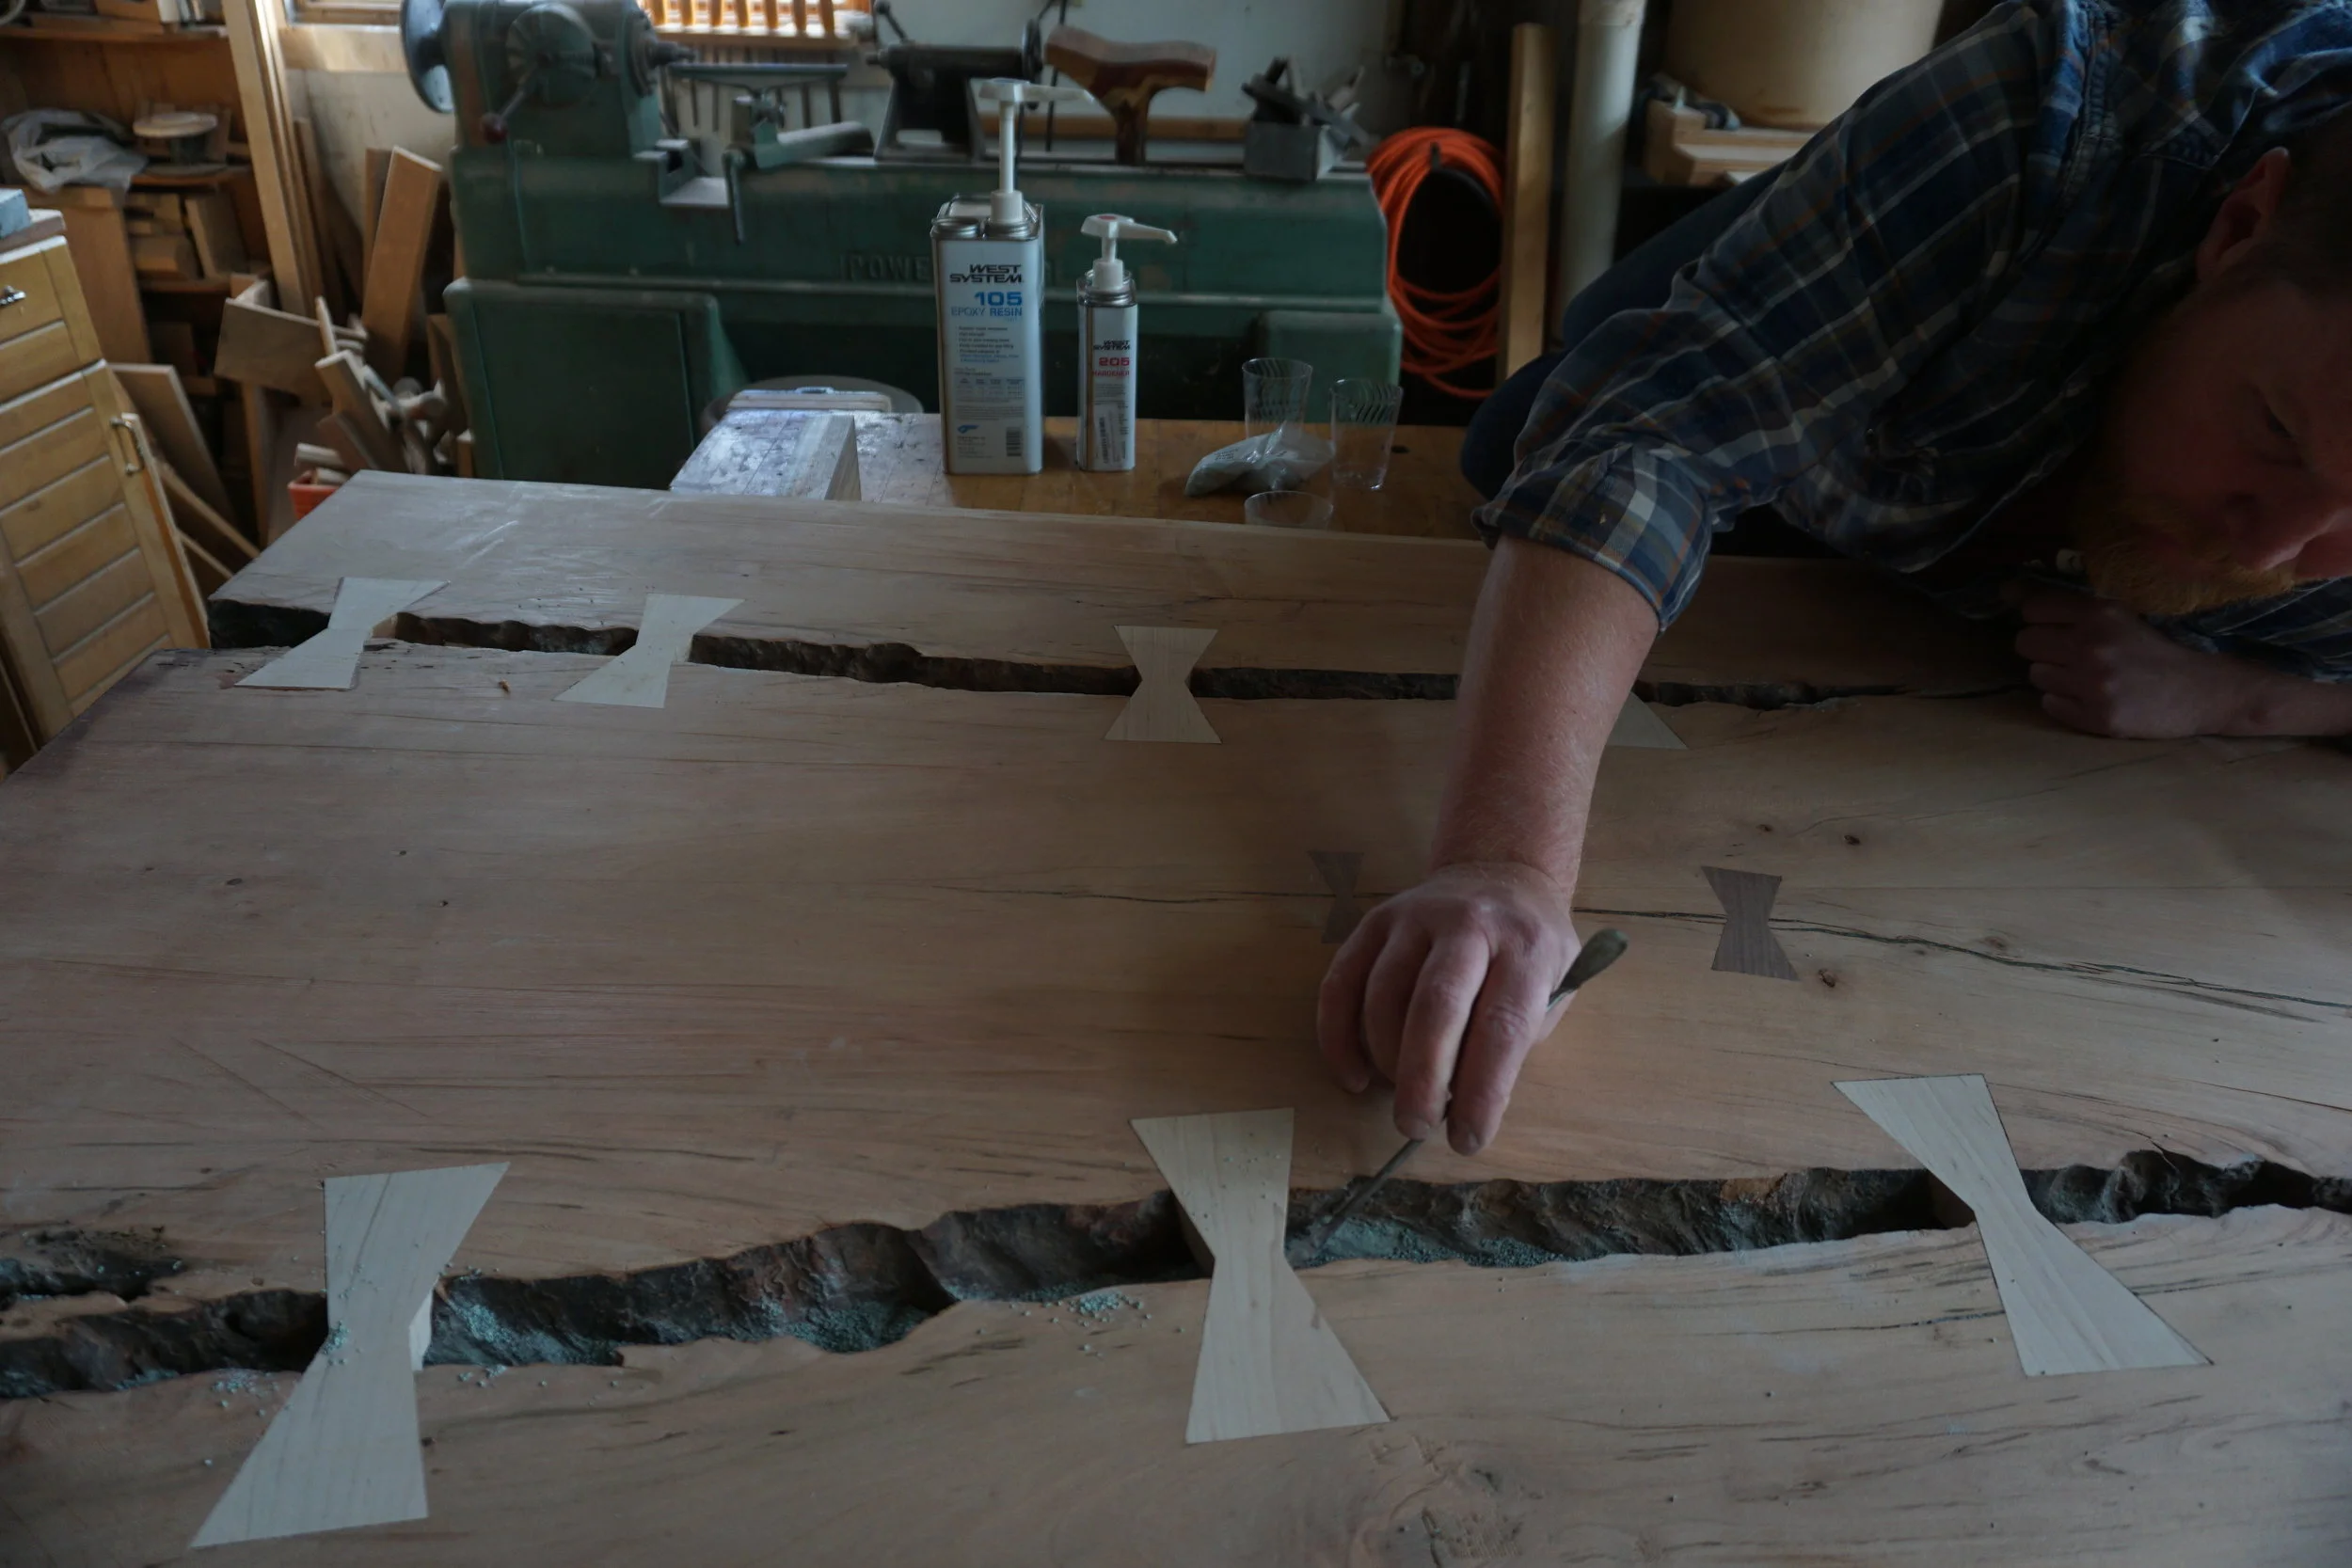
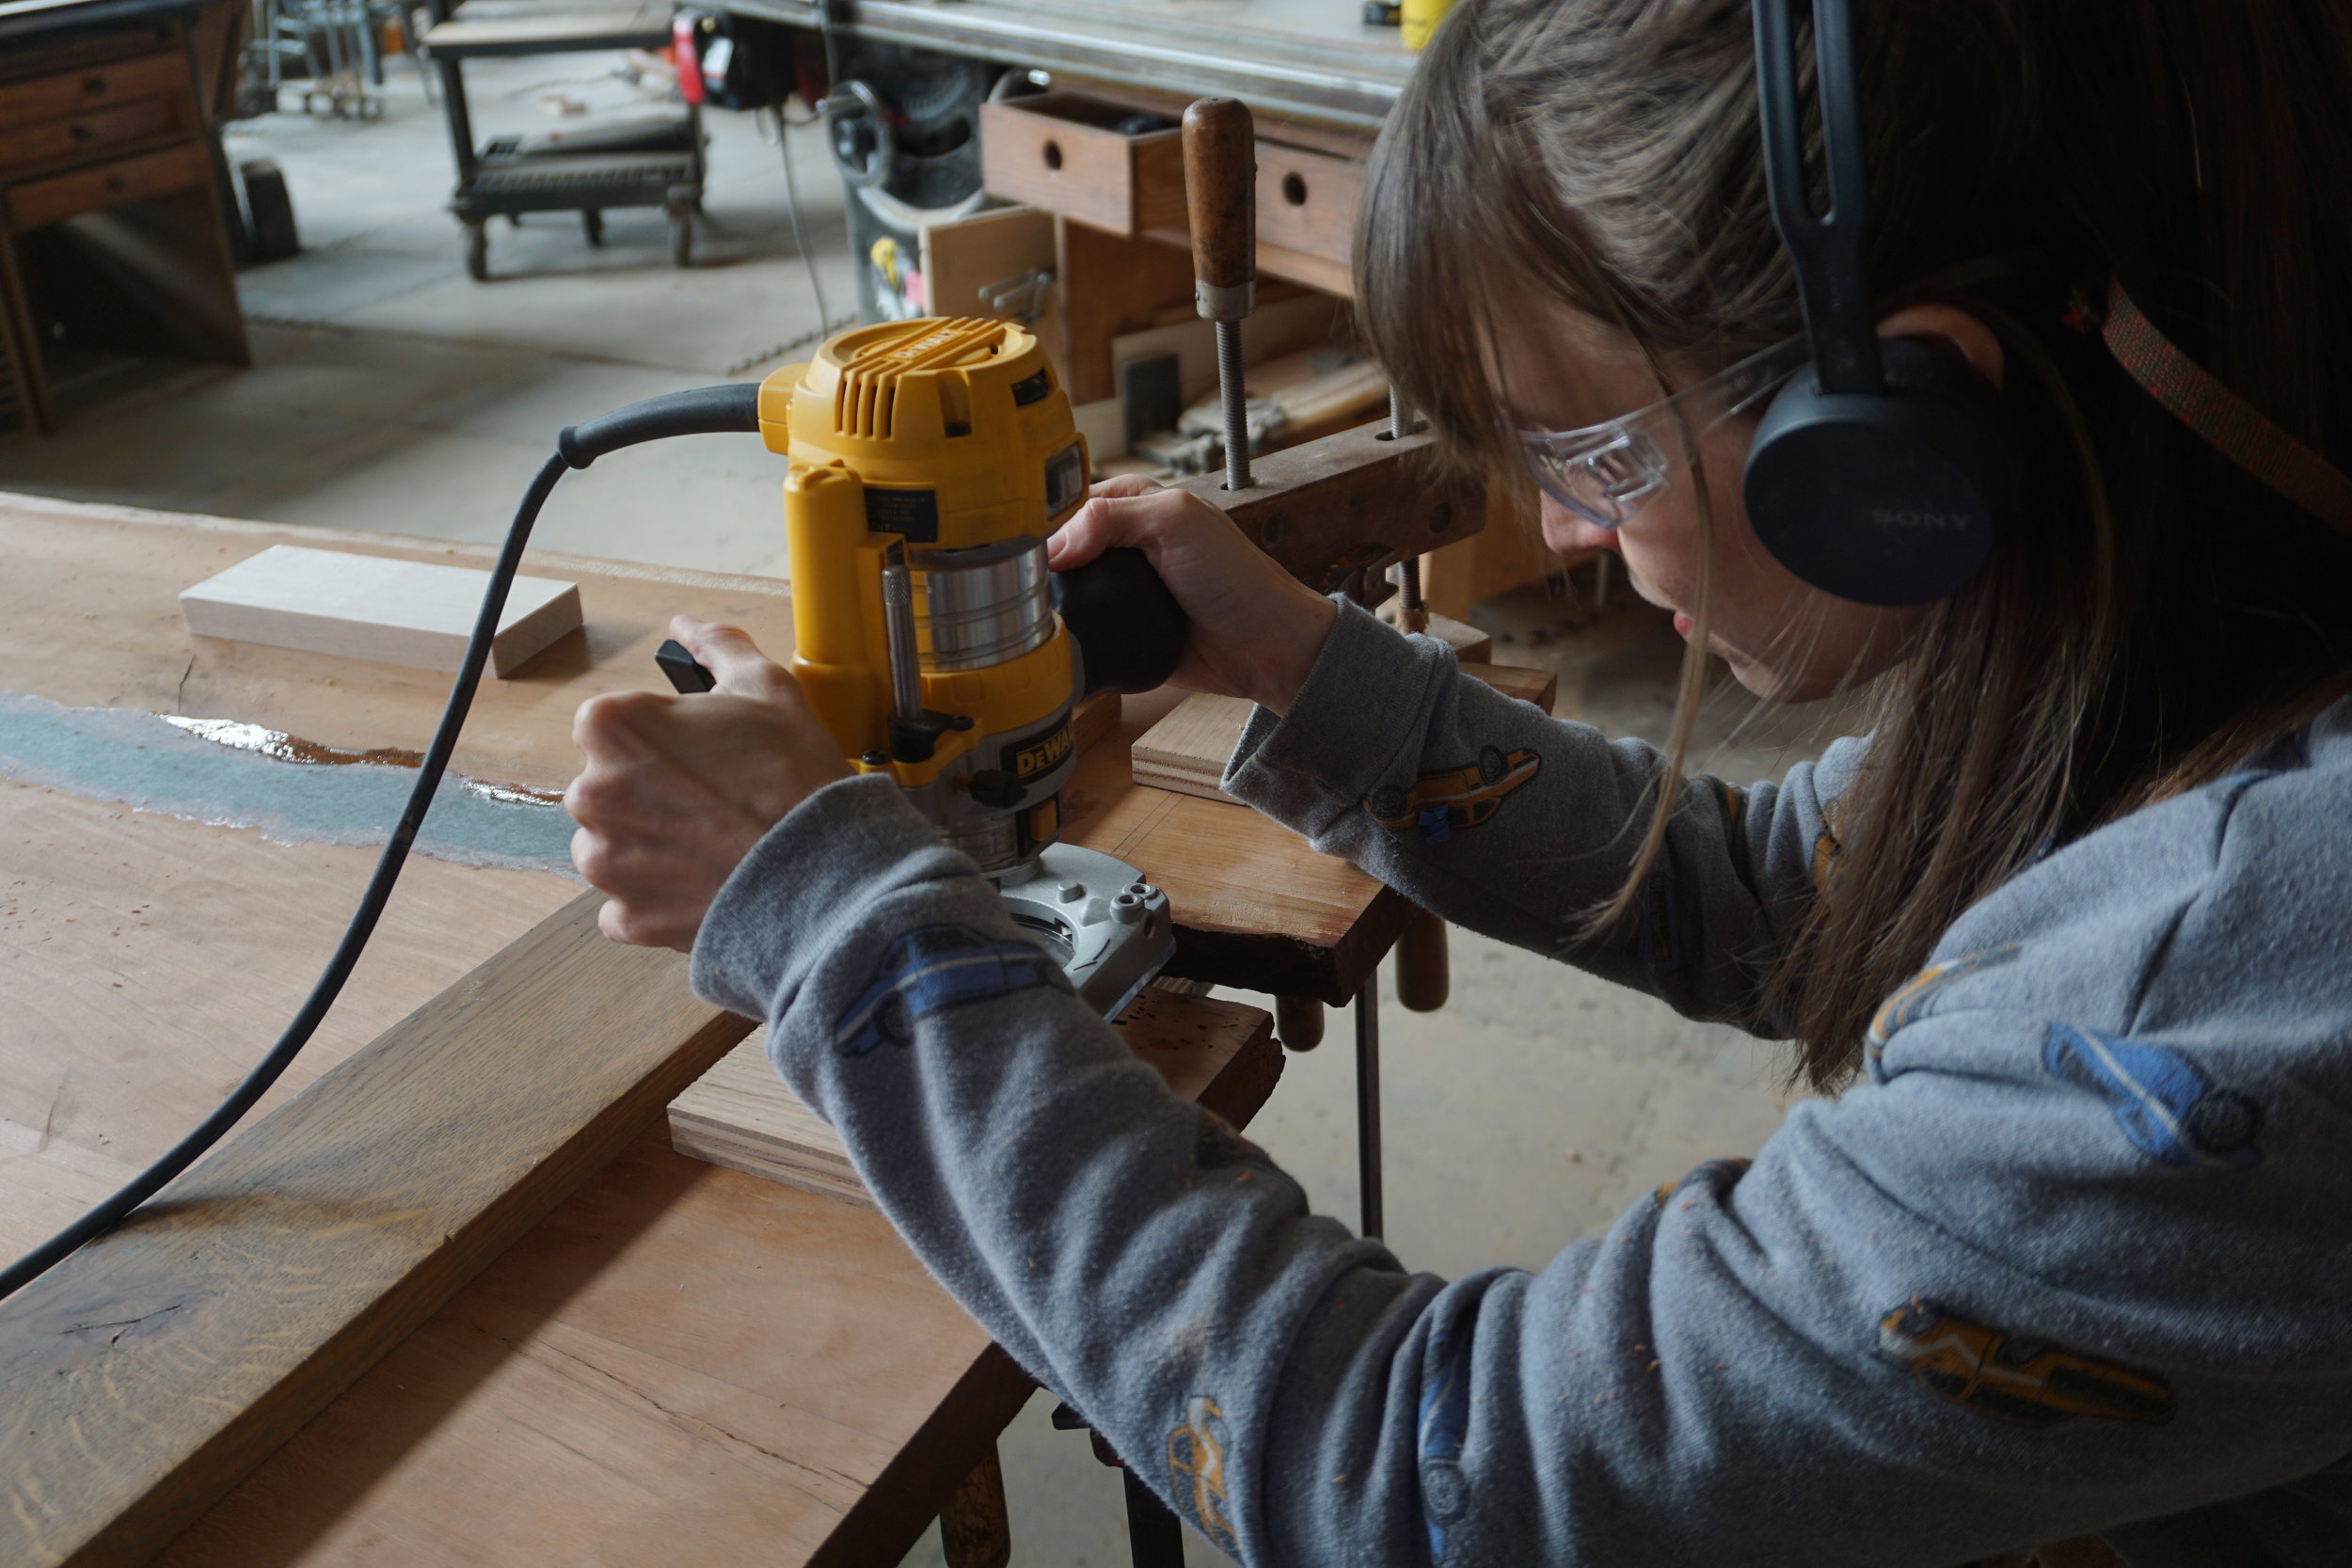
The butterflies are carefully scribed to the surface with a knife. After that, we rout up to the knife line, leaving a little space to finish the walls with a mallet and chisel.


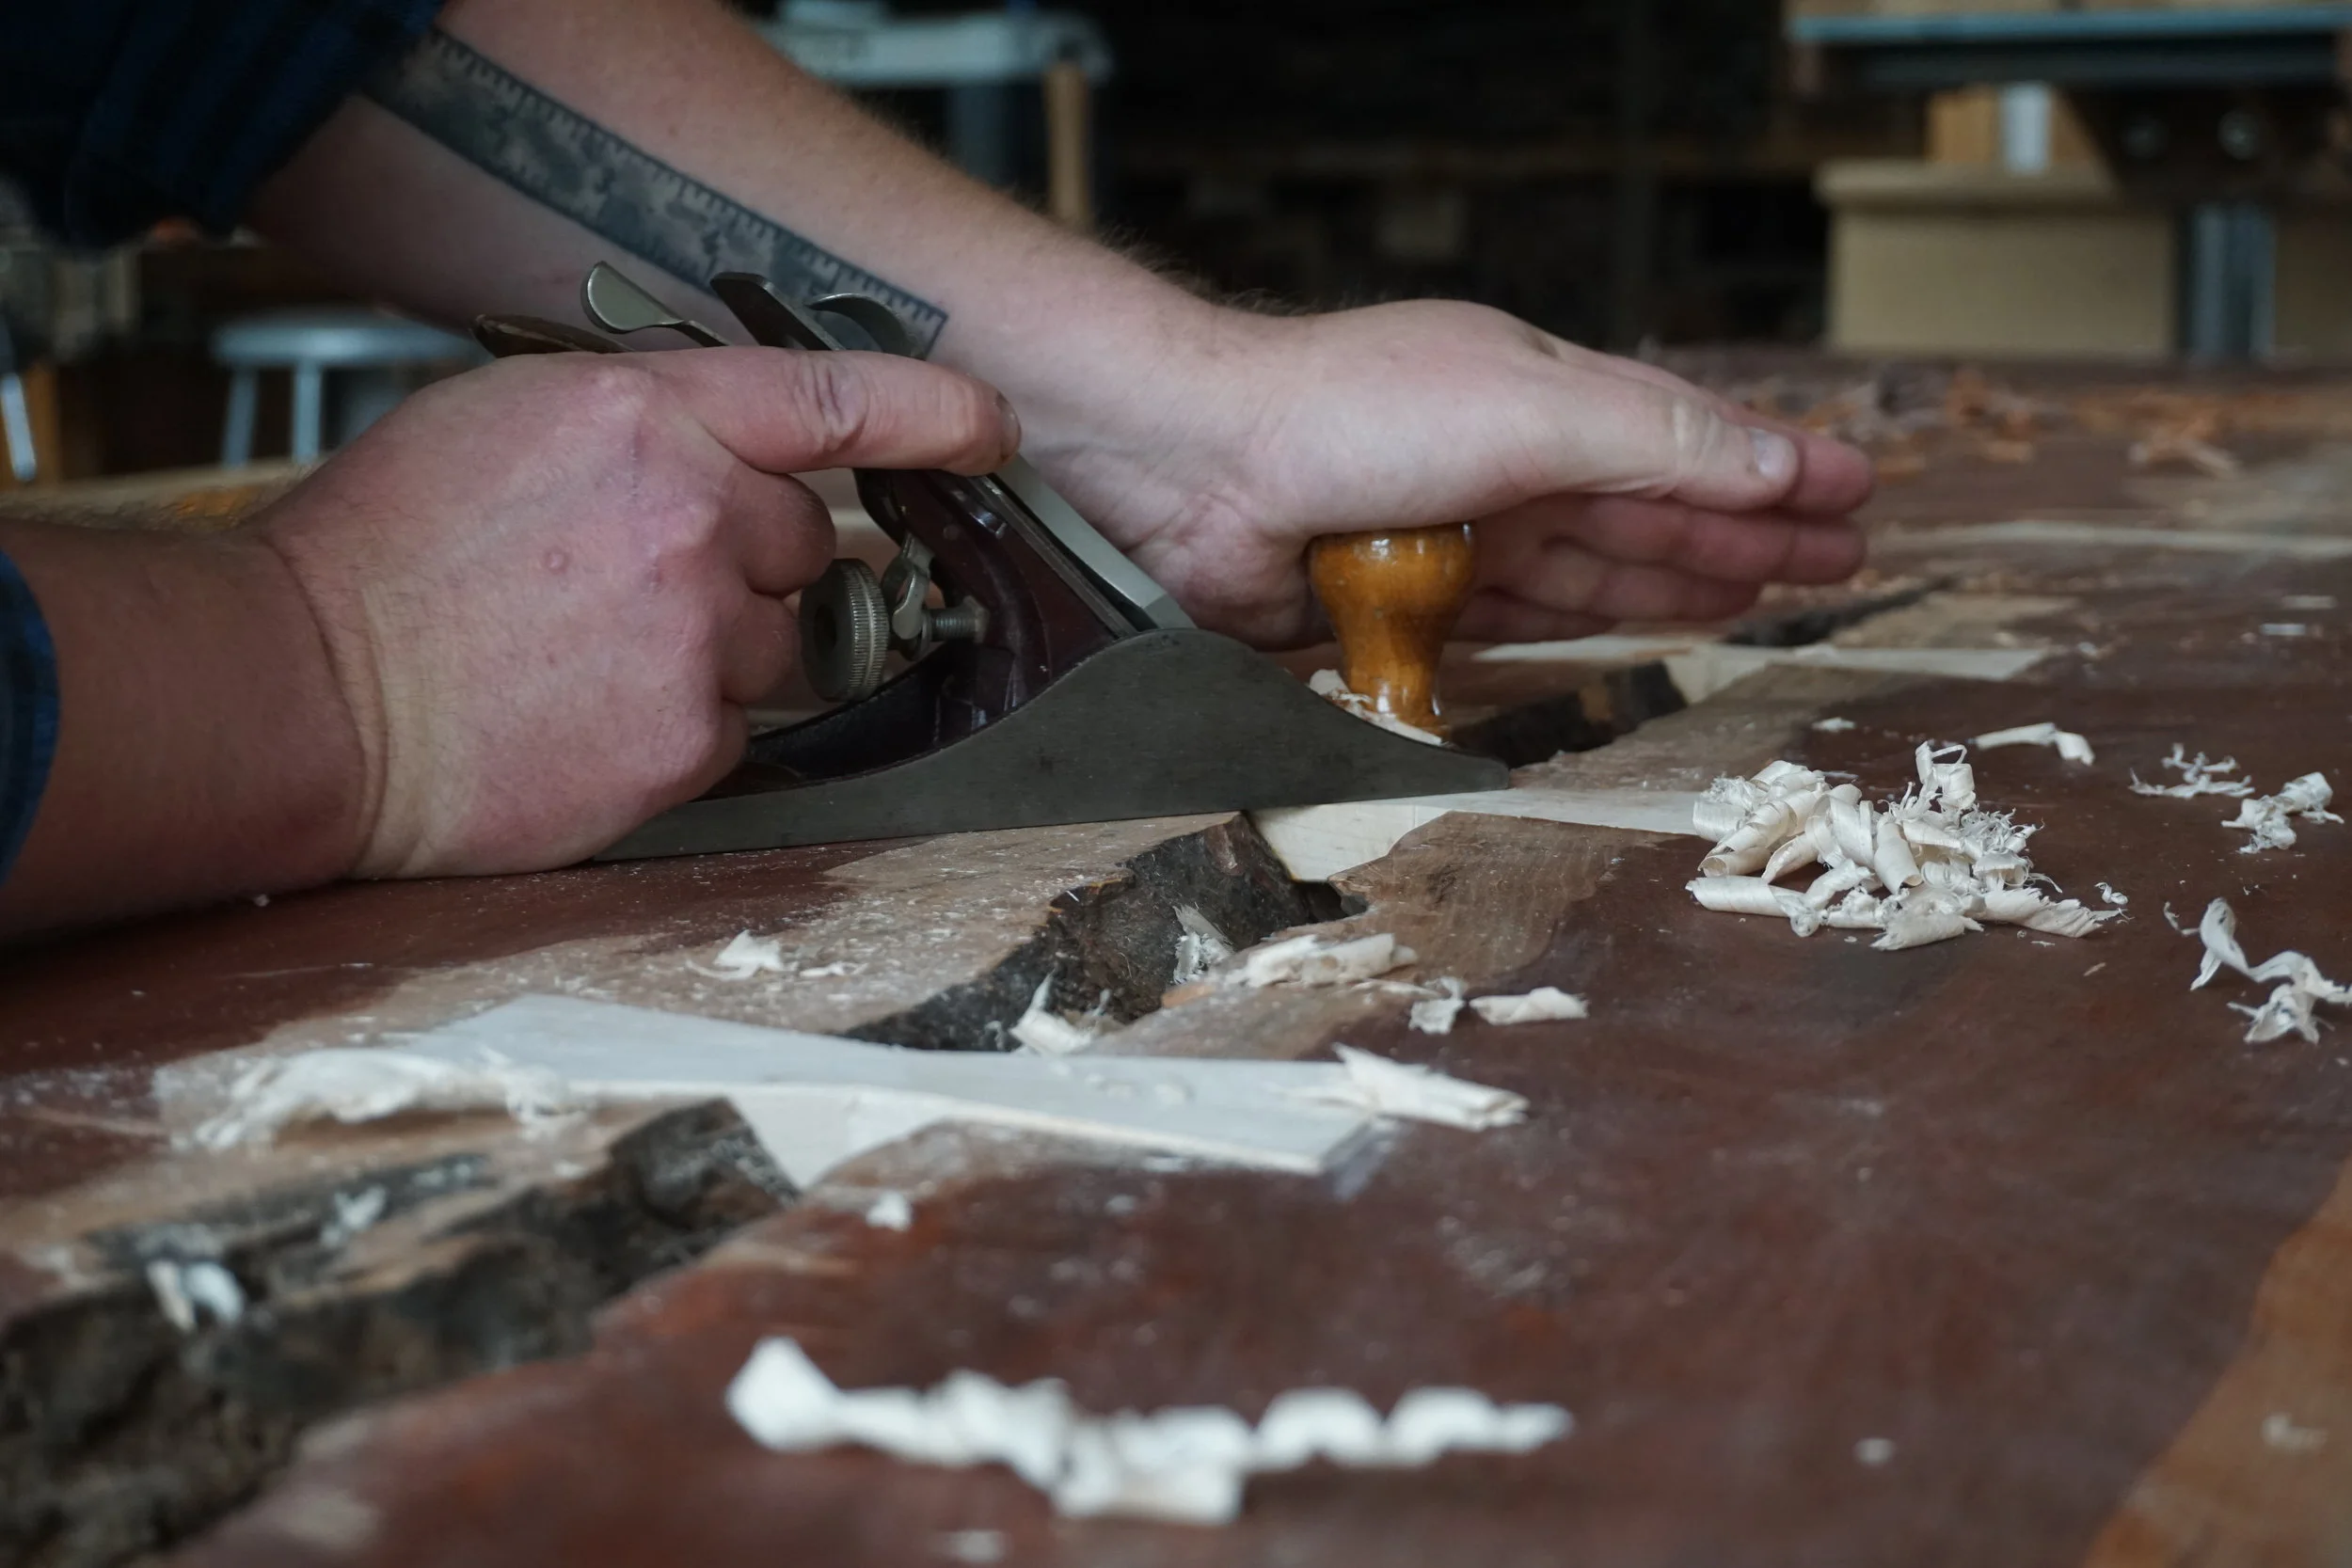
The butterflies are glued and tapped home with a mallet, then they are leveled to the surrounding surface with a plane.
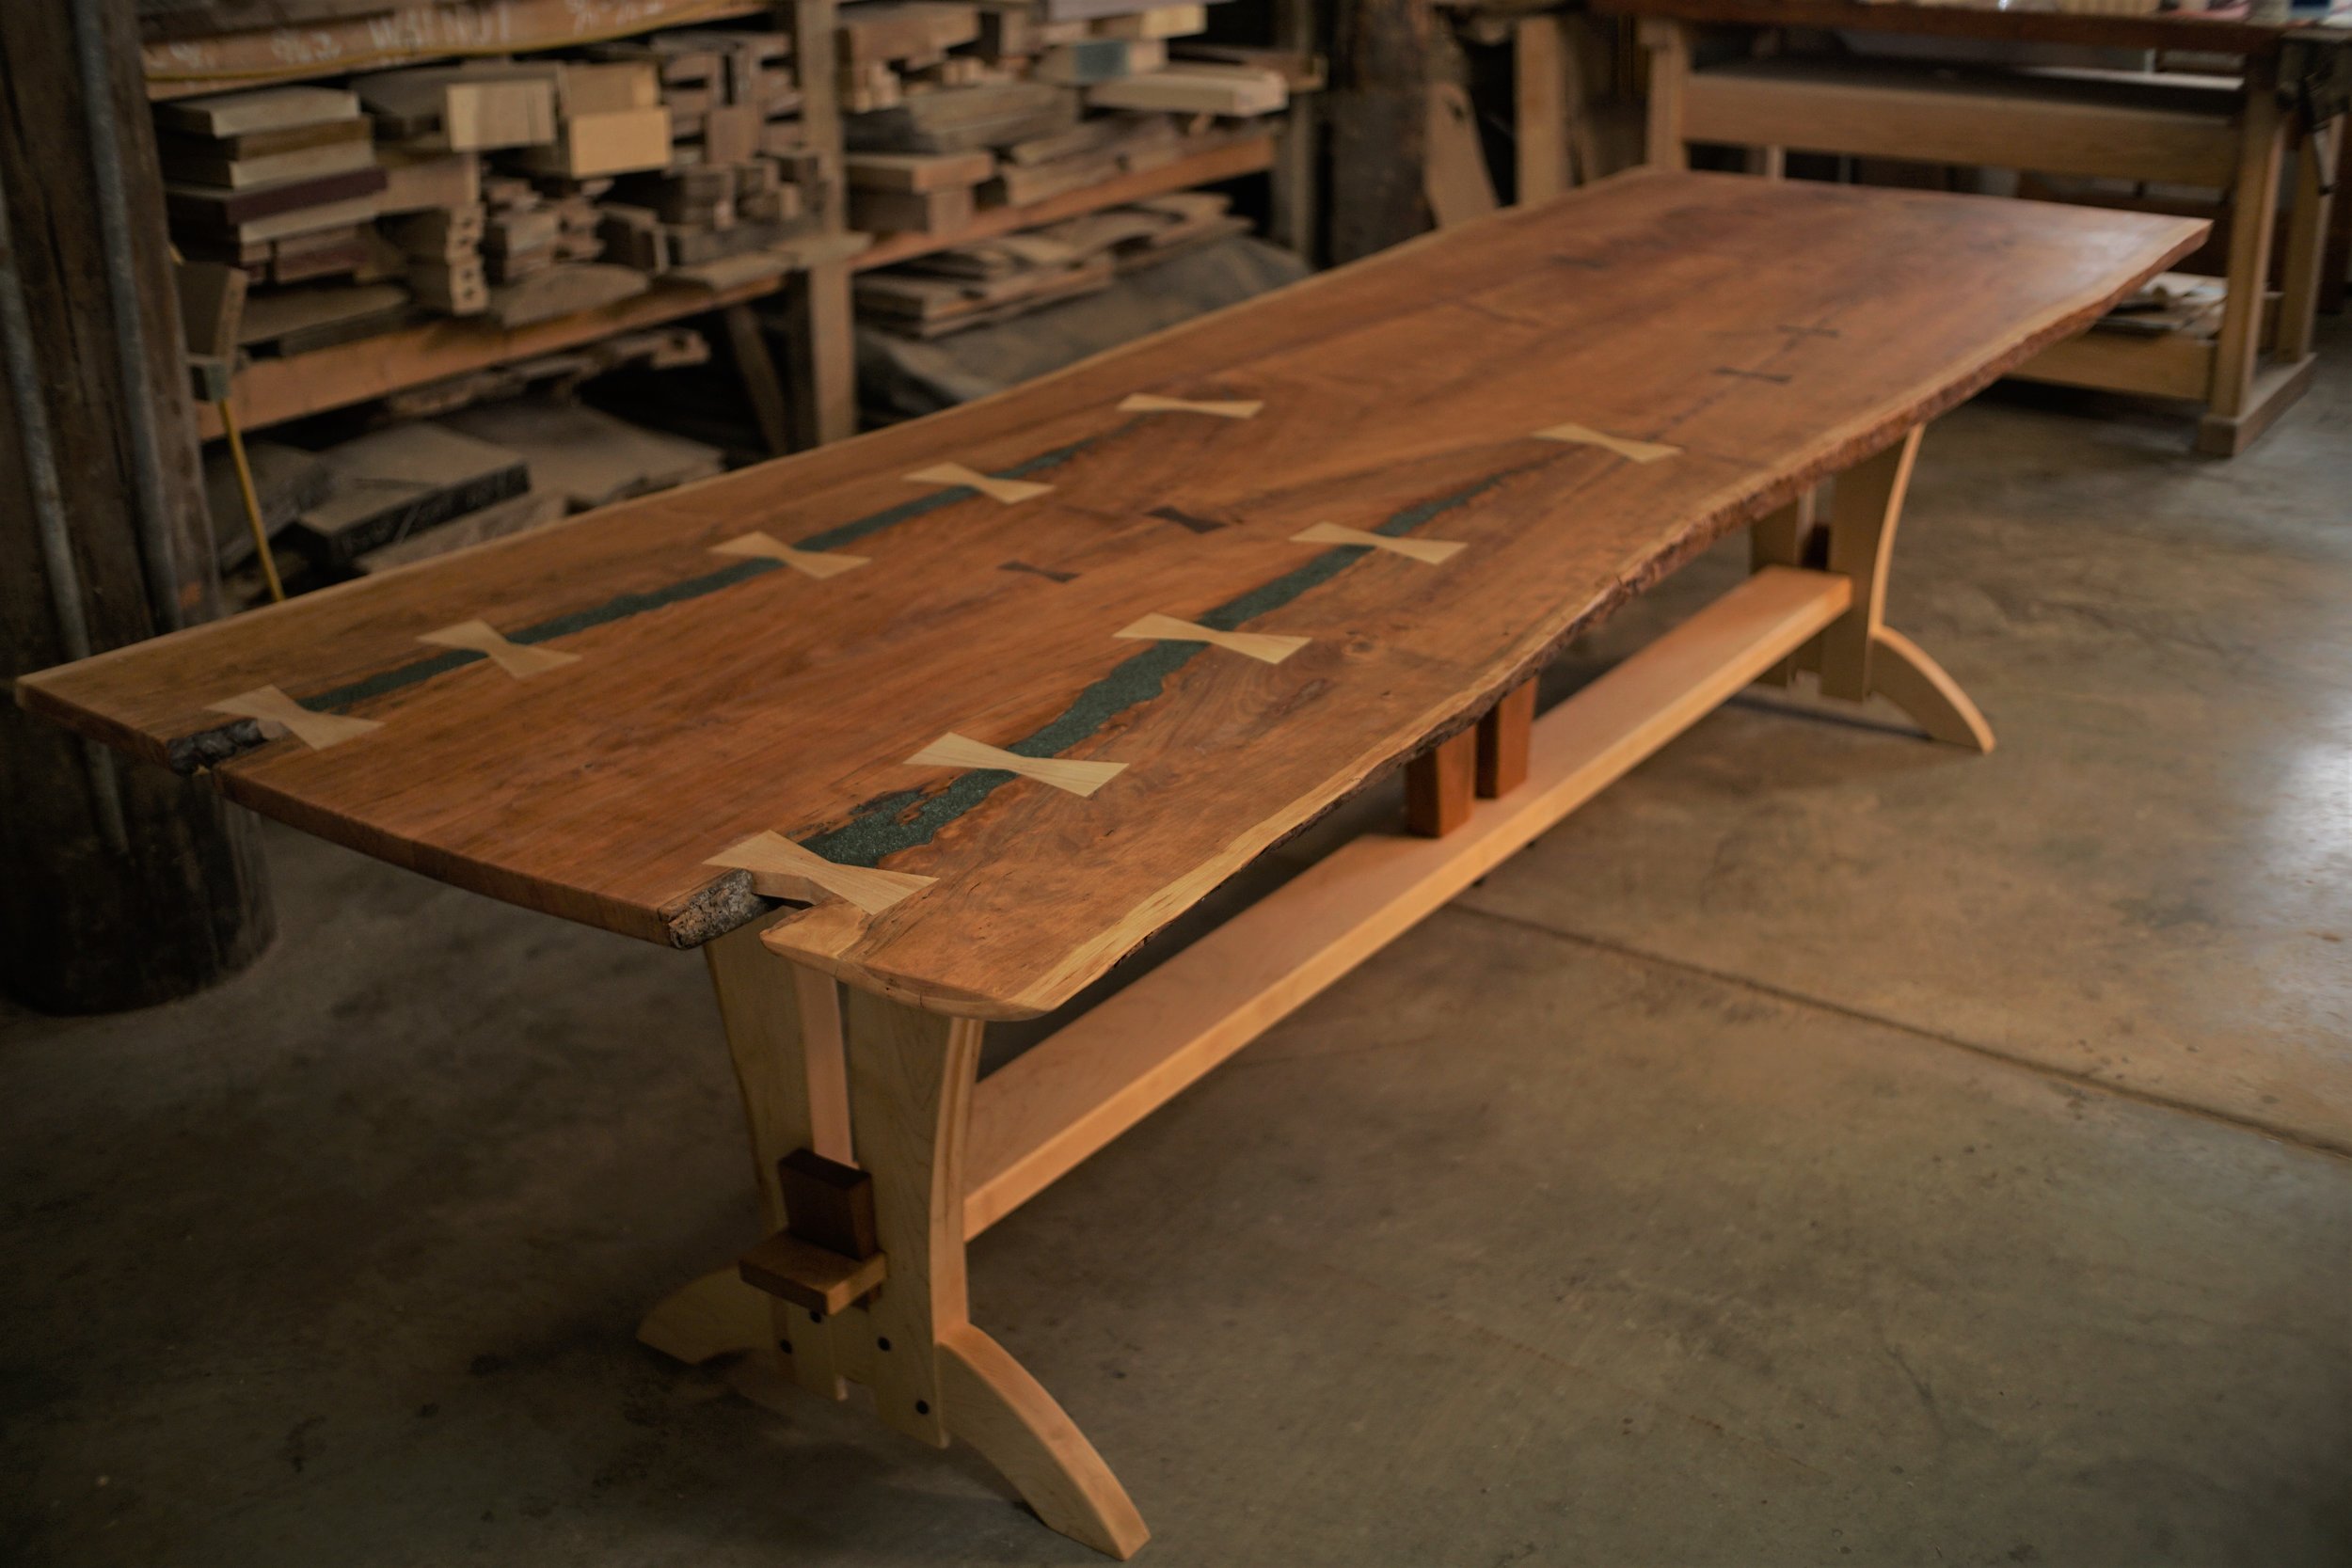
Decisions…
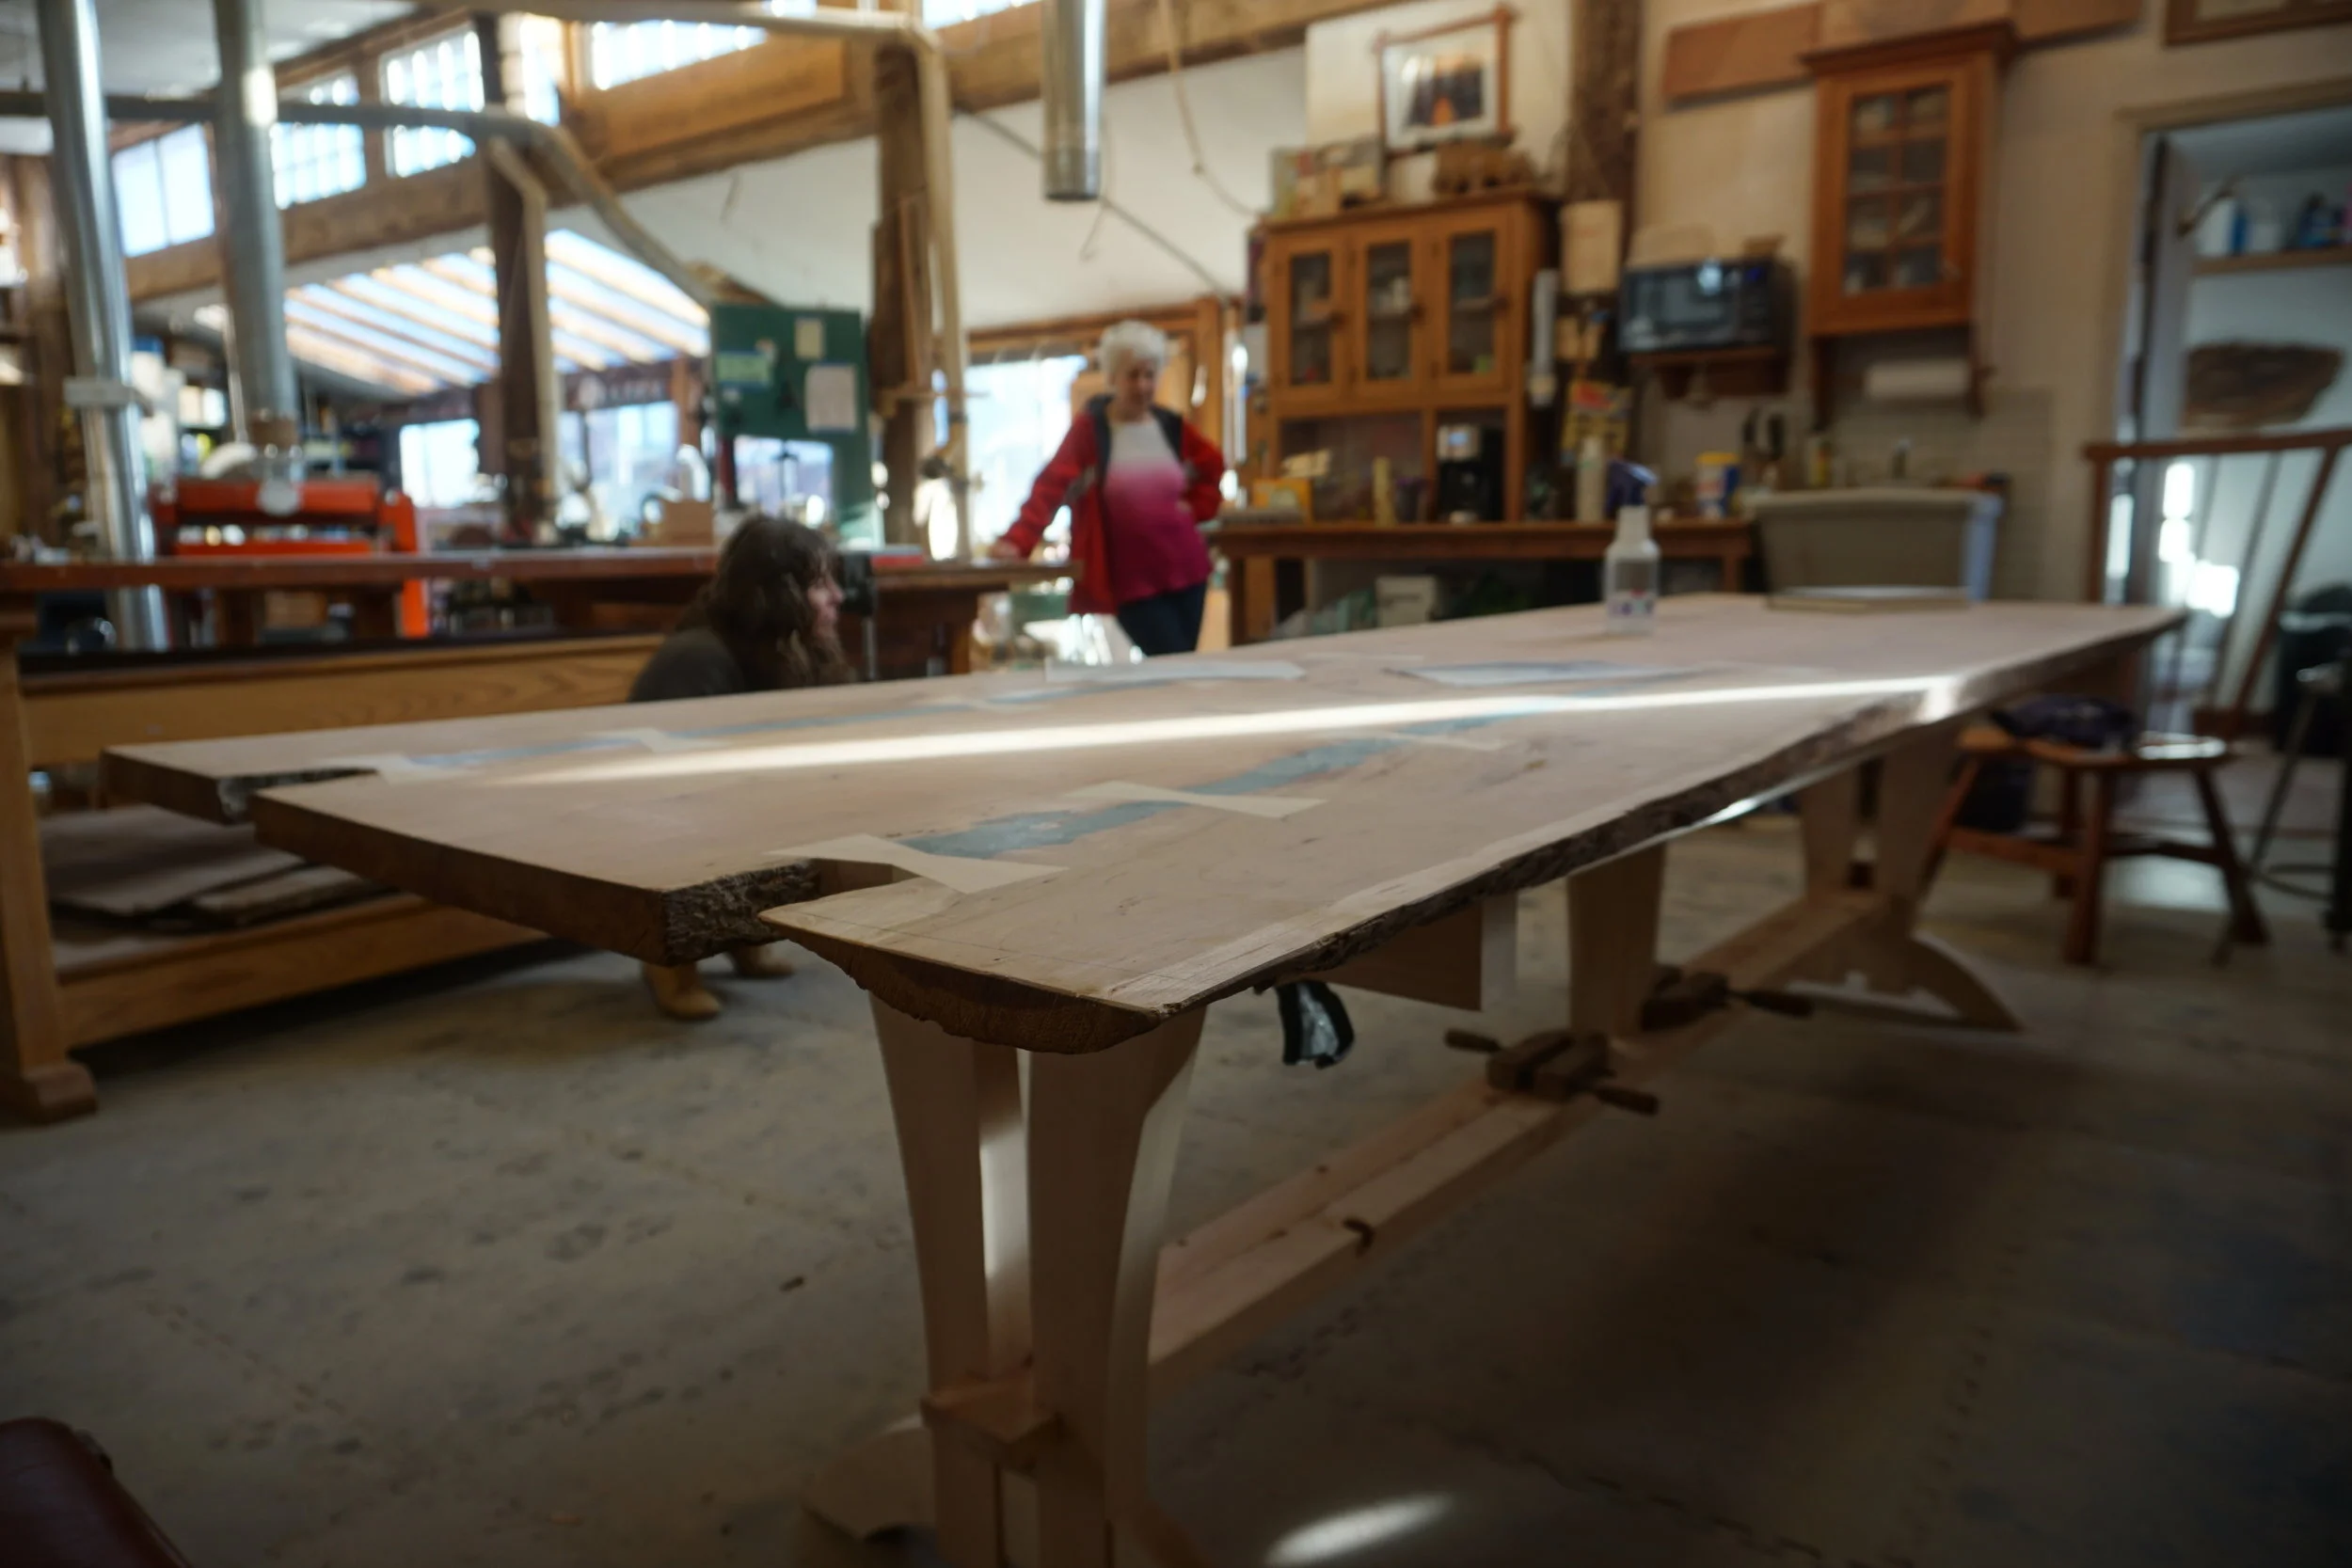
I did a quick visual mock up with breadboard ends and without. Both takes would look beautiful, but each will have it’s own separate character. I don’t think treating either end differently would be the way to go.
Breadboard Ends
Breadboard ends give the piece a distinct “ending”. The joinery is attractive and it solves the problem of the wany underside on the one end. The joinery will add a bit to the cost, but if it’s a look you like it would be worth it.
Au Naturale
This is a lot more in the style of Nakashima, and likely would have been the path Mike would have chosen. If we go this route, we’ll add two more maple butterflies to help stabilize the end with large splits. I’m confident we could shape the wany underside to a pleasing and comfortable profile. We could leave the ends straight, or give the underside a shaped and rounded profile not unlike the piece pictured here: http://www.lohrwoodworkingstudio.com/live-edge-great-expectations-walnut-desk

Next Steps
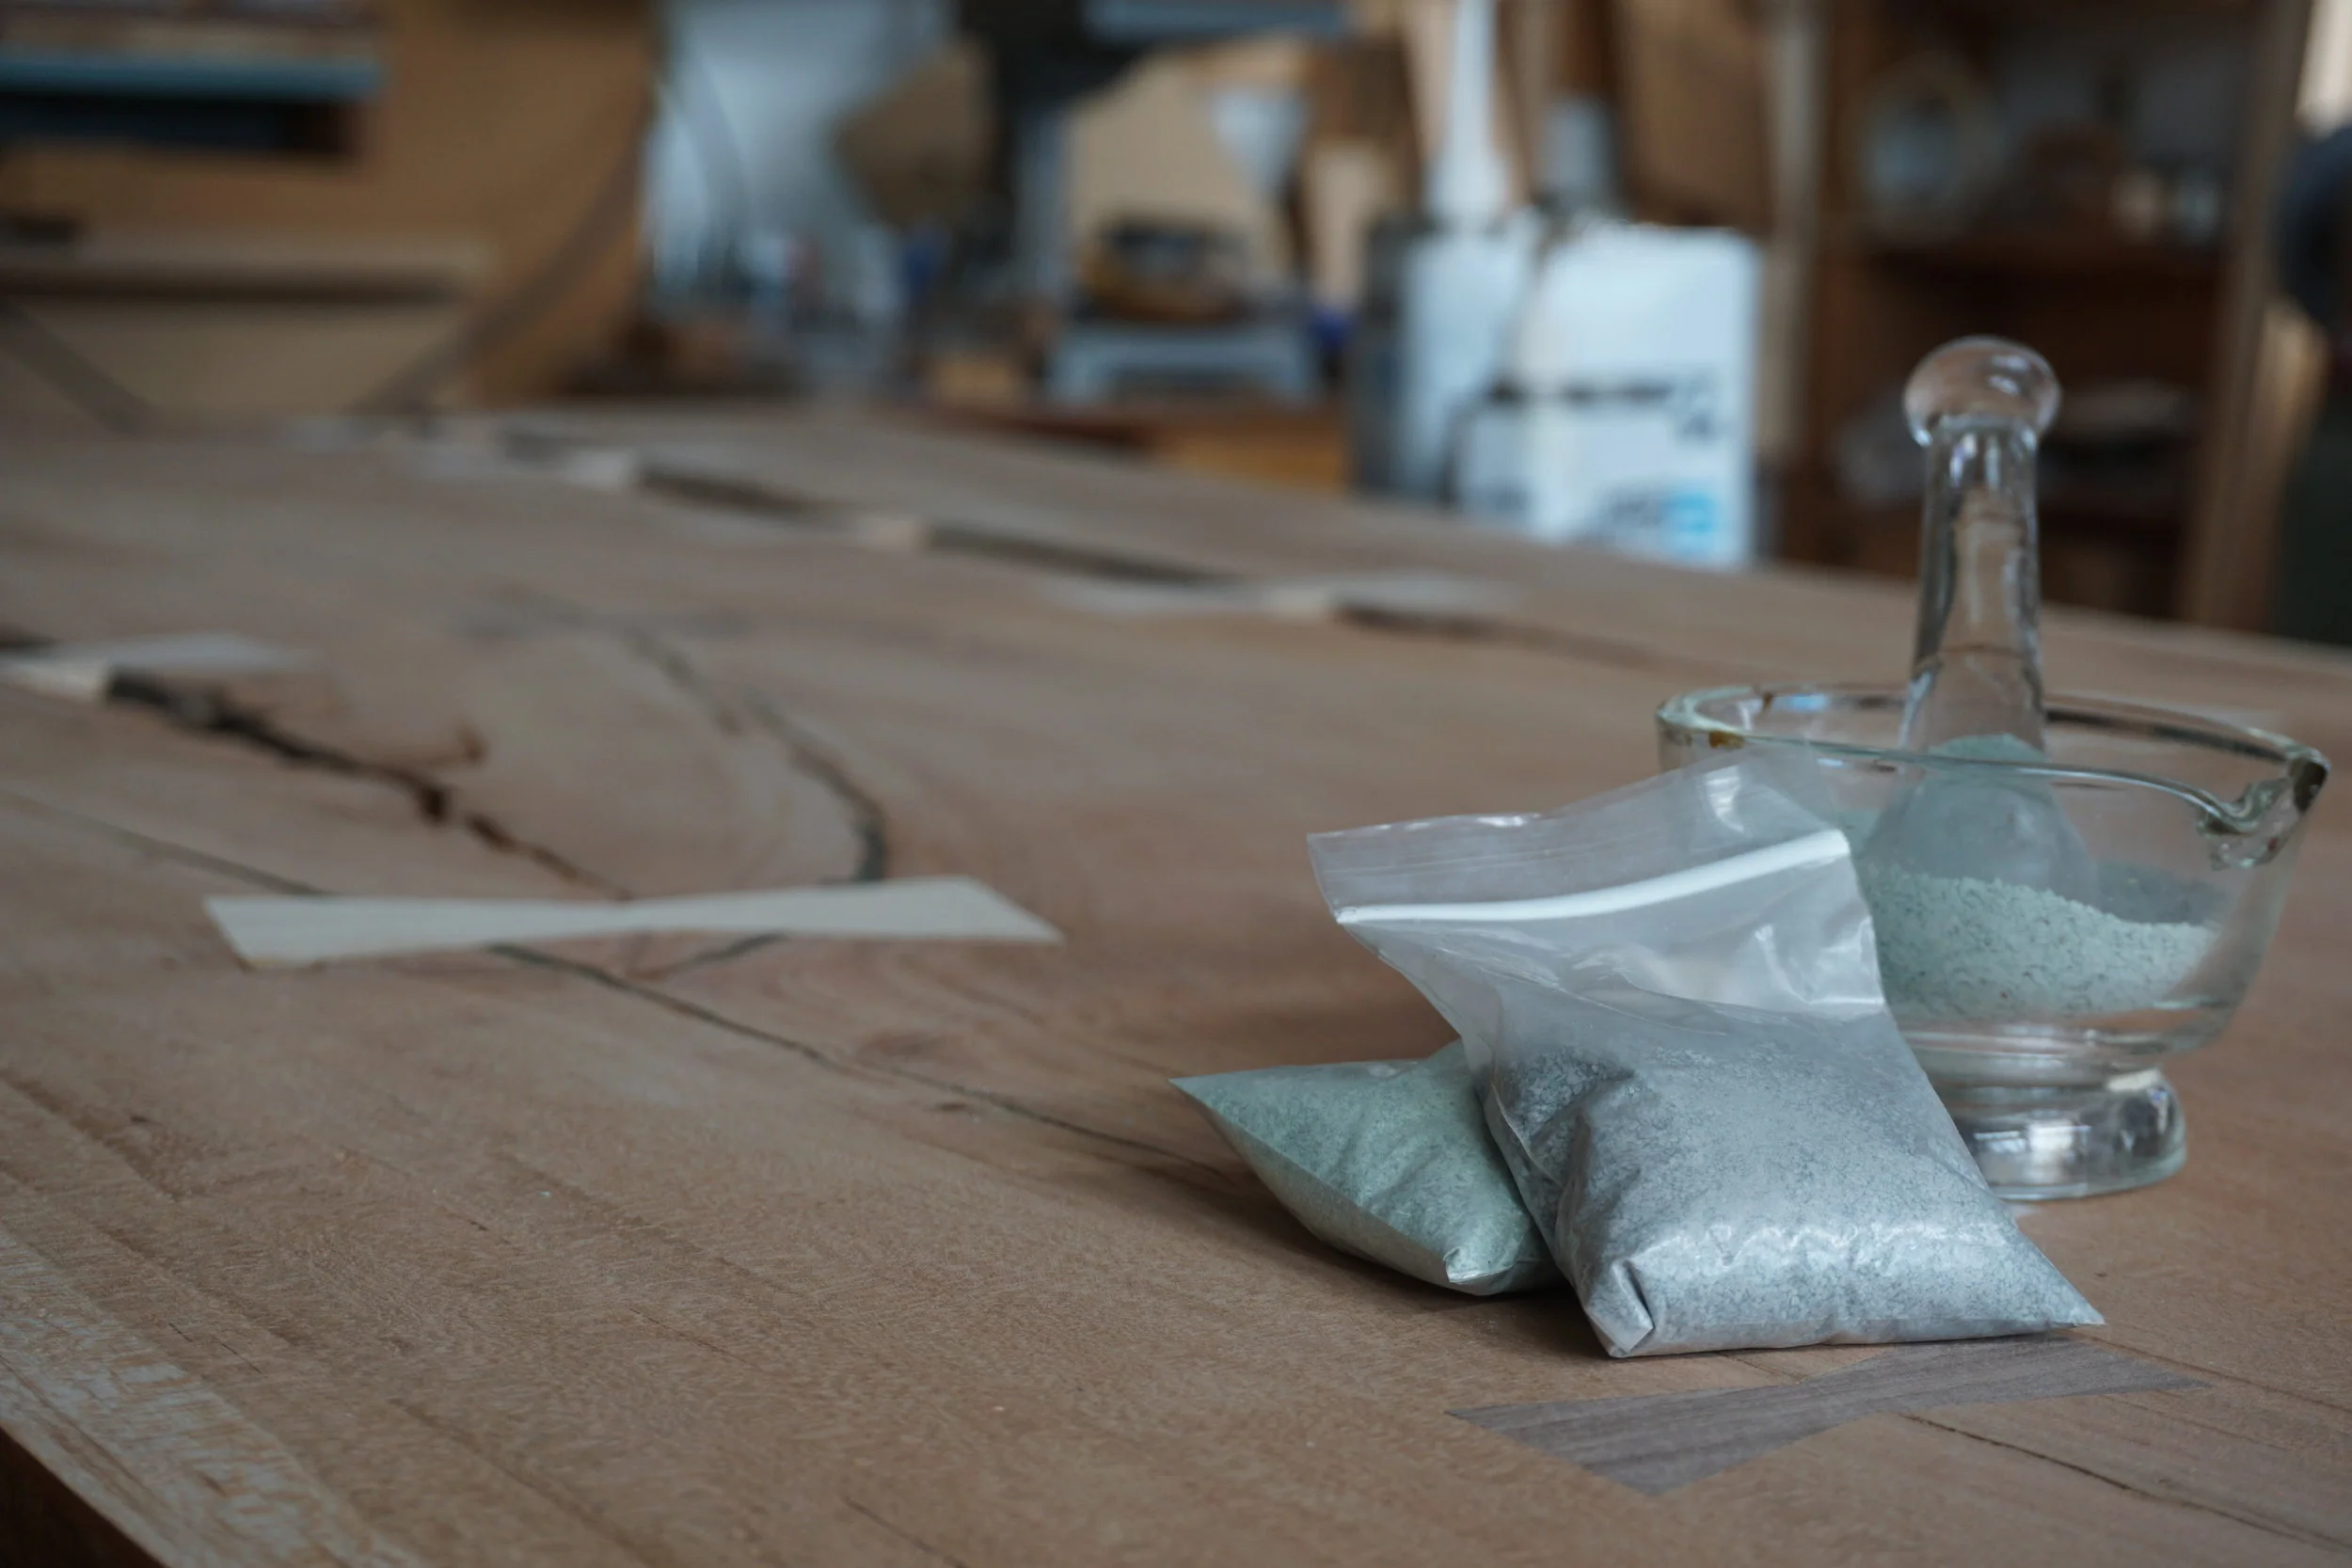
We’re still experimenting with the resin and stone to get the appropriate results. We’ll likely need to get a lot more of the turquoise and verdite sand for the large voids. If there’s any info on where Mike got it, that would be helpful. If not, we can find something similar. After we nail down the appropriate mix, we’ll begin filling the voids.
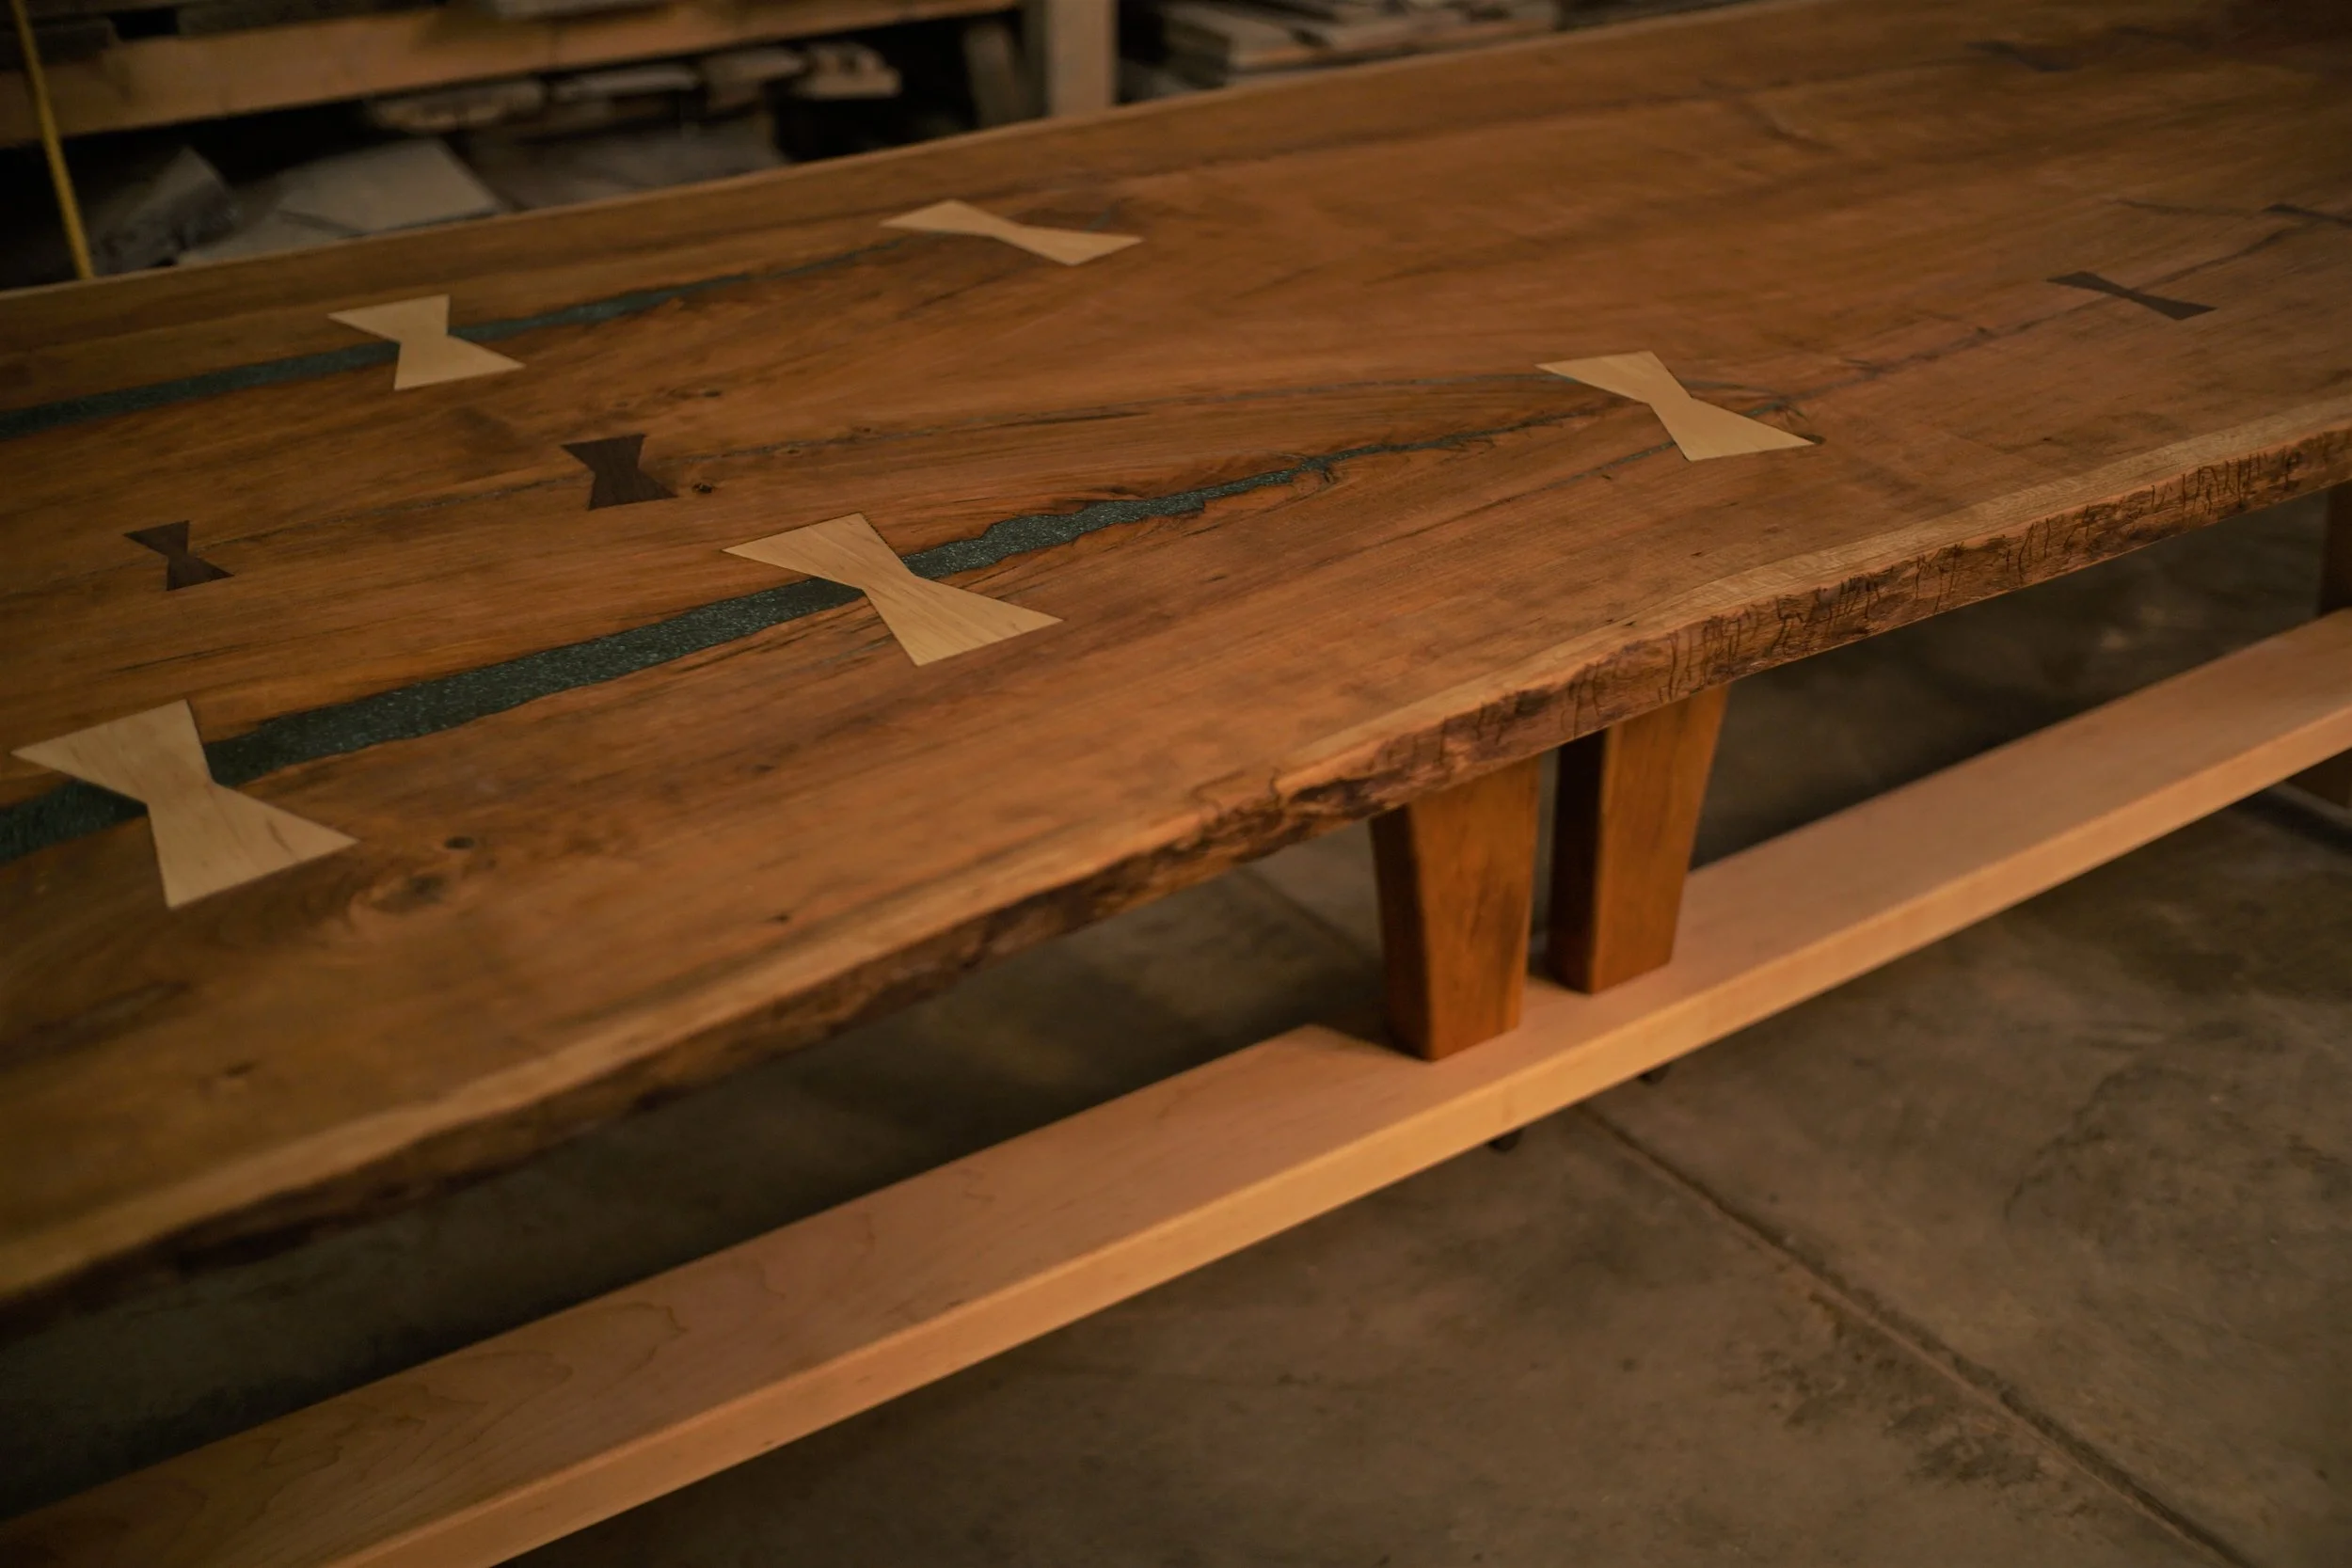
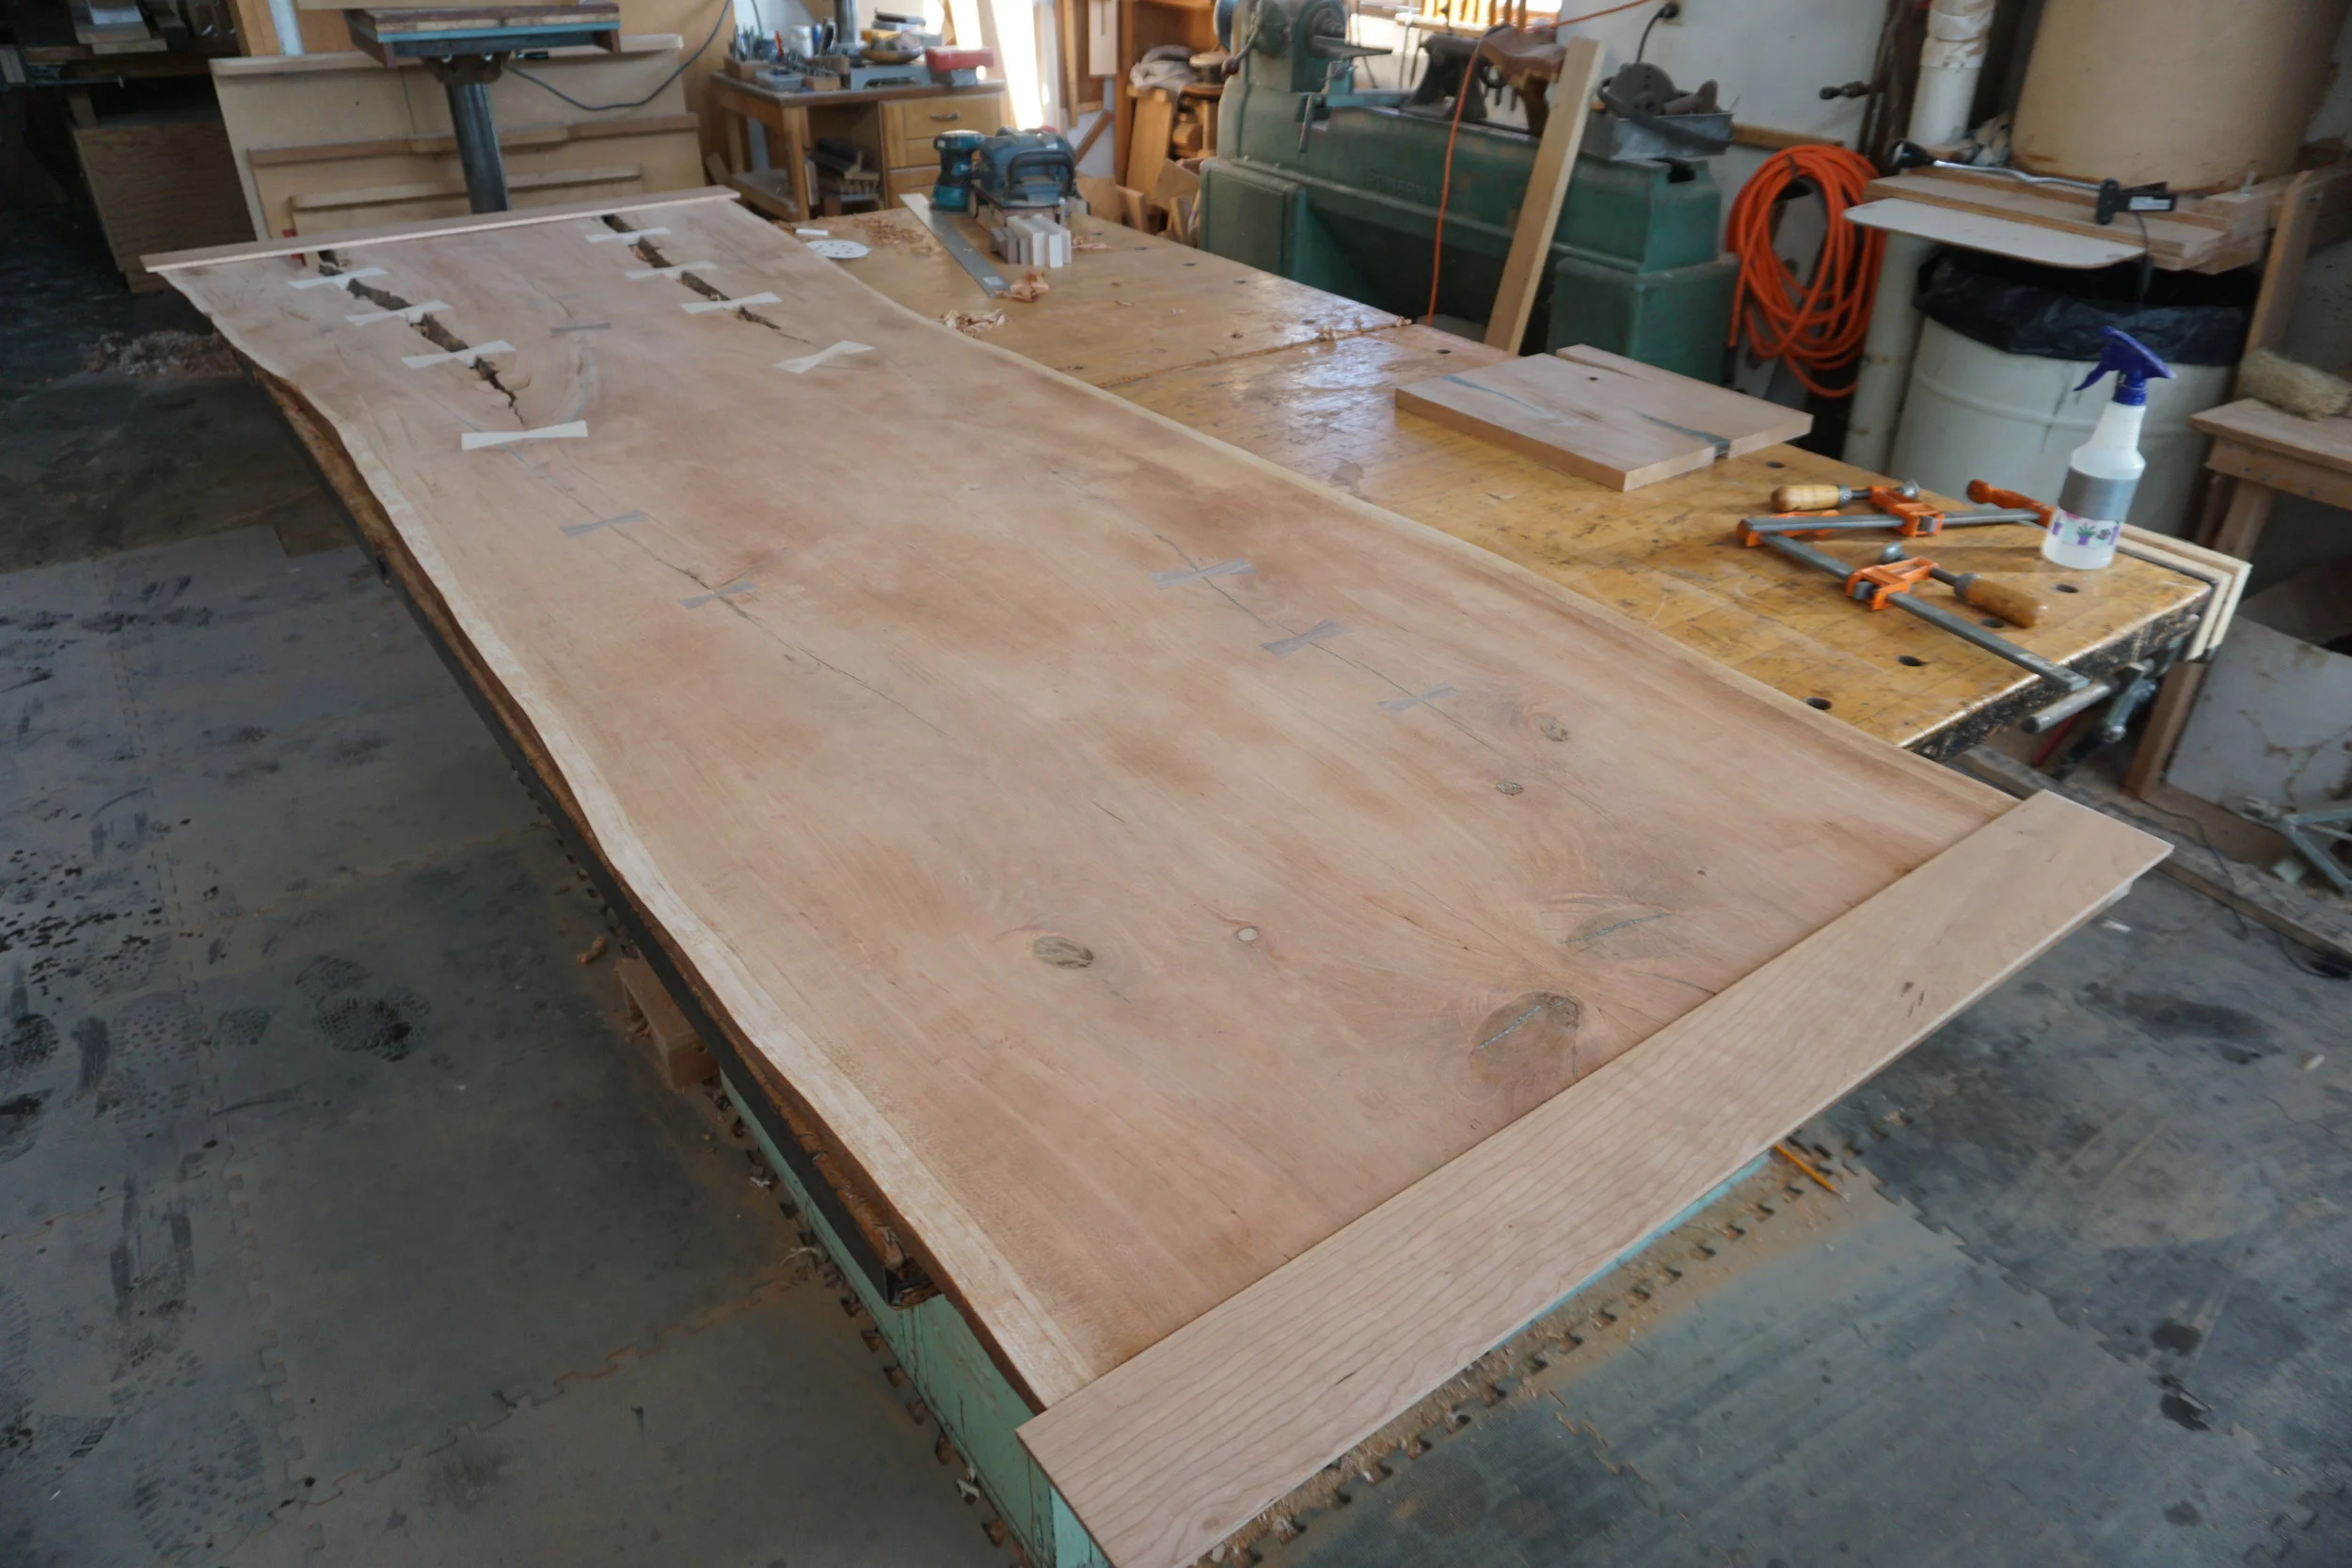
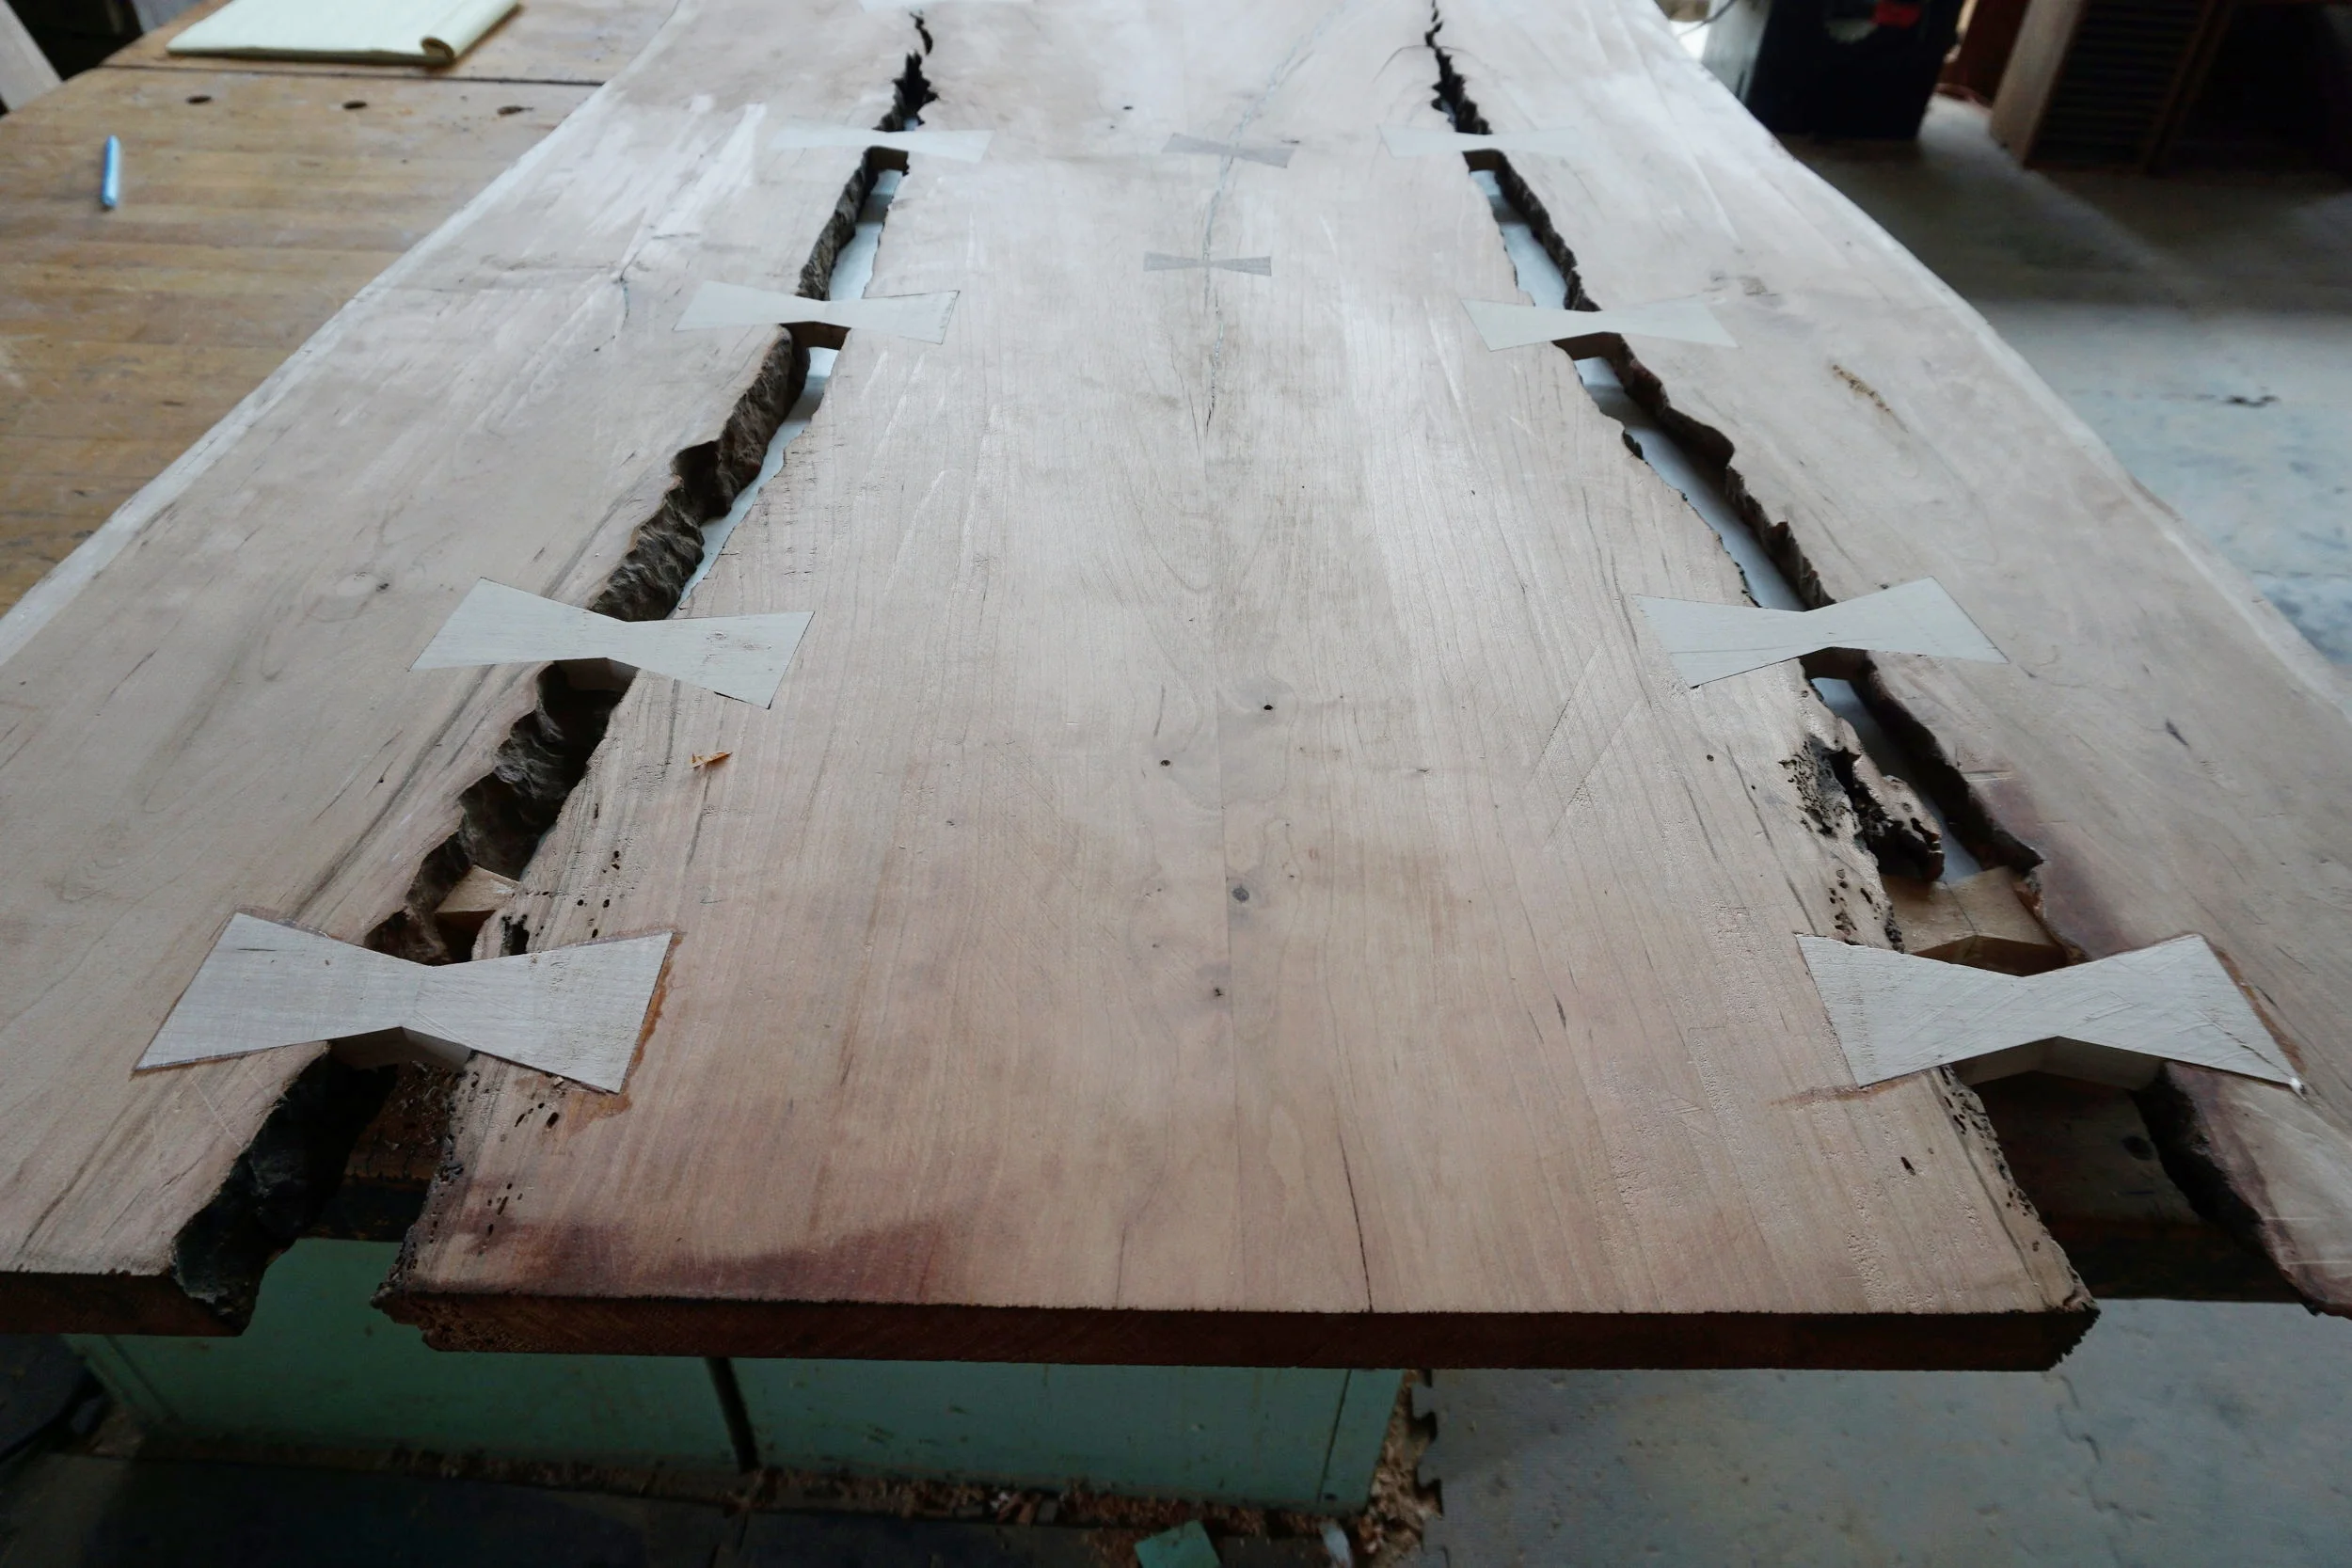
Added Stability
Since we last spoke, we added the two butterflies at the end. We also added two to the underside, to help strengthen the end.
Preparing For the Pour
We did several tests to arrive at the right mix and how to apply it. We began by filling the underside first. We filled the void with the sand mixture and poured about a 1/4” layer. It’s important to fill the void in stages, as the epoxy cures by a heat reaction. Too much, and the epoxy will start smoking and can even catch fire!

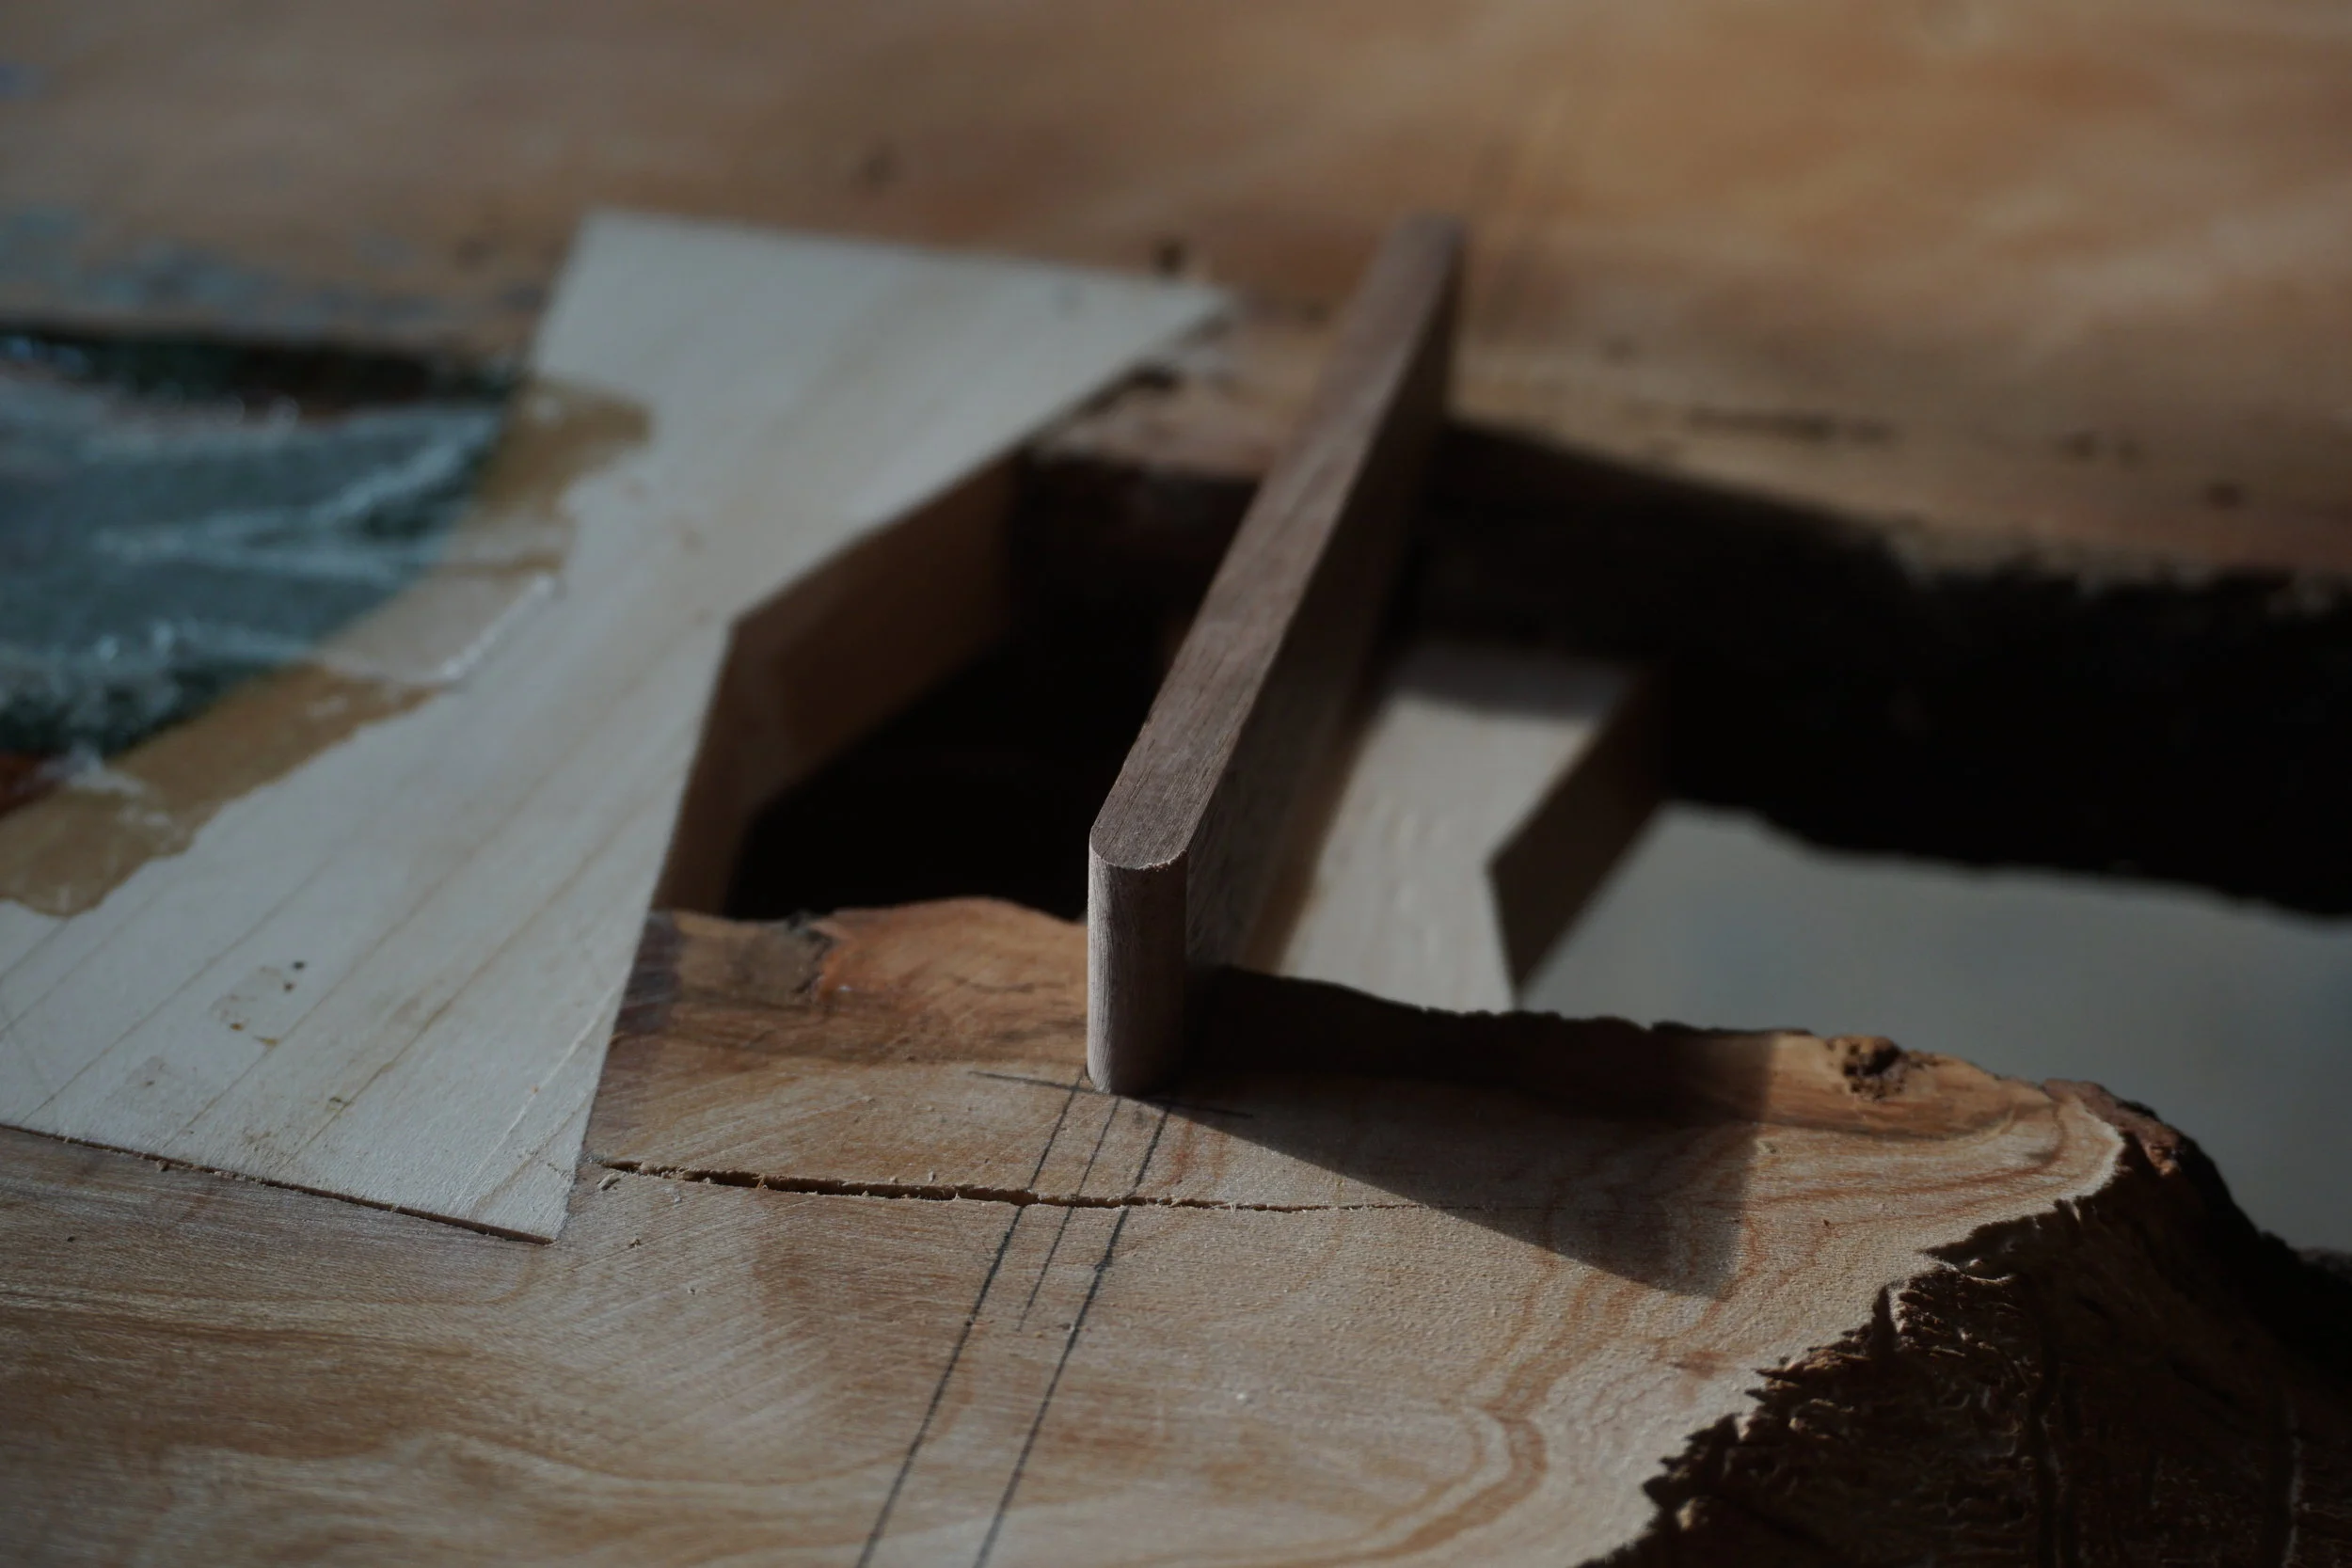
No Drips!
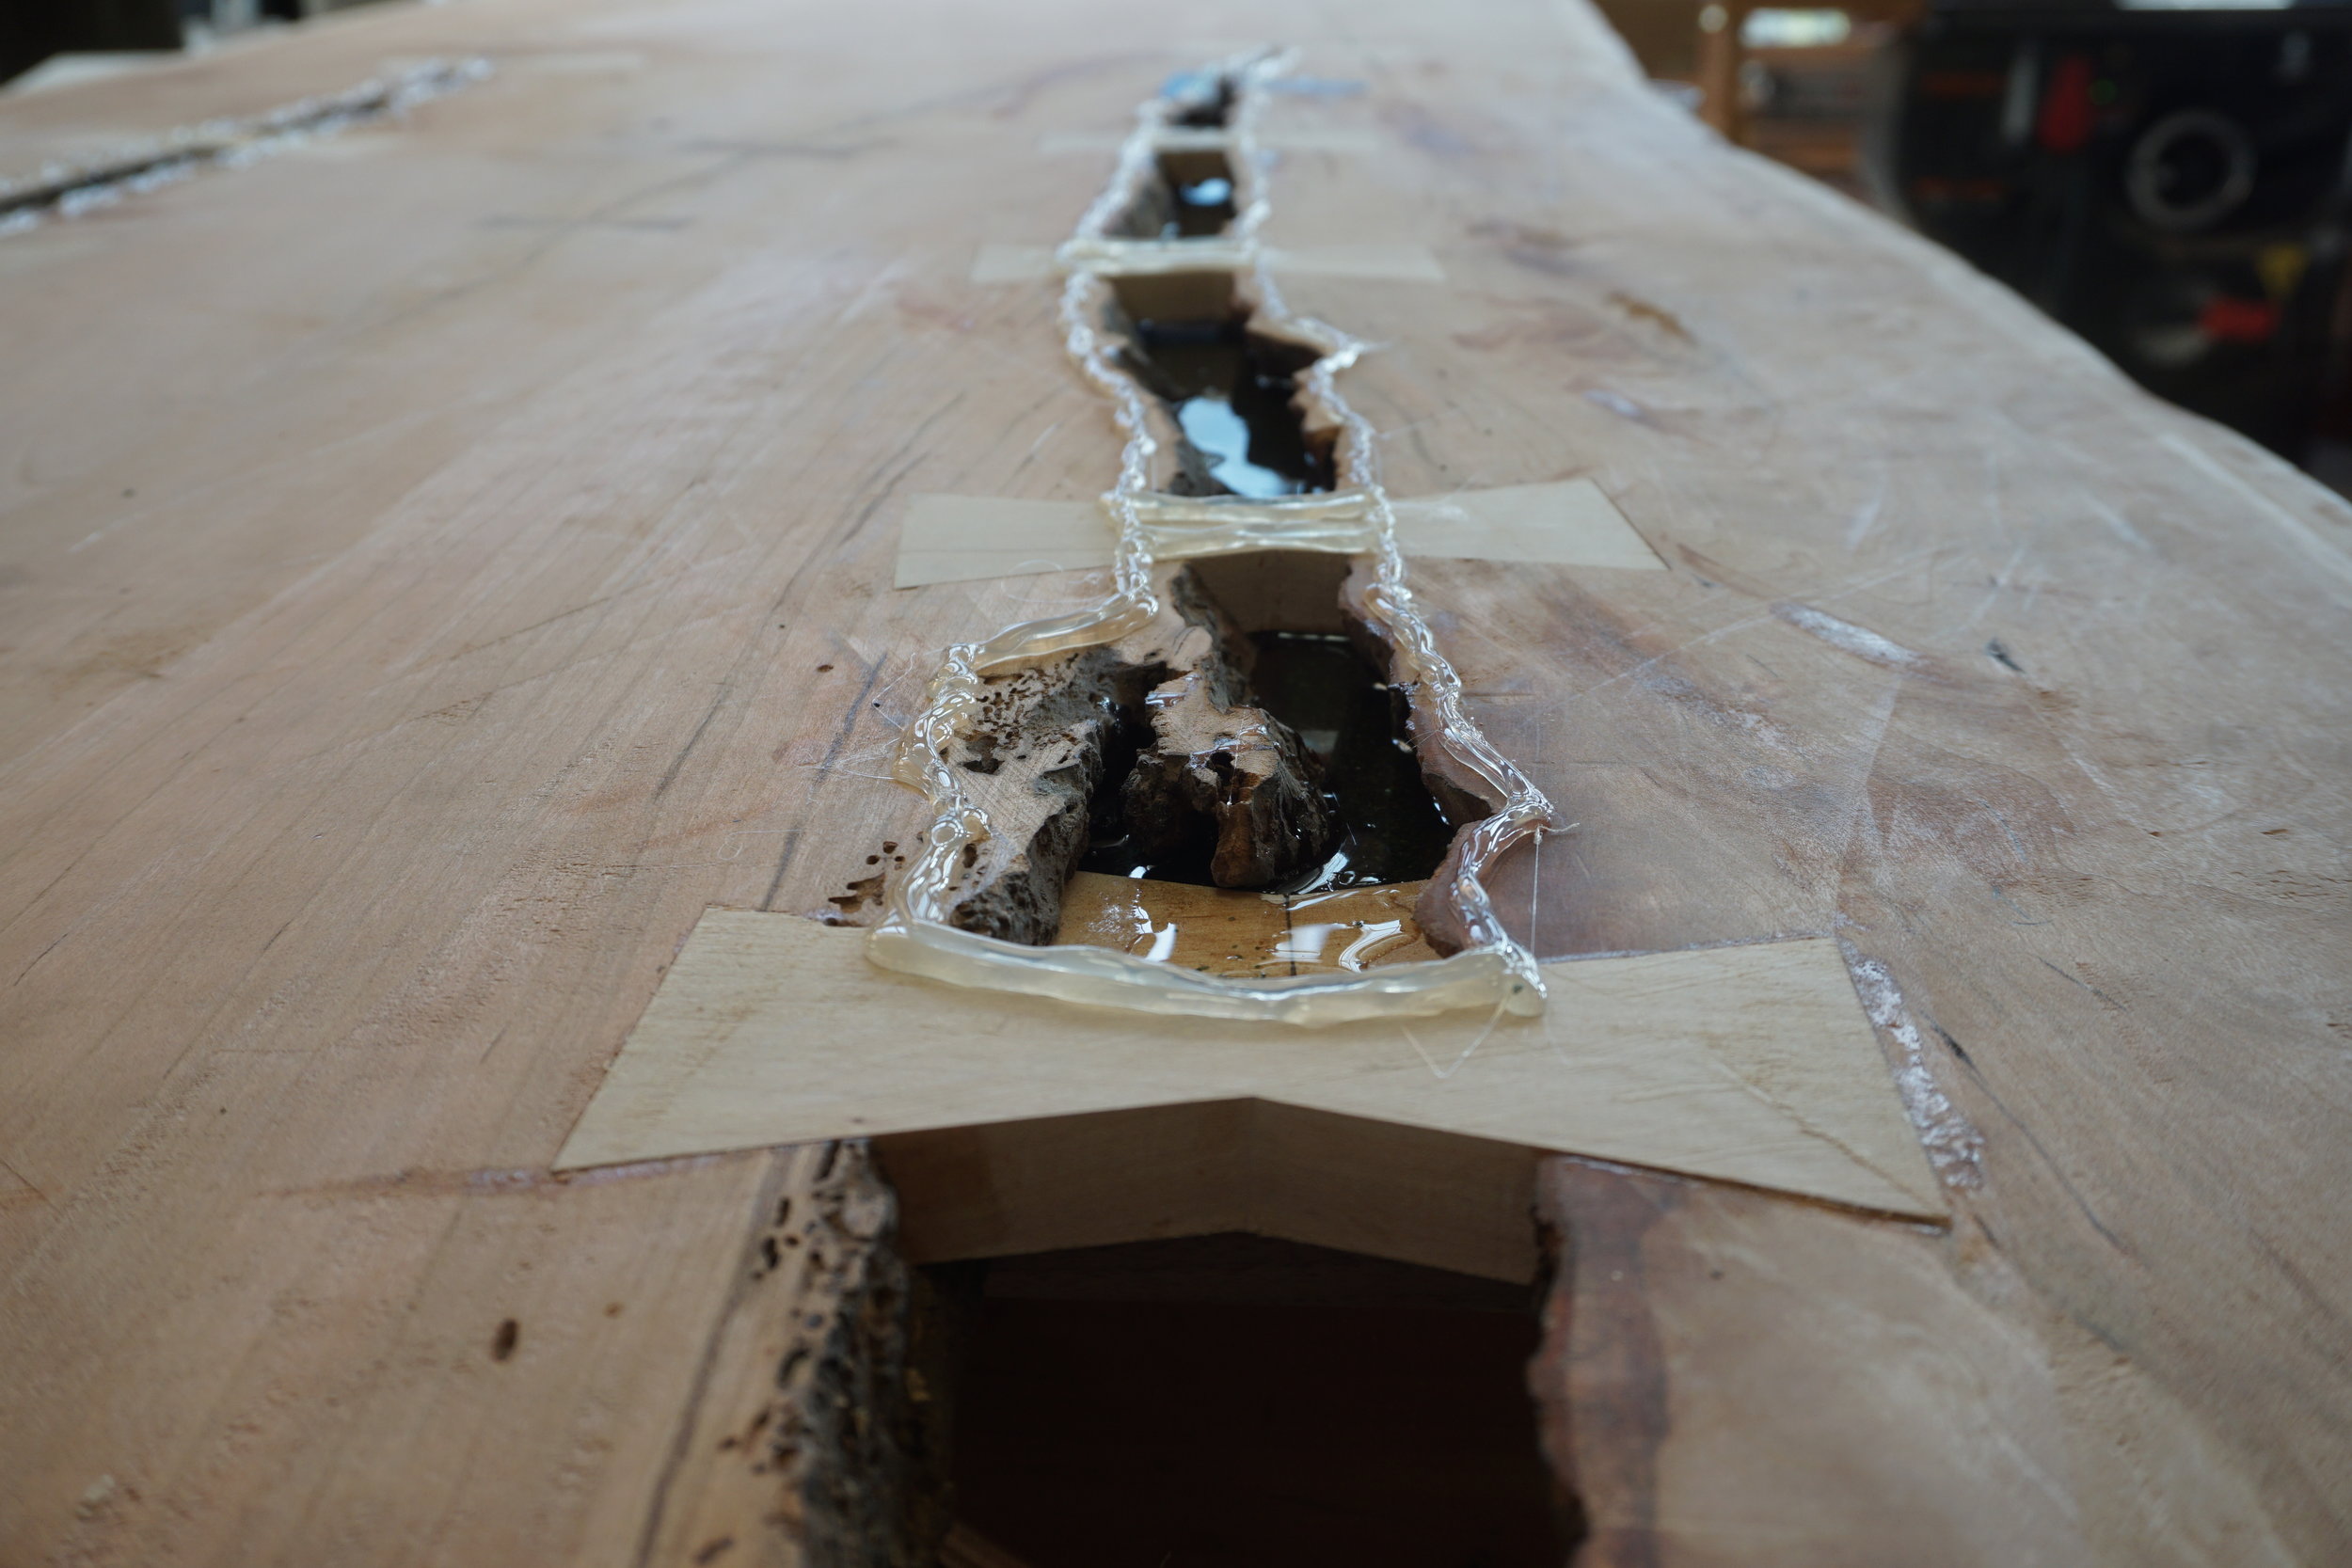
After the bottom was filled, we needed to find a way to limit the epoxy from running out when we poured from the top. Larissa carefully inlaid a walnut dam through the butterfly. This leaves a clean transition from the turquoise mix to the open void on the ends. Even though it’s on the bottom and will likely remain unseen from most people, we feel it’s important to be neat and tidy in all areas.


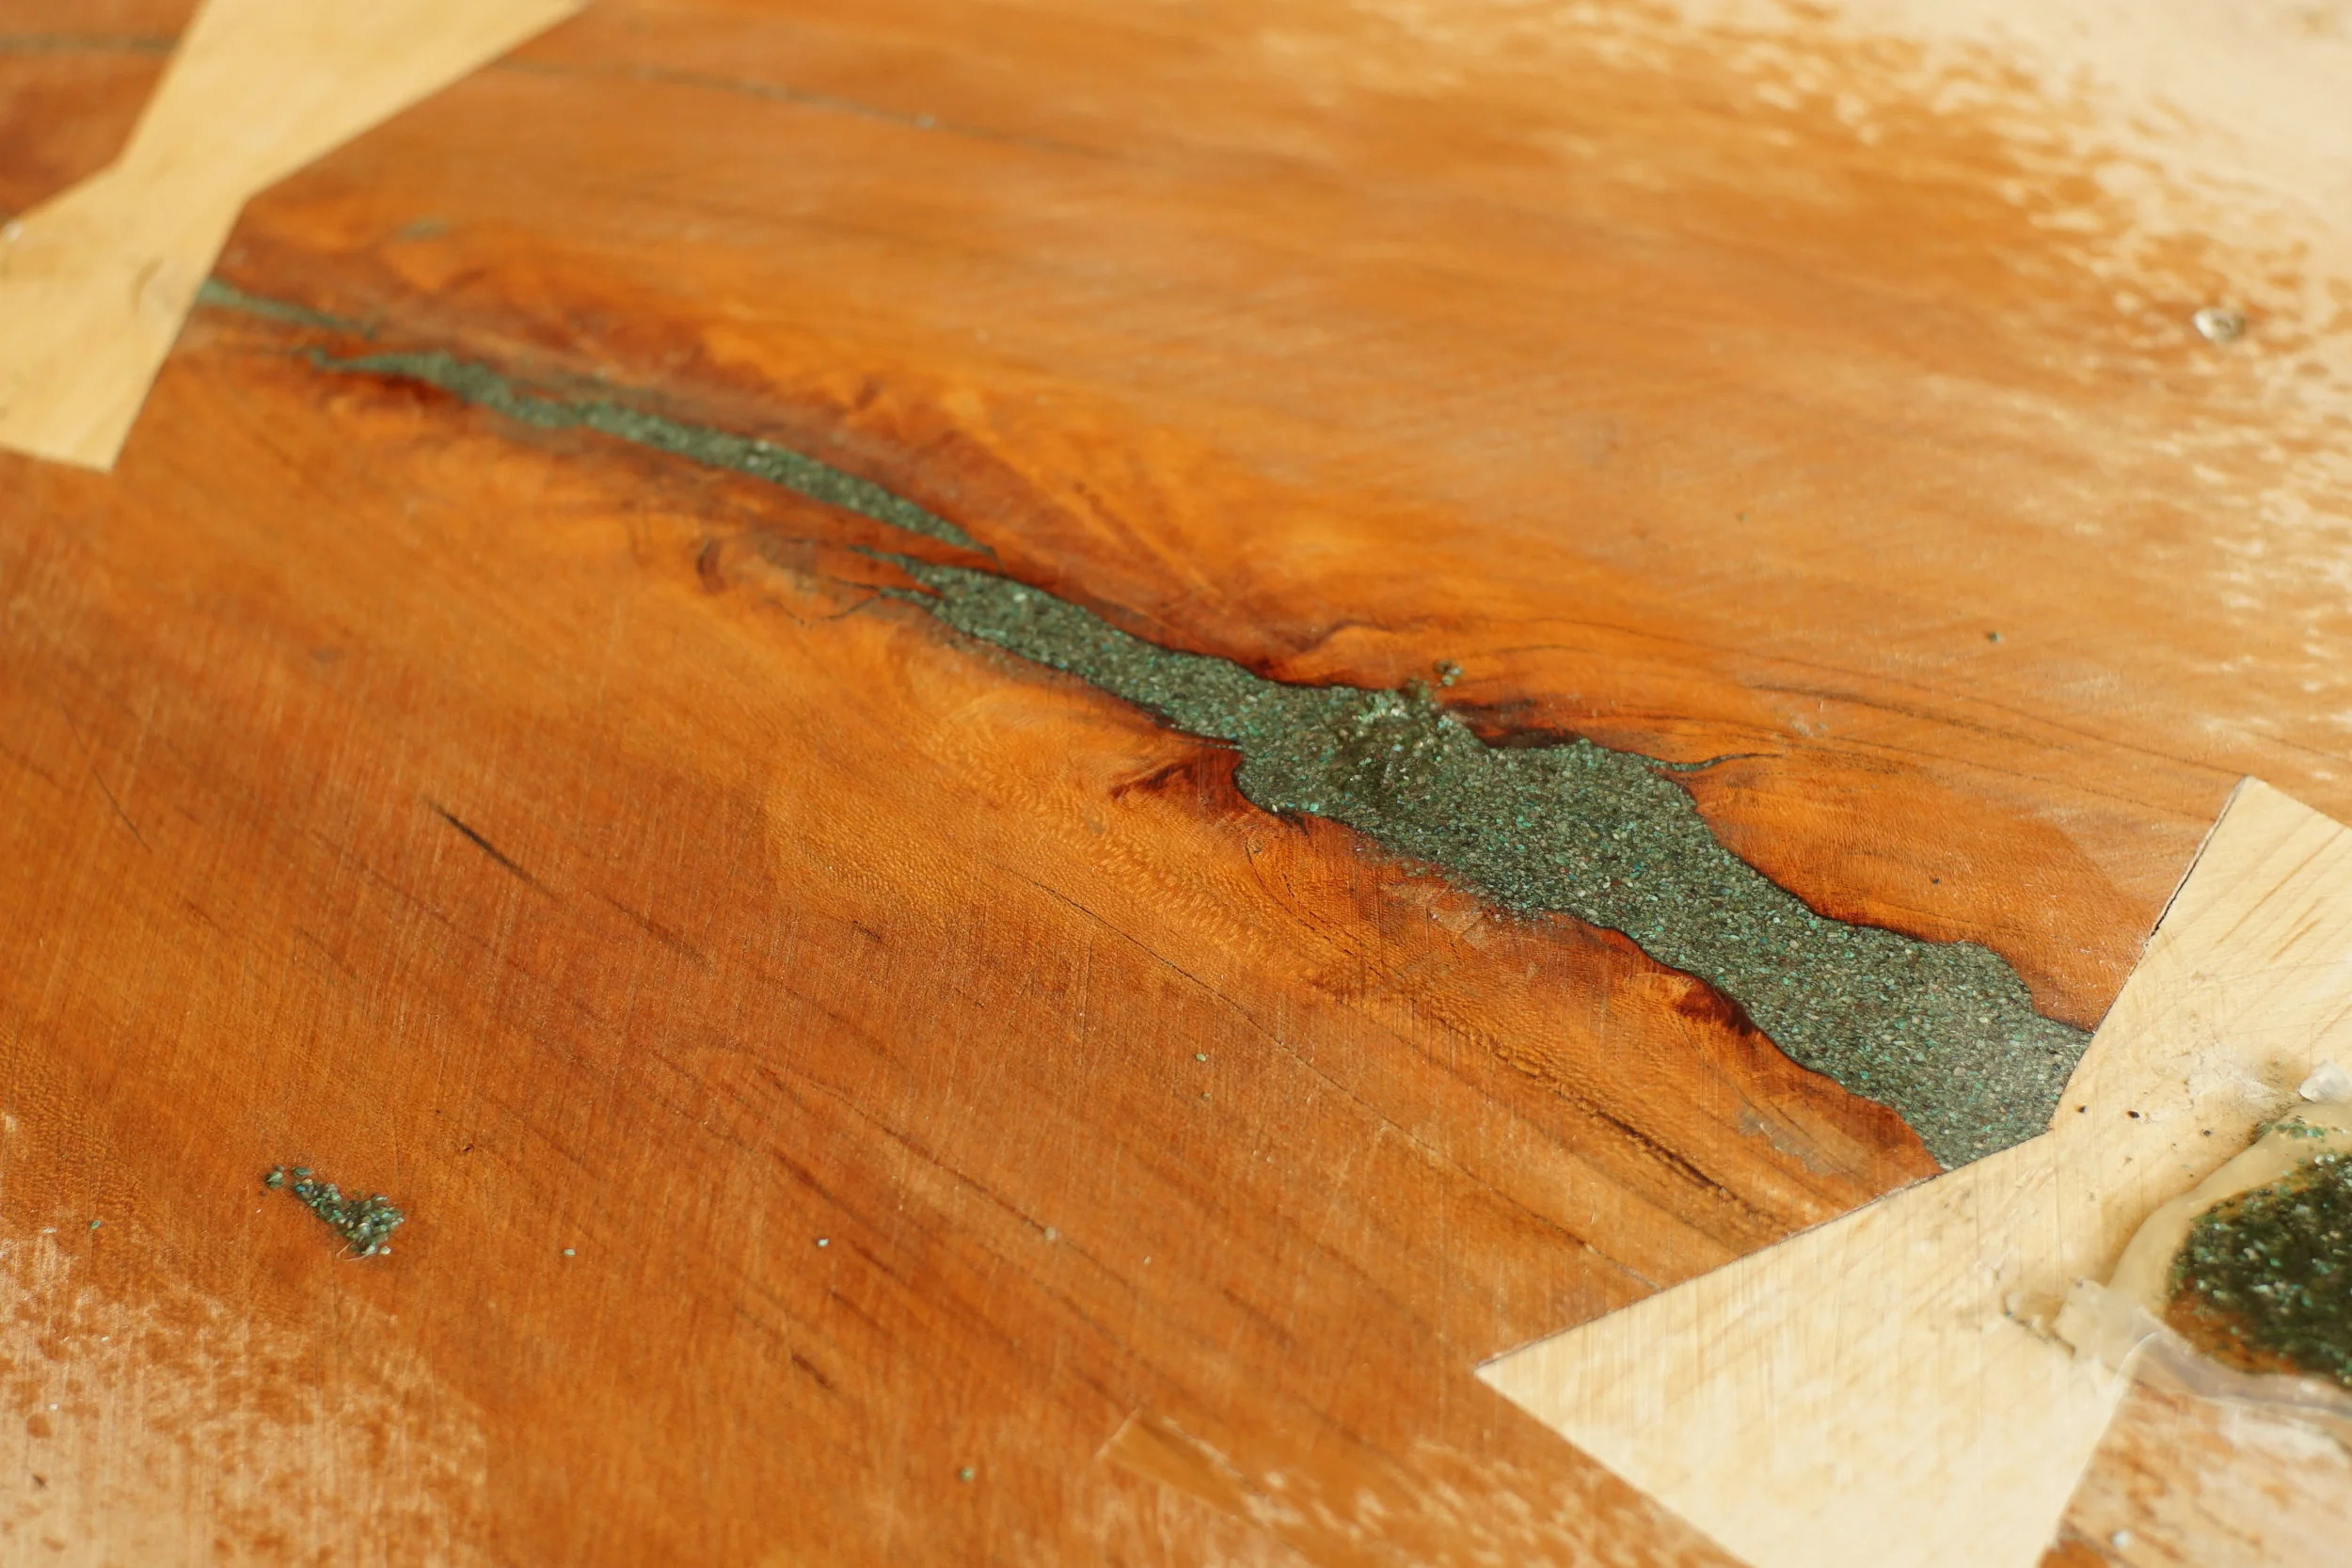
Then we began filling from the top down. A dam of hot glue allows us to pour up and over the surface without epoxy going everywhere. We were able to find additional turquoise material that we used for filler in between the bottom and top layer. Over the past week, we’ve been pouring slowly to fill up to the surface. As of today it’s filled and awaiting final leveling.
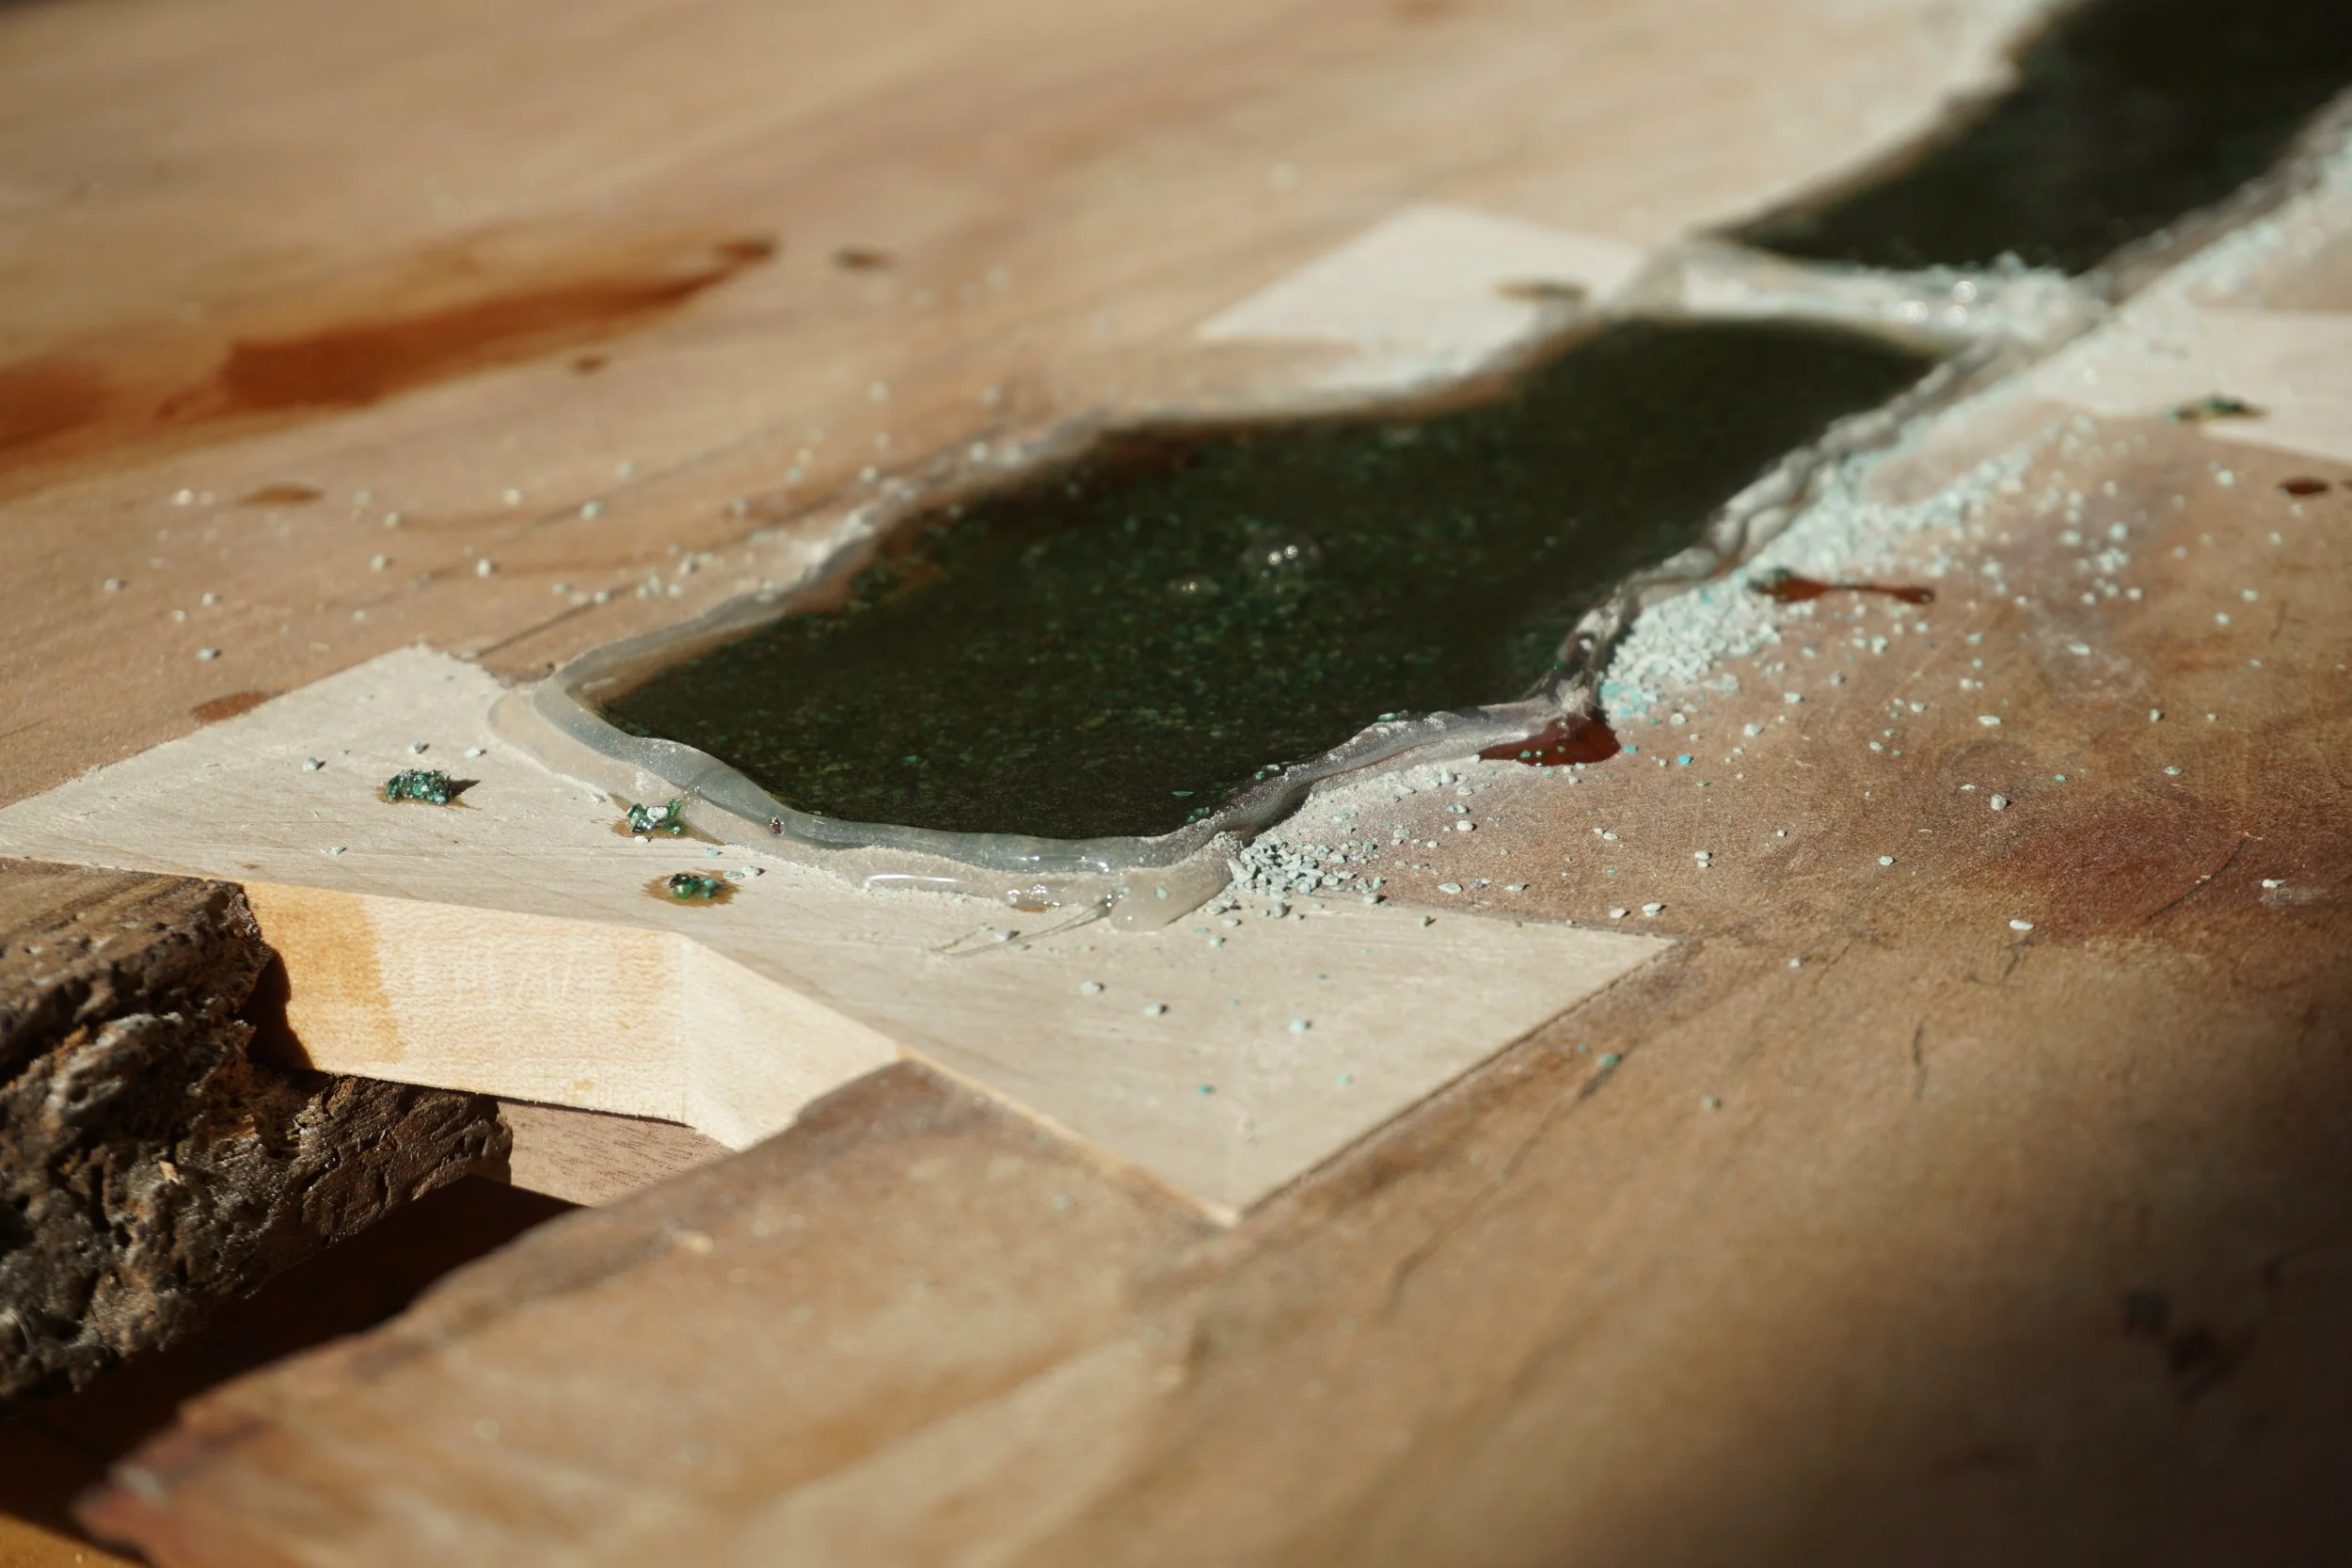
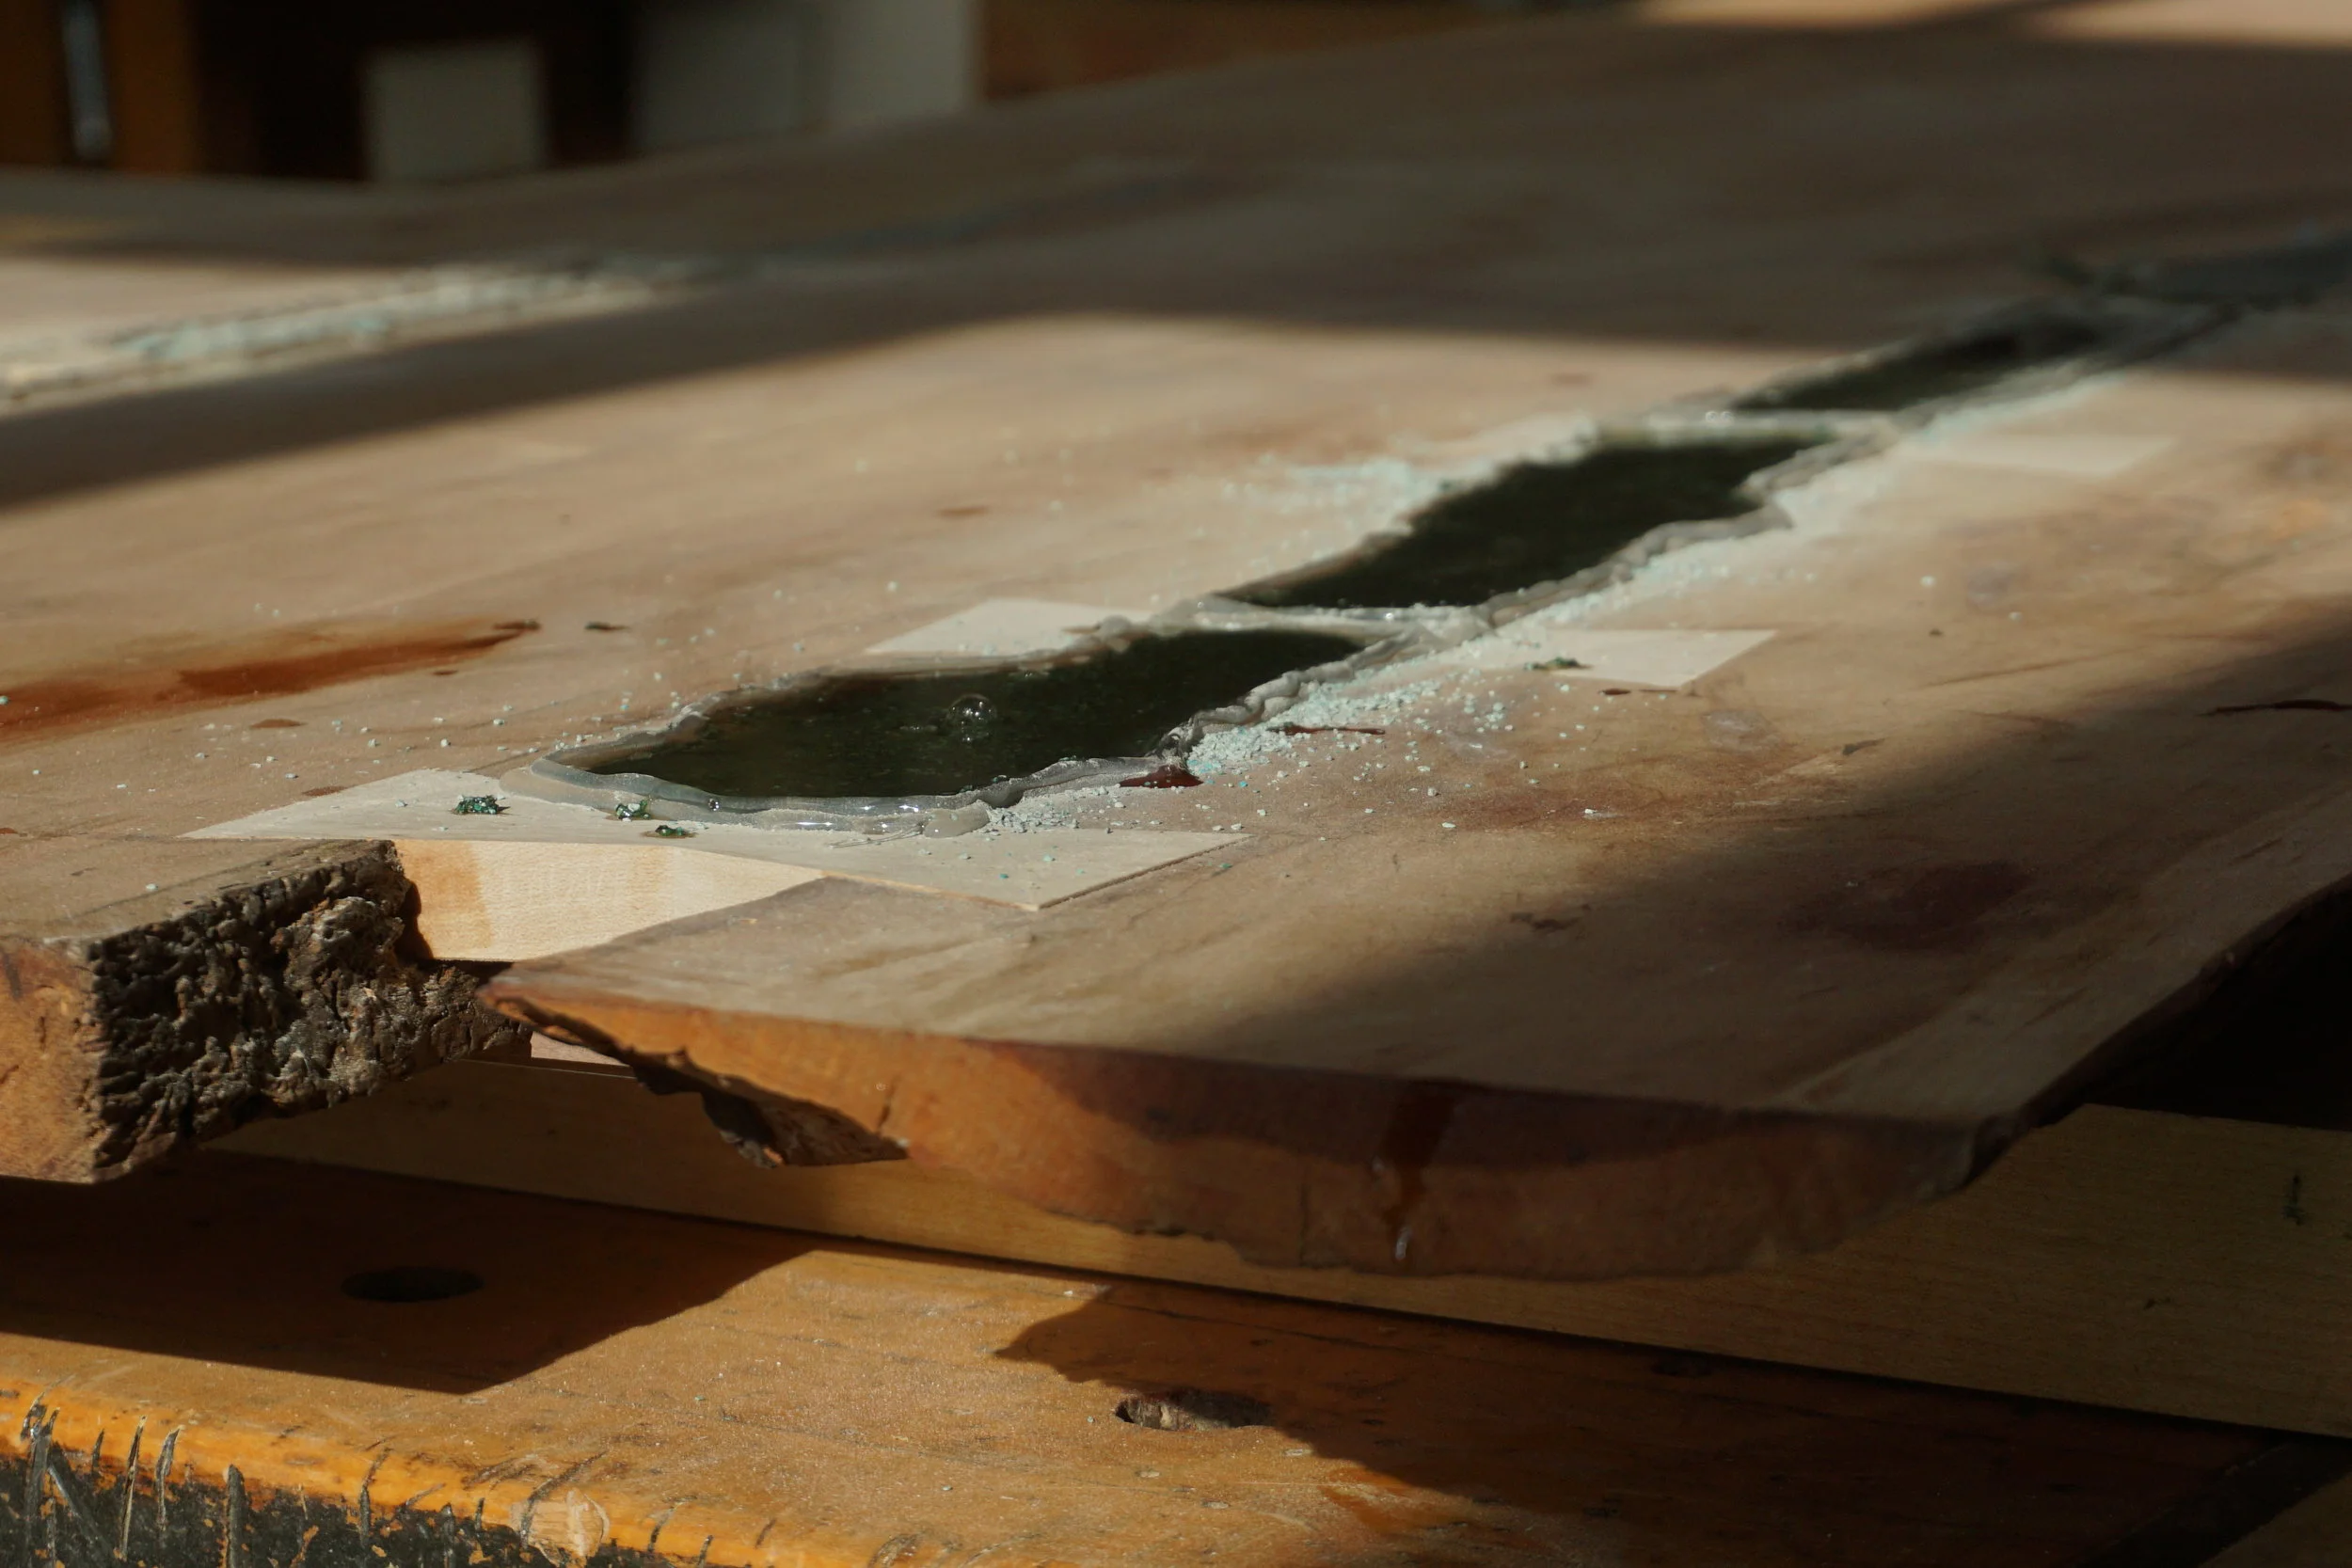
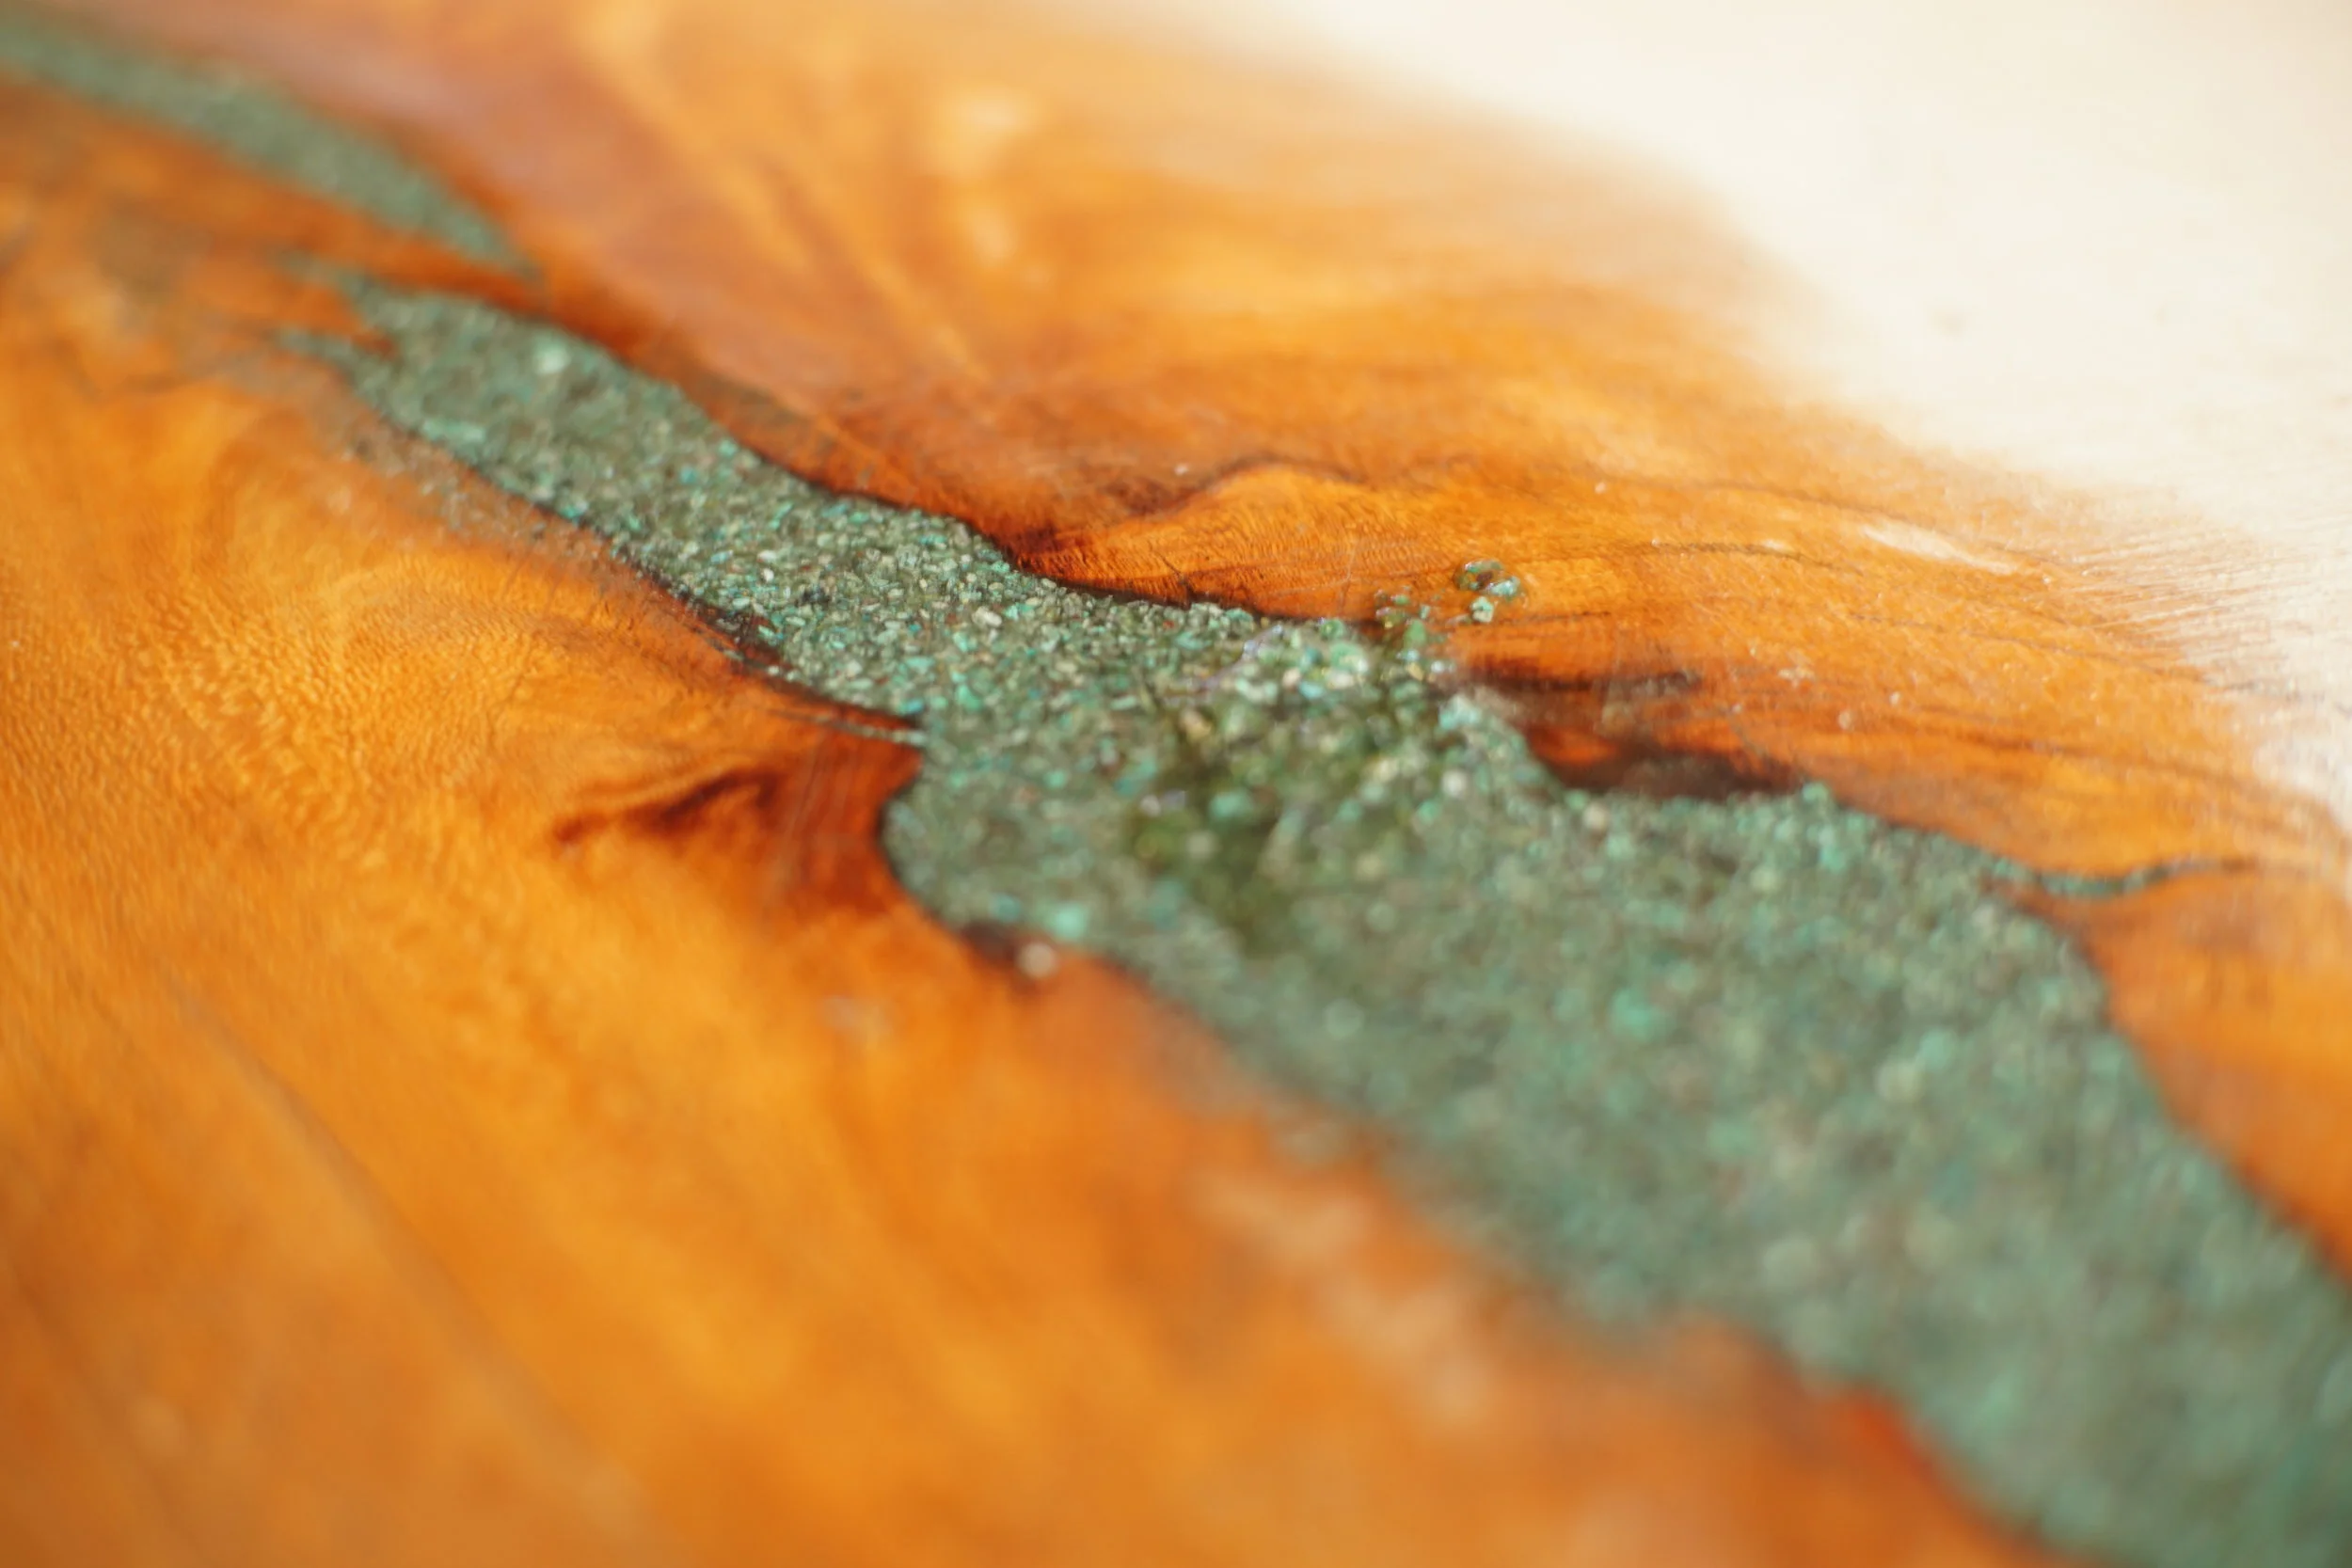
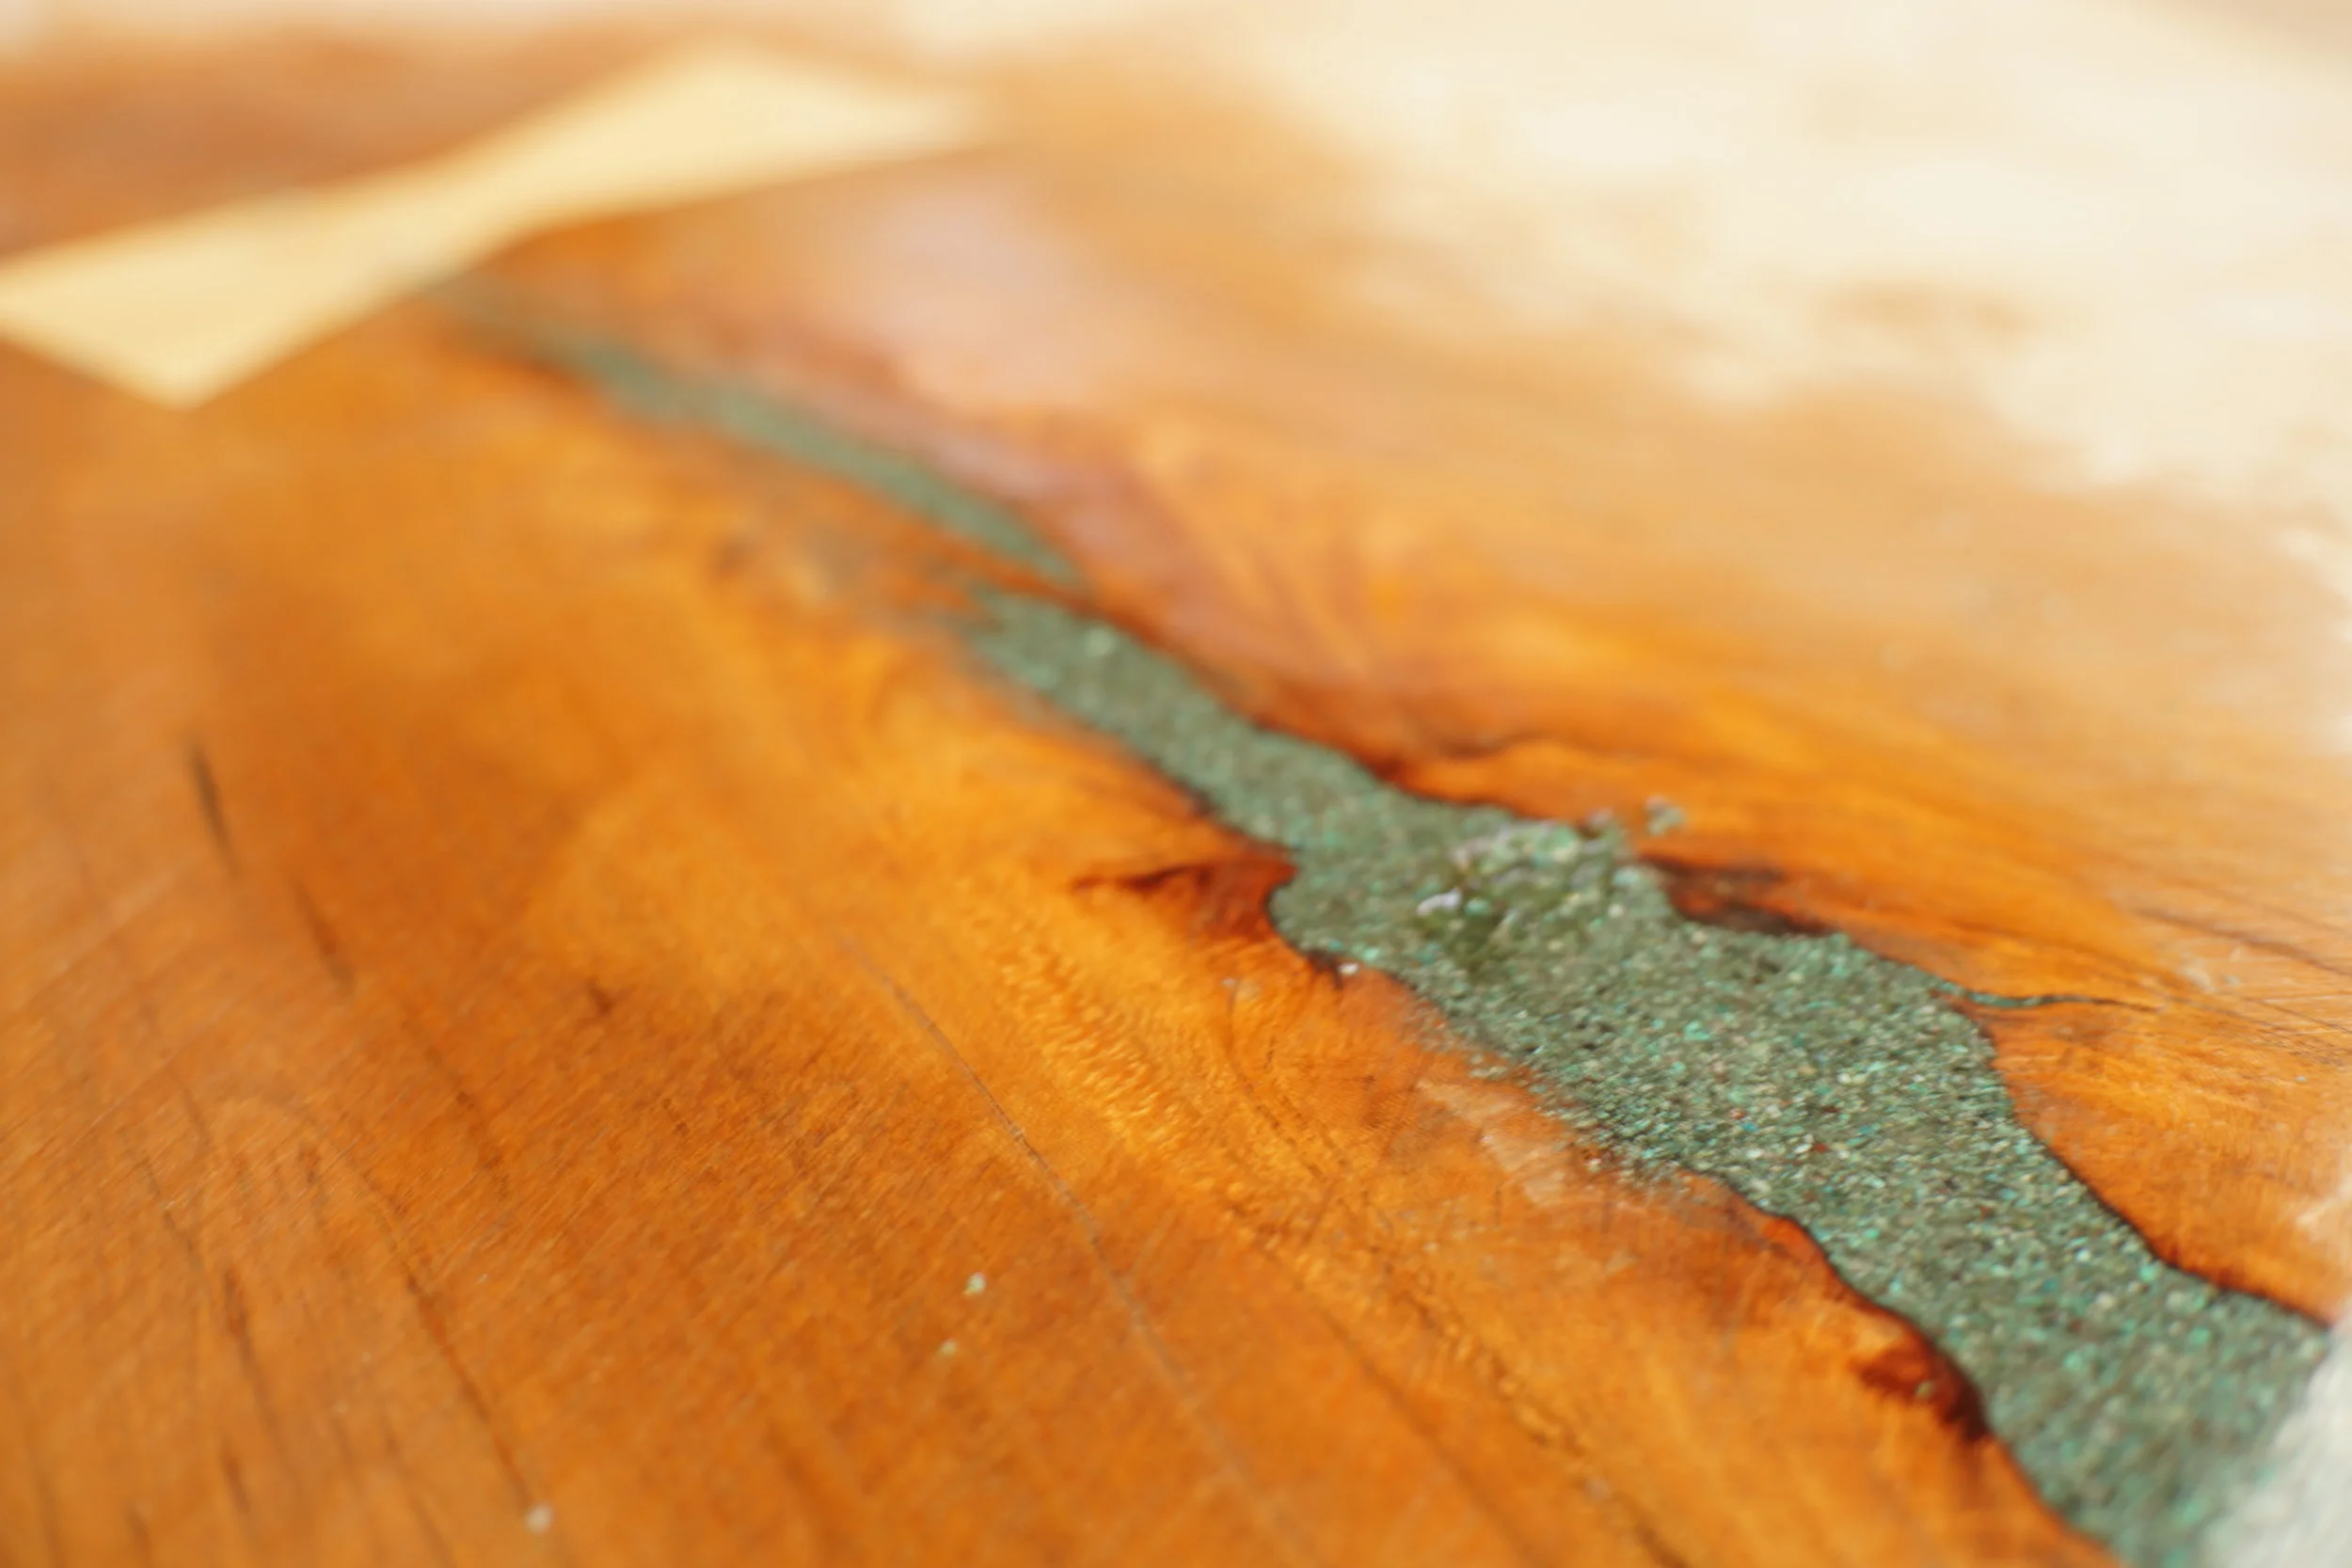
Finally In Color!
The photos below are of one section that was coarsely sanded. The color tones look great next to one another and it has the same color tone of the smaller cracks Mike had filled in.
Until Next Time
We have a class in next week, so the tabletop will be stored away to await final leveling and sanding. We’re really excited to get it sanded and looking pretty!
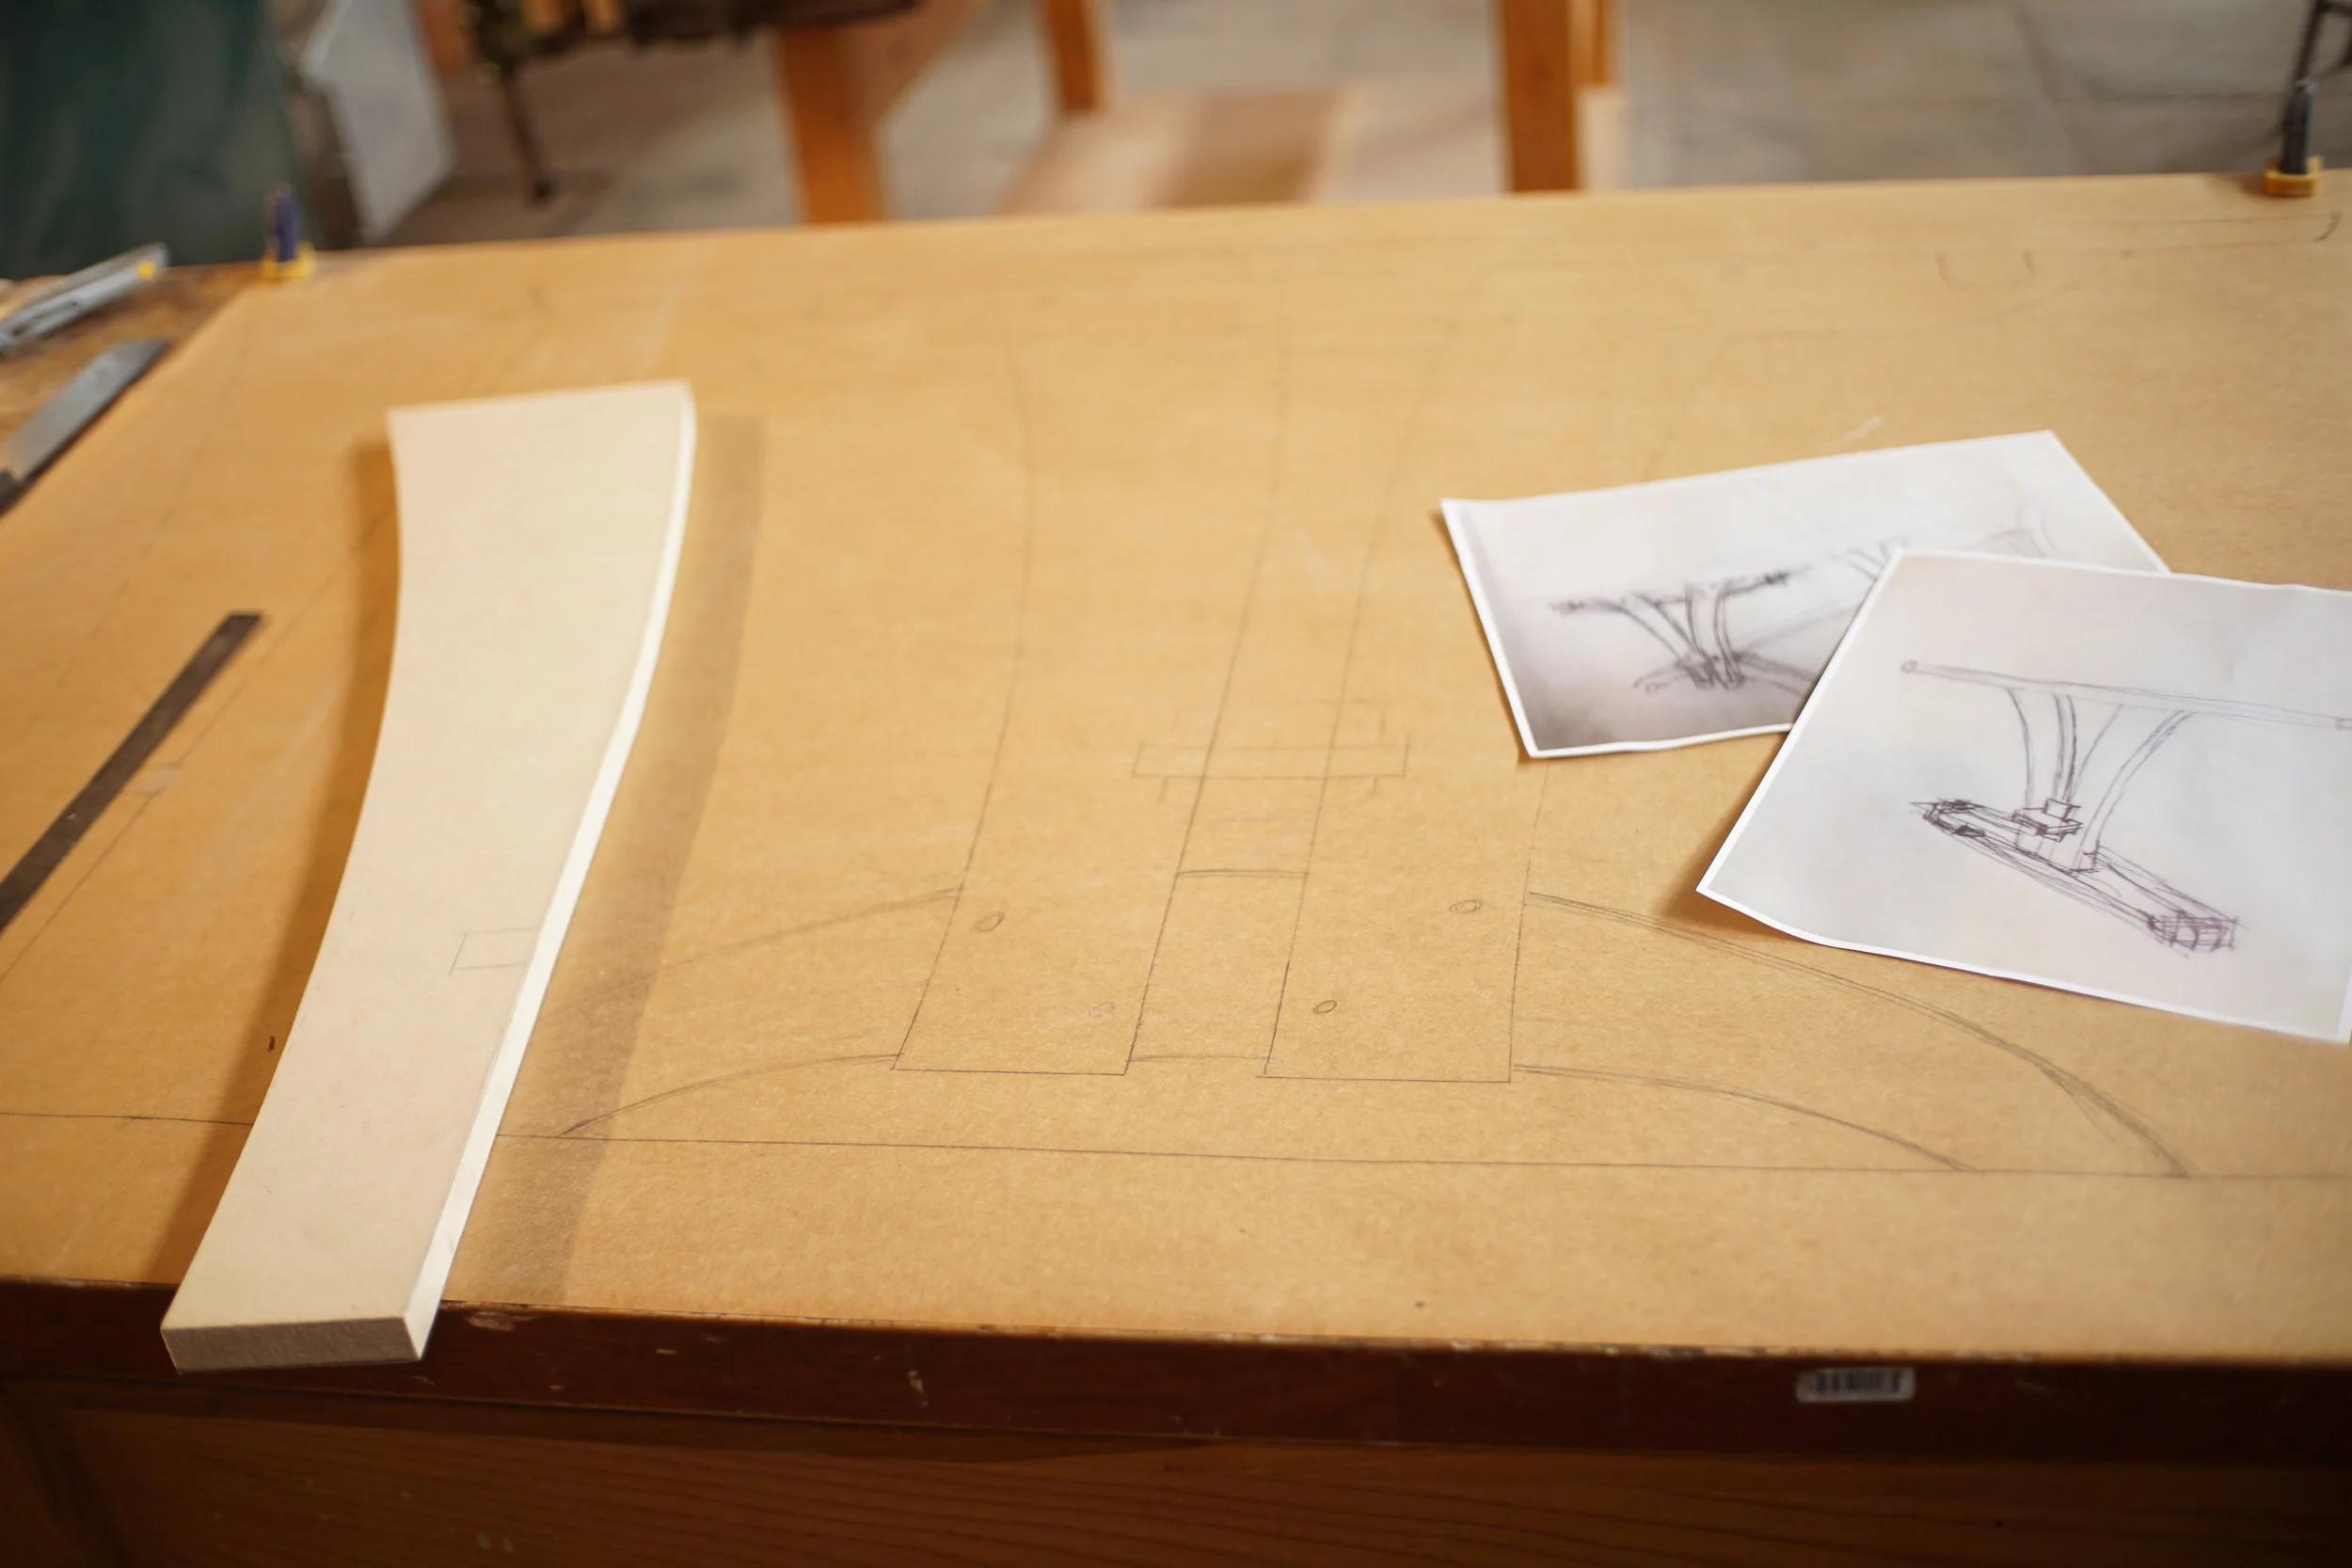

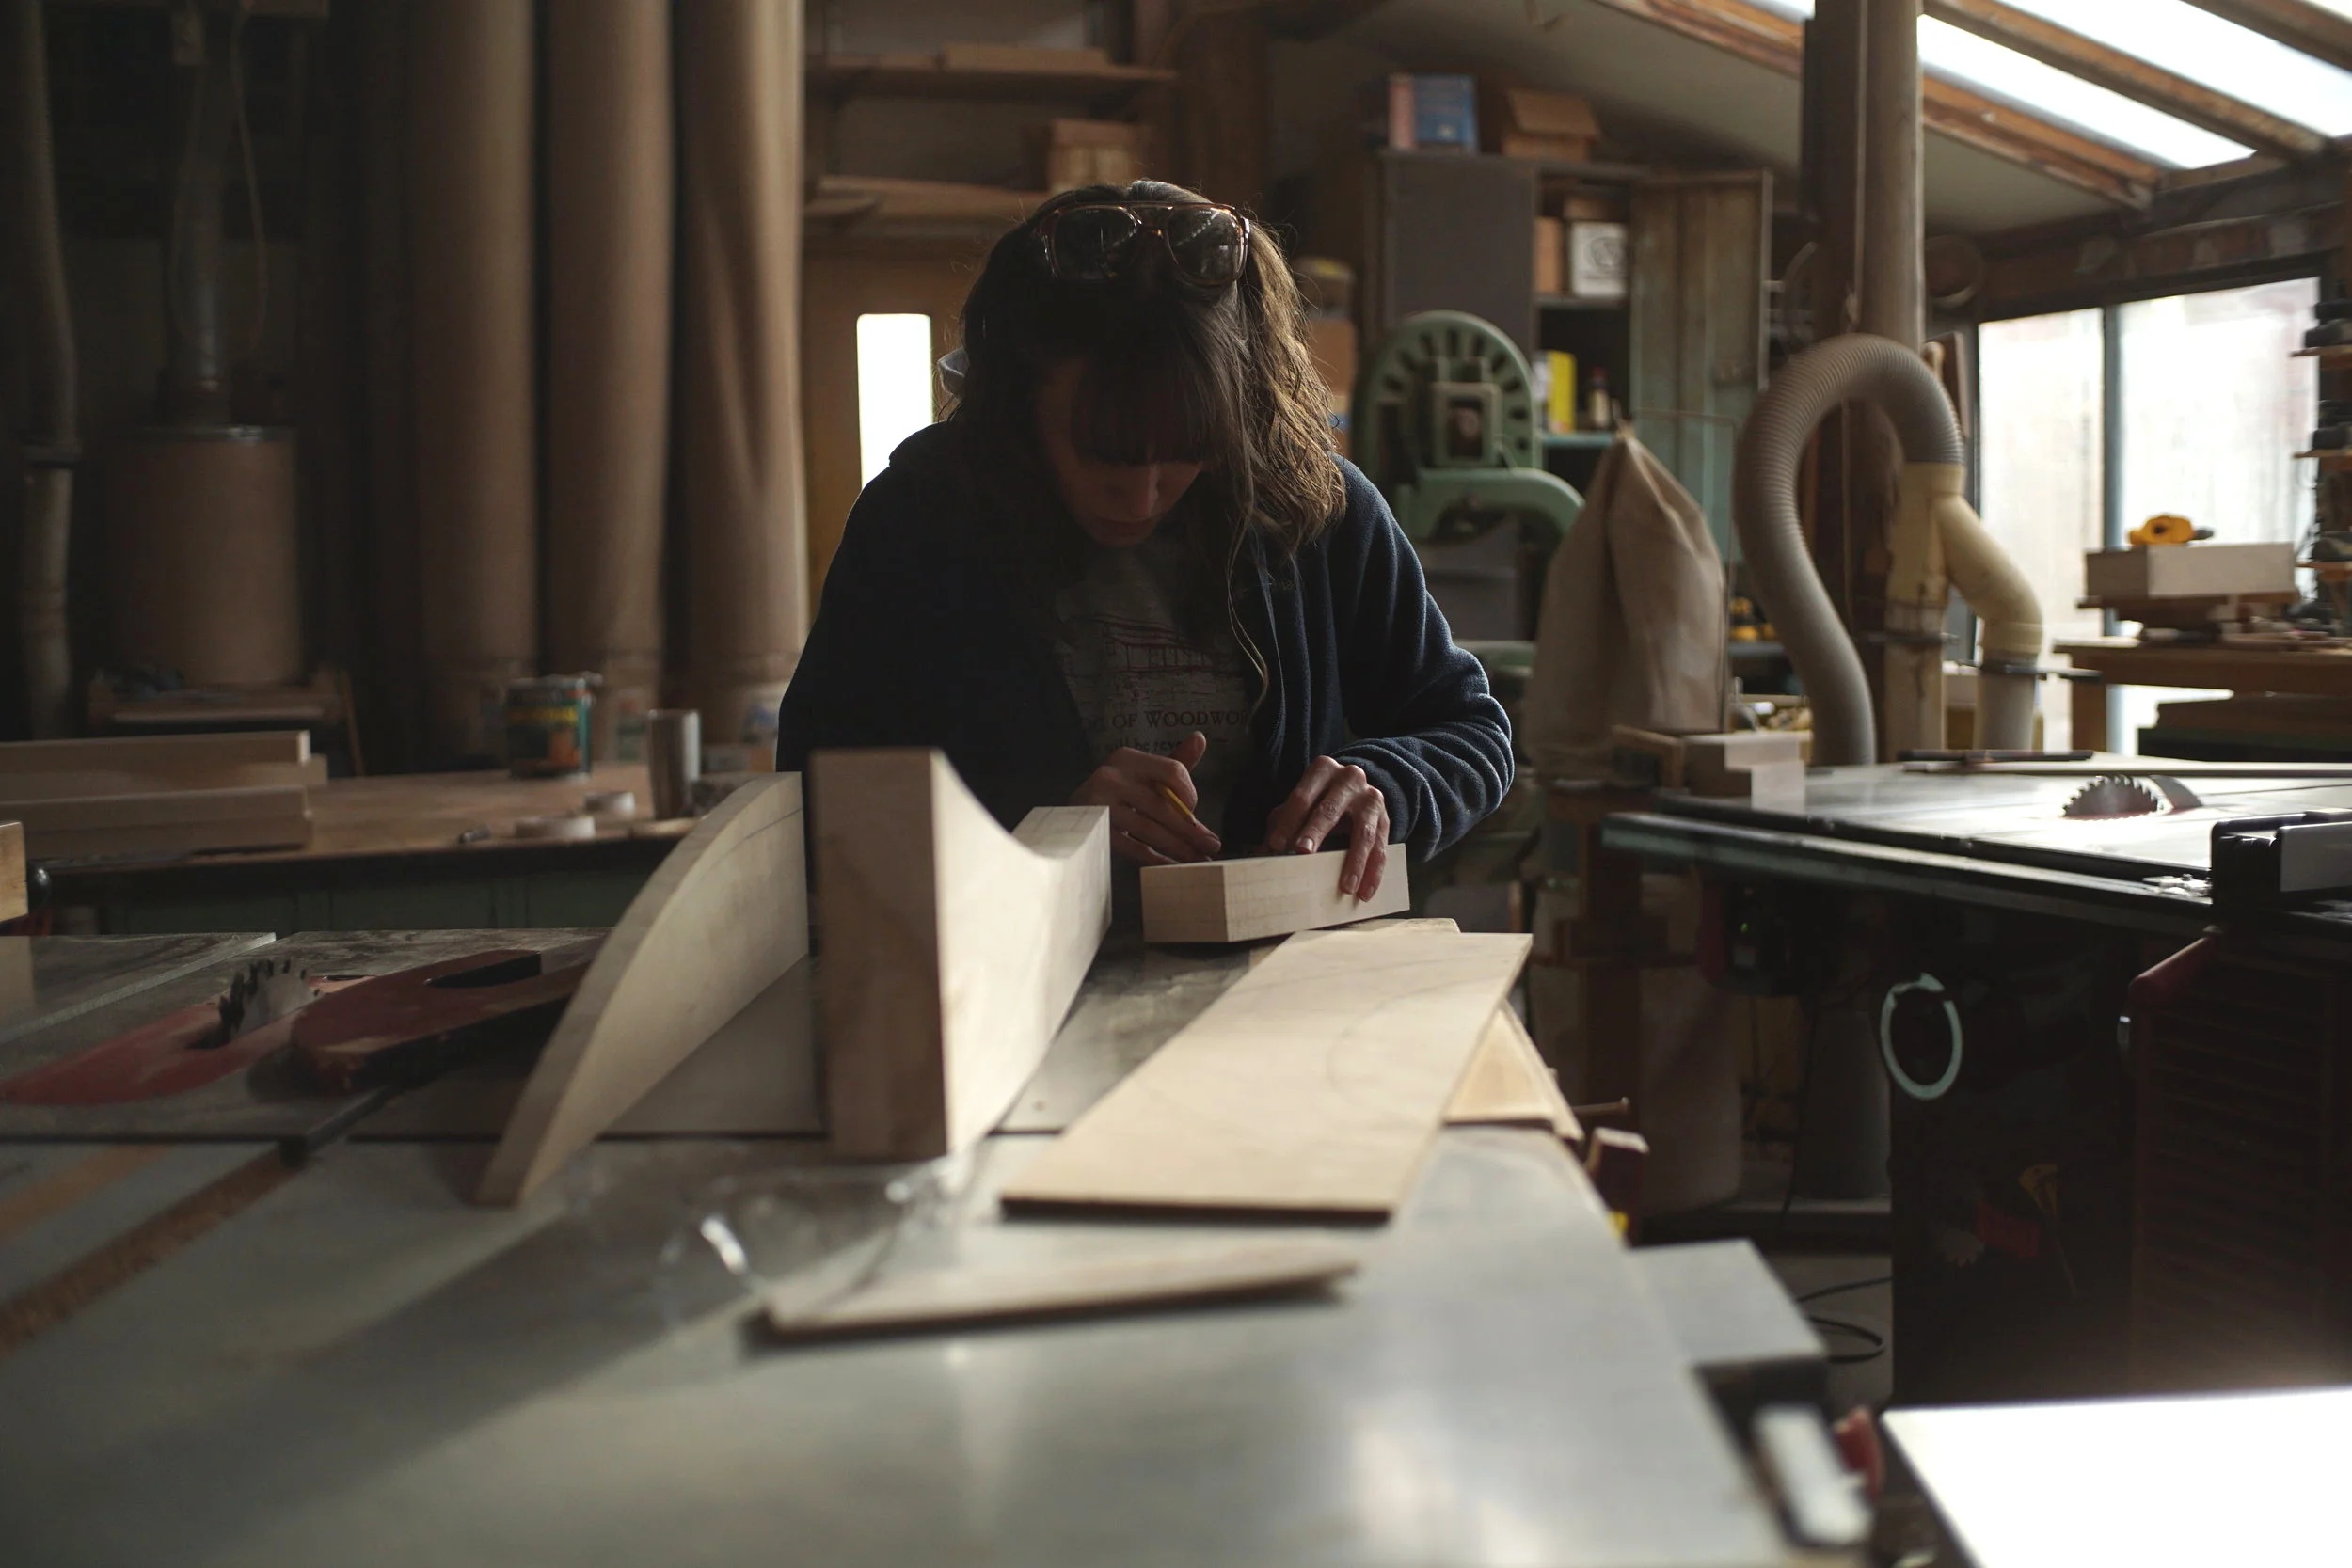
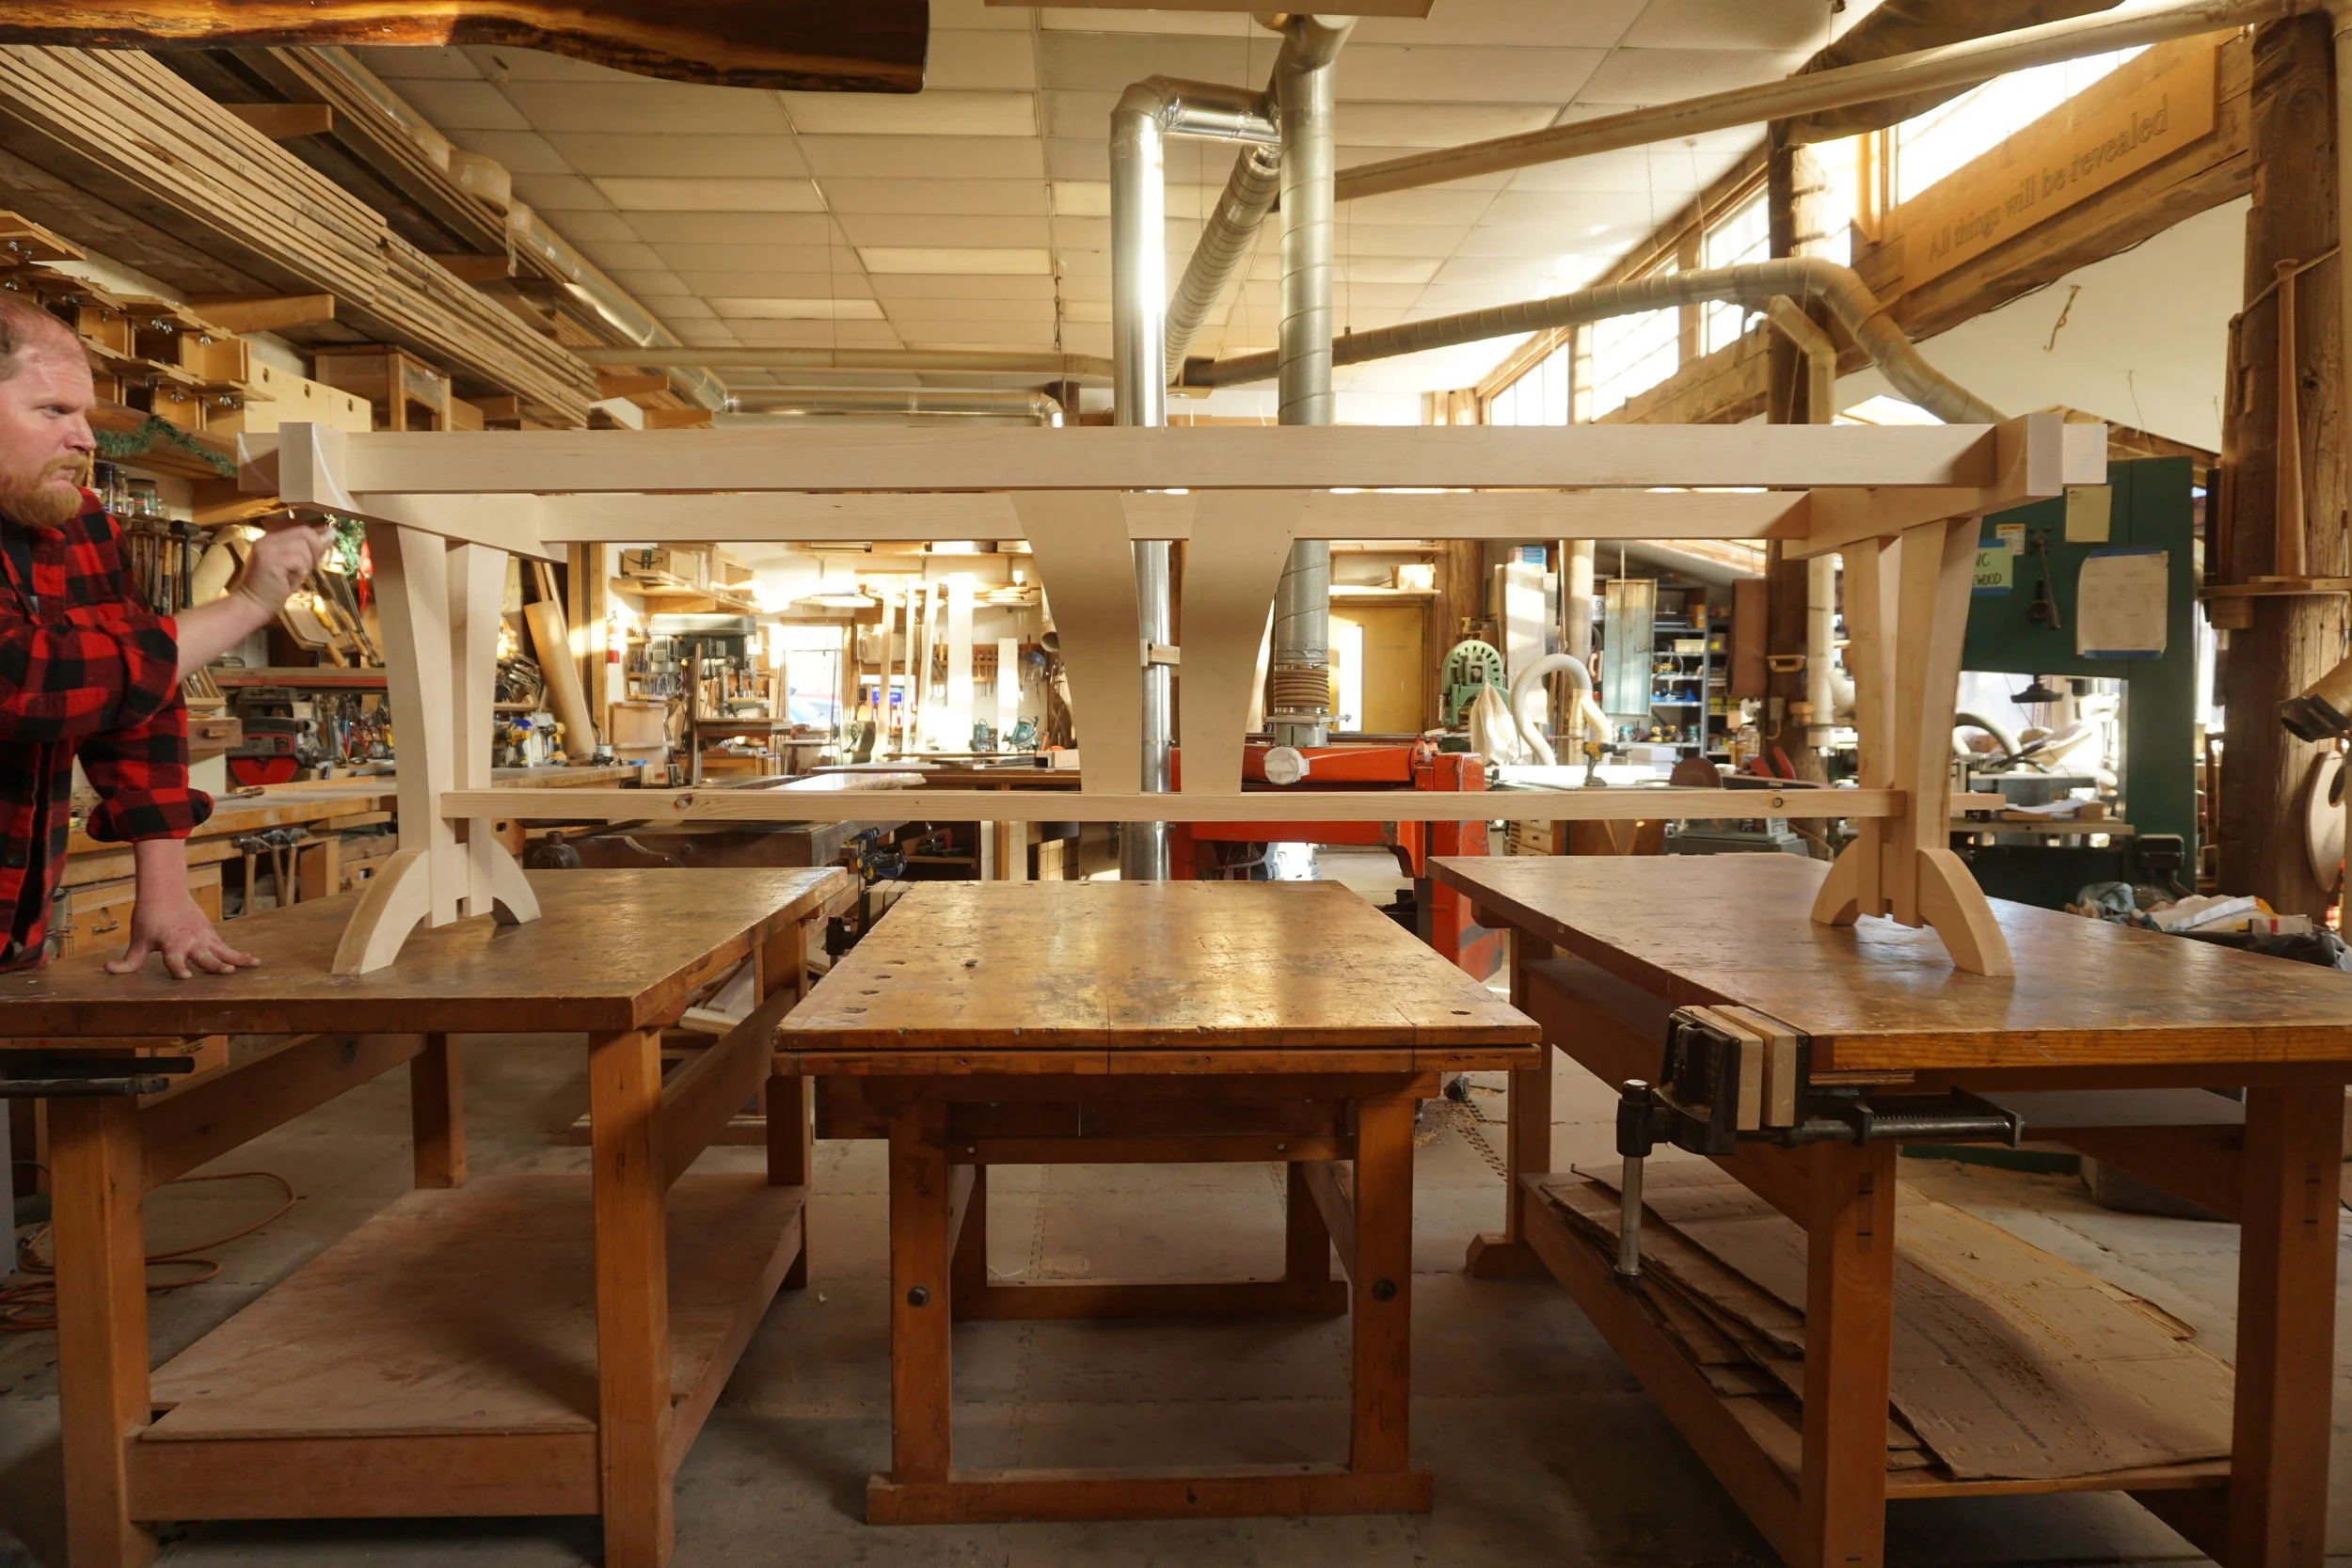
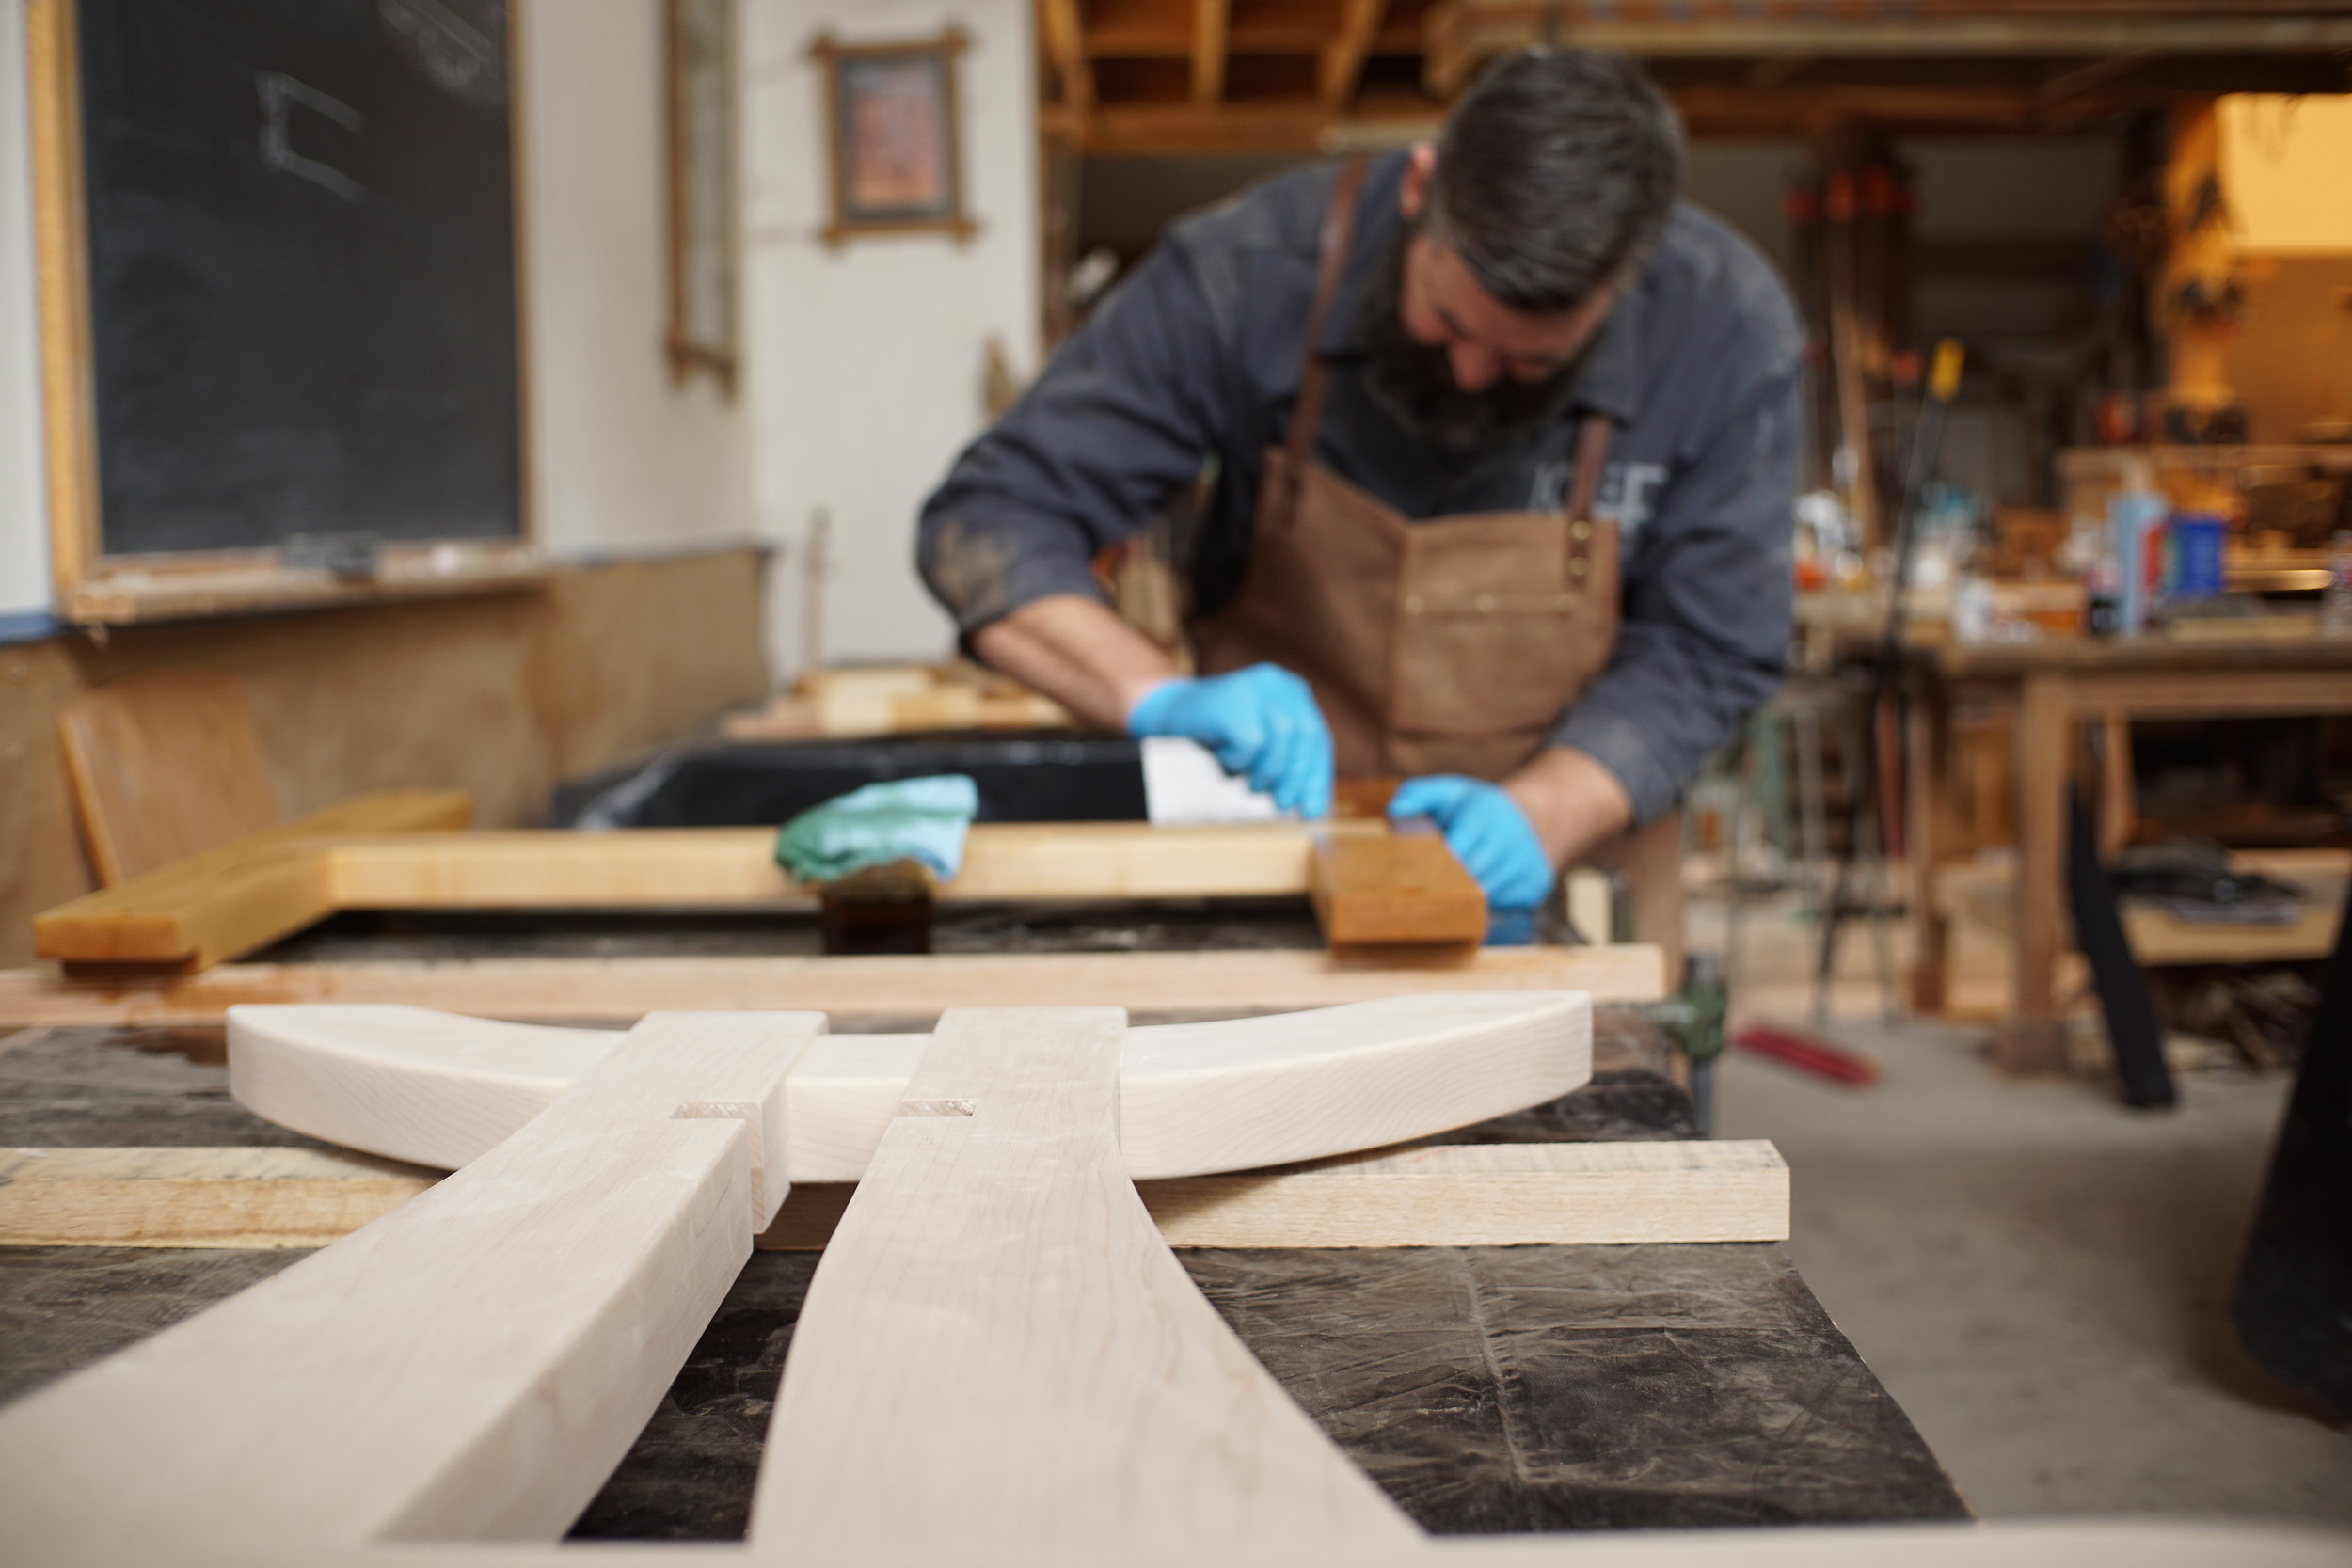
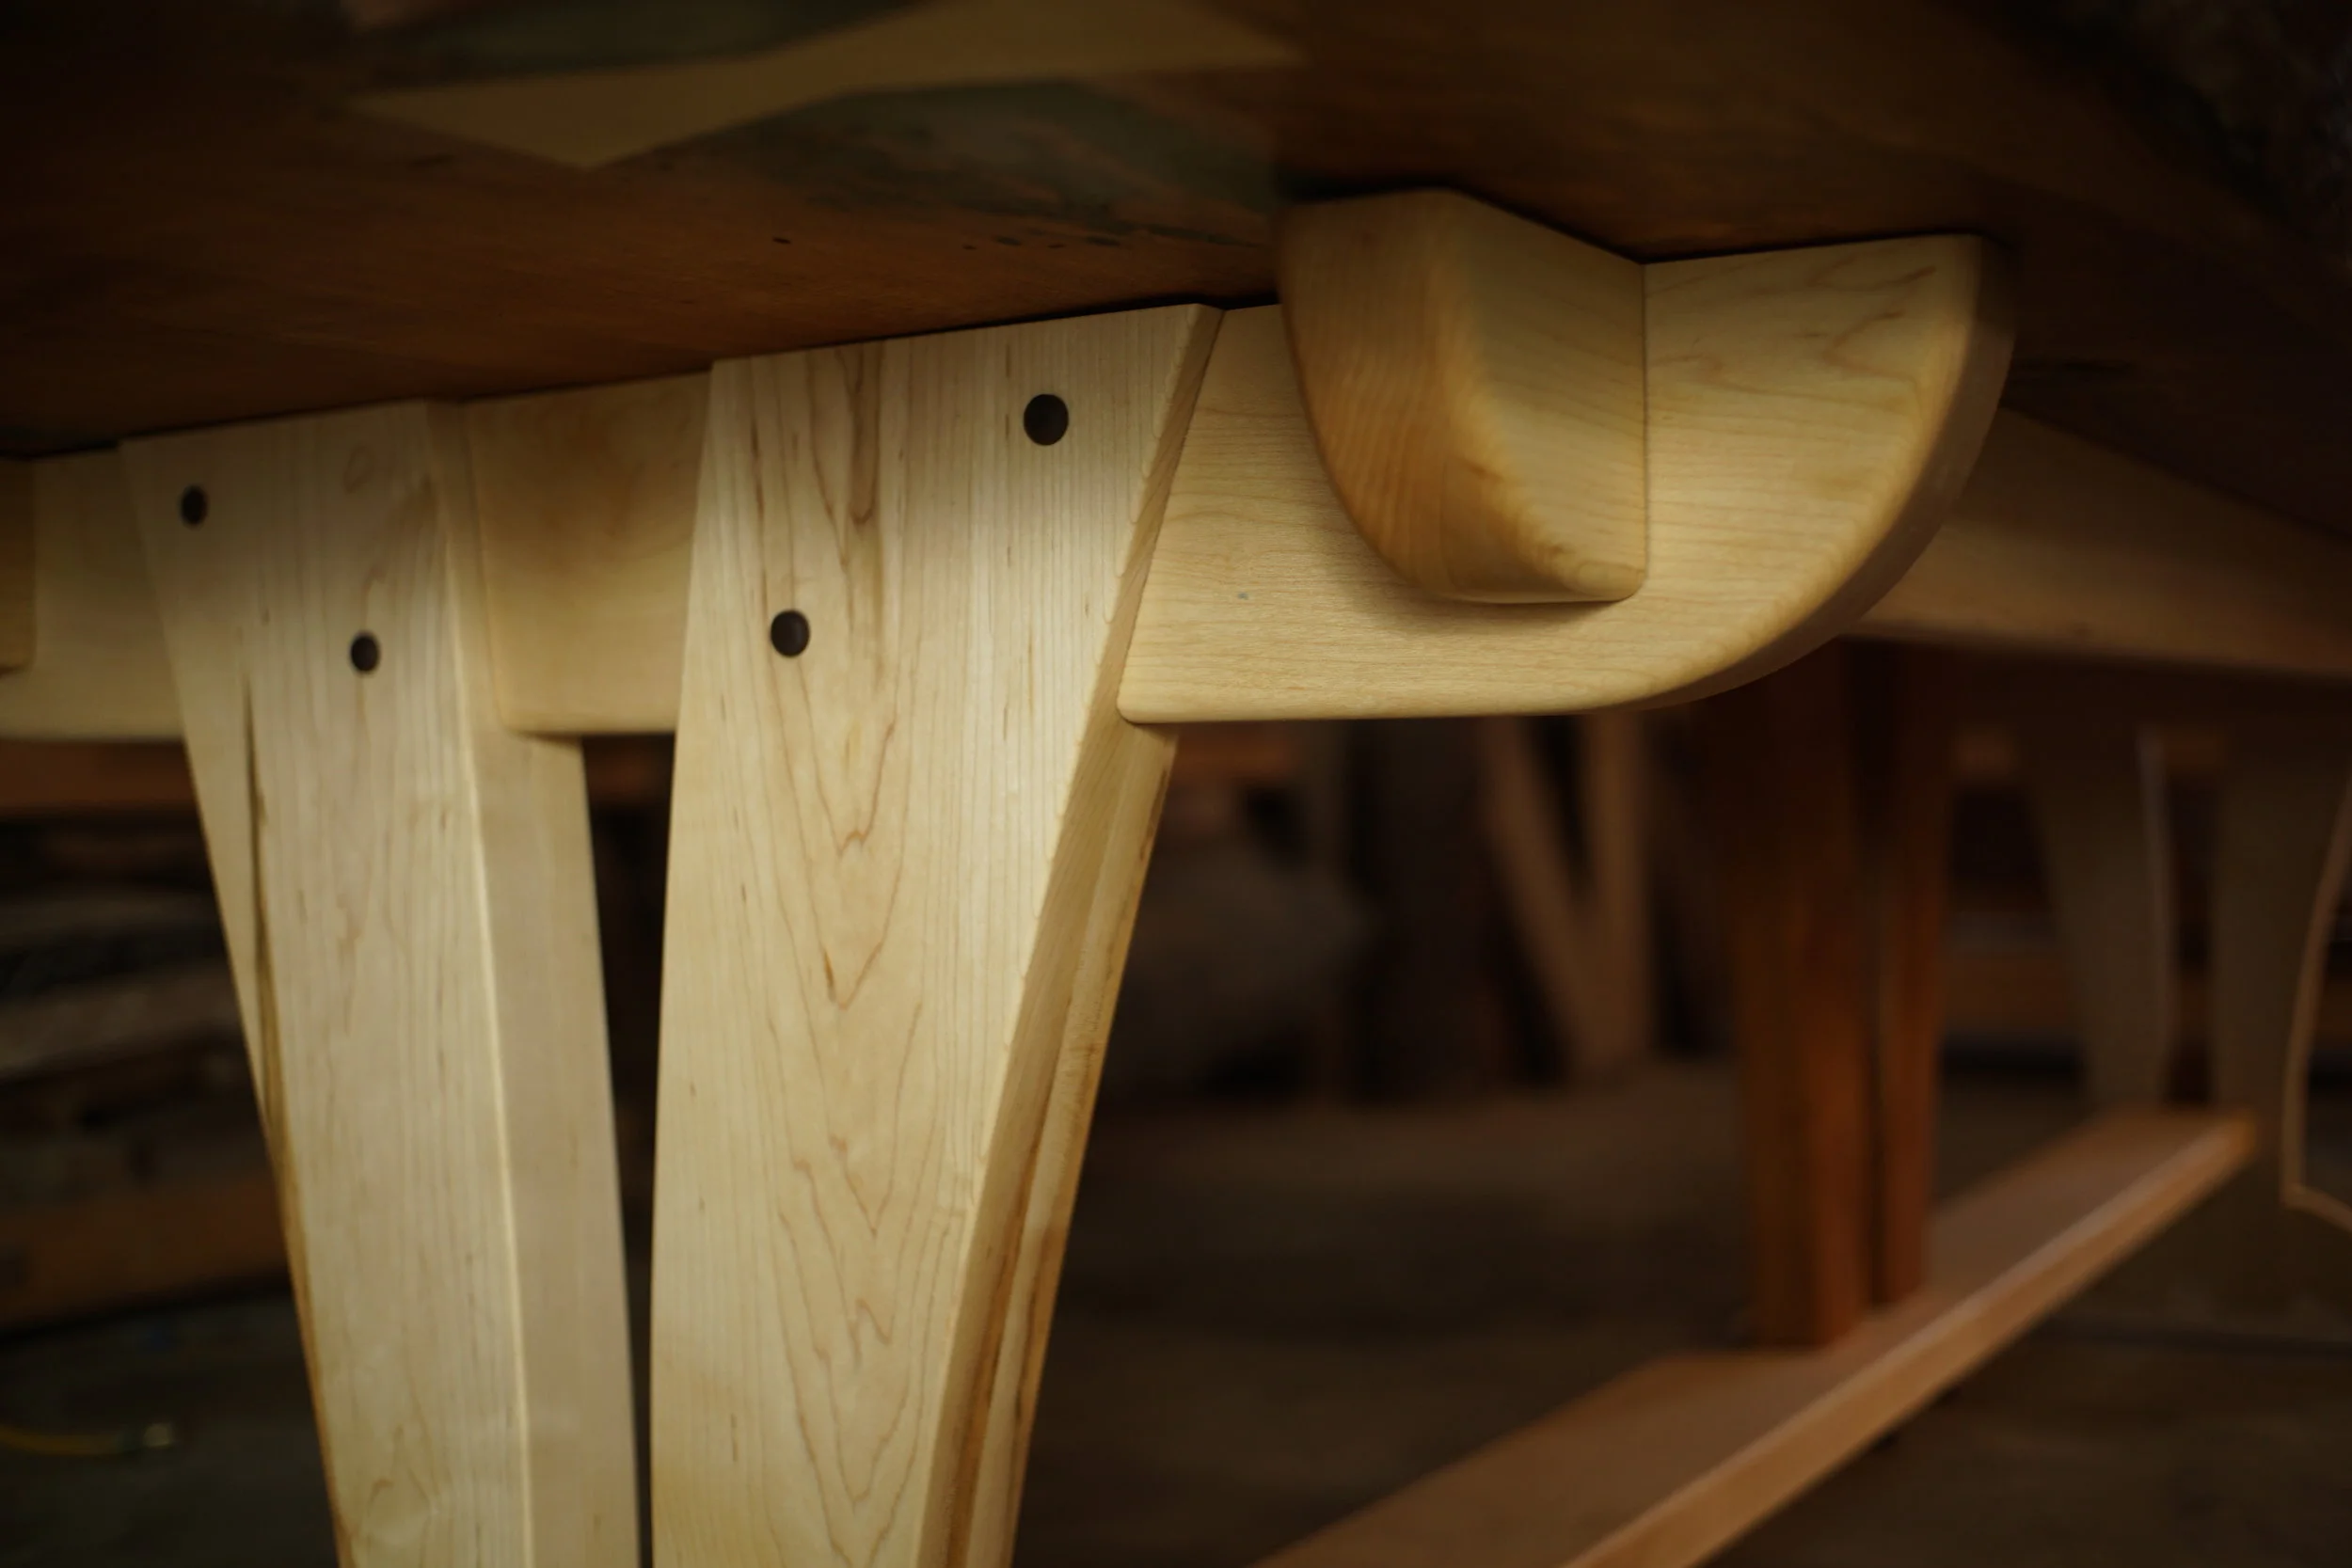
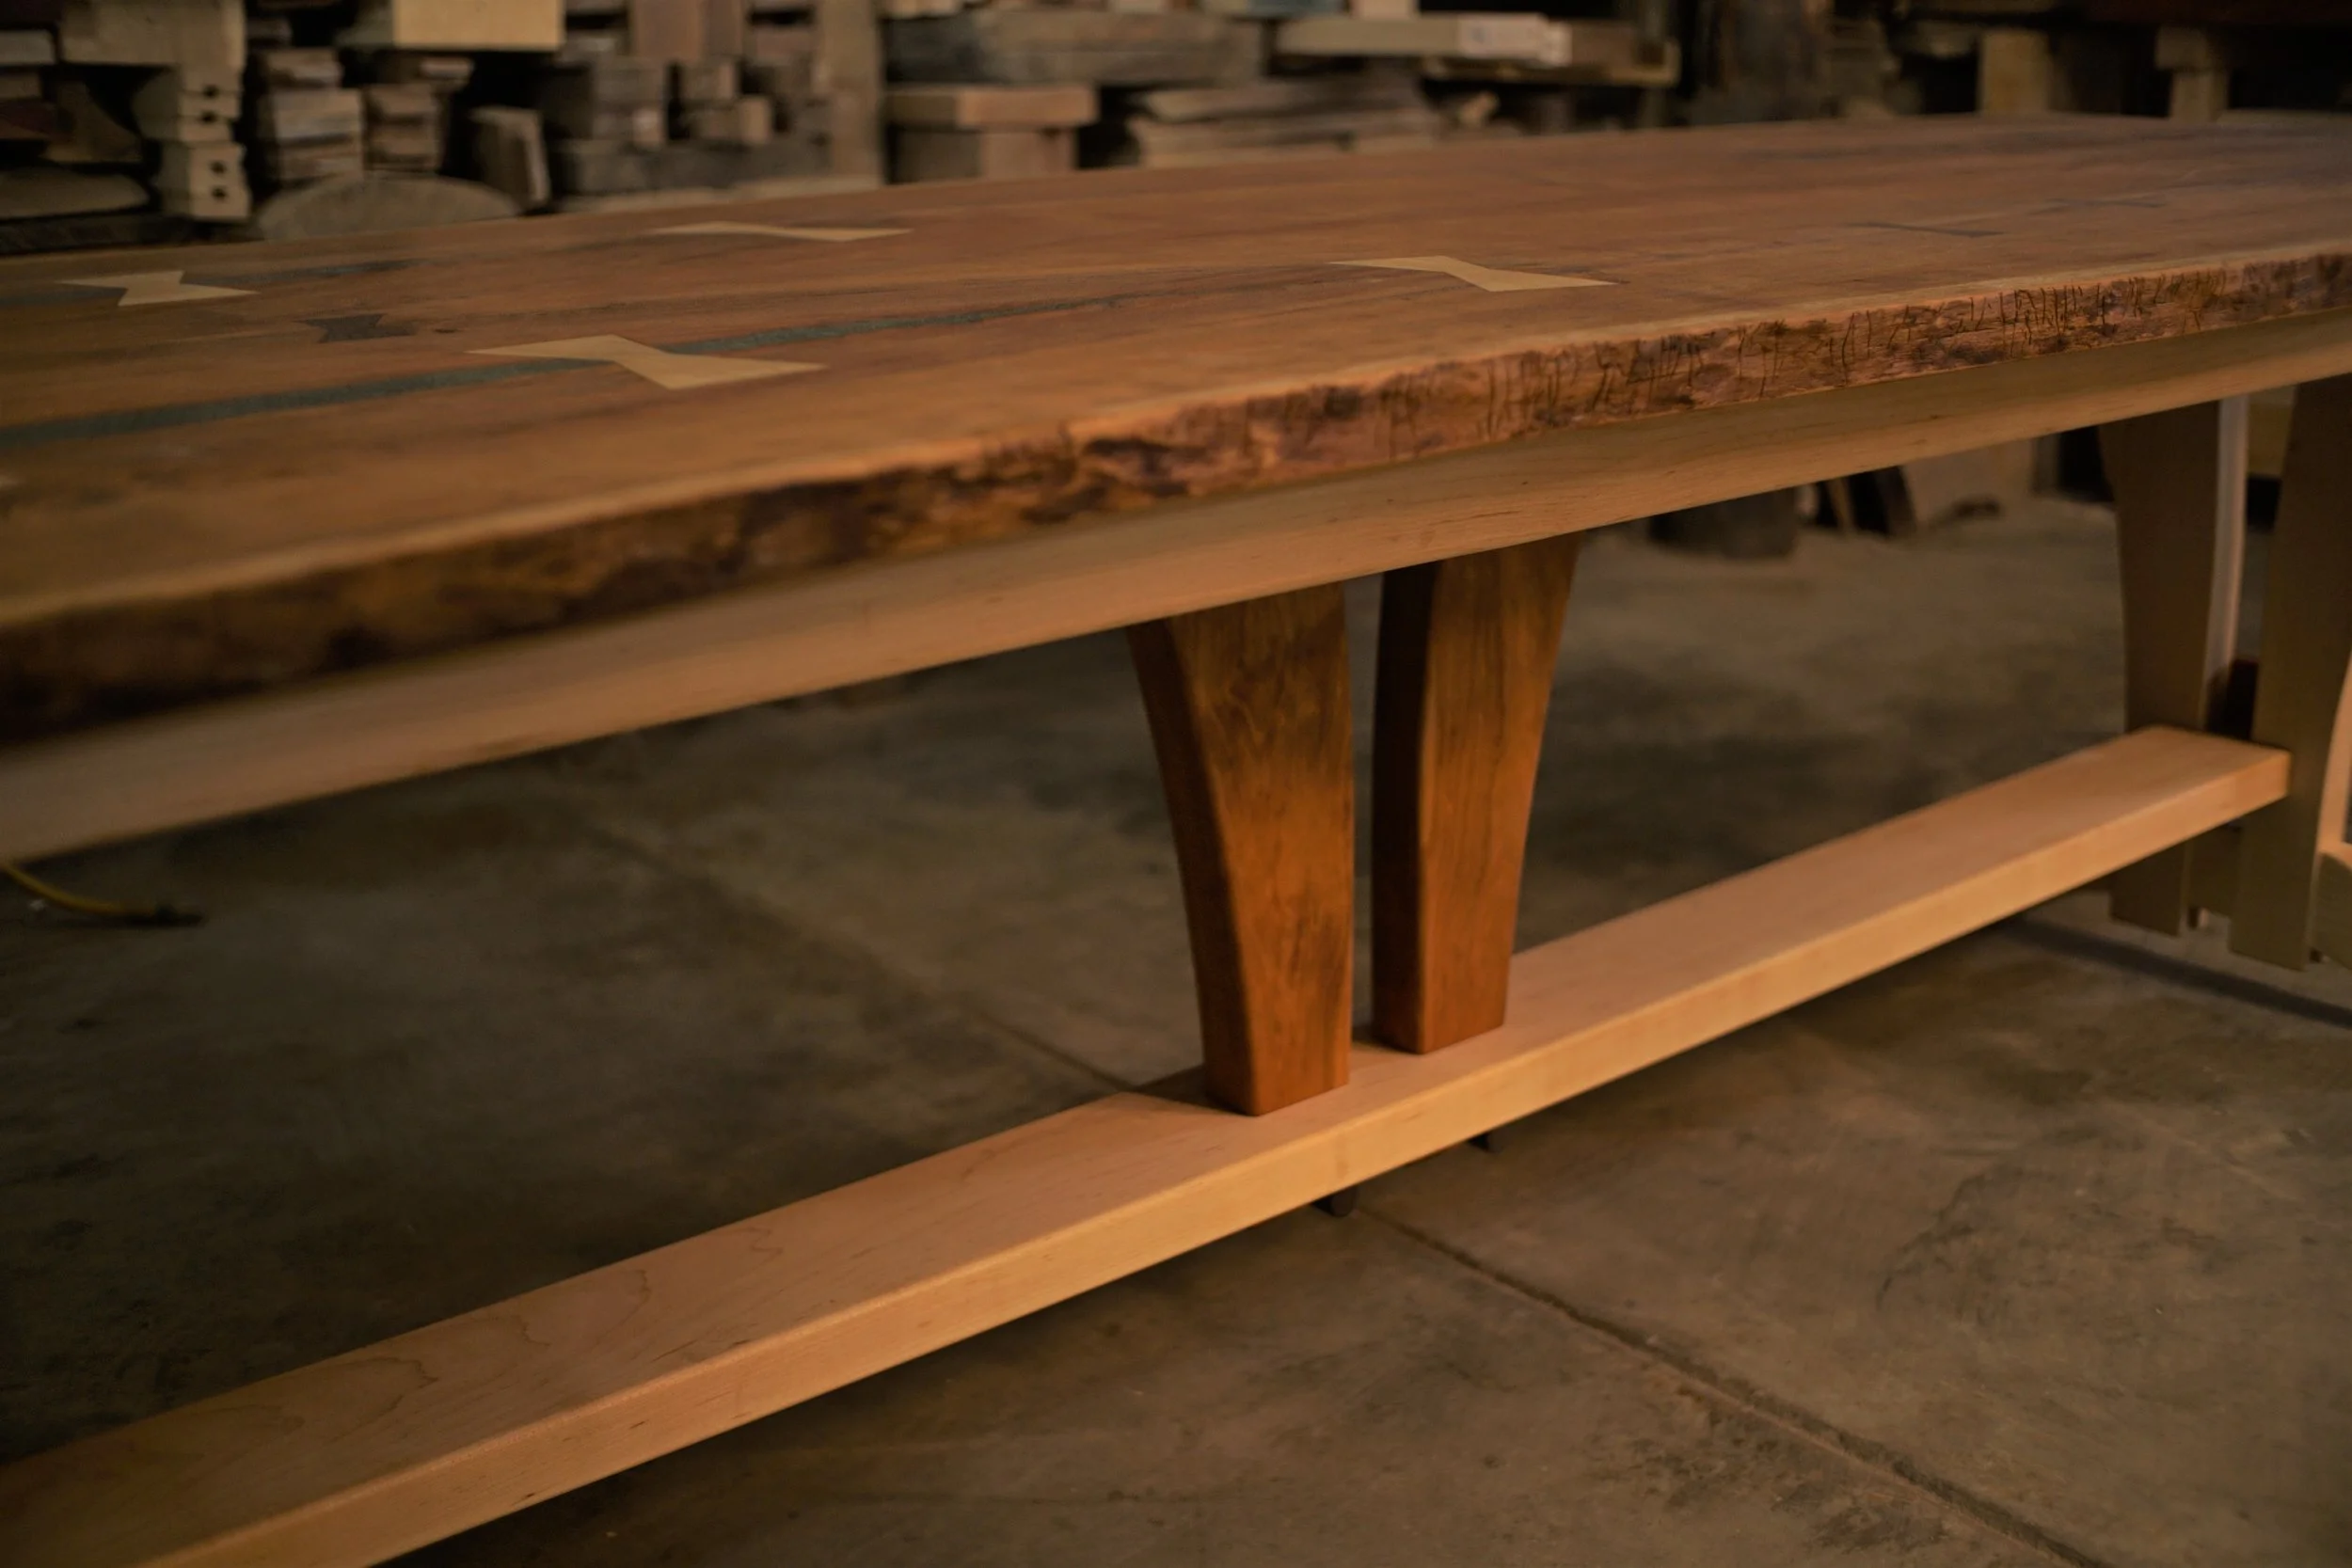
Plans
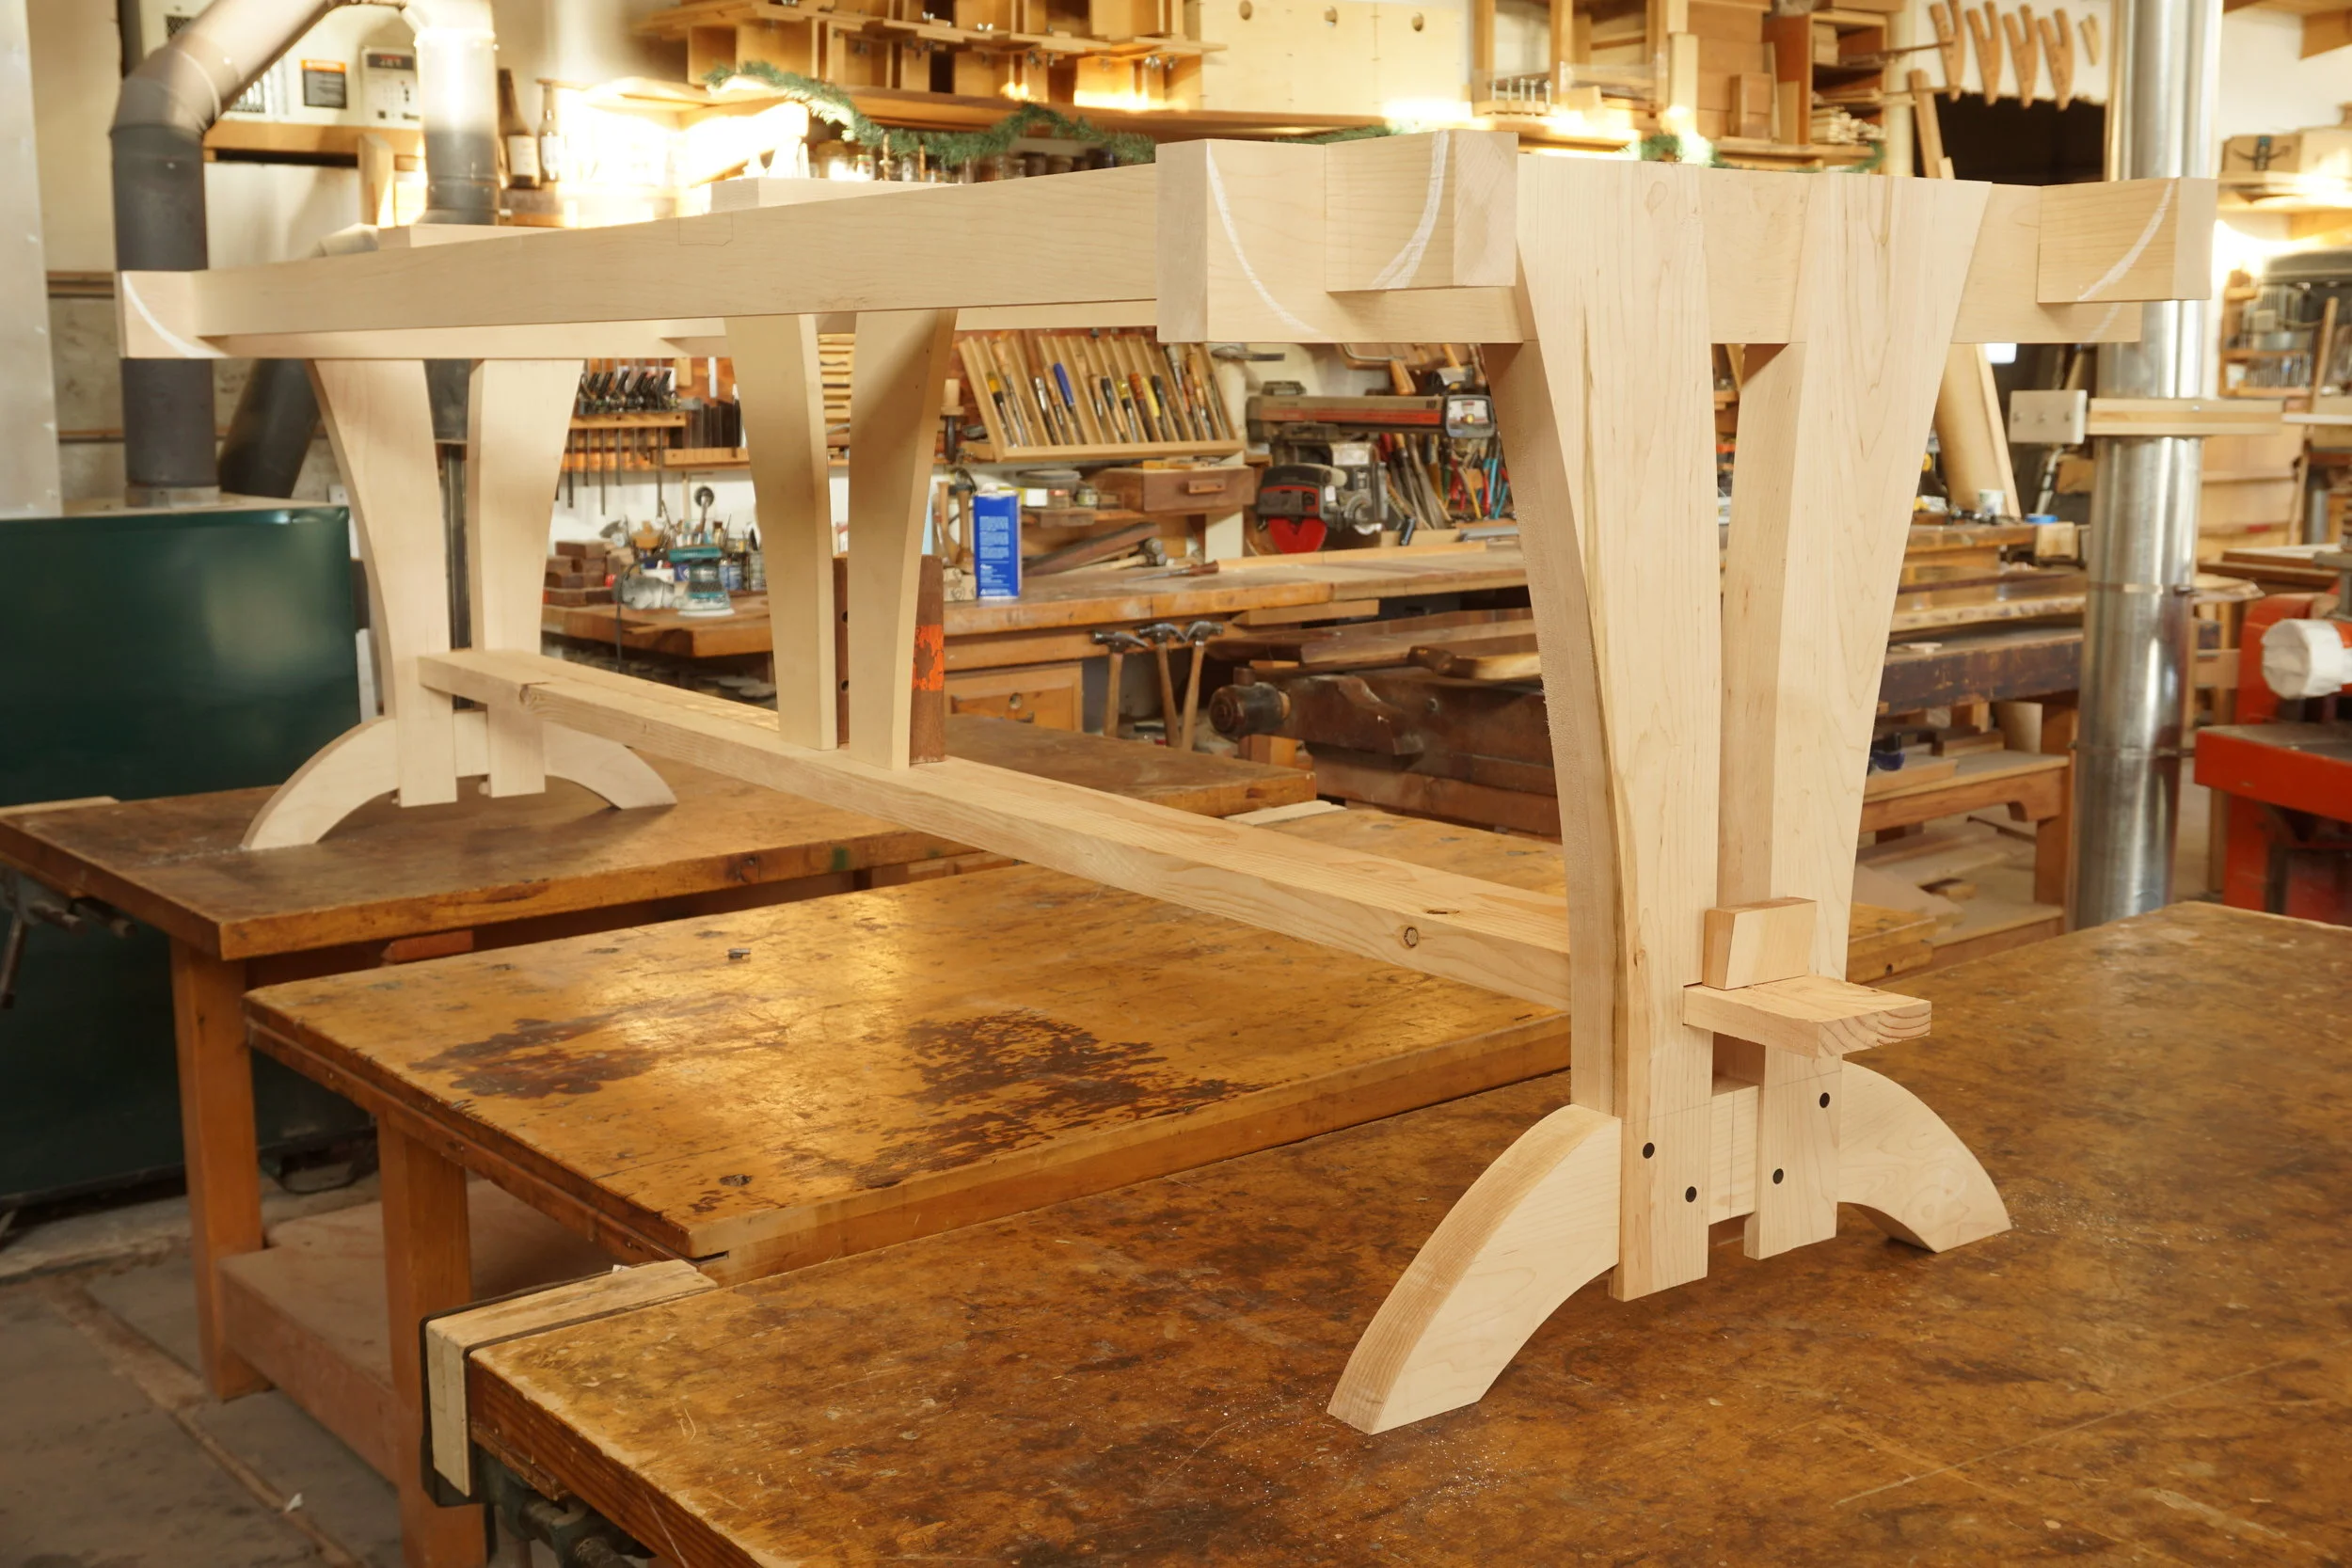
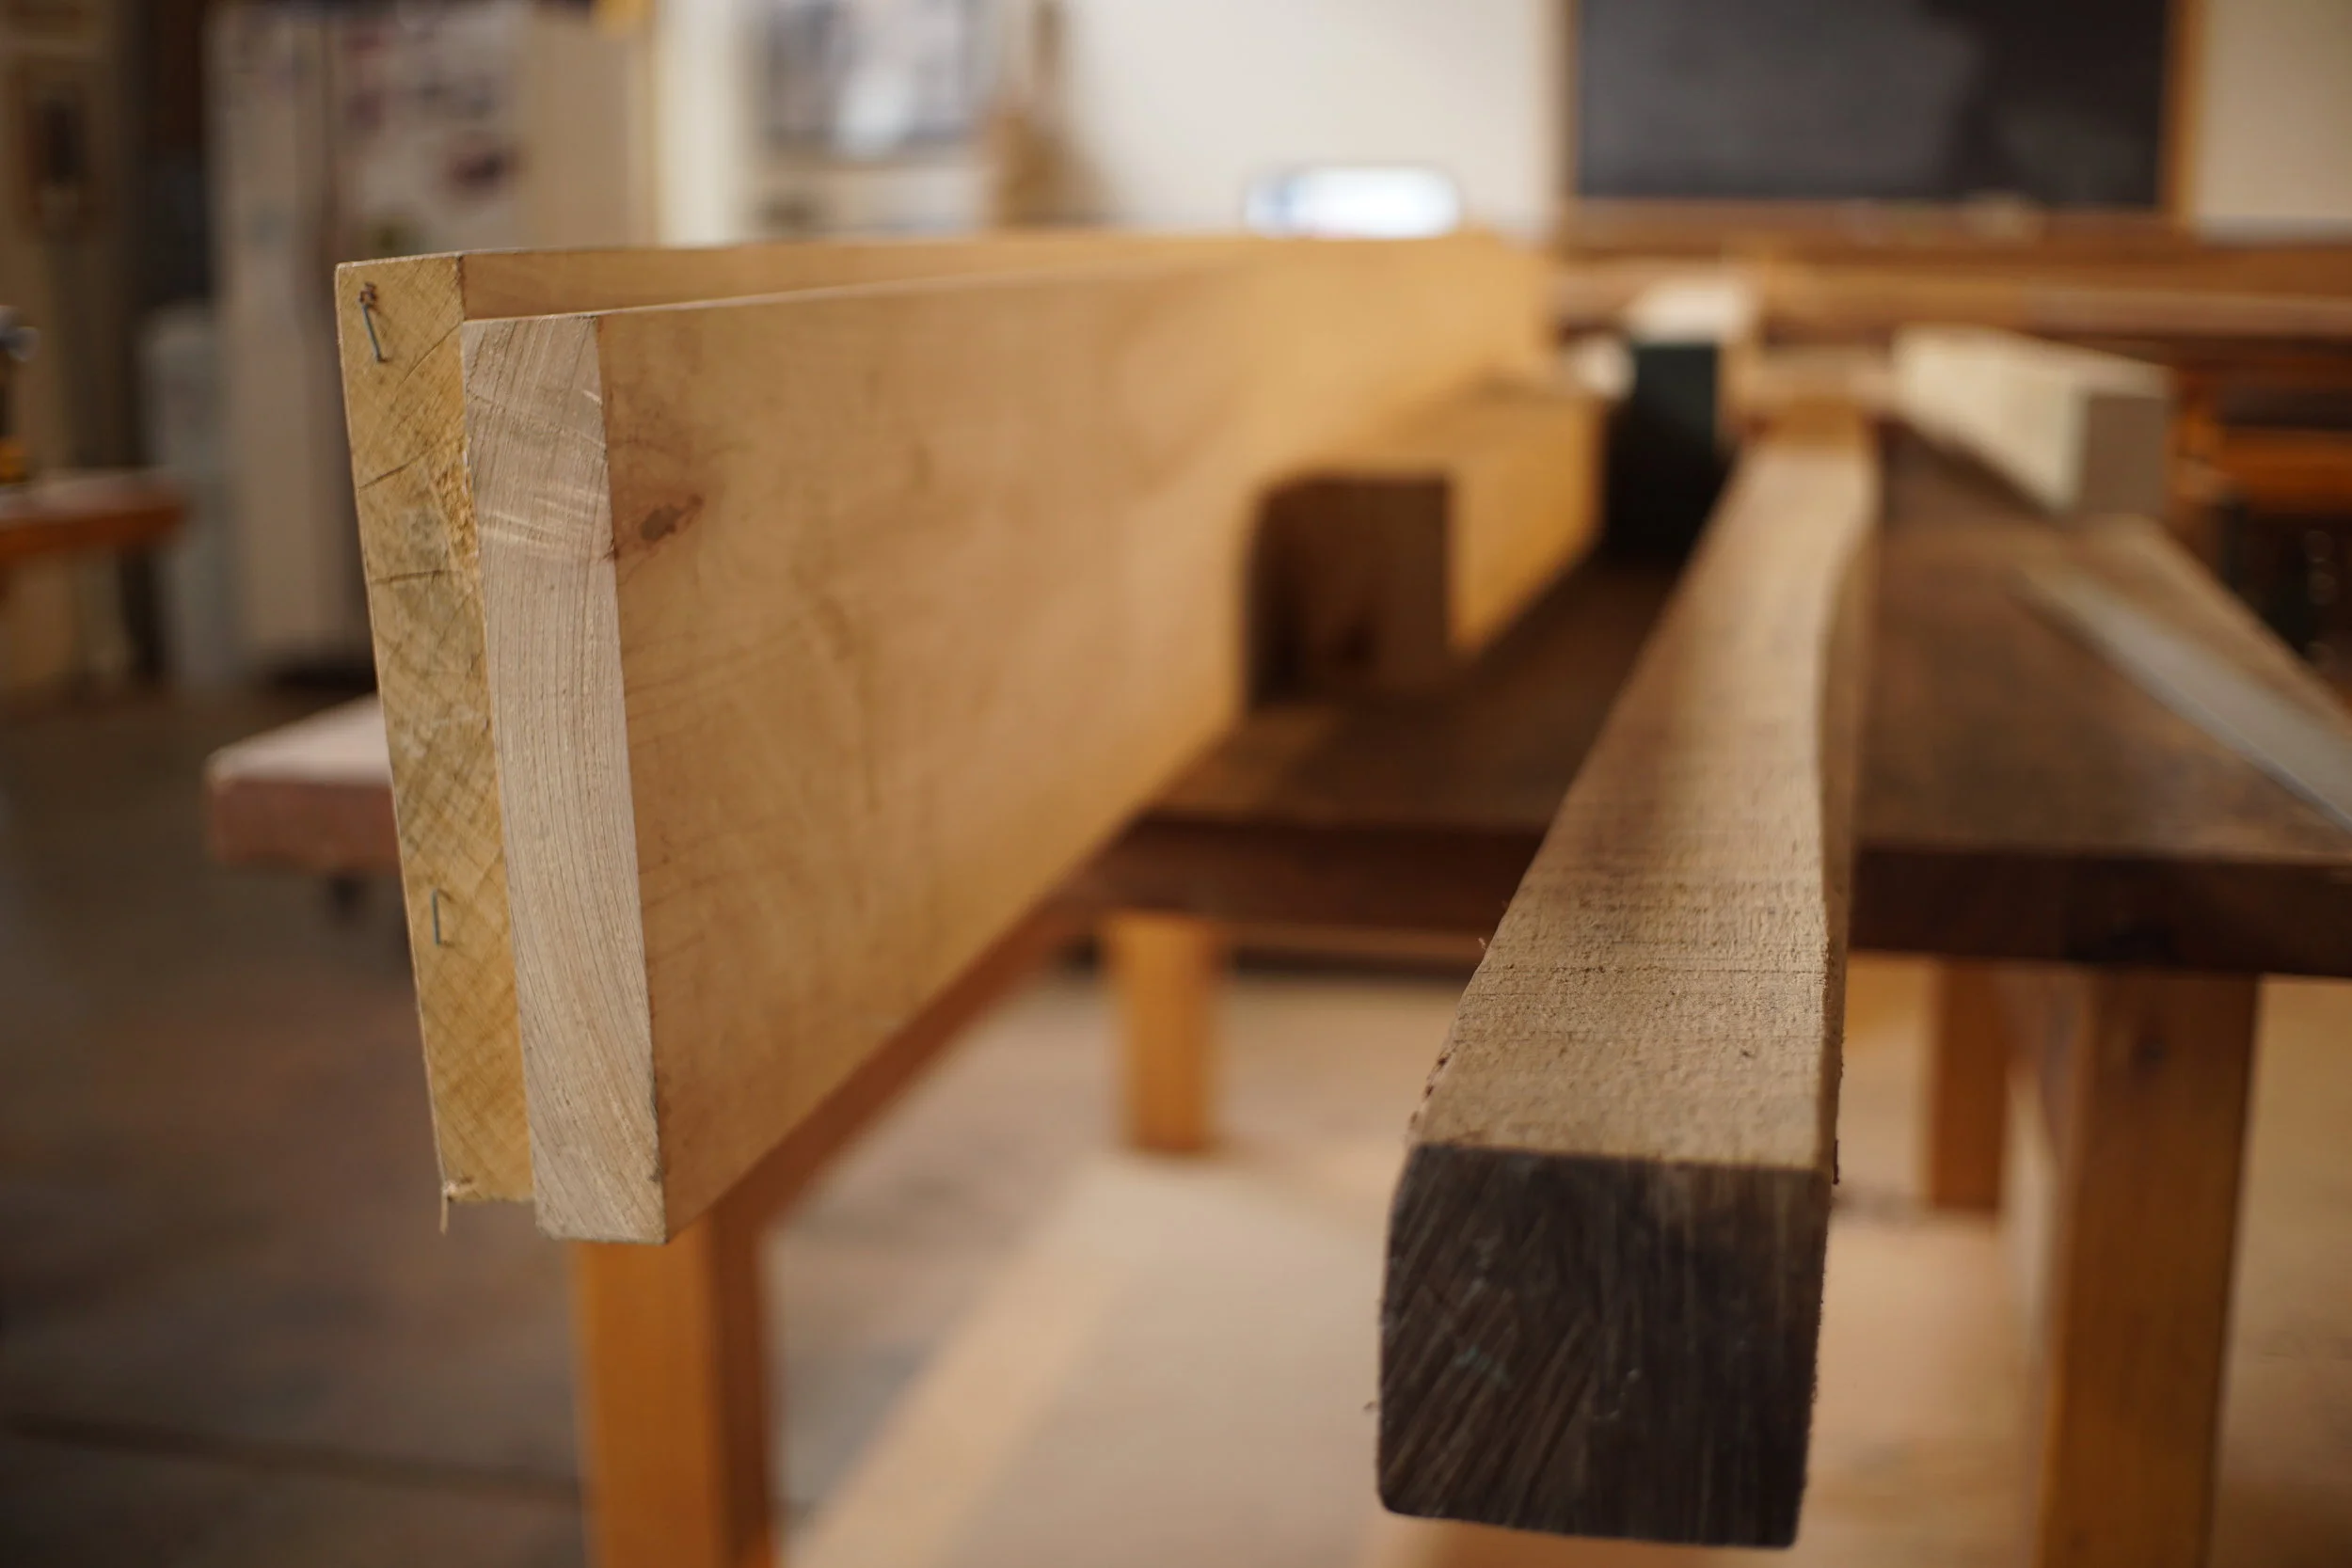
We began this week by doing a full scale drawing of the end pieces, interpreted from your sketches and then making templates. We glued up some maple blanks from Mike’s stock and commenced making the parts. We used the templates to transfer those curved shapes to the maple blanks.
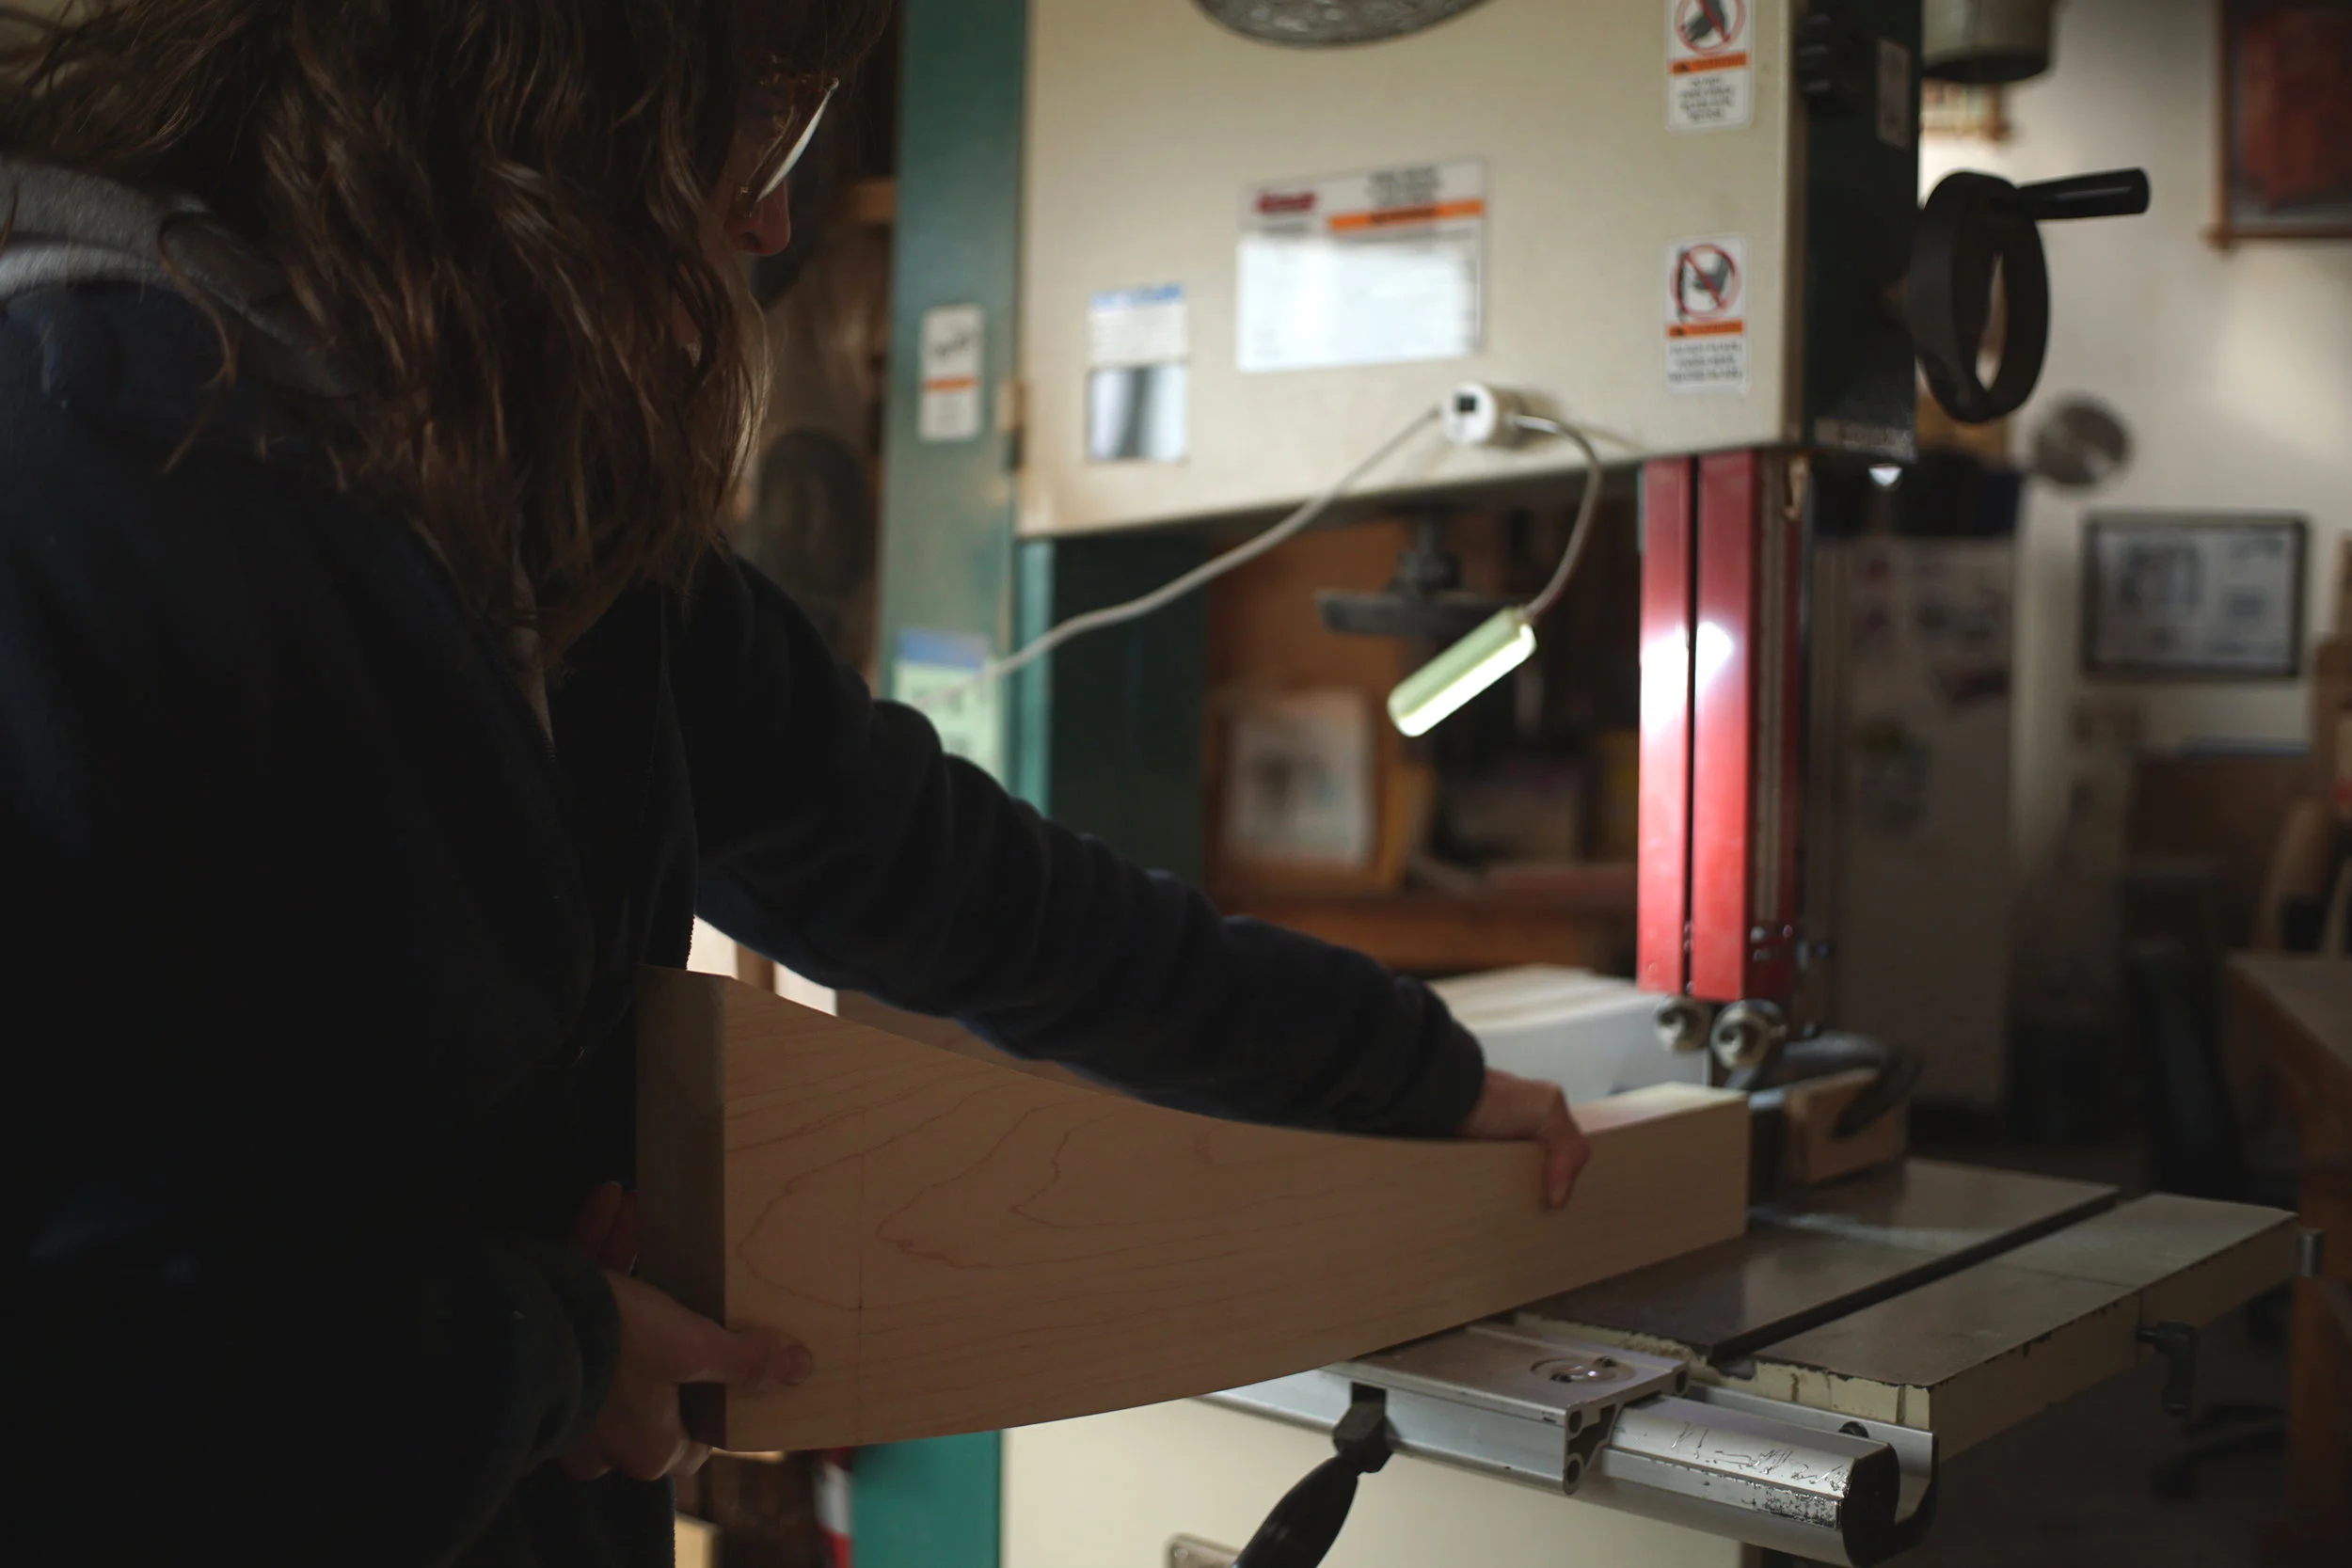
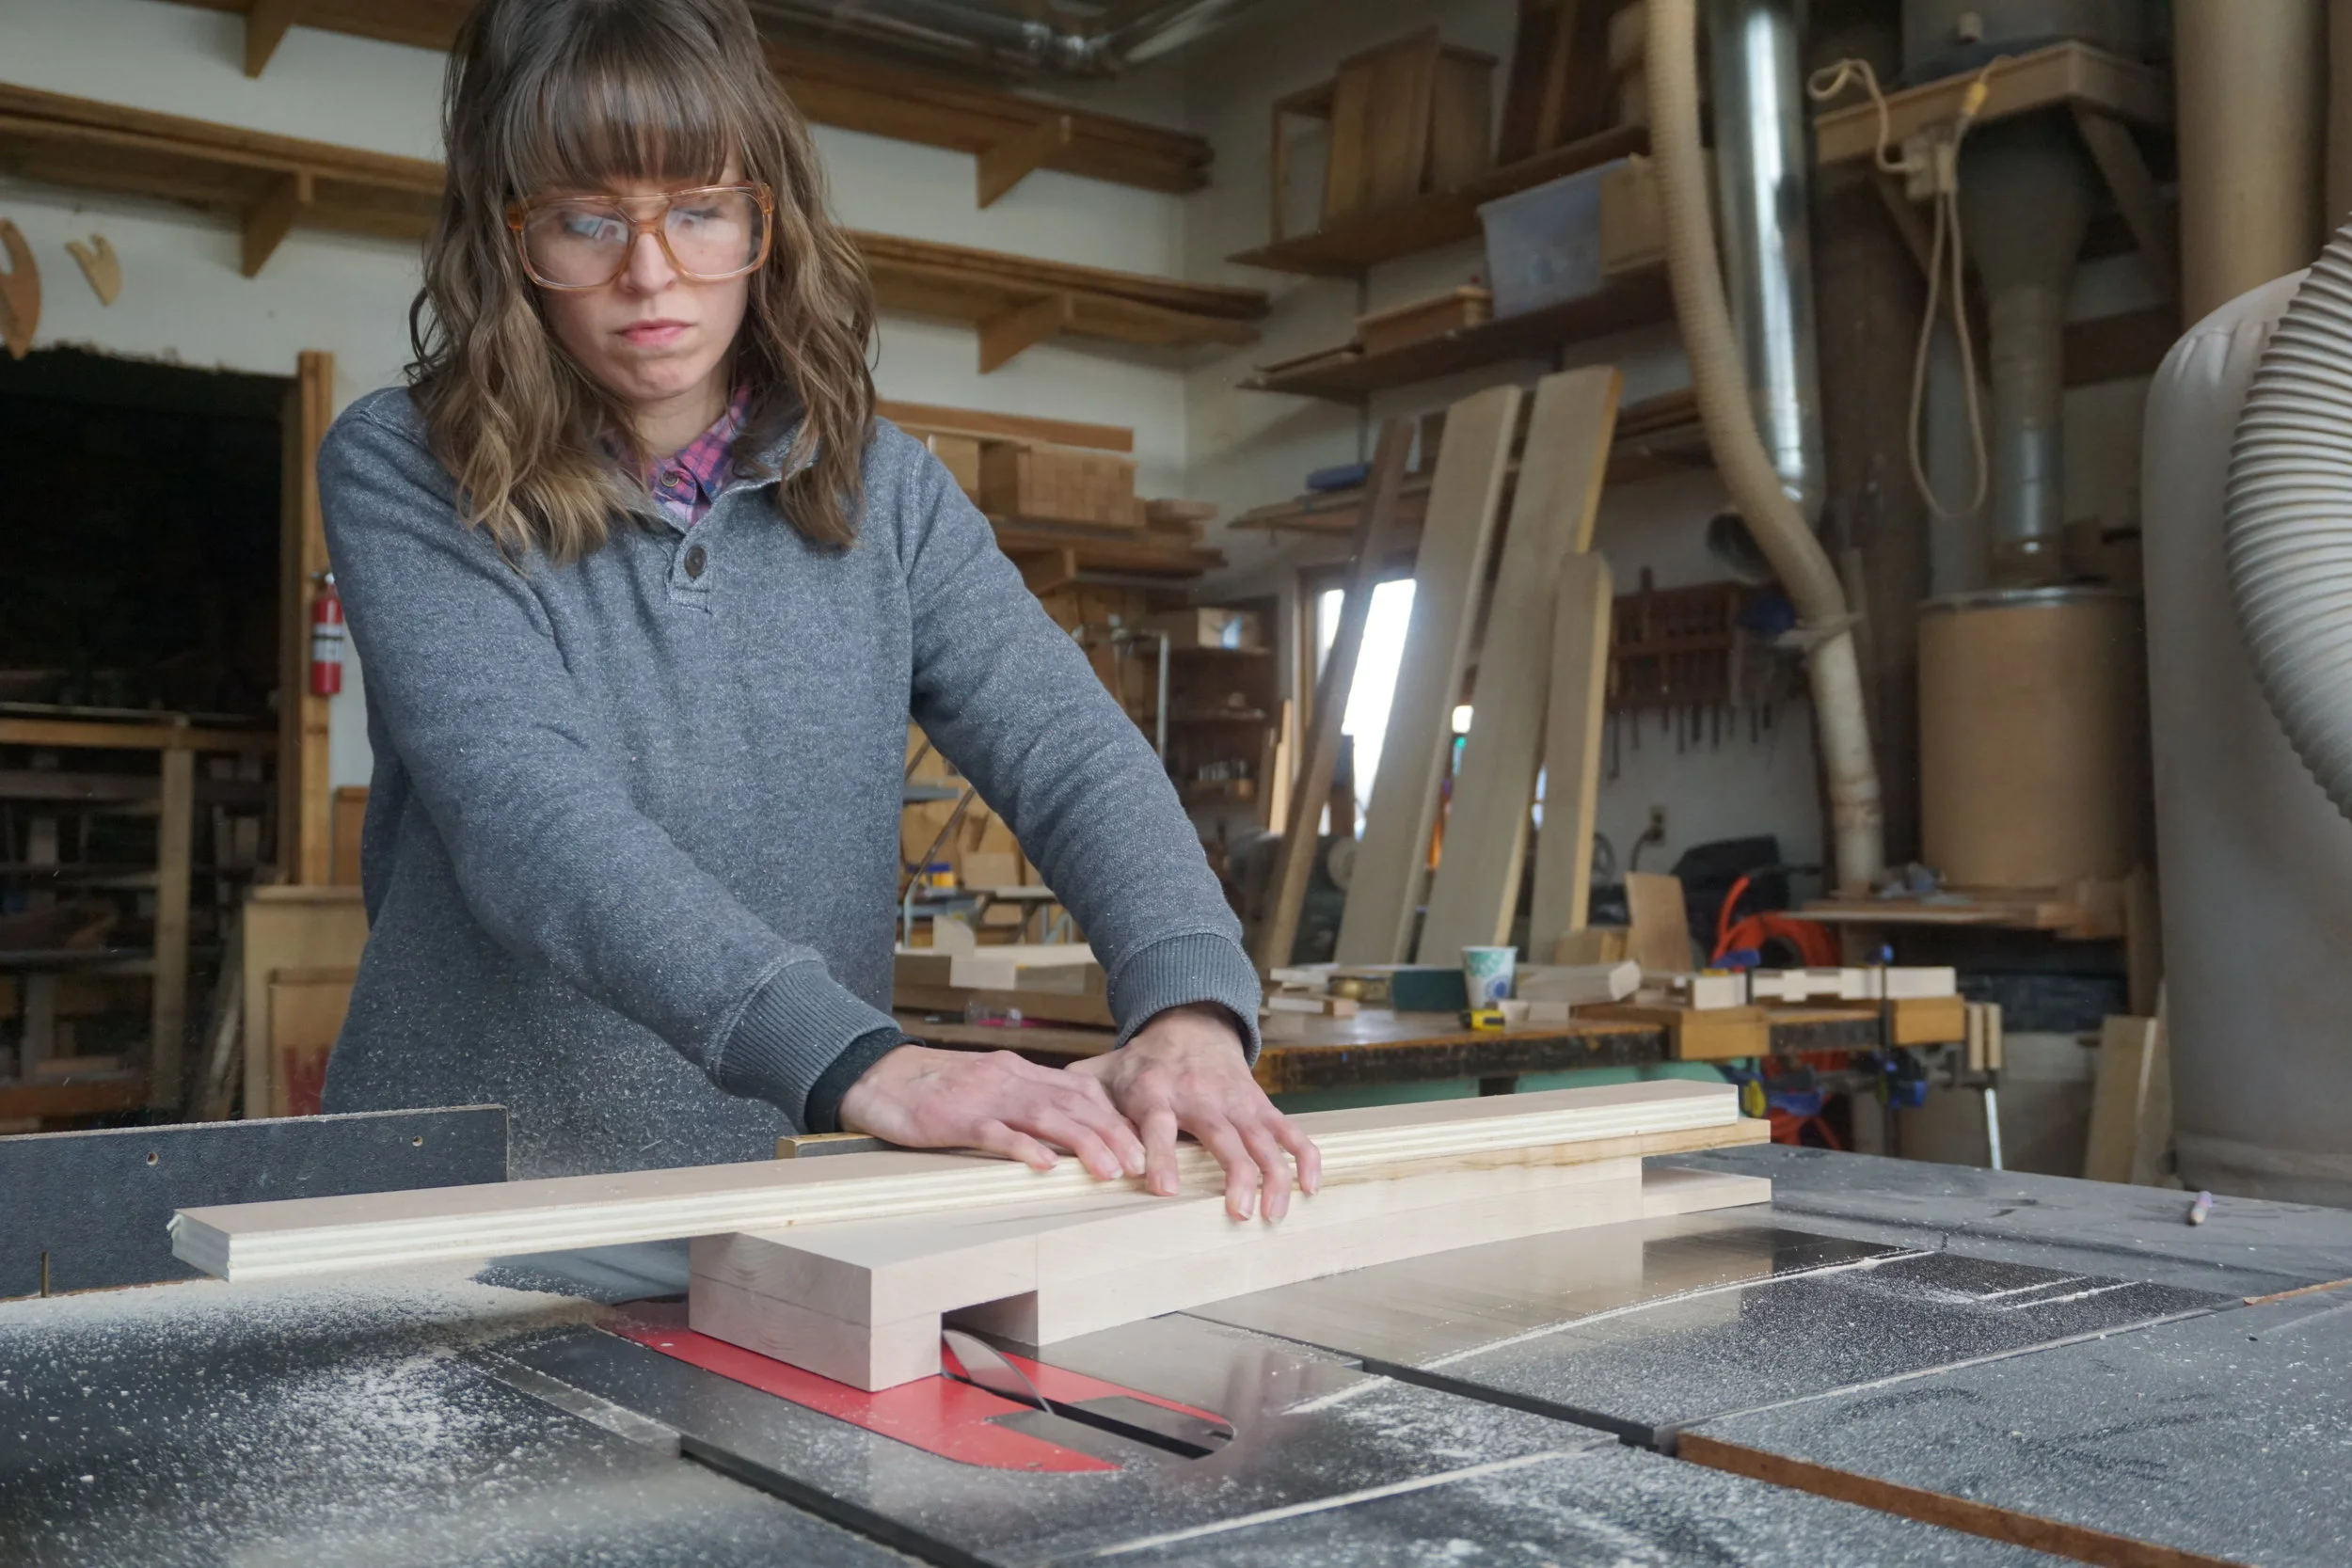
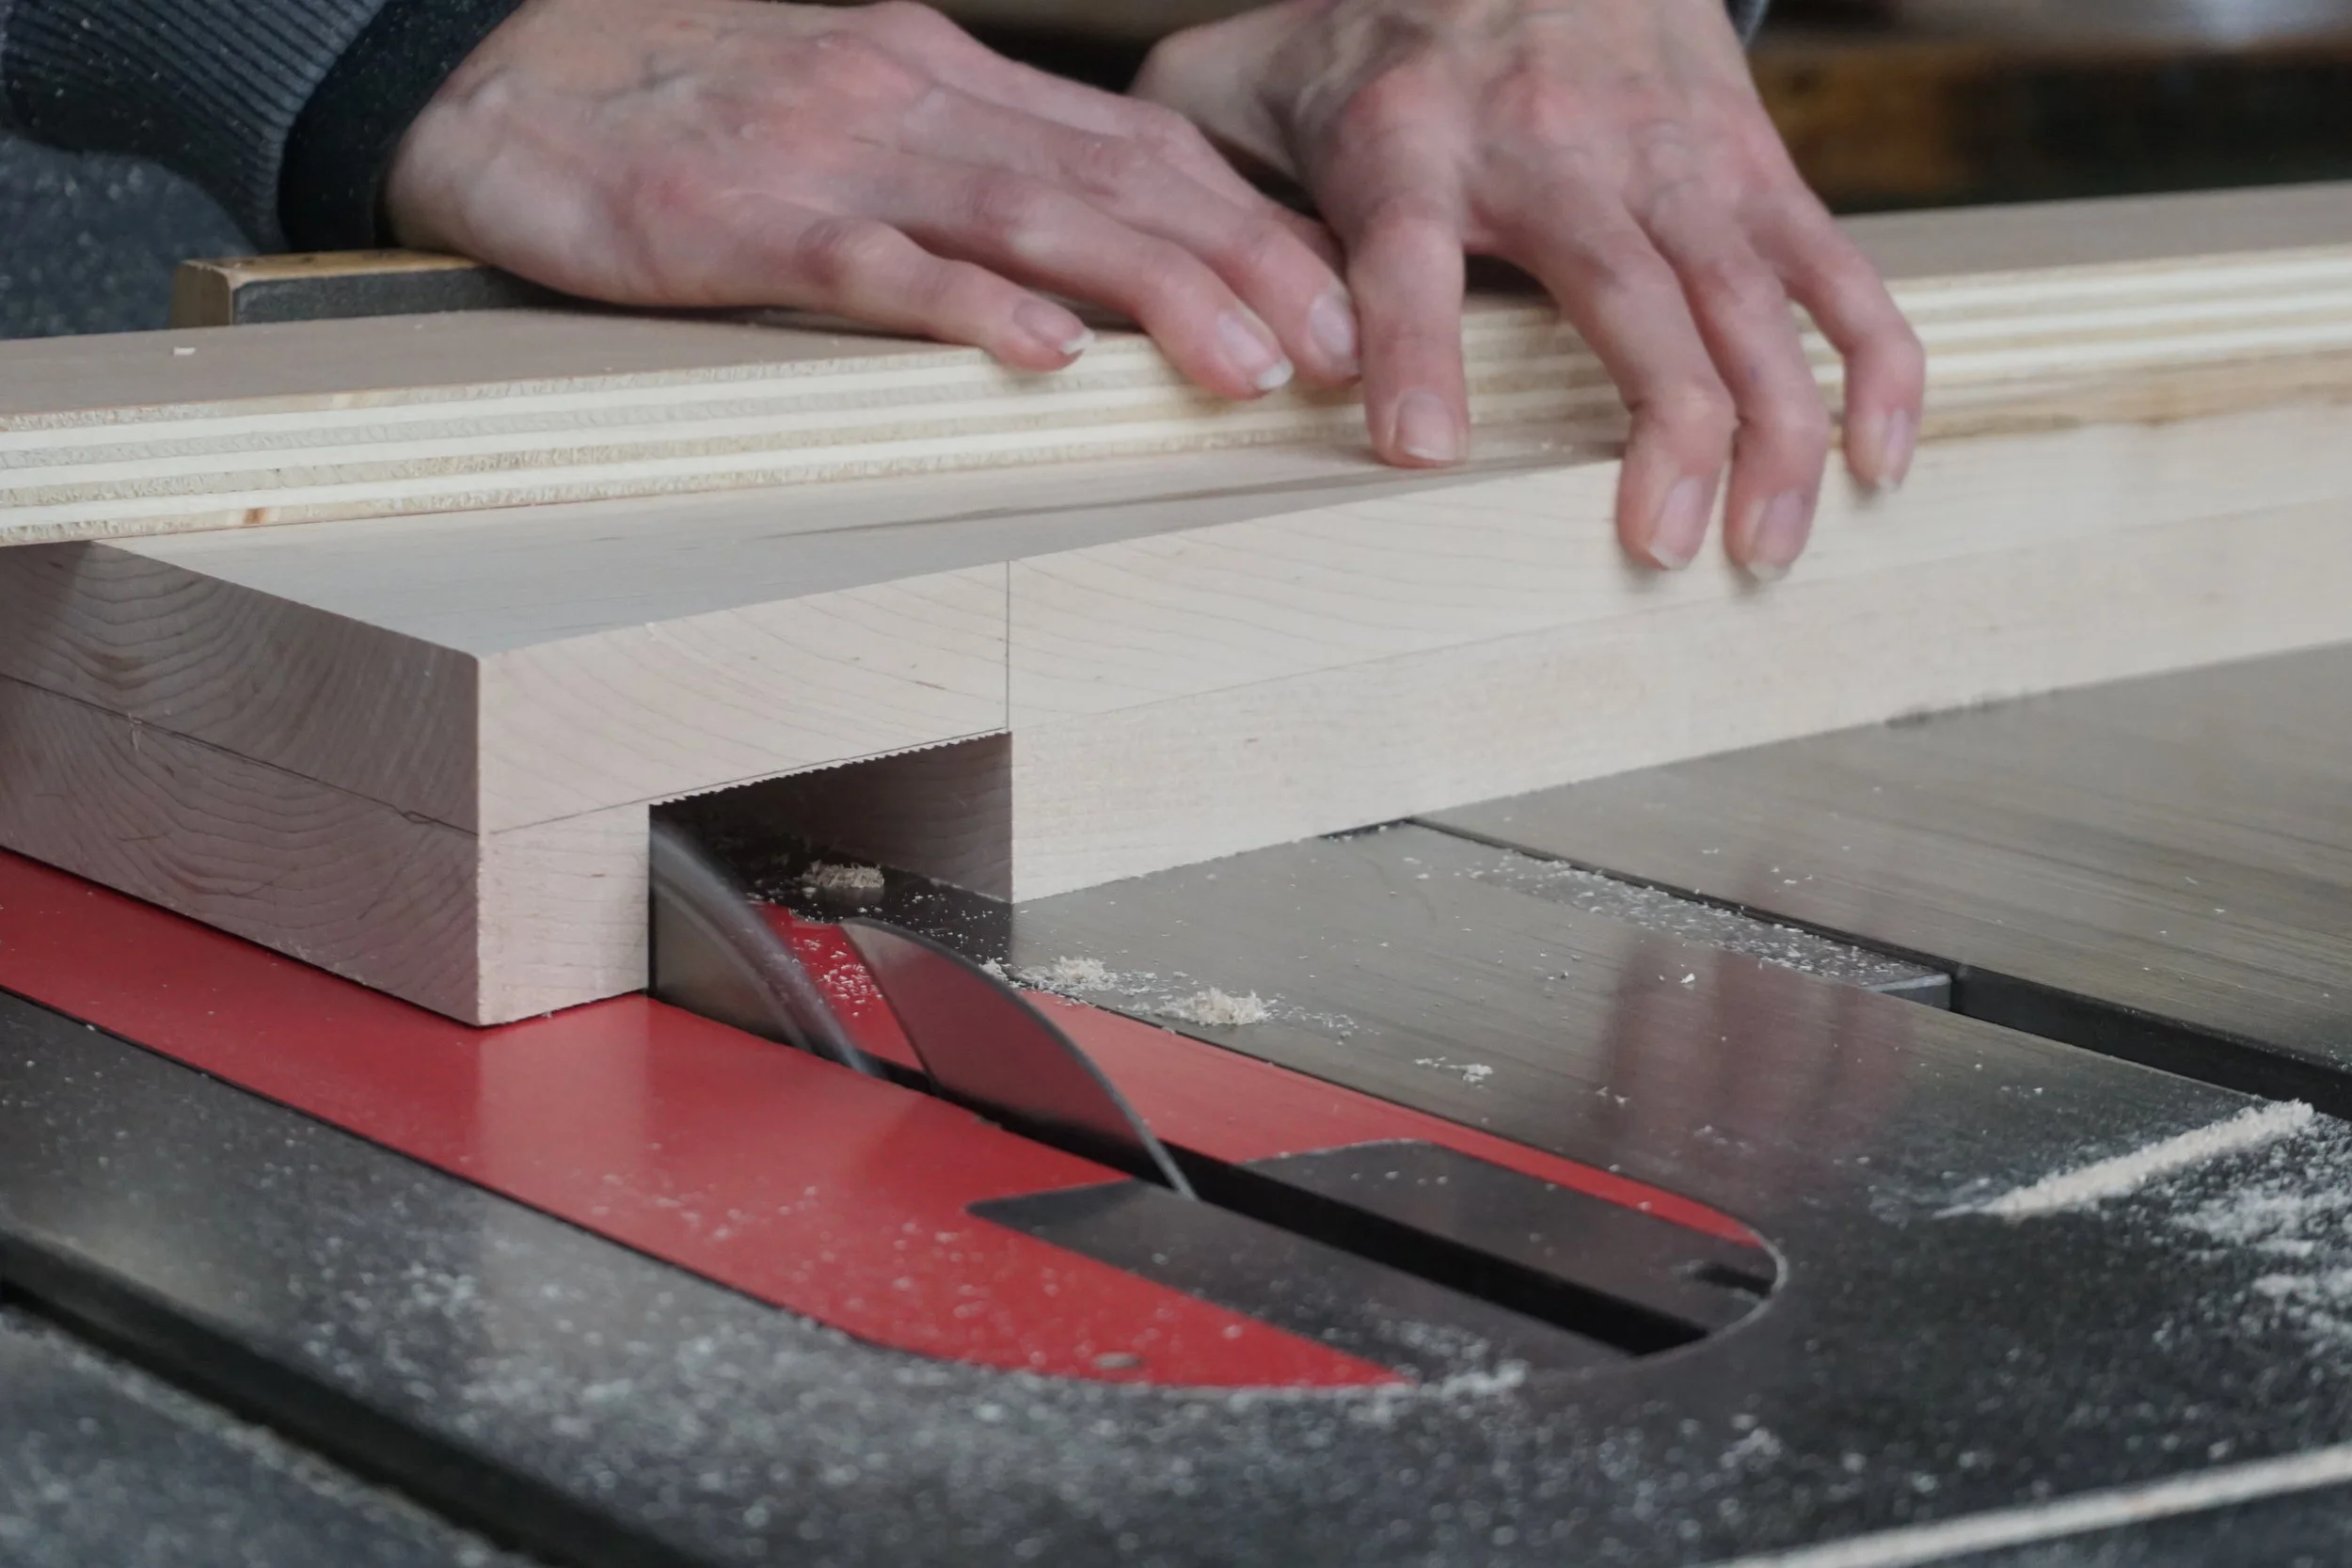
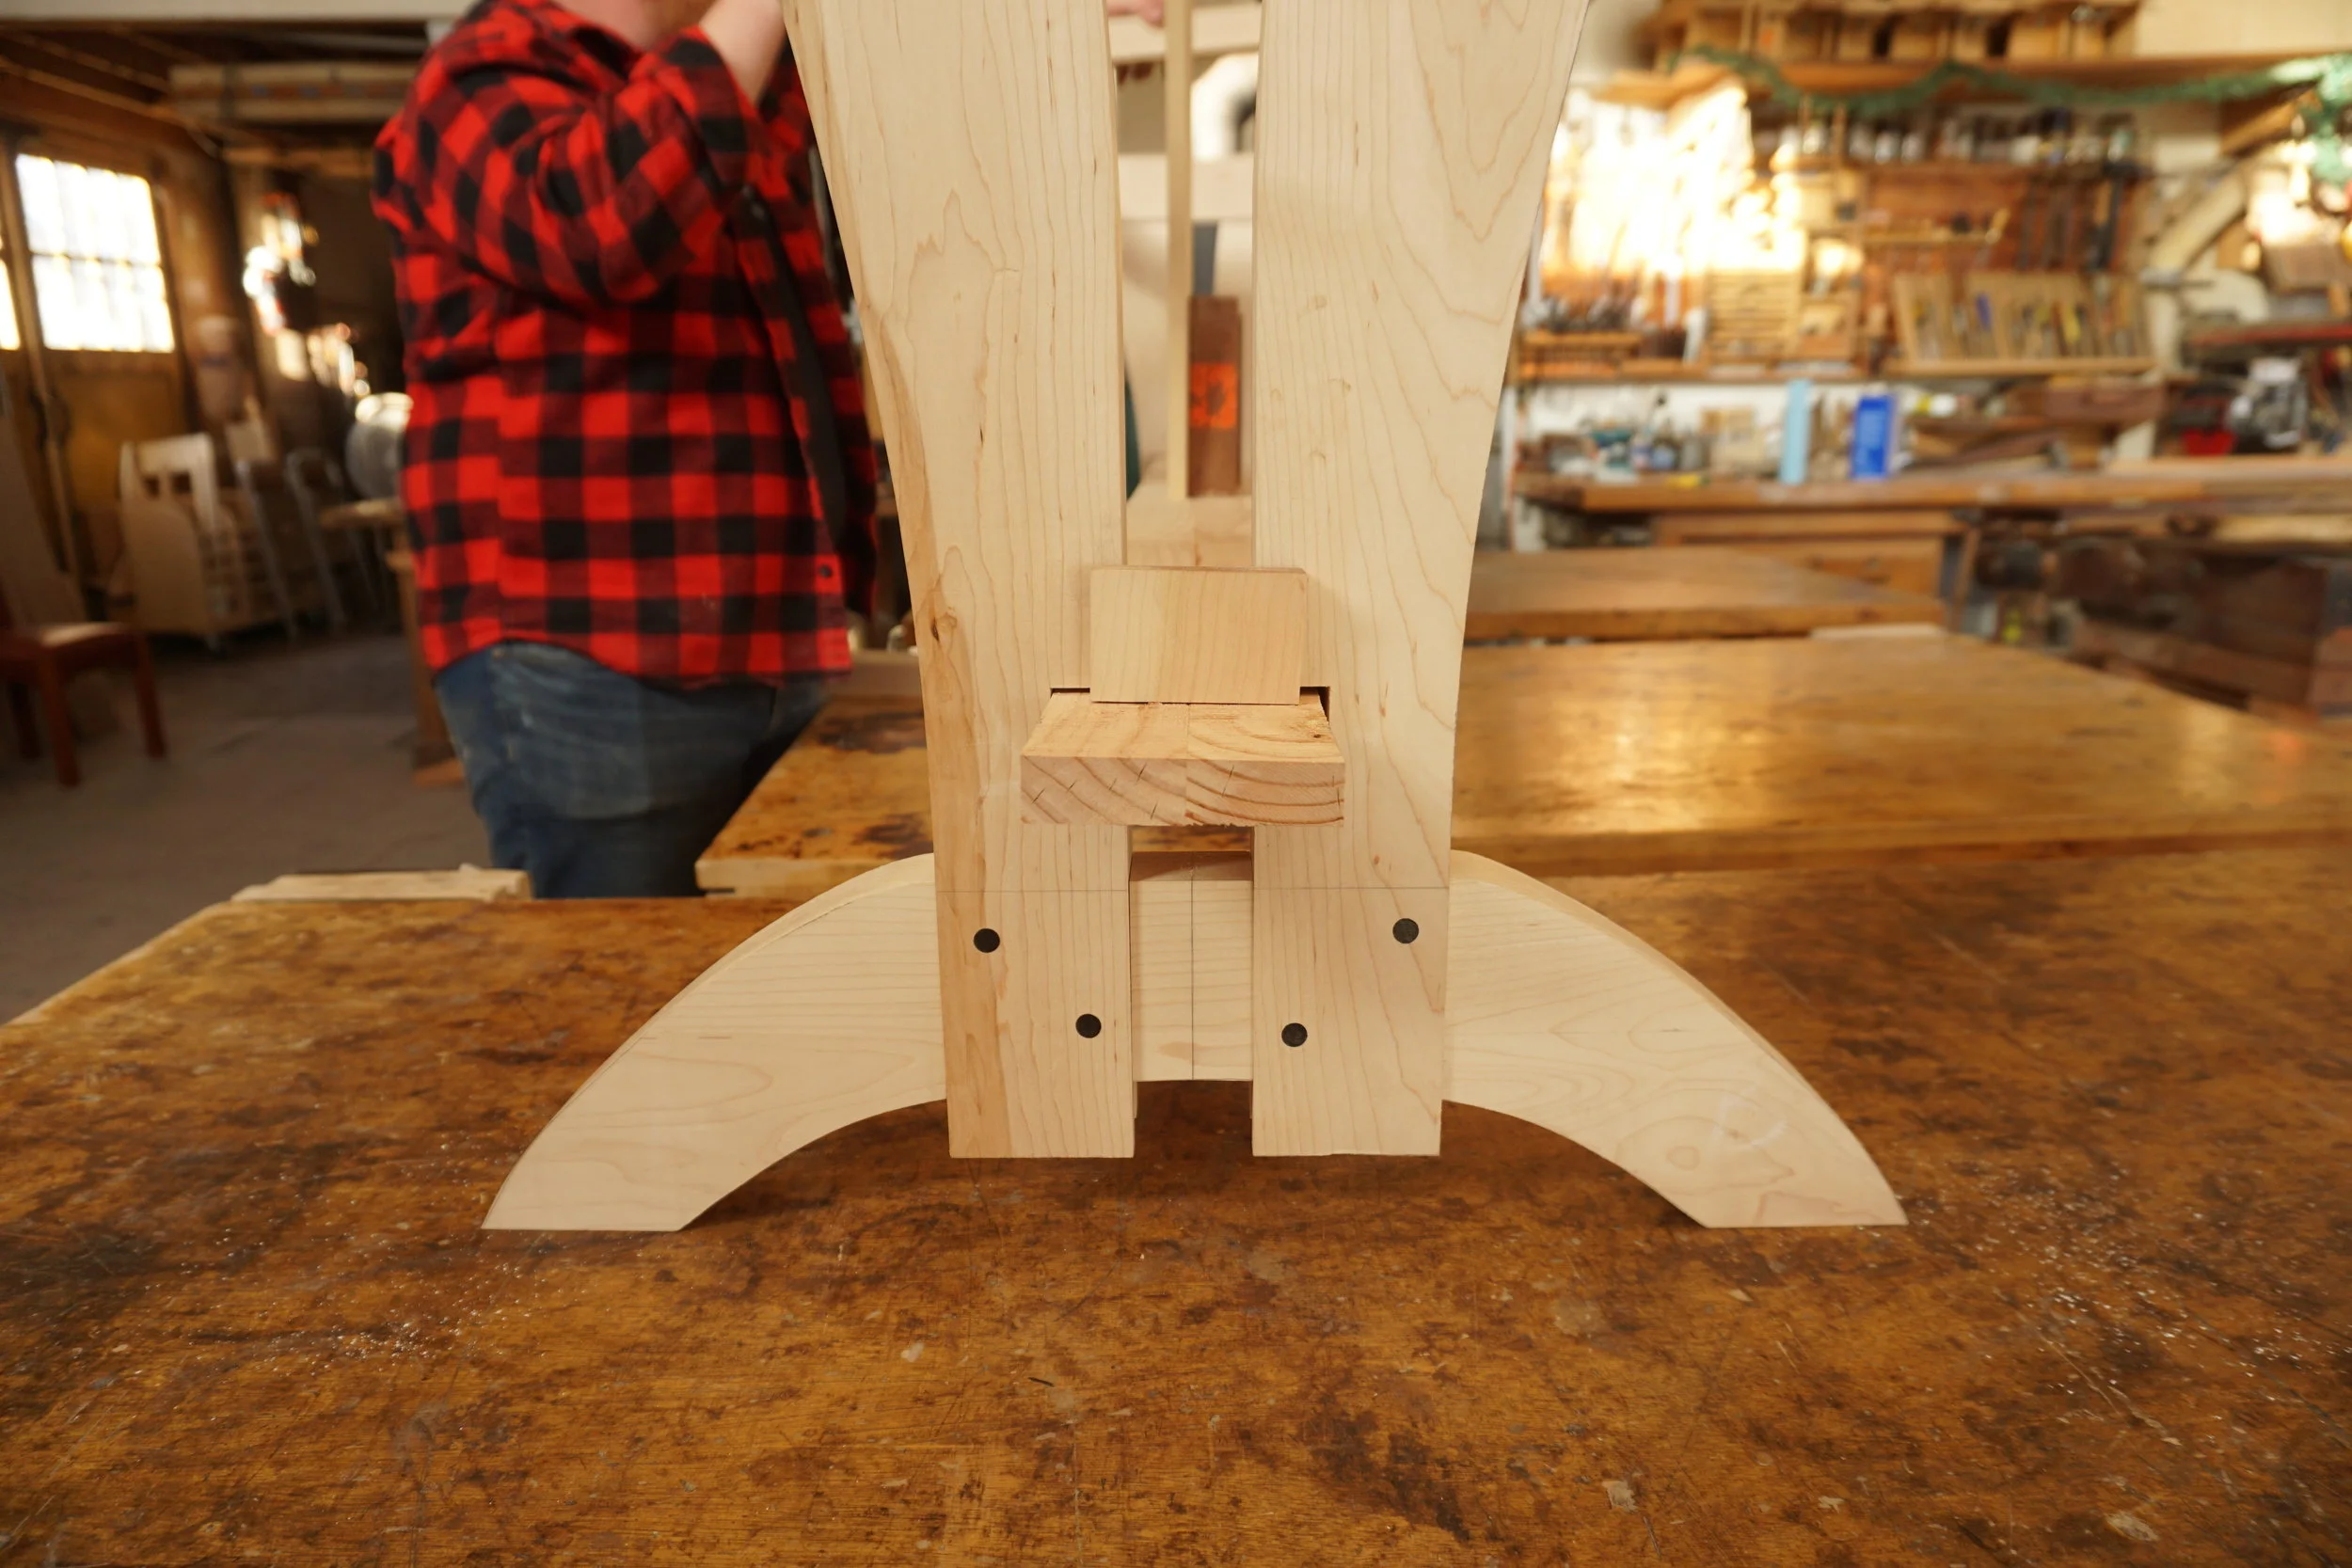
Joinery
The two curved struts will attach to the feet of the base with a bridle joint. Larissa carefully laid out the joinery, then cut the bridle joint on the band saw. I cut two dados through the feet for the bridle joints to slide over. We’re really excited about the look of the base so far. I’m slightly entertaining making one for our showroom as well. We’ll see if time allows. Today, we’ll spend some time doing mock ups of the main trestle before getting into the real parts and joinery.