
Thomas Coffee Table
You decided on a waterfall style walnut coffee table with some fun grain so, we ordered the curliest black walnut we could find at Irion Lumber (and did not disappoint). The corners of this table will be mitered with splines and have a lower shelf. Overall dimensions will be 24” W x 42” L x 18” H.
Getting Started!


We got seven 8/4 rough boards delivered from Irion Lumber and jumped into turning them into parts for the table! I cut them down to mill to thickness and clean up the rough faces to bring out that figured grain. I ripped out any sapwood streaks to keep the overall coloring of the table consistent and dark in color tone.
Because the boards were sold as a “set”, we can presume they were milled from the same tree and/or trees from the same area. It took a bit of mixing and matching to find all the best grain matches but because of that set, it all came together pretty perfectly. The curly grain has a flame-ish look to it that is hard to photograph but looks truly beautiful in person. A note for your photographer brain, the color value of the wood is more like the photo on the left (I accidentally left the overhead LED lights on for the one on the right).


When the arrangement of the boards was decided, I jumped into gluing. Because of the overall width and continuous length of this piece, it made for a thoroughly planned glue up and a lot of clamps. You’ll see dominoes captured within the joints to keep all the boards flush and even while the glue set.
The final panels are all assembled and ready for joinery. I have some jig-making to do to get the miters underway on such thick and wide sections. The miter joints and shelf parts will be in the works the rest of this week and I am hopeful to have something standing next week!
Feel free to reach out with any questions or thoughts. I am excited by the progress so far and thrilled to see it start to come together over the next week or two.
Getting Into It!
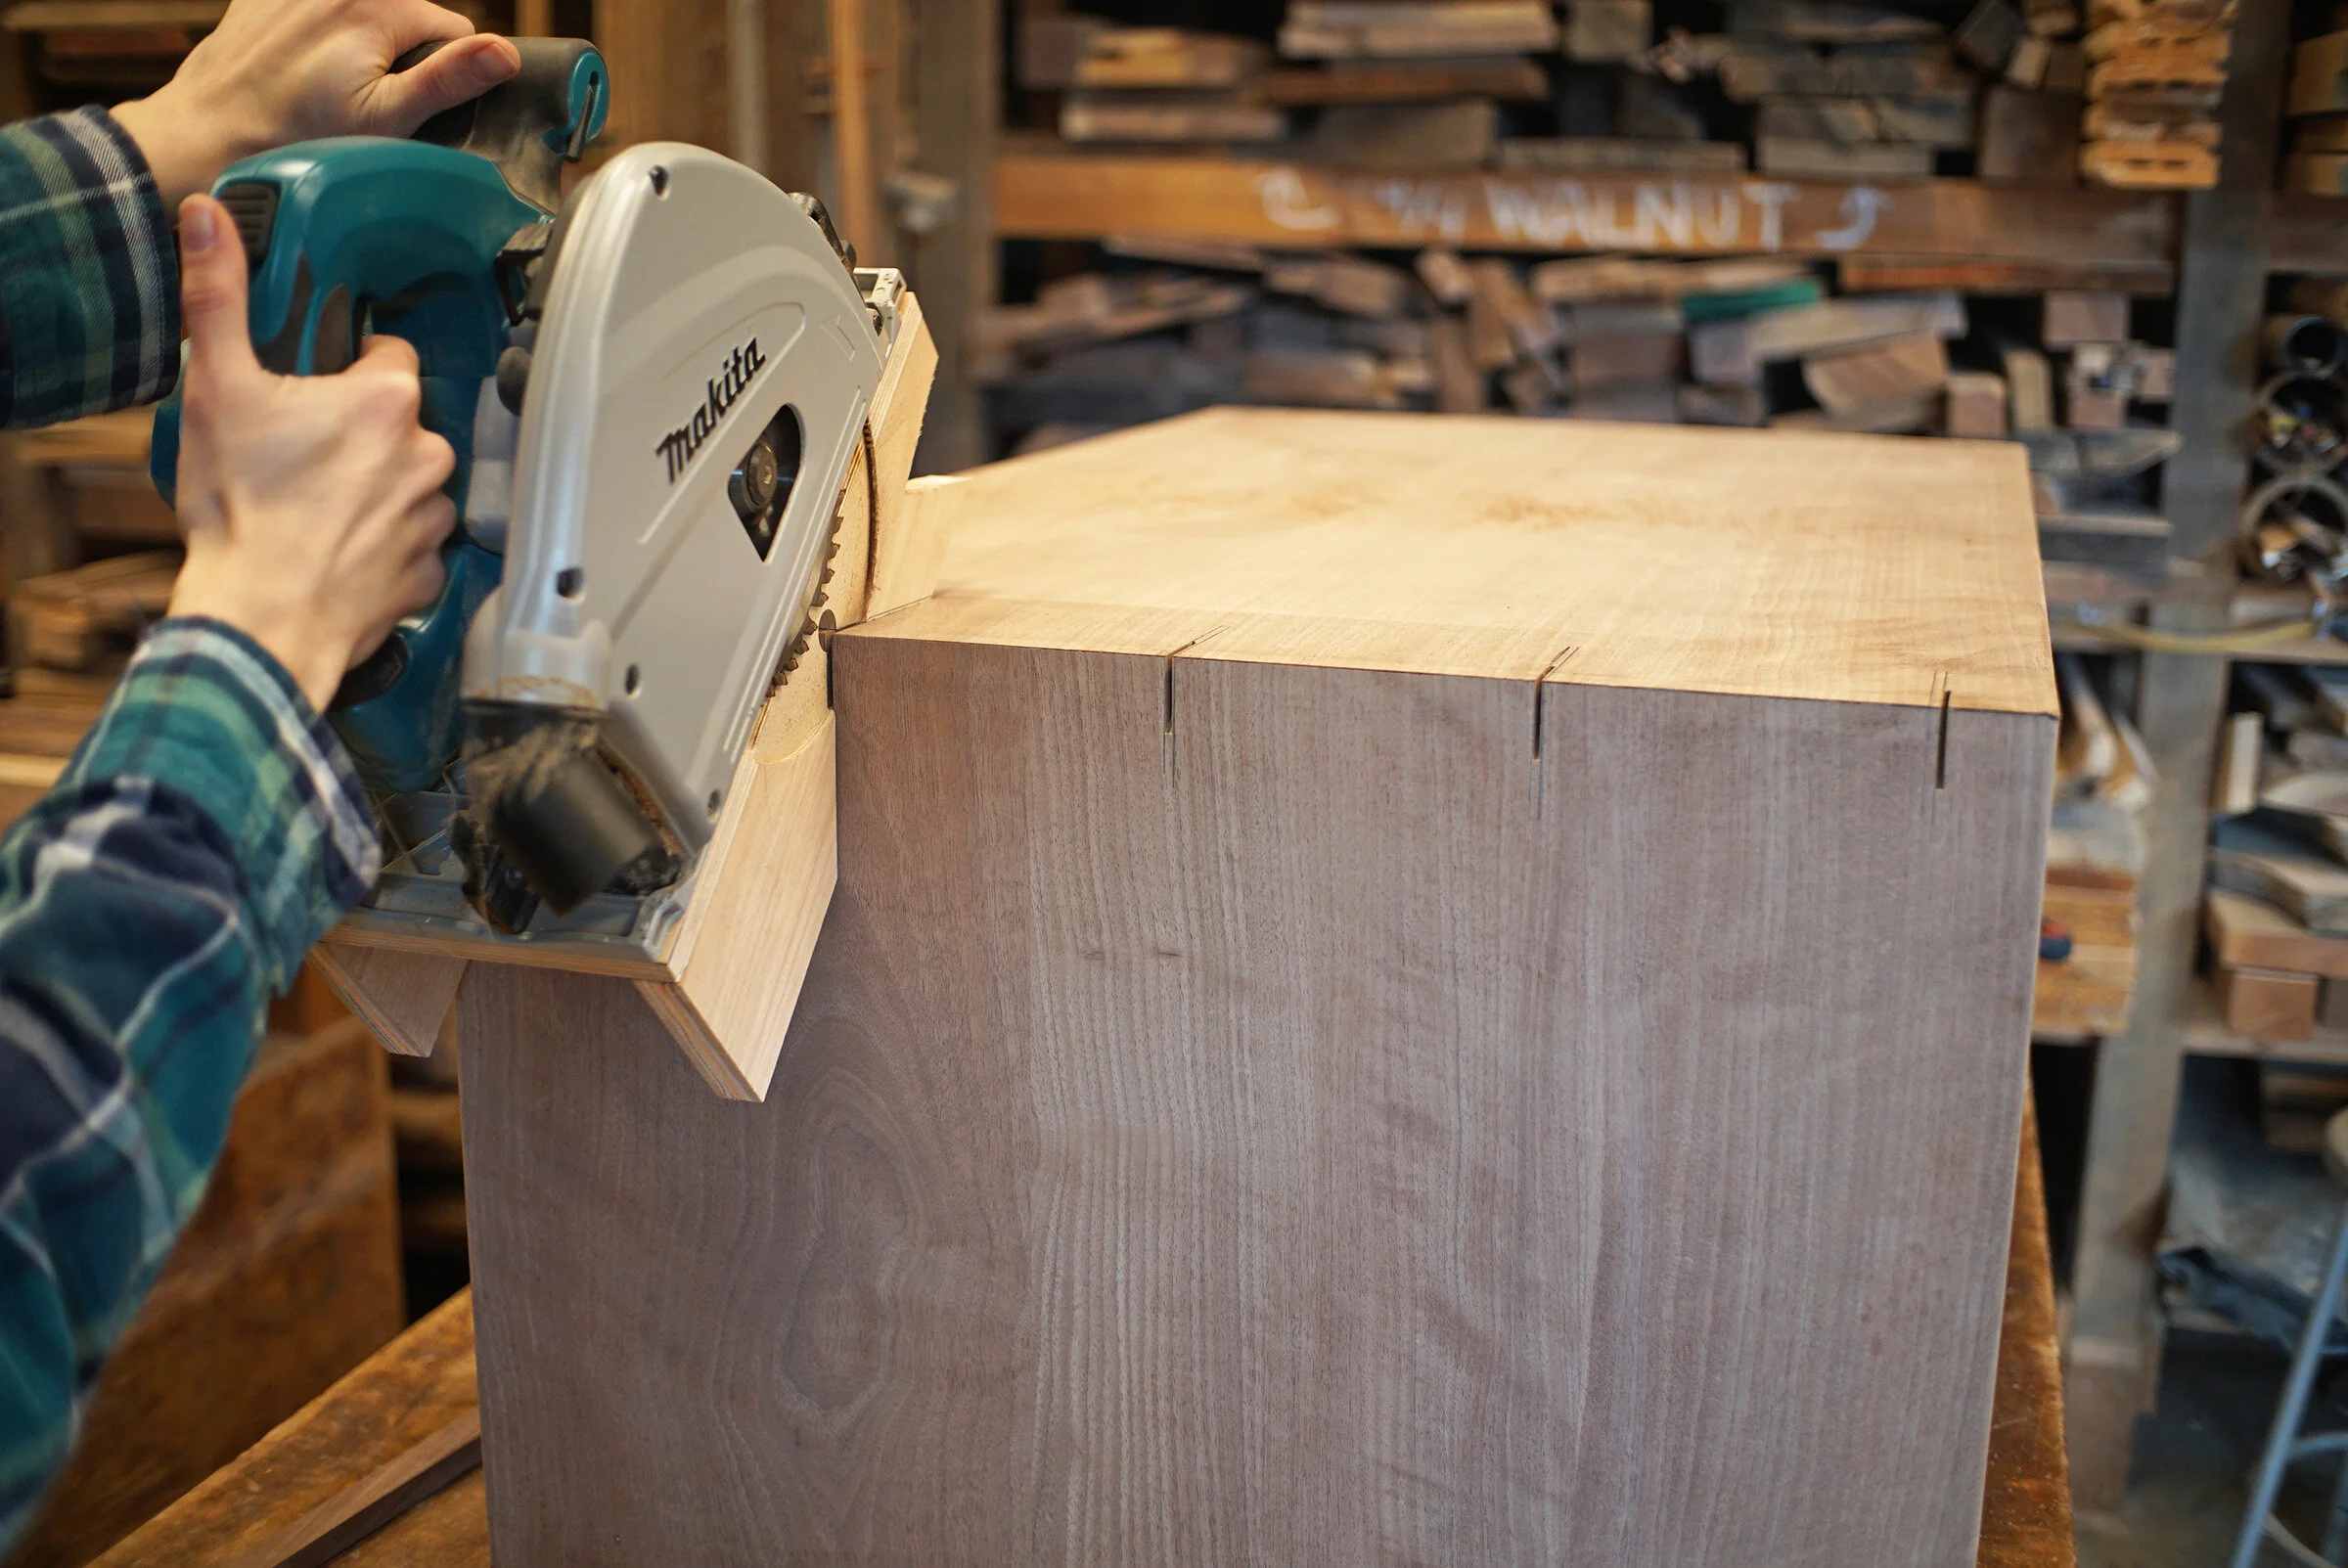
After the big sections were glued up over night, we could break them out of the clamps, do an initial sanding and get into the joinery. First, the sections were ripped to their finished width (24”) and then crosscut to length. Then, we tilt the table saw blade to 45 degrees and cut the miters. On pieces this big and heavy, we had to cut away a little bit at a time to make sure it was straight and didn’t bind against the fence.


Next up was joining the miters. A miter is an end grain to end grain joint which on it’s own isn’t very stong, especially for material so thick and heavy. To strengthen the joint, we installed dominoes. The dominoes are essentially floating tenons and allow for some strong long grain glue contact within the domino slots. The splines we’ll put across the joints as a touch of detail will also add strength to the joint. This table will outlive us all. You can see in the photos how the dominoes also draw the joint together for a sweet close!


Dry Fit
The first dry fit is always satisfying (if everything goes according to plan). This one came together like a dream. With the dominoes installed, I could get this bad boy to stand up without any glue or clamps. The continuous grain that carries over the edge looks so great!


Making the Shelf
Because the shelf is a bit thinner than the thickness of the table’s casework, I resawed the 8/4 material we had left over from the set. By resawing, I could lose a lot (1/4”) of material quickly instead of planing it all away into dust at a machine. I ripped through the board on edge at the table saw to start and finished the cut at the bandsaw. This method made quick work of planing it down to finished thickness to glue up for the shelf.
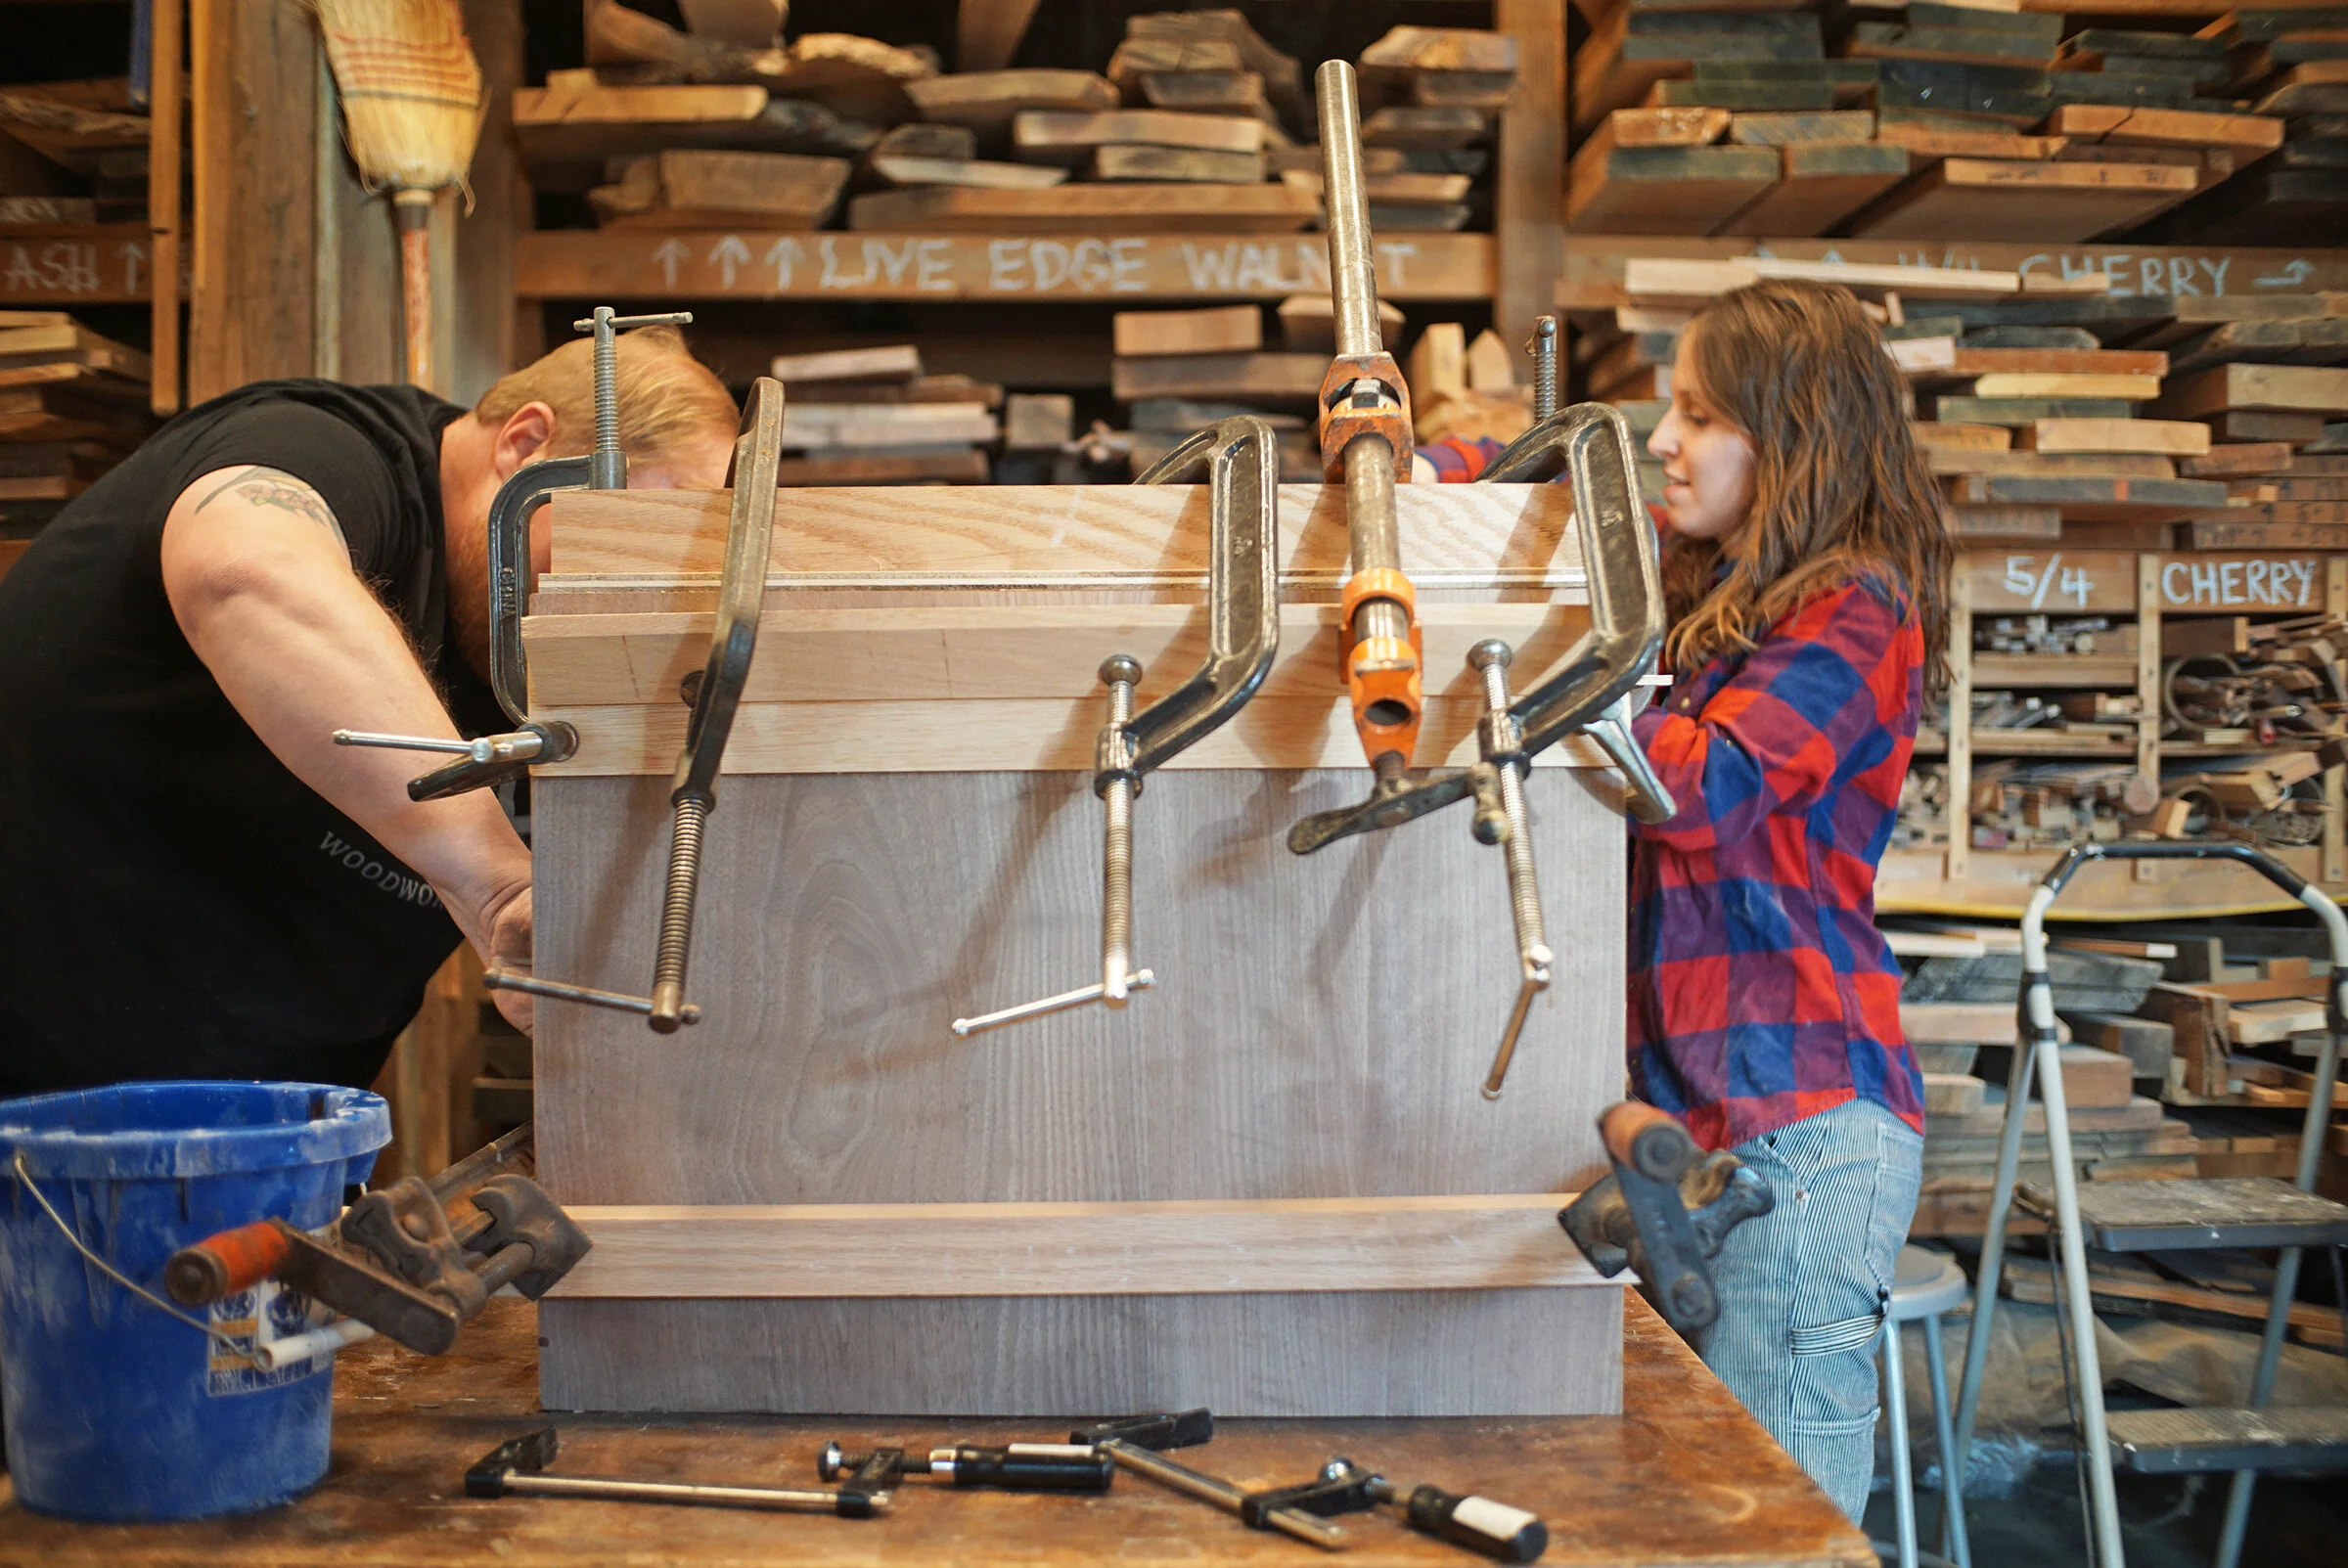
Dry Clamp
The last dry clamp before the glue! I made custom cauls to clamp against to squeeze those miters tight during the glue-up, and made sure the shelf shoulders closed tight against the inside walls of the table. It all looks great so, tomorrow morning I will round over the corners and do some finish sanding before diving into the glue up in the afternoon. I am so happy to finally report some real progress on your table. It’s looking great and I can’t wait to get some finish on it to see that grain pop!


The Final Chapter
Glue-Up
After a thorough dry clamp, I recruited help from Rob for the glue up. Wood glue gives us about 10 minutes to get glue onto everything, into every joint, and the clamps all tightened in place. It’s always a test of patience and anxiety getting something big together in that limited window but, we pulled this one off. The miters seated nicely and the shelf came together easily so, we were grateful. After cleaning up any glue that squeezed out of the joint, it sat in clamps for a few hours to set and cure.


Splines!
To cut the spline slots into the corners of the table, I had to get inventive. For smaller pieces, we have a sled that rides over the table saw to achieve these cuts. Lifting this table up onto the table saw was not an option so I figured out a way to bring a saw to the table. I whipped up a jig that registered our track saw at the right angle over the table’s corners and plunged each cut. Once the kerfs were cut, I milled walnut splines to a thickness that fit and glued them in! After the glue dried, I cut off the excess and sanded the whole surface to be nice and level. These splines add strength to the miter joint because it reinforces the end-grain glue joint.
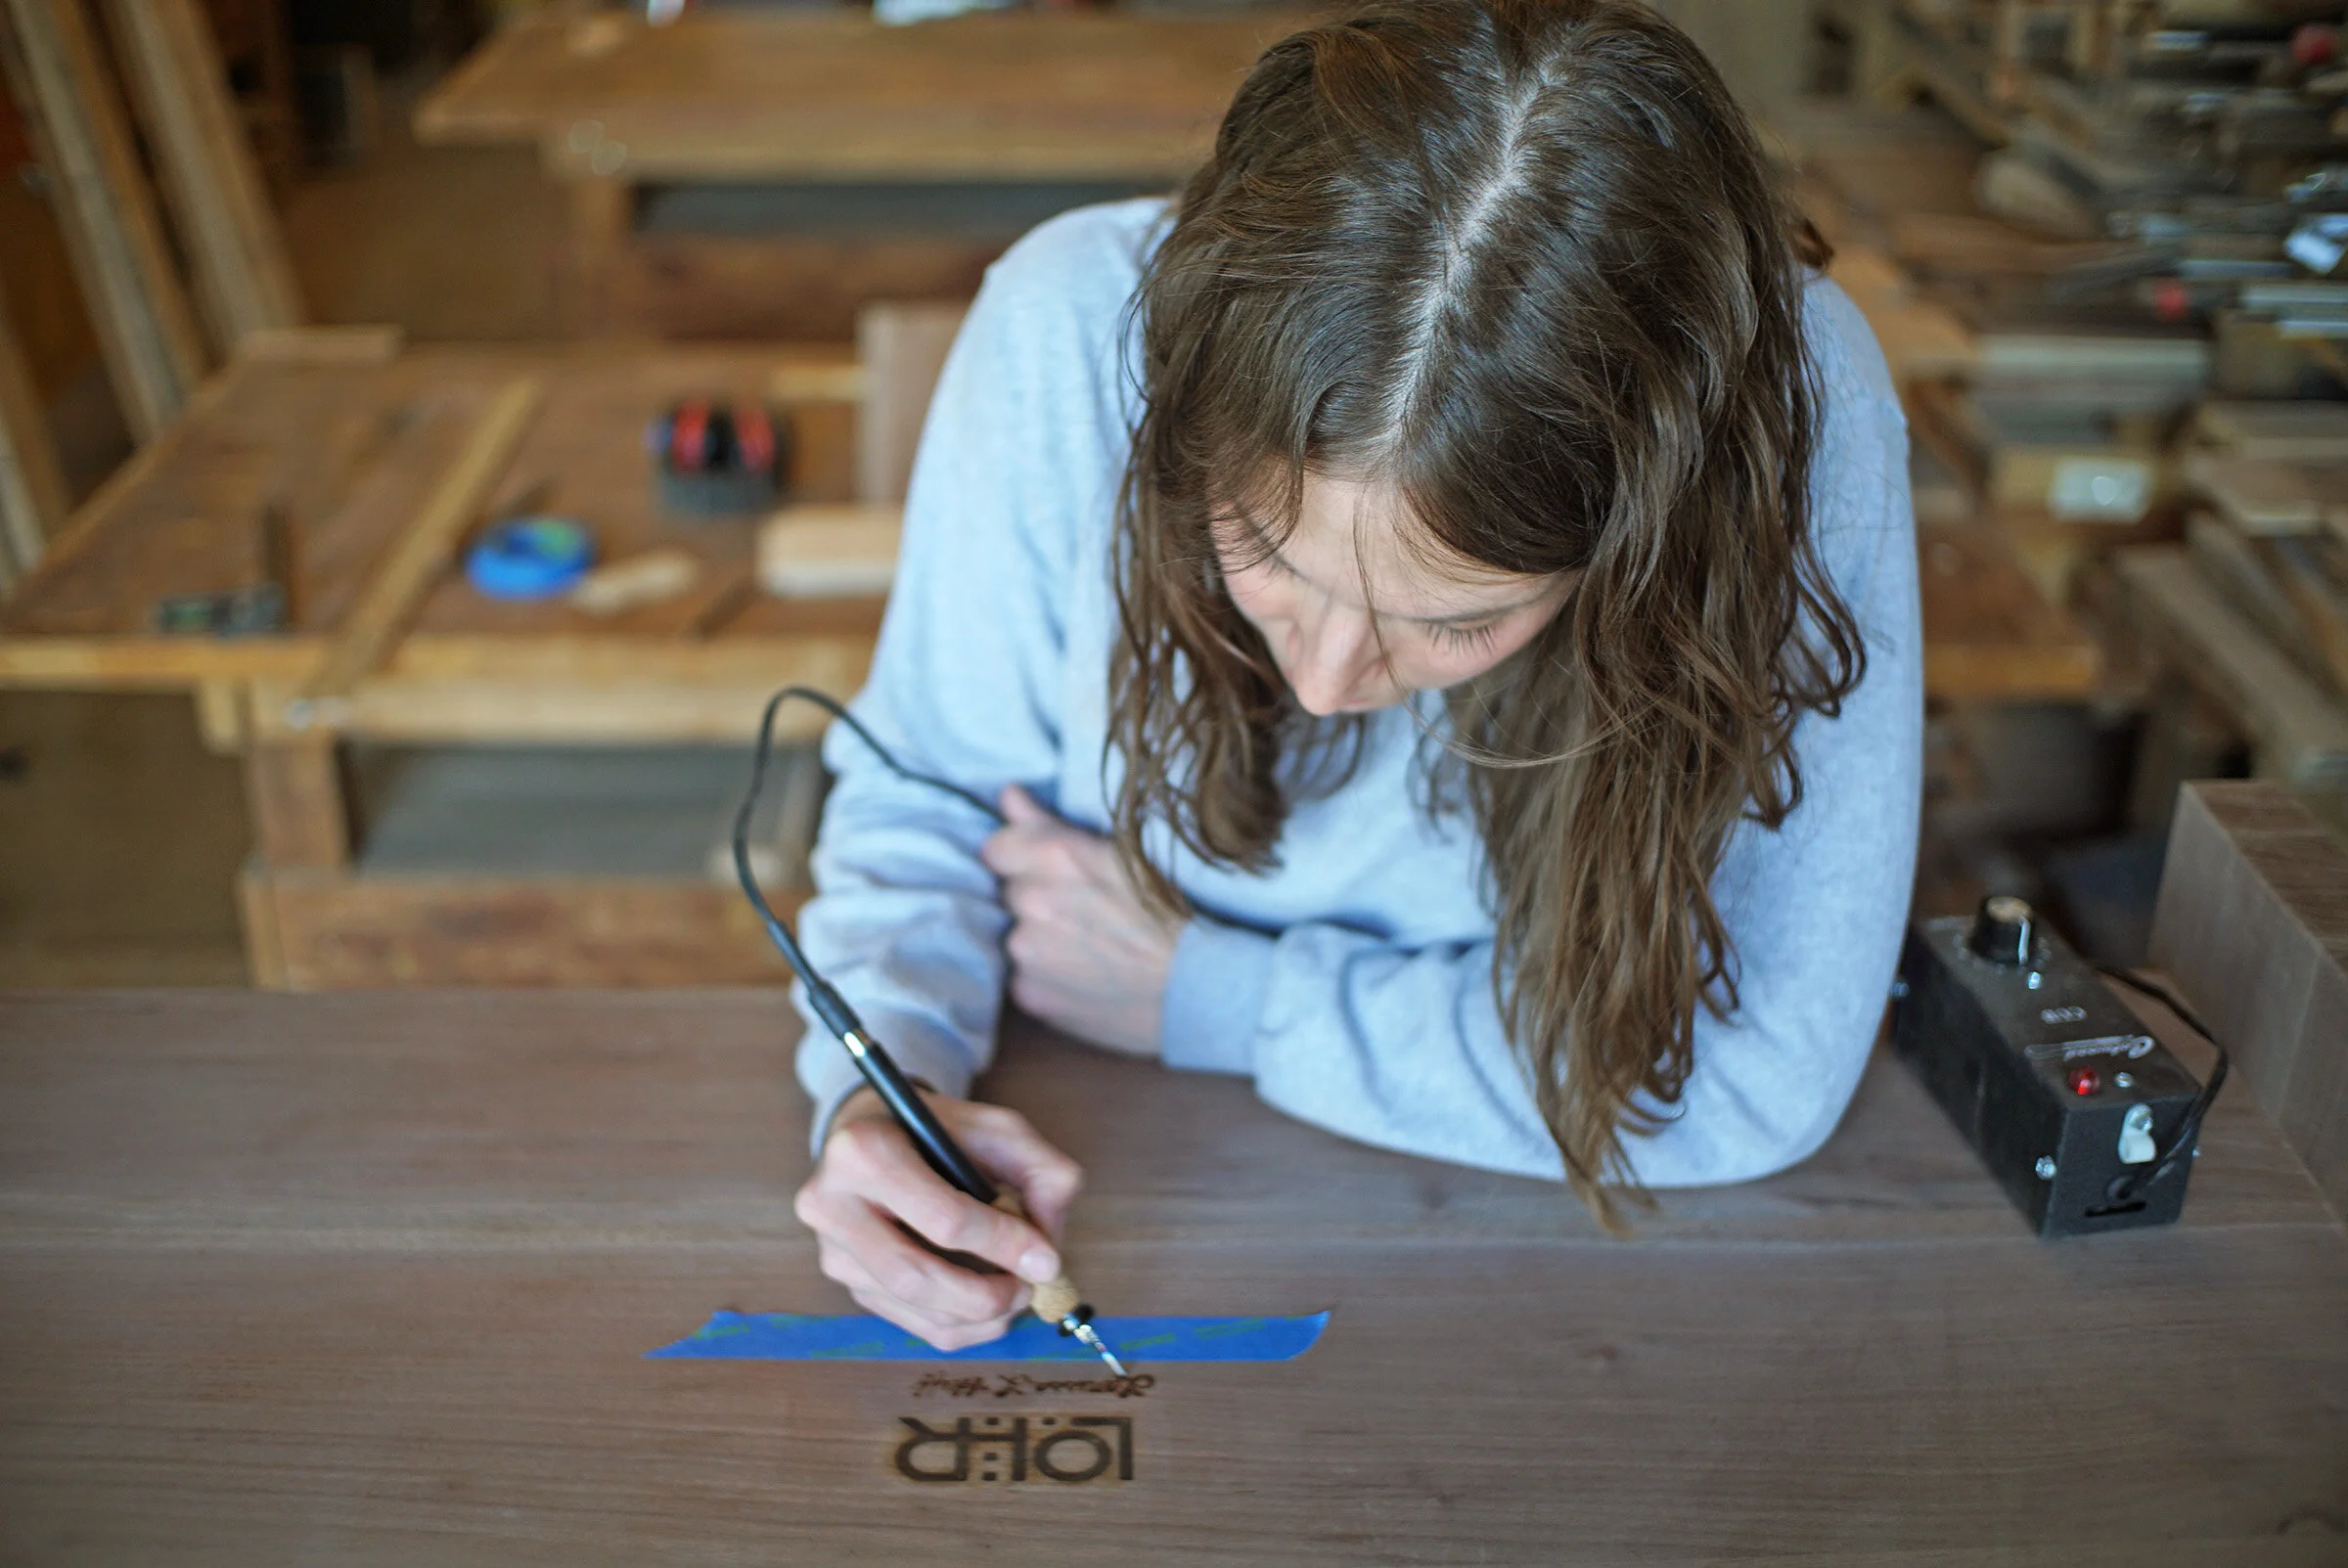
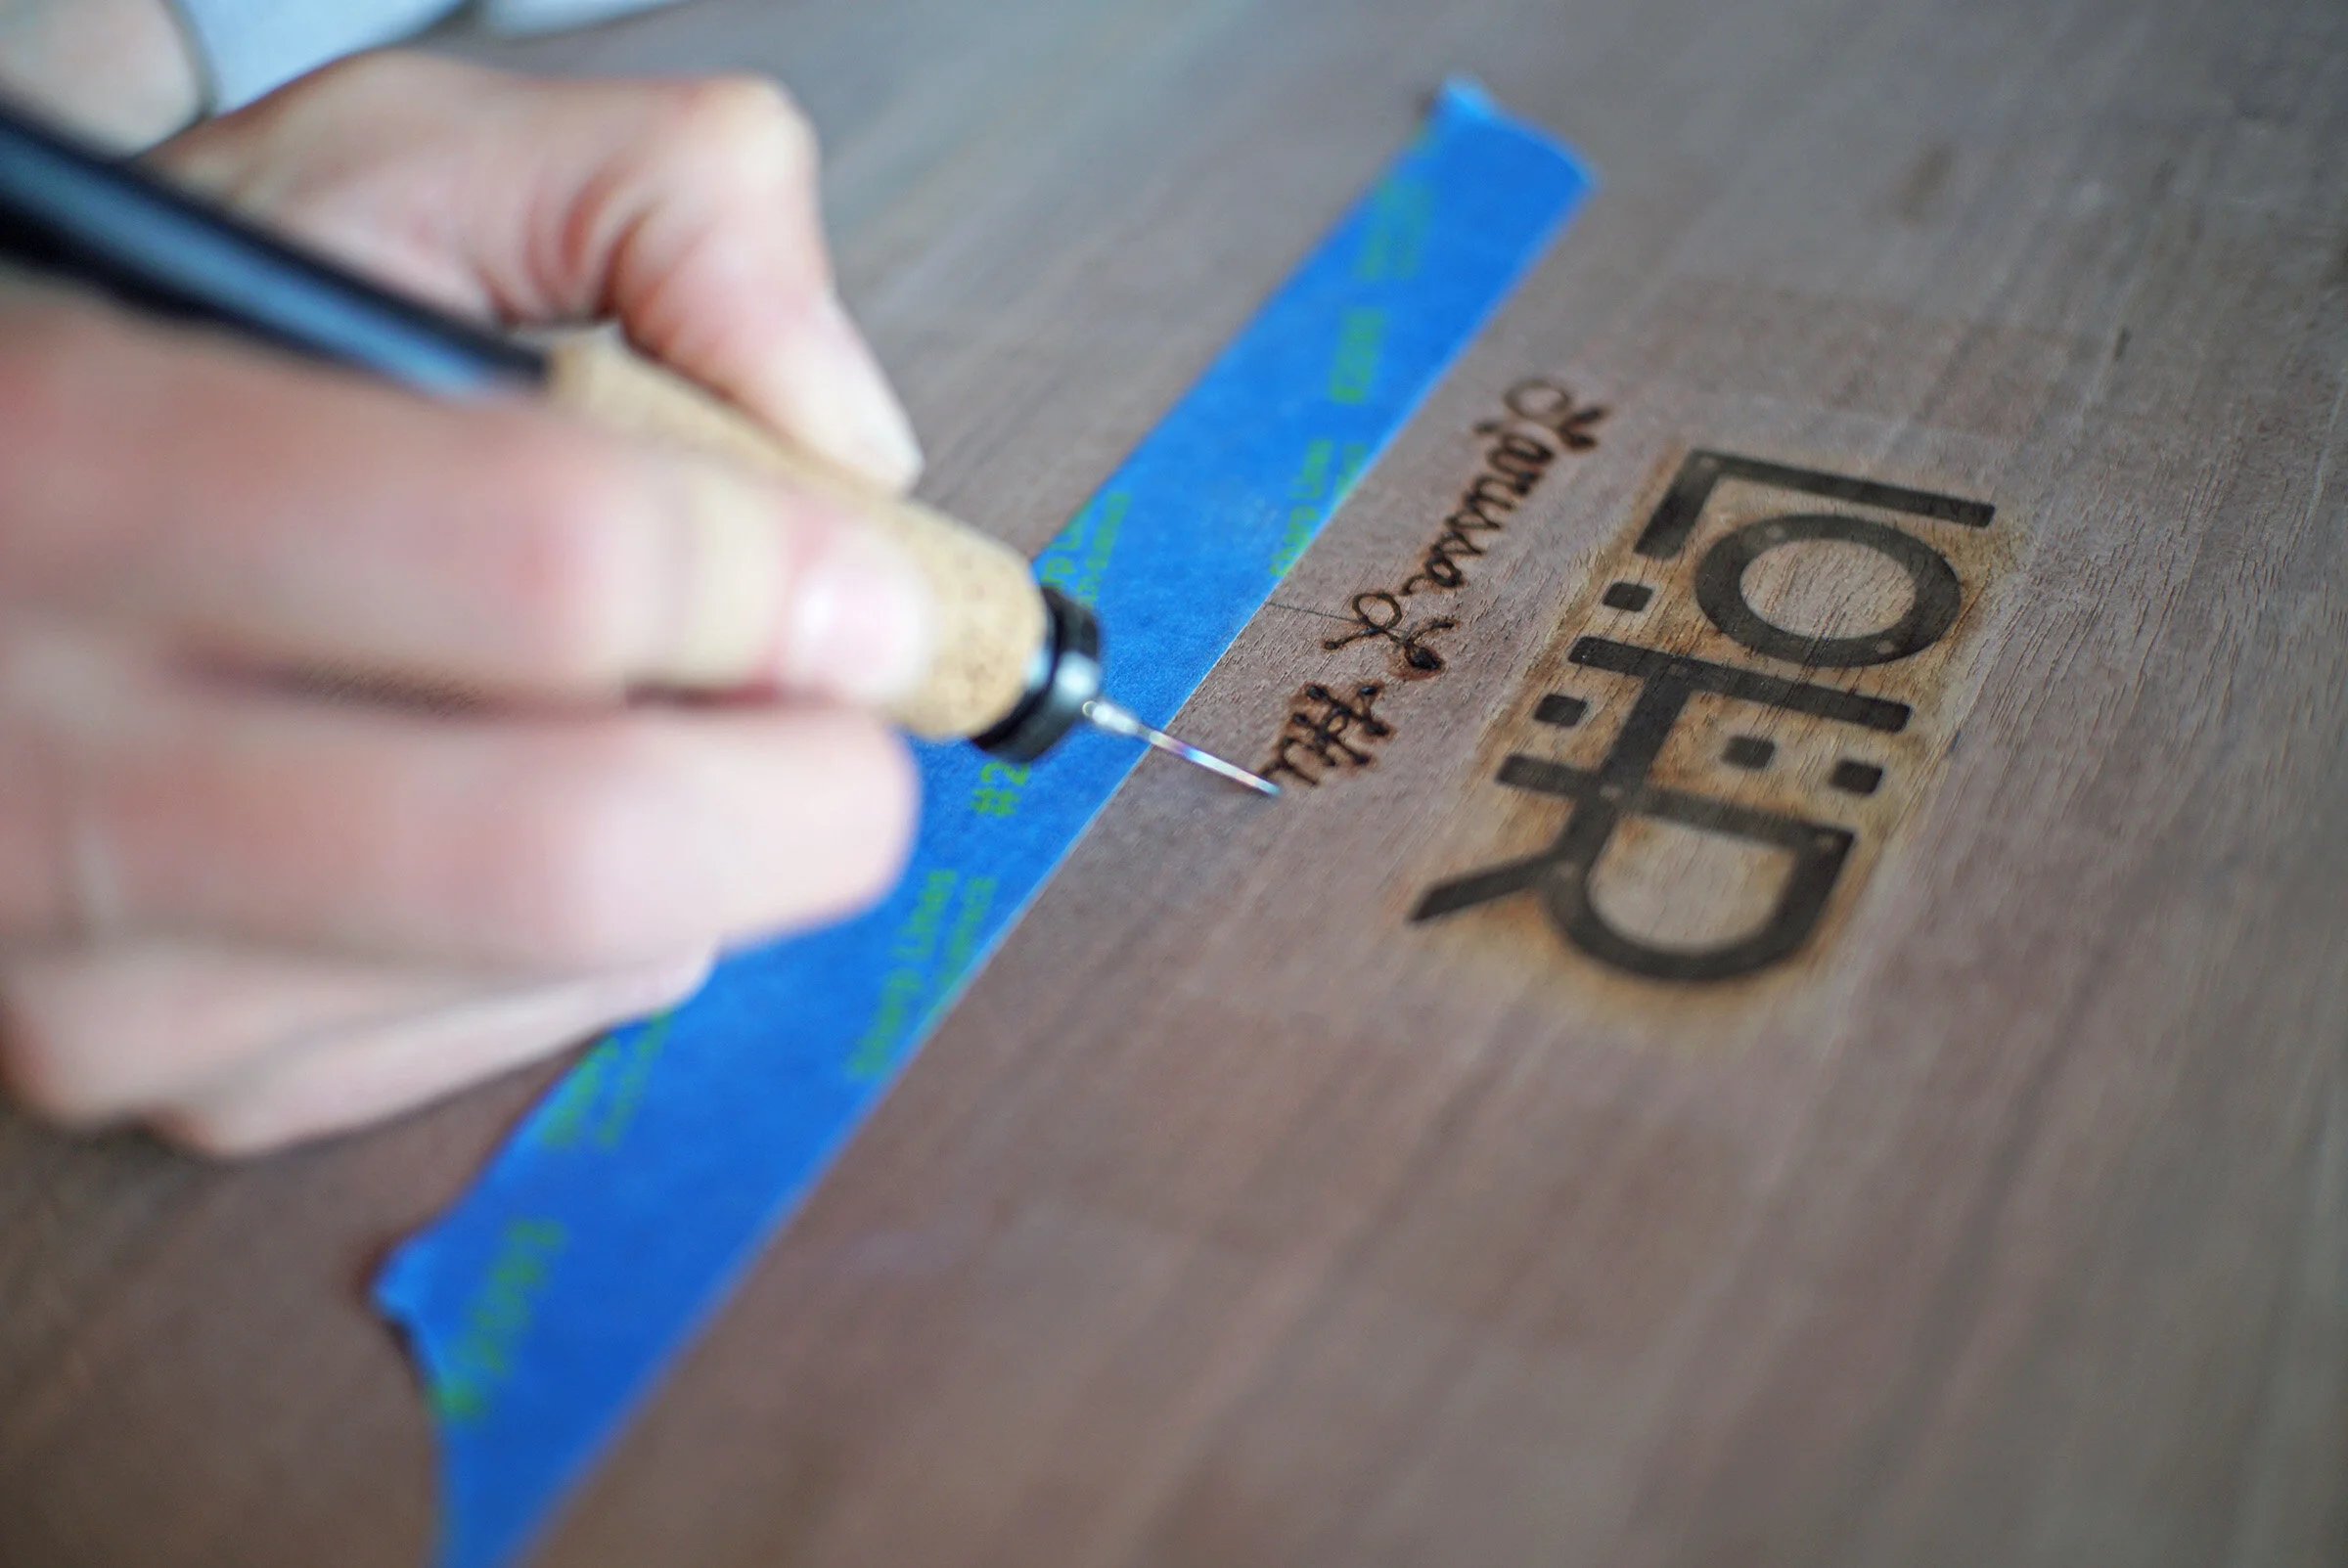
Finishing Touches
The last things that happen before applying finish includes sanding (no photos of that because, well, it’s pretty boring), breaking the sharp edges to be soft and tactile, and branding/signing the bottom.
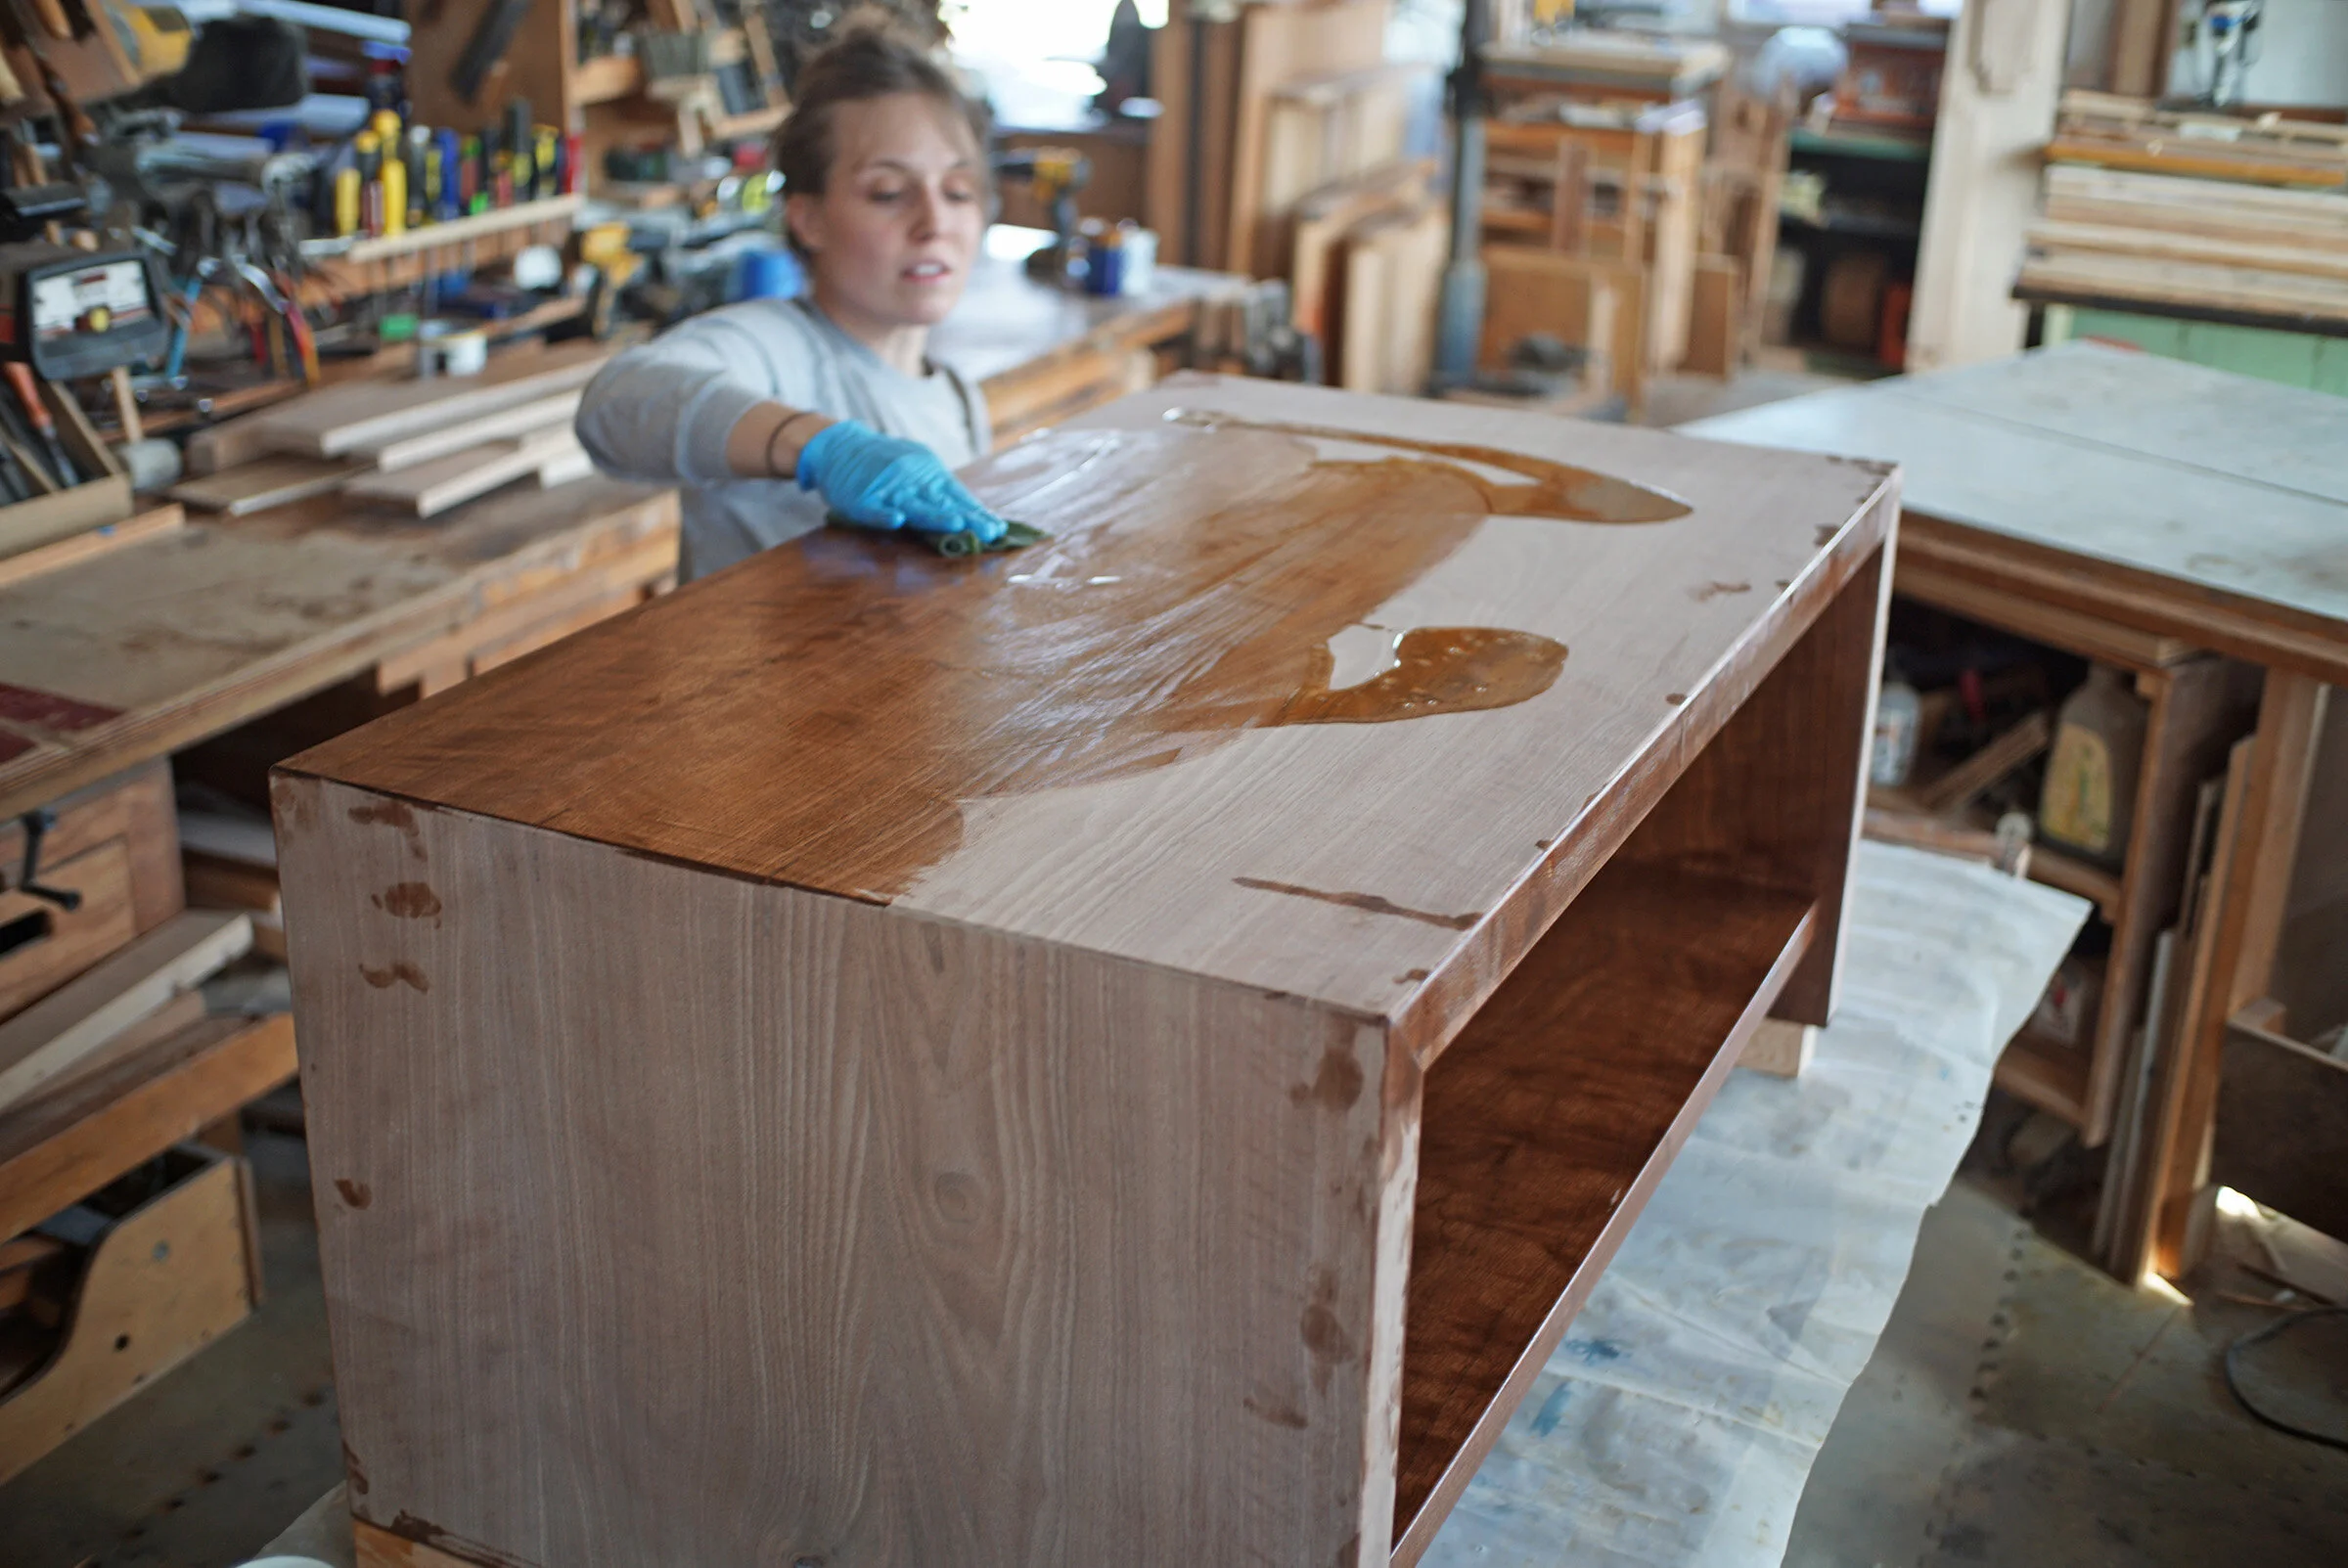


Boiled Linseed Oil
For darker toned woods, boiled linseed oil does an amazing job of popping and enriching the natural color tones without adding any artificial color. This walnut came to life instantly. Oiling day is always one of the best days of working on a piece.
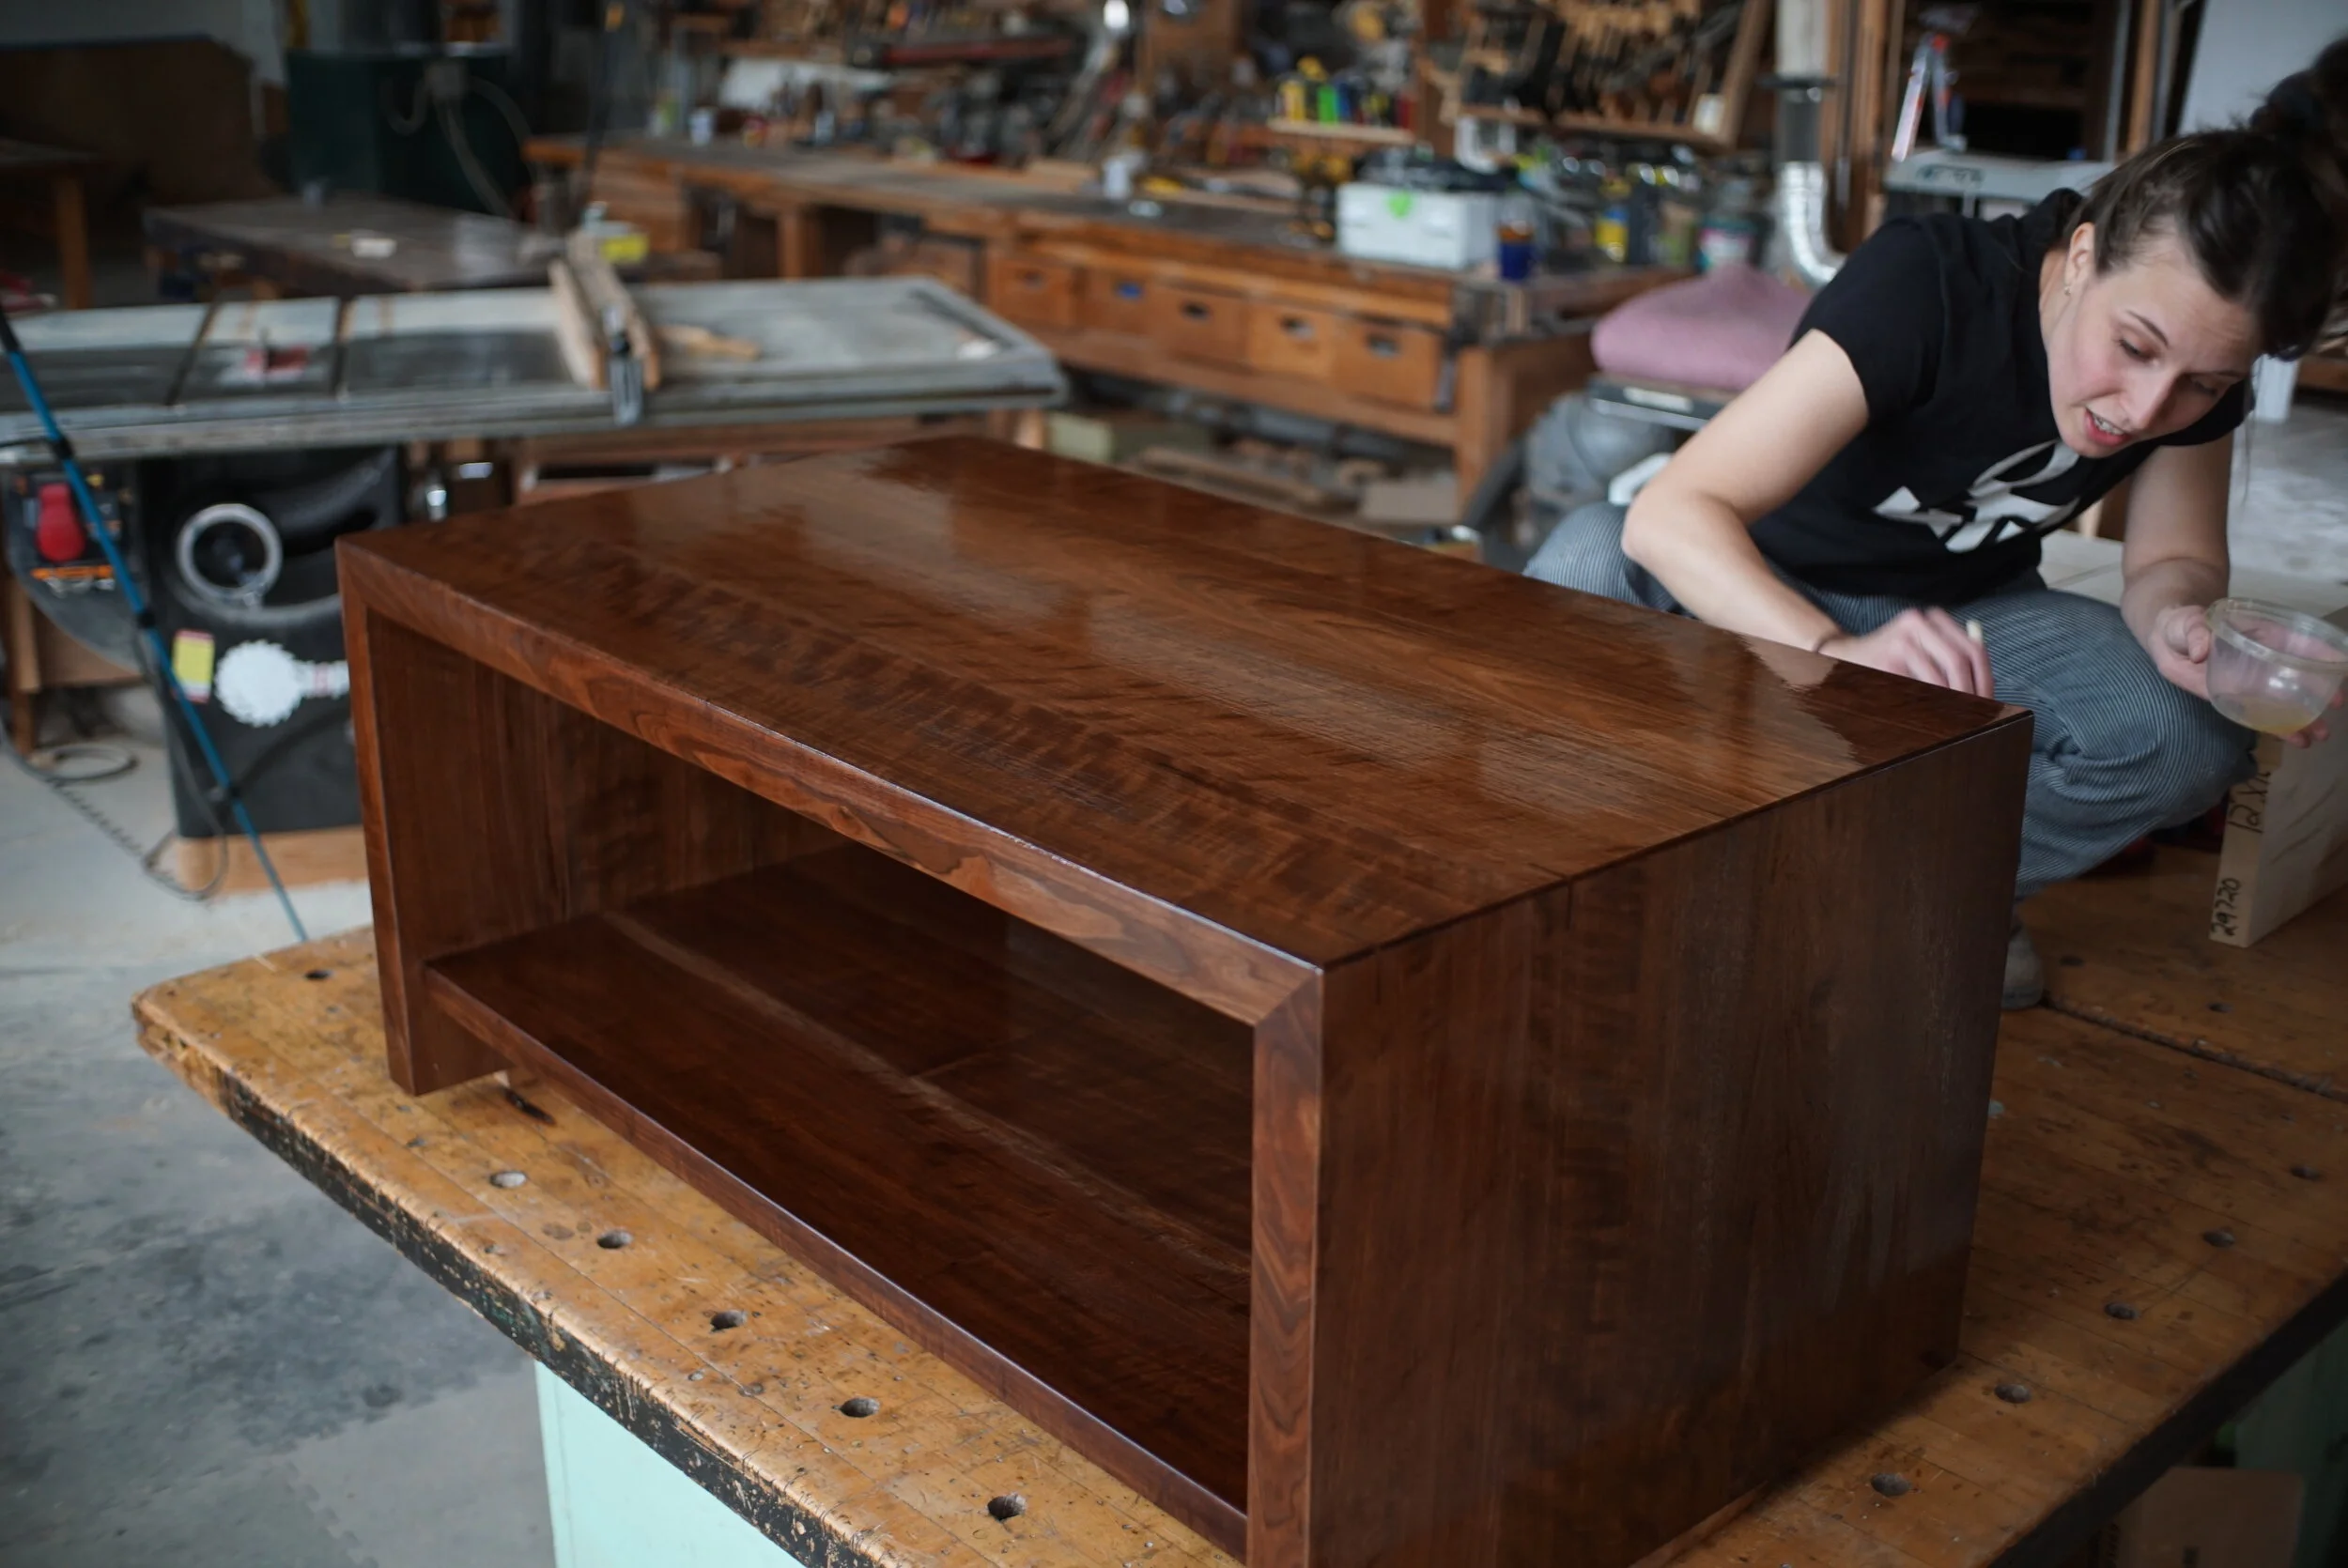


And, It’s All Done!
I applied four coats of film finish (polyurethane) to protect the surface of your table from the normal use and abuse a coffee table sees. I like polyurethane because it provides a subtle sheen that makes the piece feel protected without looking like it has a thick layer of plastic on top. It doesn’t have any color tint either so the walnut maintains its full natural color. The film finish will protect the surface from liquids, foods, and whatever else gets tossed on it but, our general suggestion is- if you can’t comfortably hold it in your hand (hot, cold, sharp, etc.), don’t put it down on the surface. It can be cleaned with soap and water or any household wood cleaner although, my recommendation is Murphy’s Oil Soap.