This is your special place on the internet to check out progress on the bar. We’ll take photos along the way and give you a description of what’s happening. Feel free to share this link with whoever you’d like.


In the beginning there was oak, and it was good.
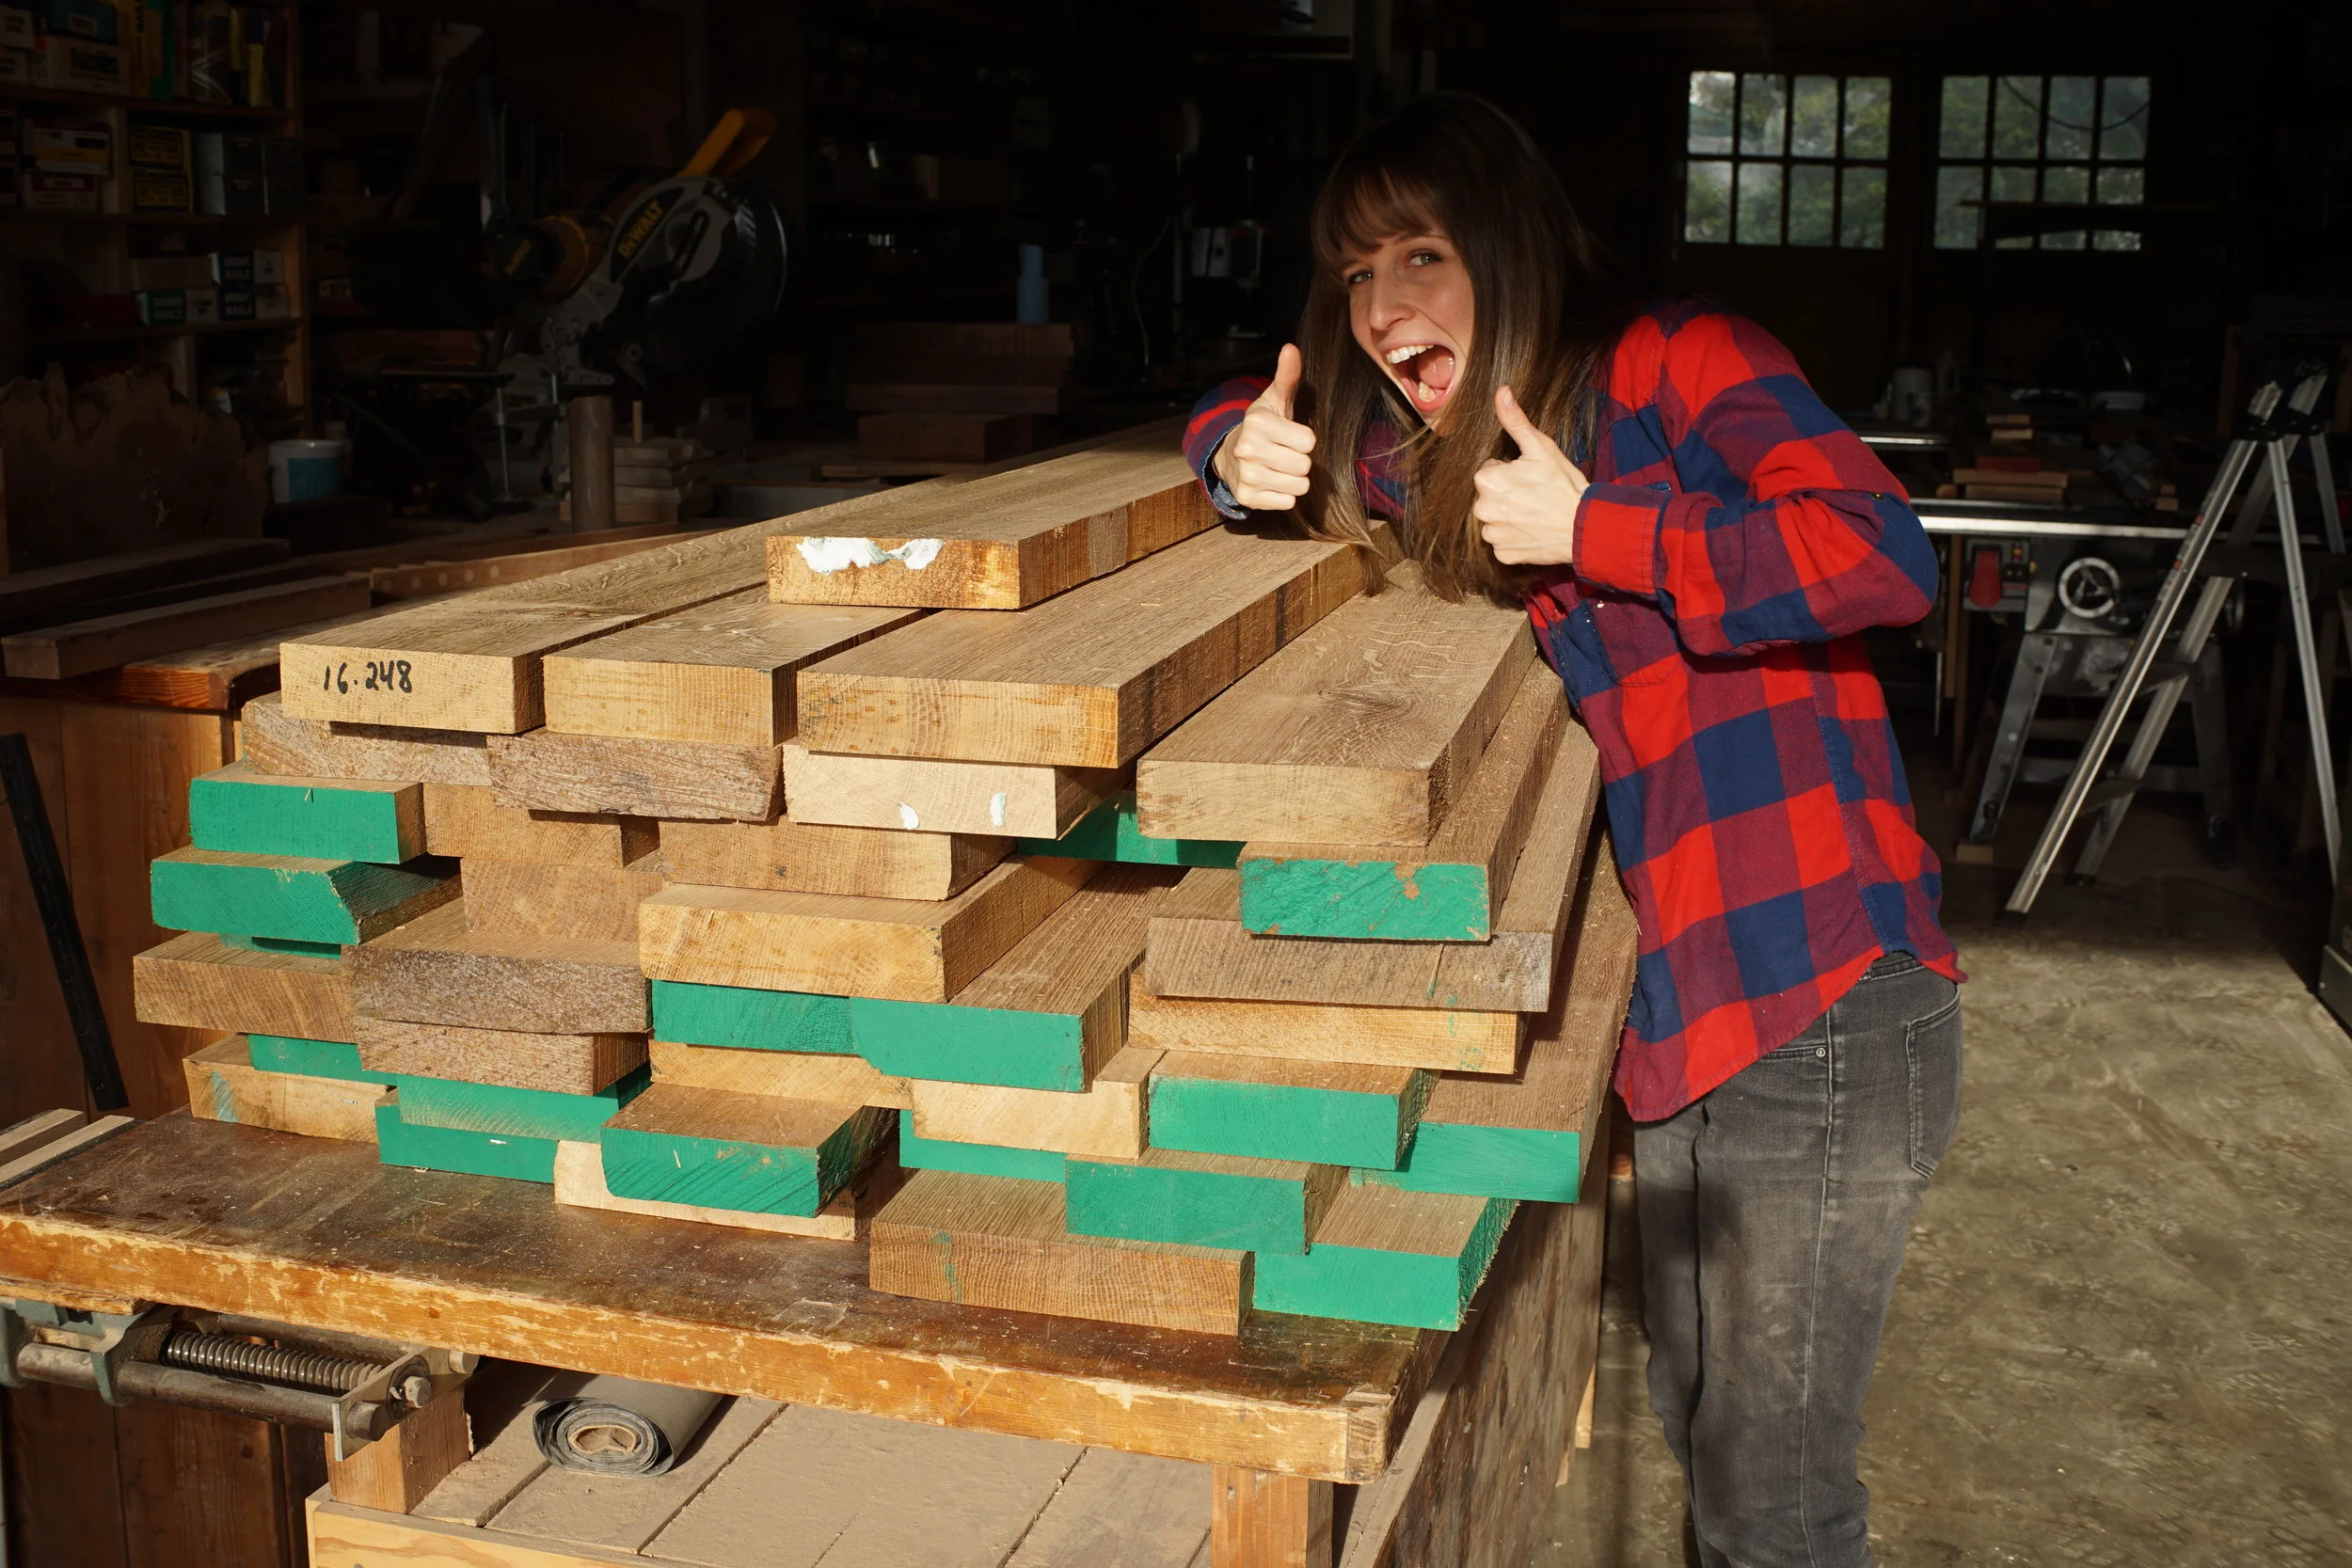
The process started around the beginning of the year. We were thrilled to be asked to work on our favorite bar. From the start, we wanted most of all to stay true to the vibe of the place. We started with several scale models and decided to go with a white oak bar top, with black iron details reminiscent of railroad spikes. Railroad ties are made from oak because of it’s incredible strength. The grain character and color tone fit the space well. After searching with several sawmills in PA, we found some beautiful quartersawn white oak from Lewis Lumber in Picture Rocks, PA. Quarter sawing is a process of cutting a log into four quarters, then sawing boards so the annual rings are perpendicular to the surface. This brings out a figure in the lumber called “ray fleck”, which gives the quarter sawn material it’s unique character. As a benefit, quarter sawn material is extremely stable. You don’t see the cupping and twisting that you do in plain sawn material.
We were very excited to get such a large delivery of figured material. We don’t work with white oak often, so it’s been a nice treat for us.


Corner Mock Up
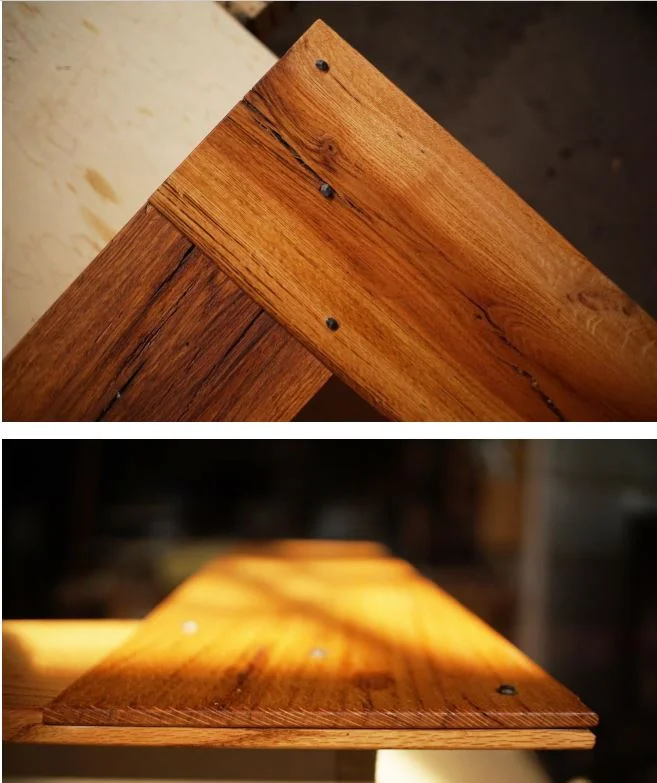
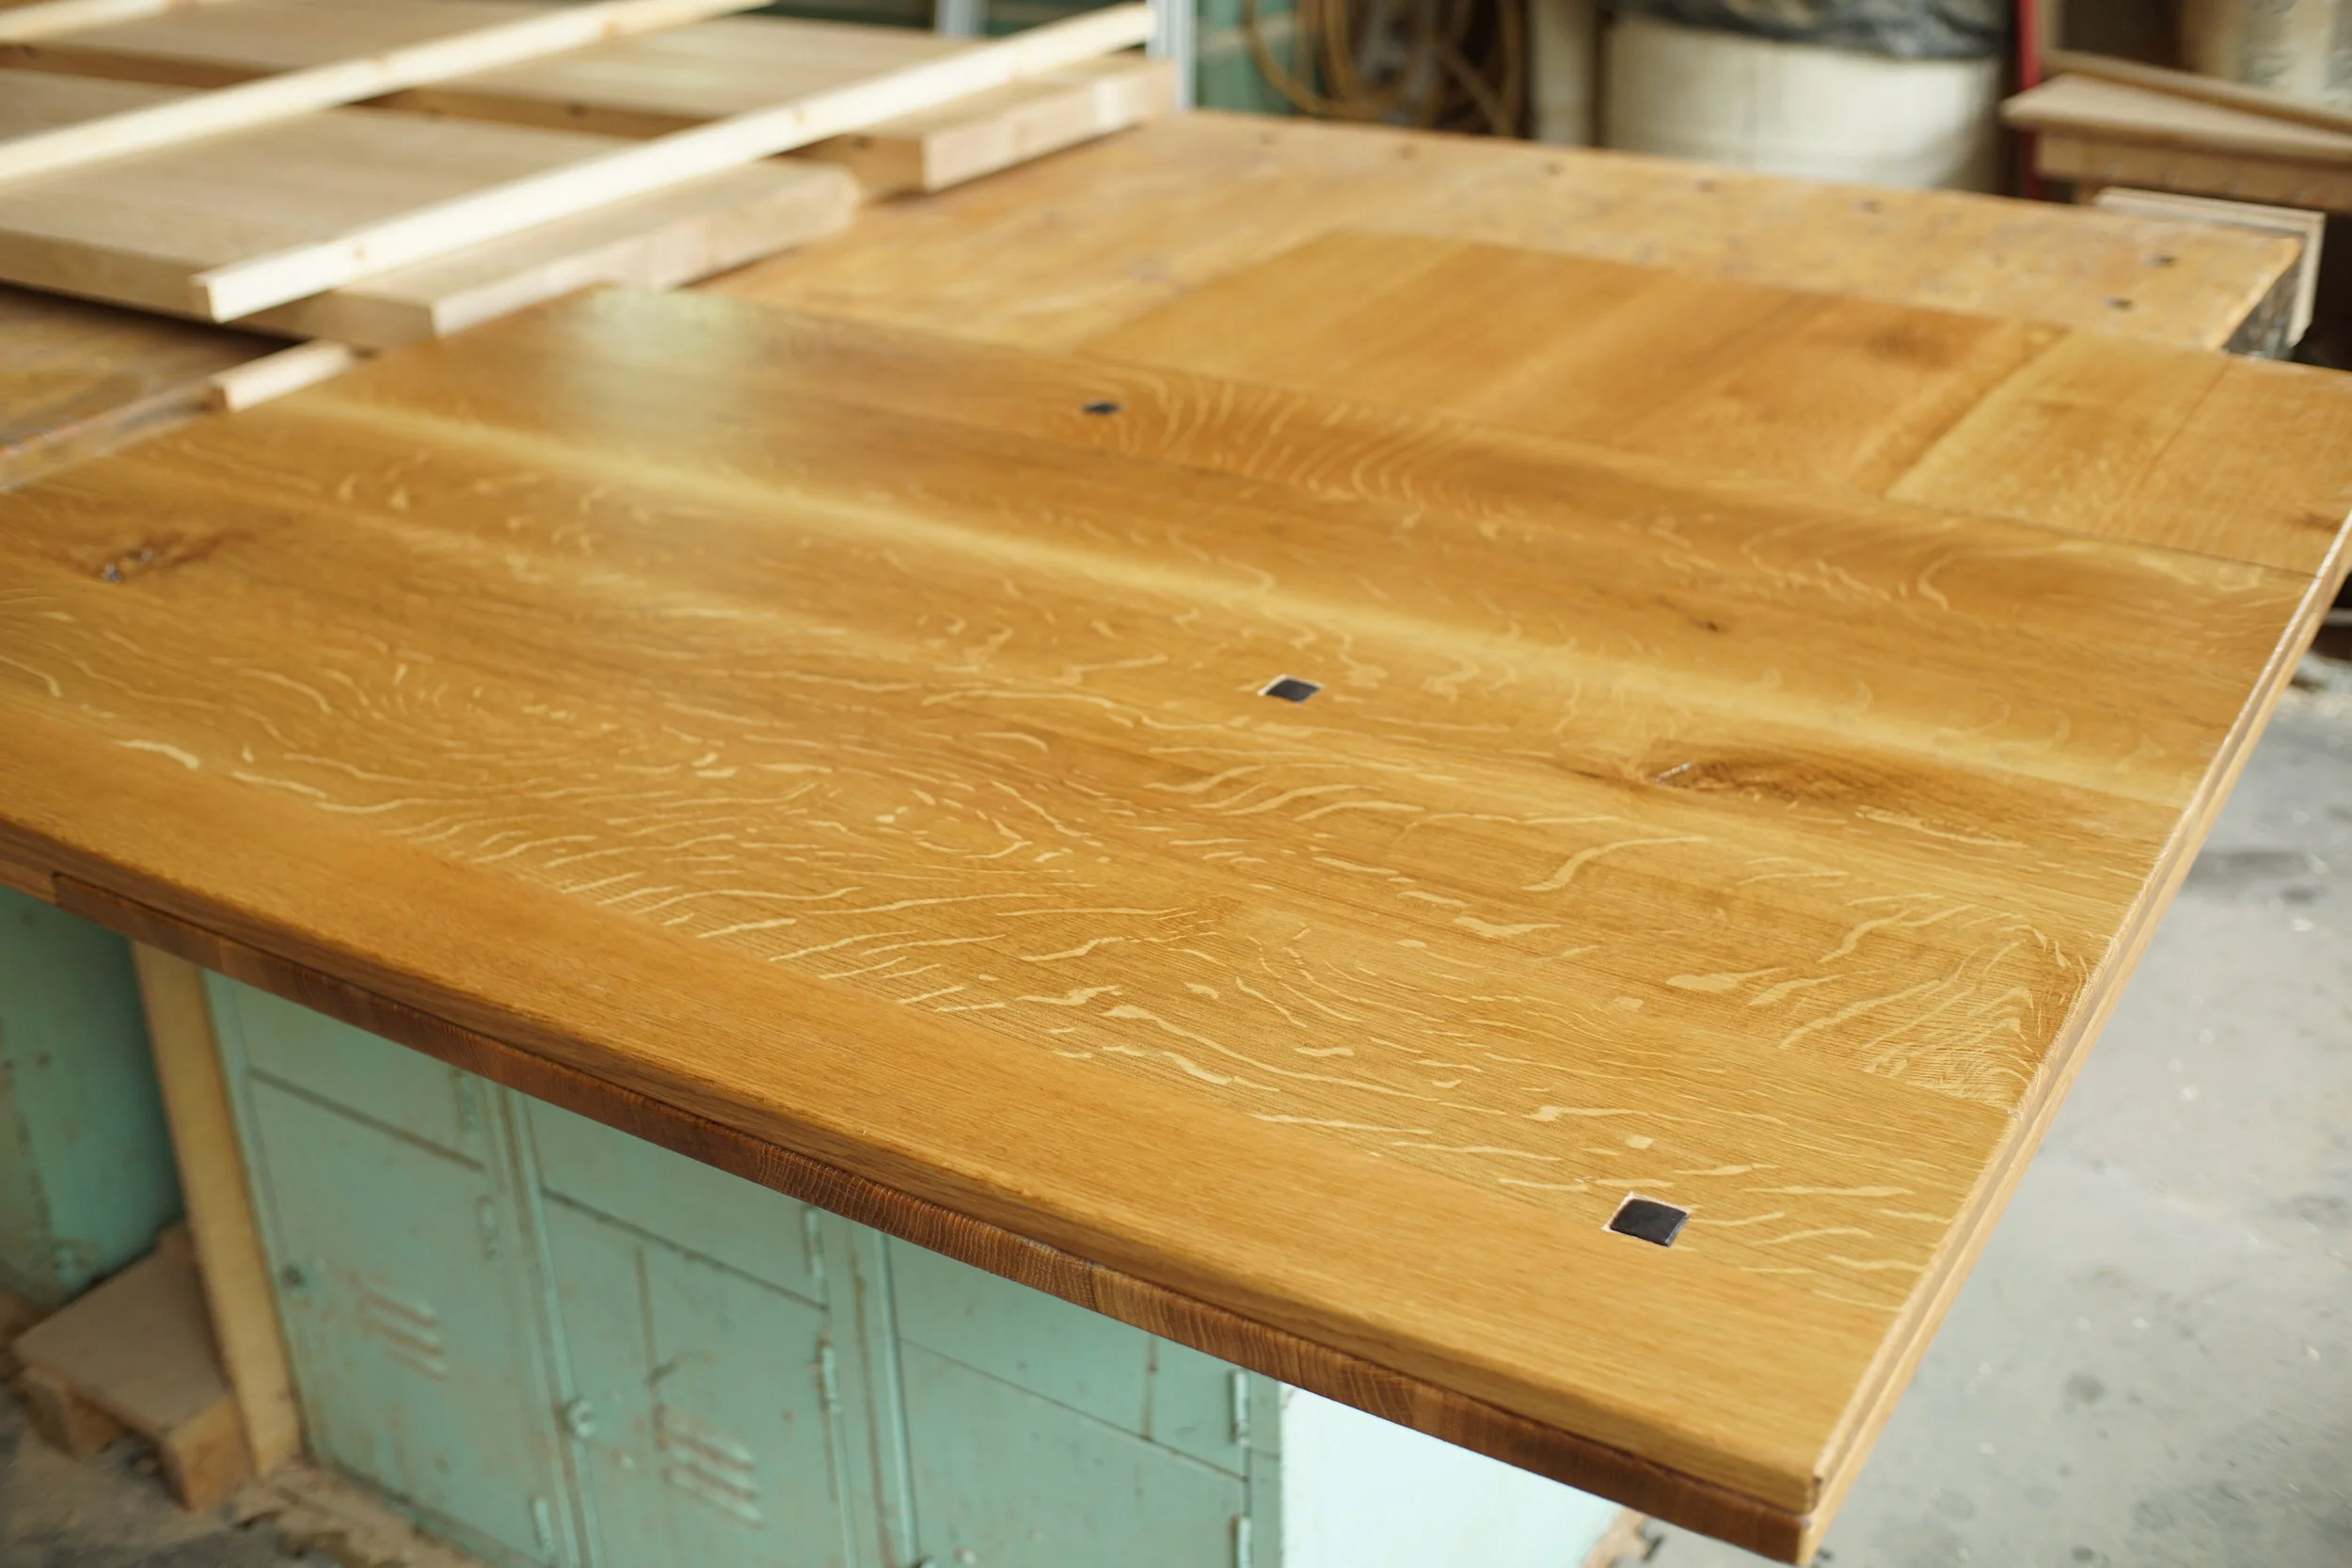
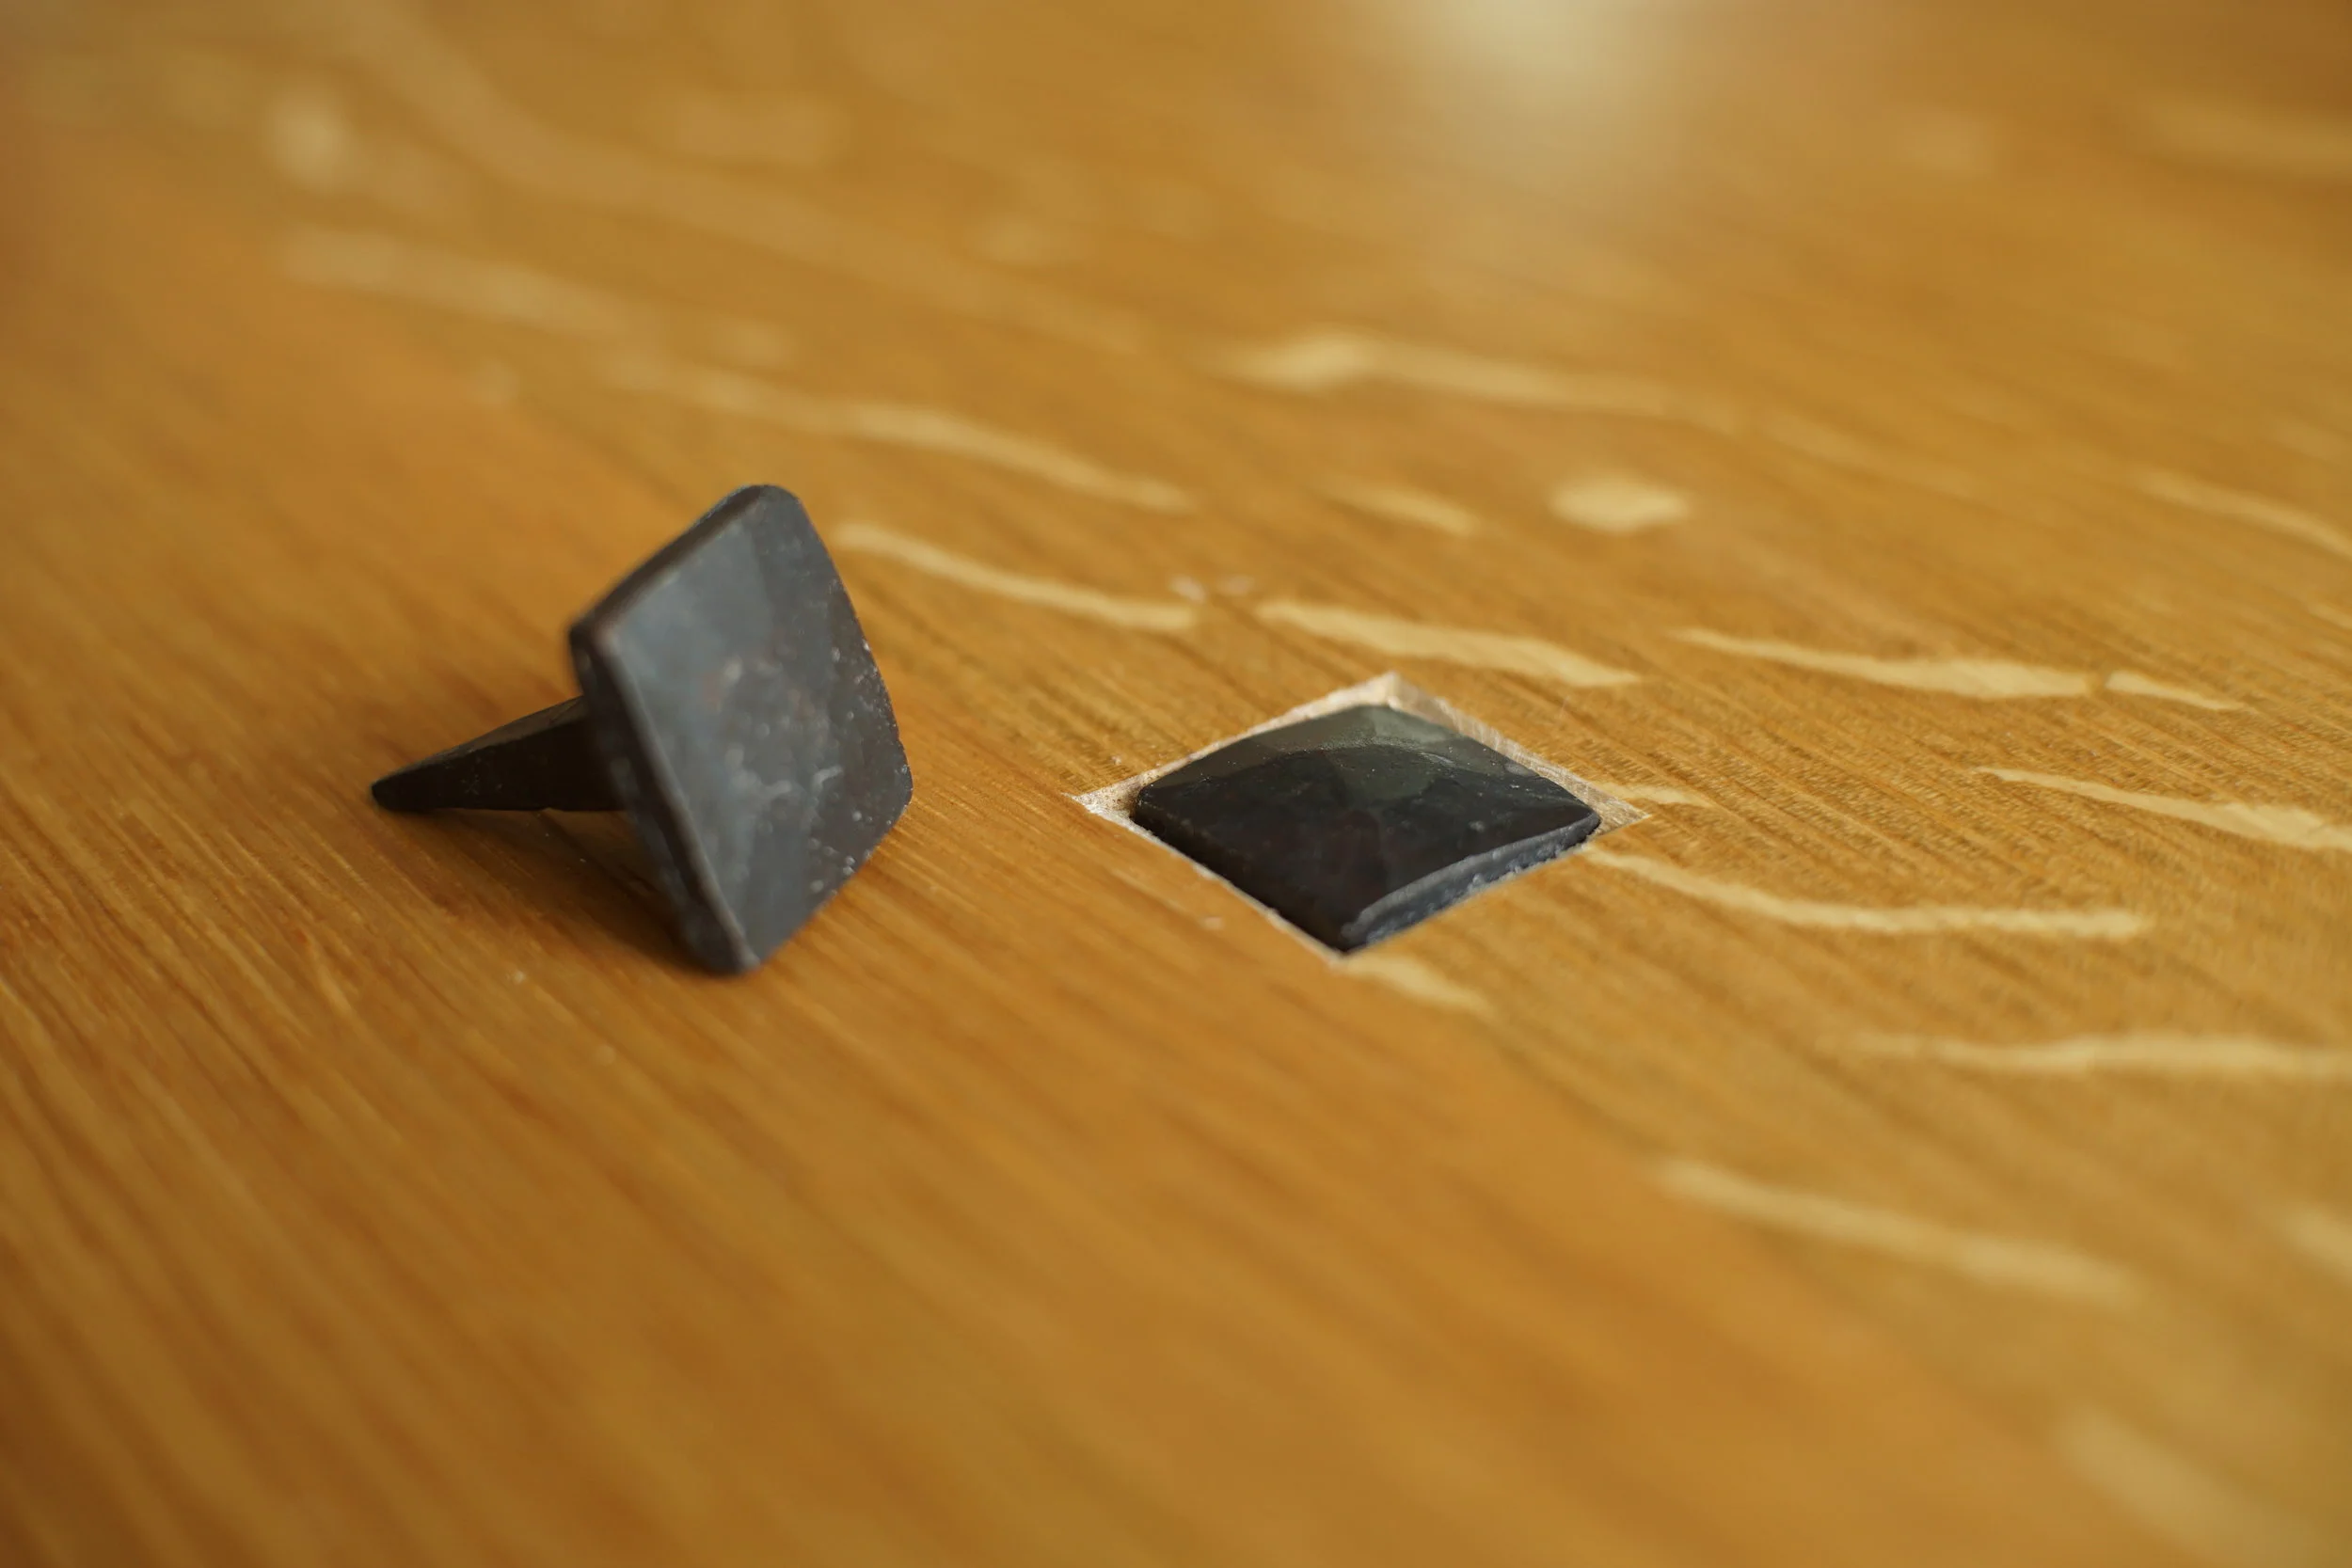
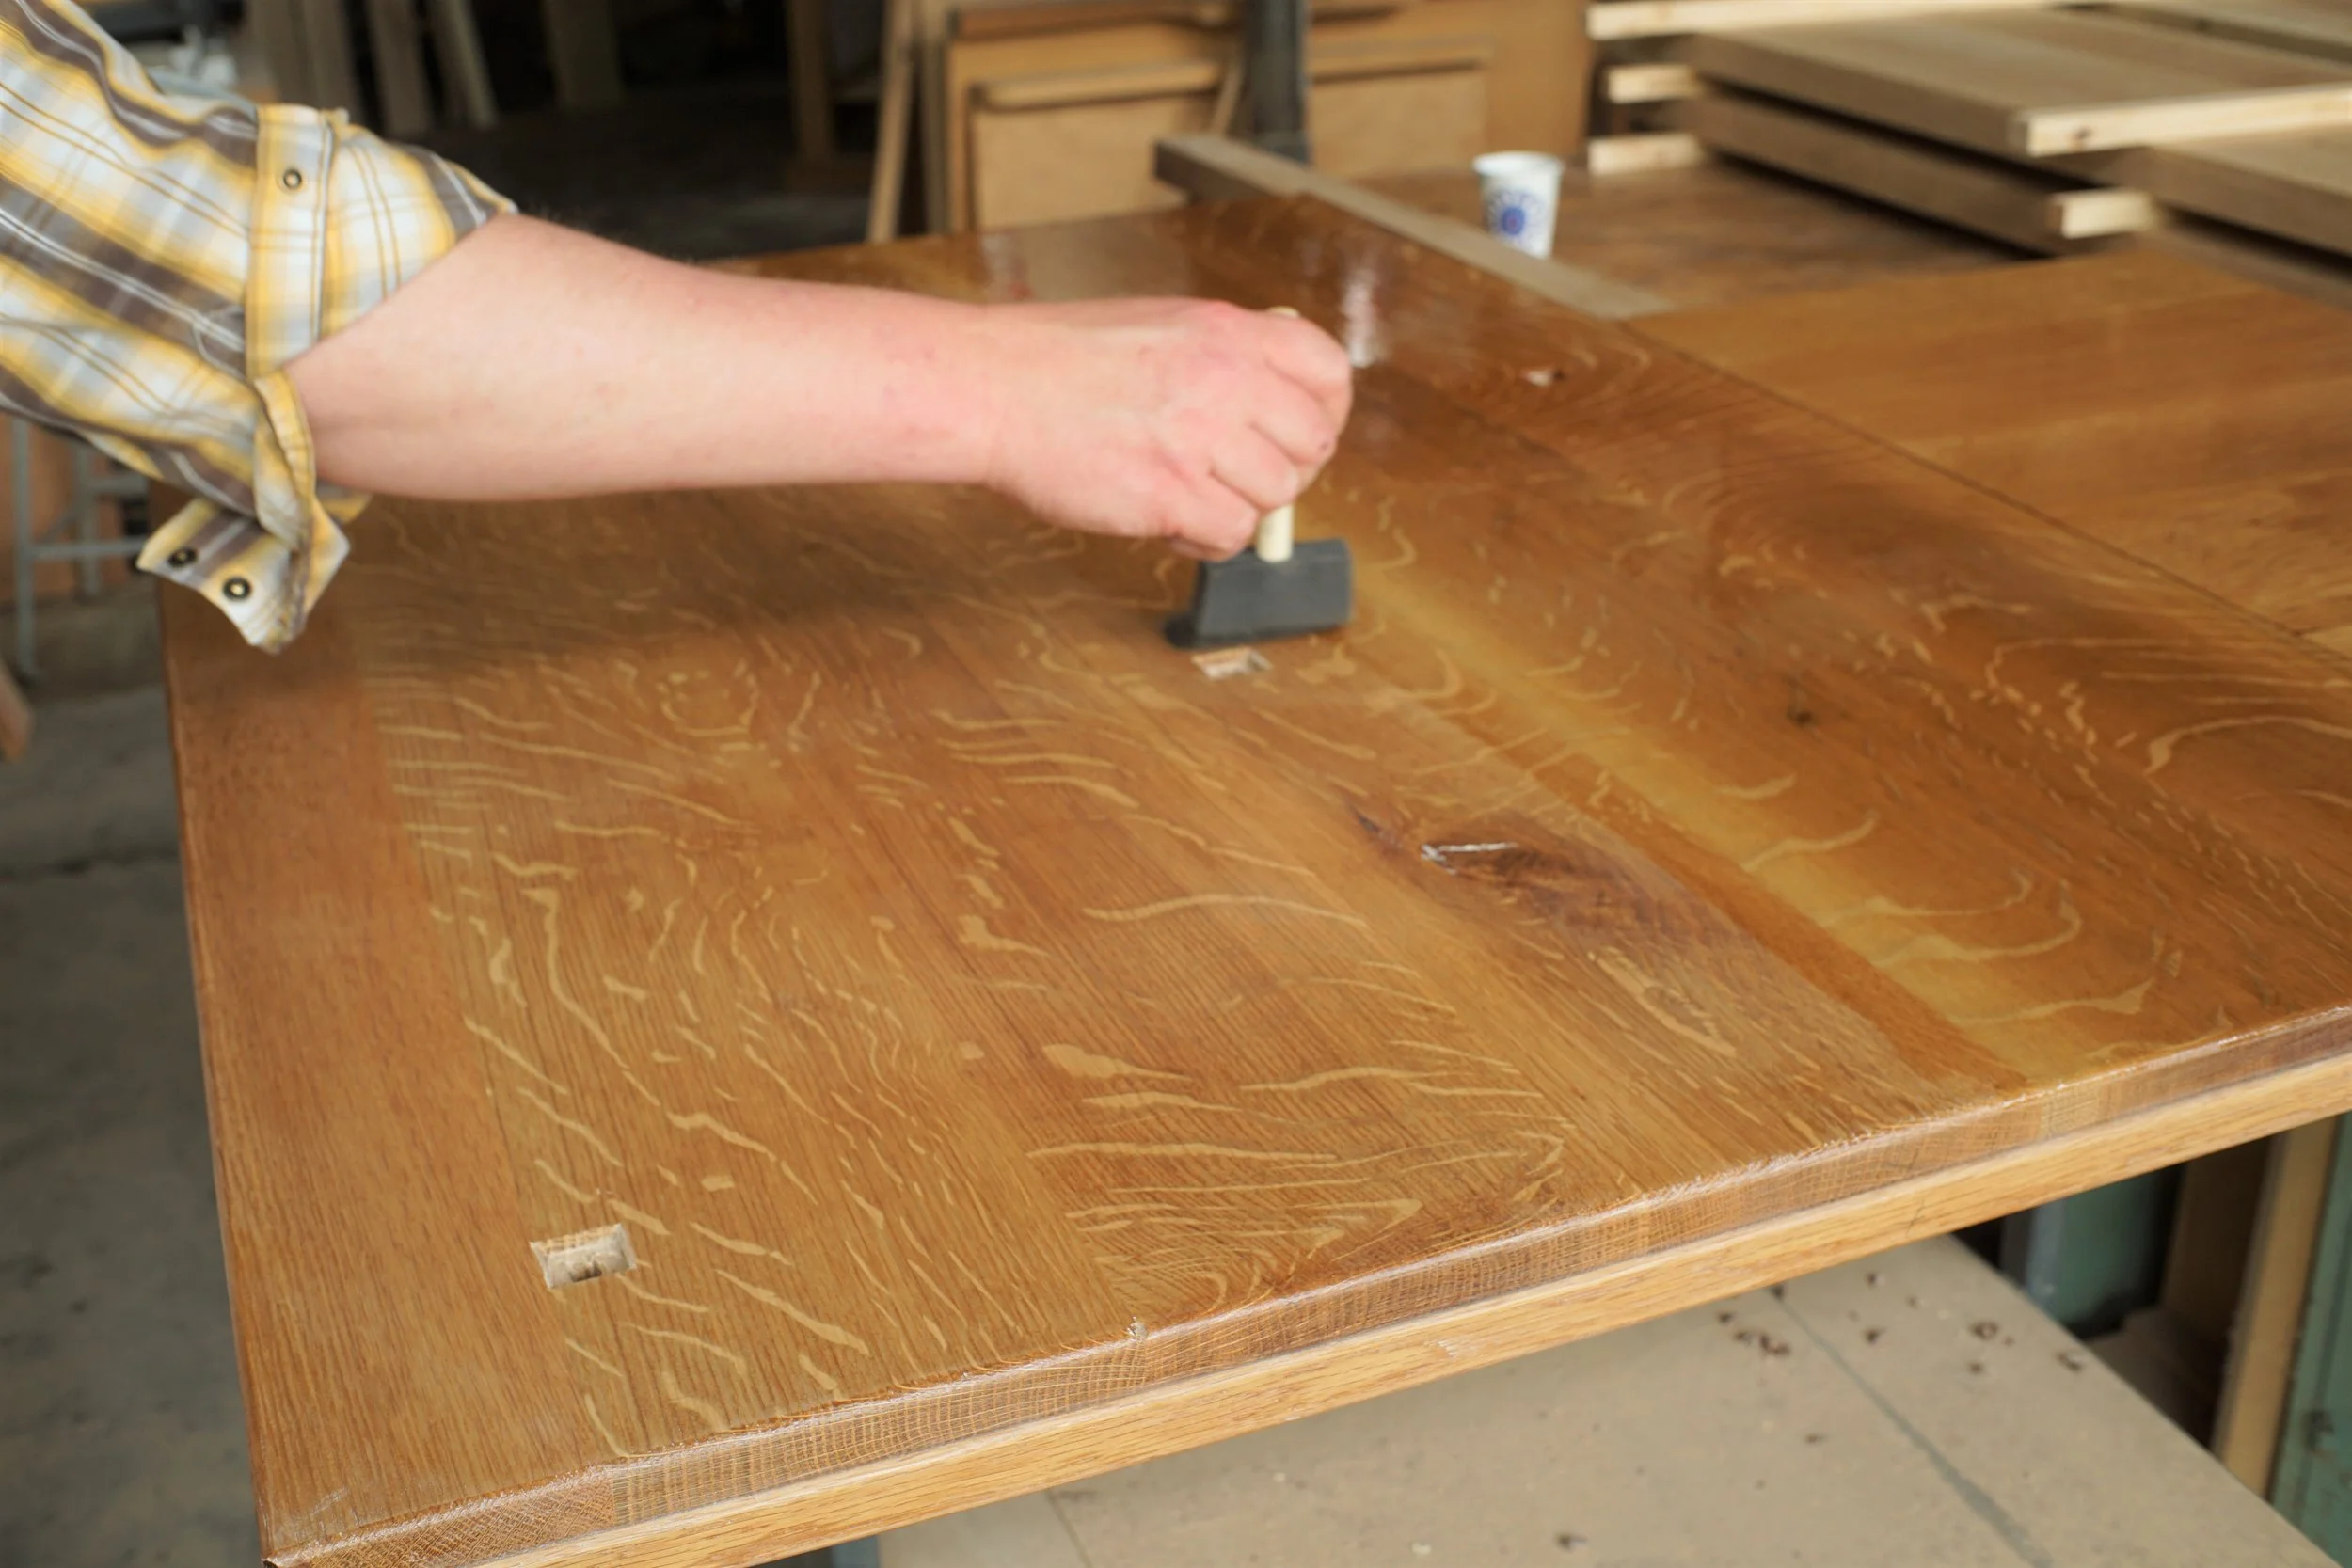
Before we got into the real thing, we glued up a short section for a sample corner. This gives us an exact idea of the finished look, and a trial run at the joinery on such massive pieces. We learned a lot that will help us refine the process when it comes to the real bar top. We’ve been trying several approaches for the pinned railroad spike detail. We inset railroad spike heads, walnut pins, and square nails. The railroad spikes look pretty cool, but will definitely stick out too much for practicality’s sake. The spike looks great when it’s carved out and inset, but the dished out area will invite pooling booze and water and will be a pain for maintenance. The hammered square nails look spectacular and we think it’s the way to go. In the end, we think these will have much more of a timeless quality…a little less on the nose. Square pins are also a signature detail in our furniture so they definitely feel like home to us. The nail head is inset into the bar top, with a hand carved bevel. The domed head sits just proud of the surface, leaving a tactile bump when you run your hand across it. Glasses & plates can slide over and even sit atop them. The light color around the nail head will go away with the next coat of finish.
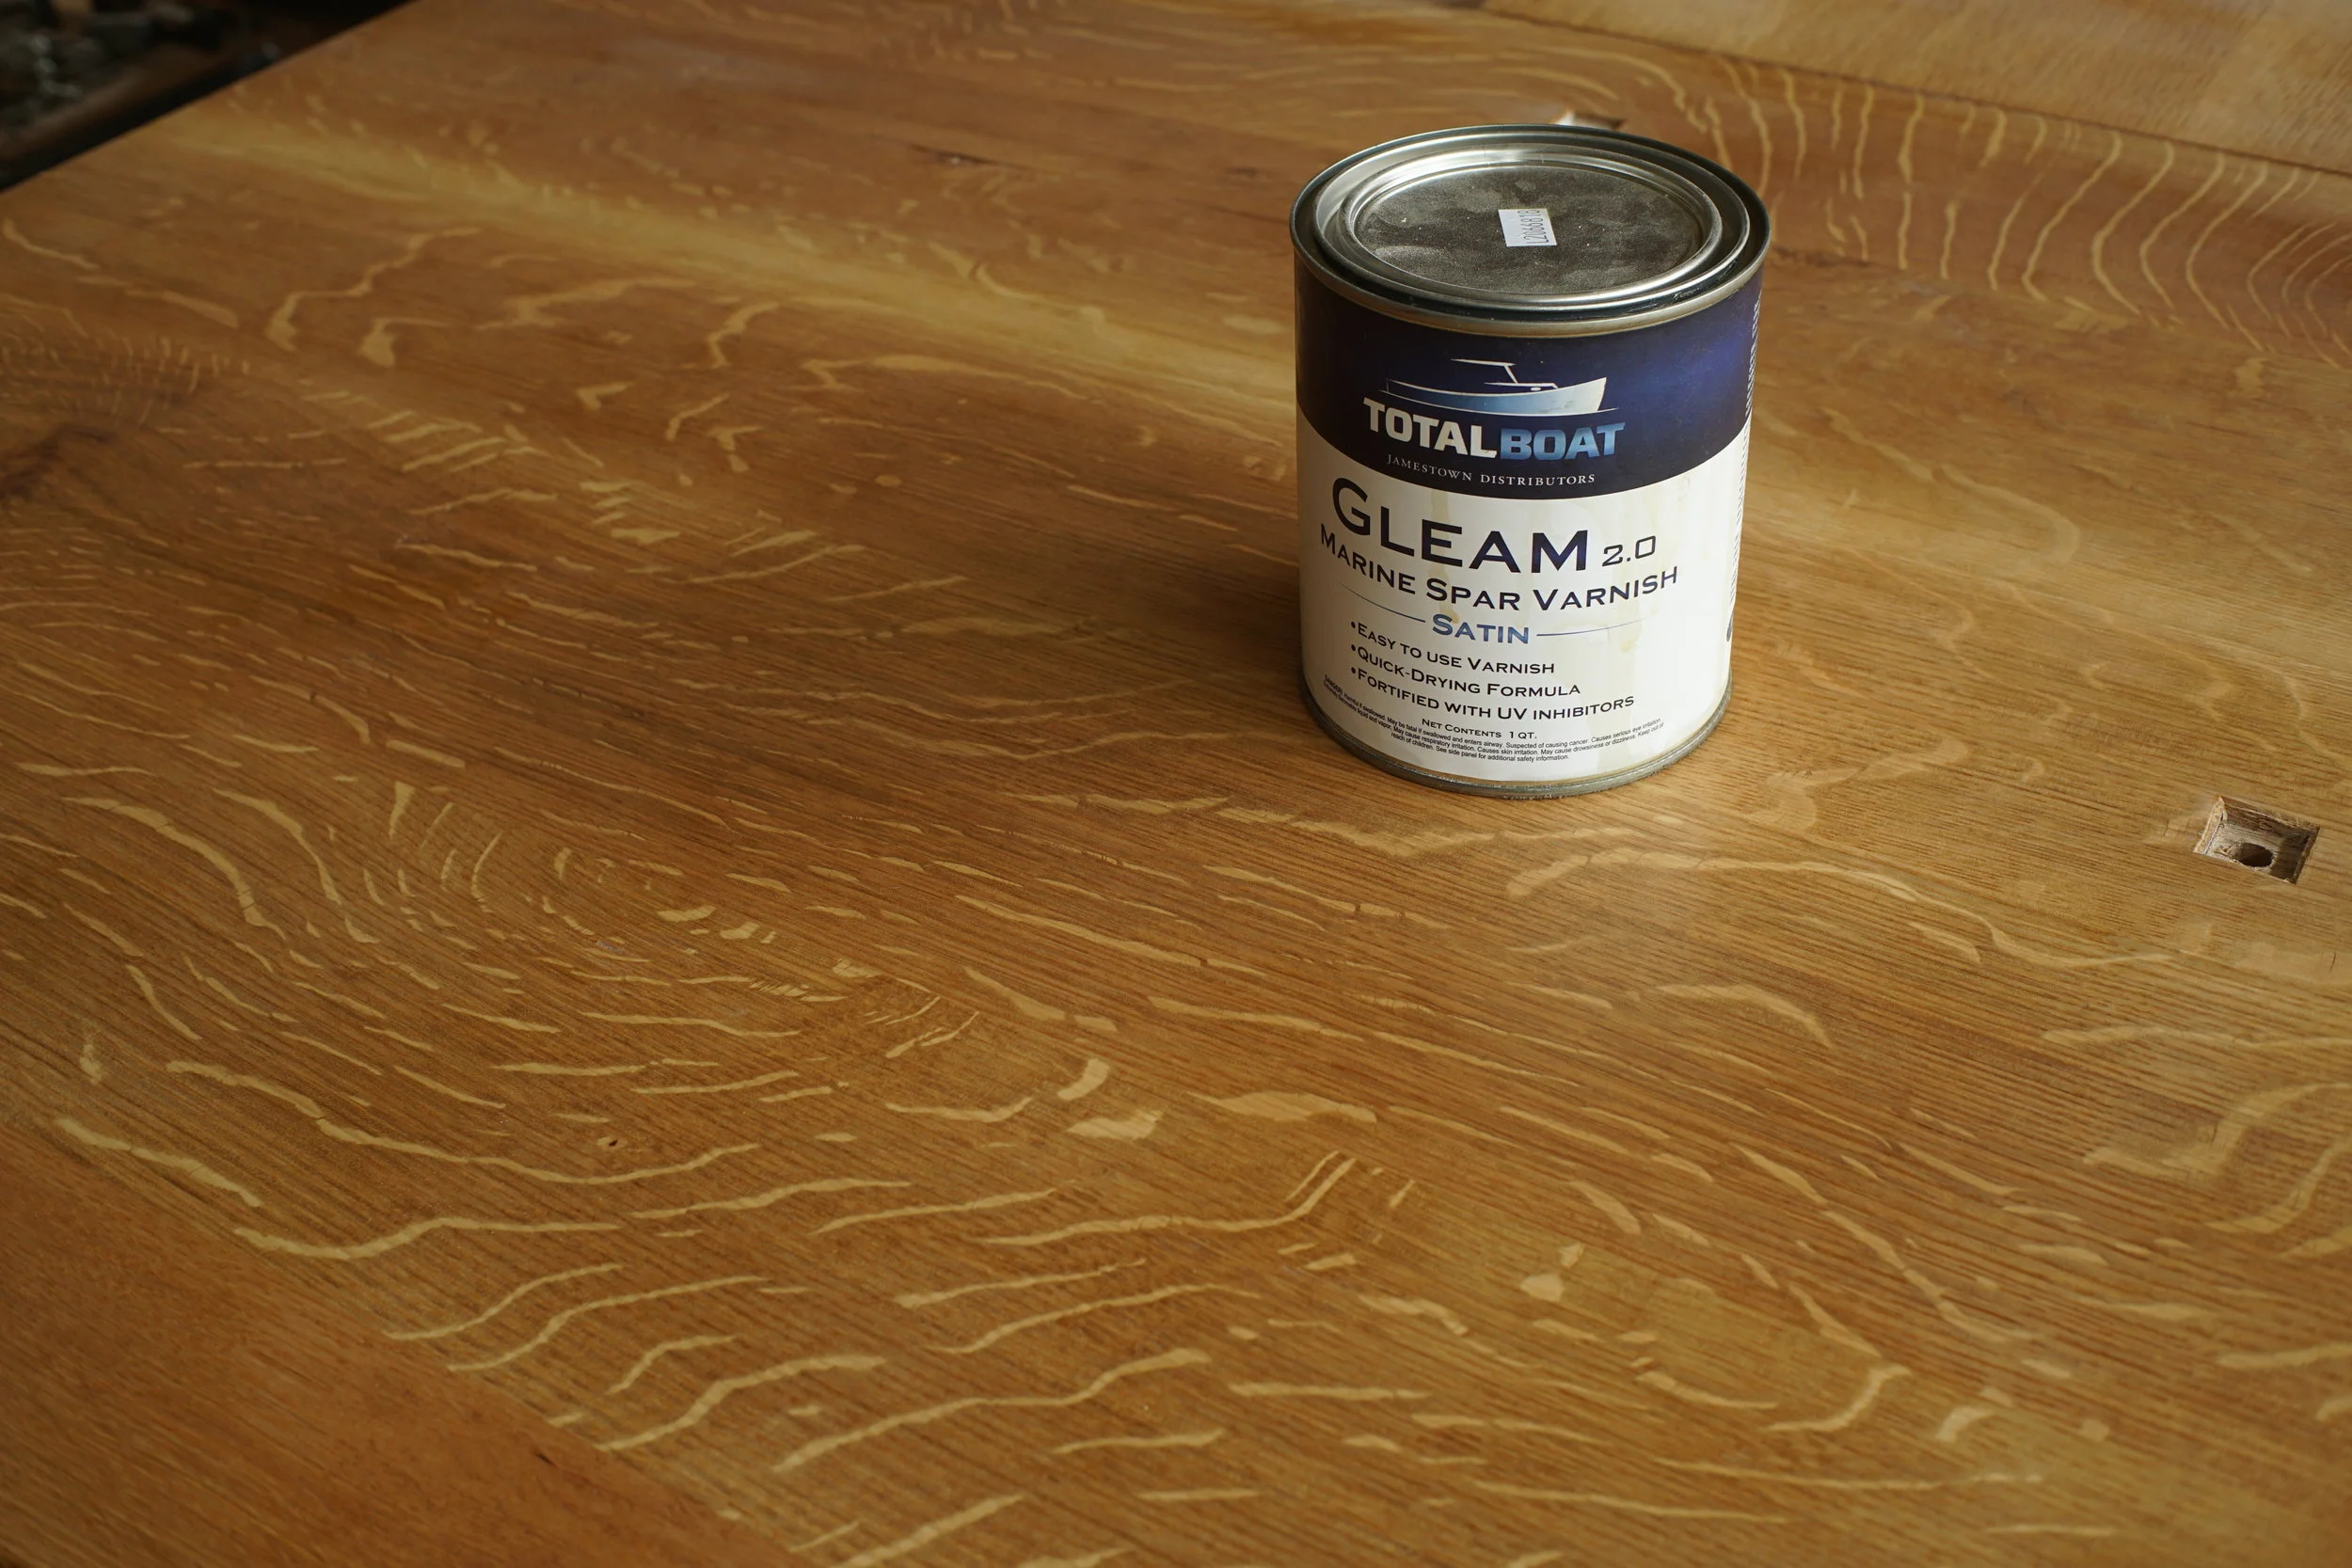


Testing Finishes
First of all…. Wow. This bar is going to be impressive. We spent a number of days testing out different stains and dyes to see if anything would pop the ray fleck more than a natural finish. In the end, we found that a natural oil based finish brings out the best nature of the material. Stains and dyes make everything uniform and we’re more excited by the natural variations in color. We’re testing out a spar varnish for the bar top finish. It looks great and has a calm, low lustre sheen. We’ll put it through it’s paces over the next month to ensure it’s the right product for the job. A spar varnish is used for exterior finishes, boats in particular, where you expect to see high levels of moisture. You can see how it repels water in the photo above. We’ll add two more coats and then give it various levels of abuse. As of now, it’s looking good. We want this finish to be easy to maintain and for you to not have to worry about it. We also want it to feel and look beautiful. This finish will be strong and durable without looking like it’s coated in plastic.

And They’re Off…
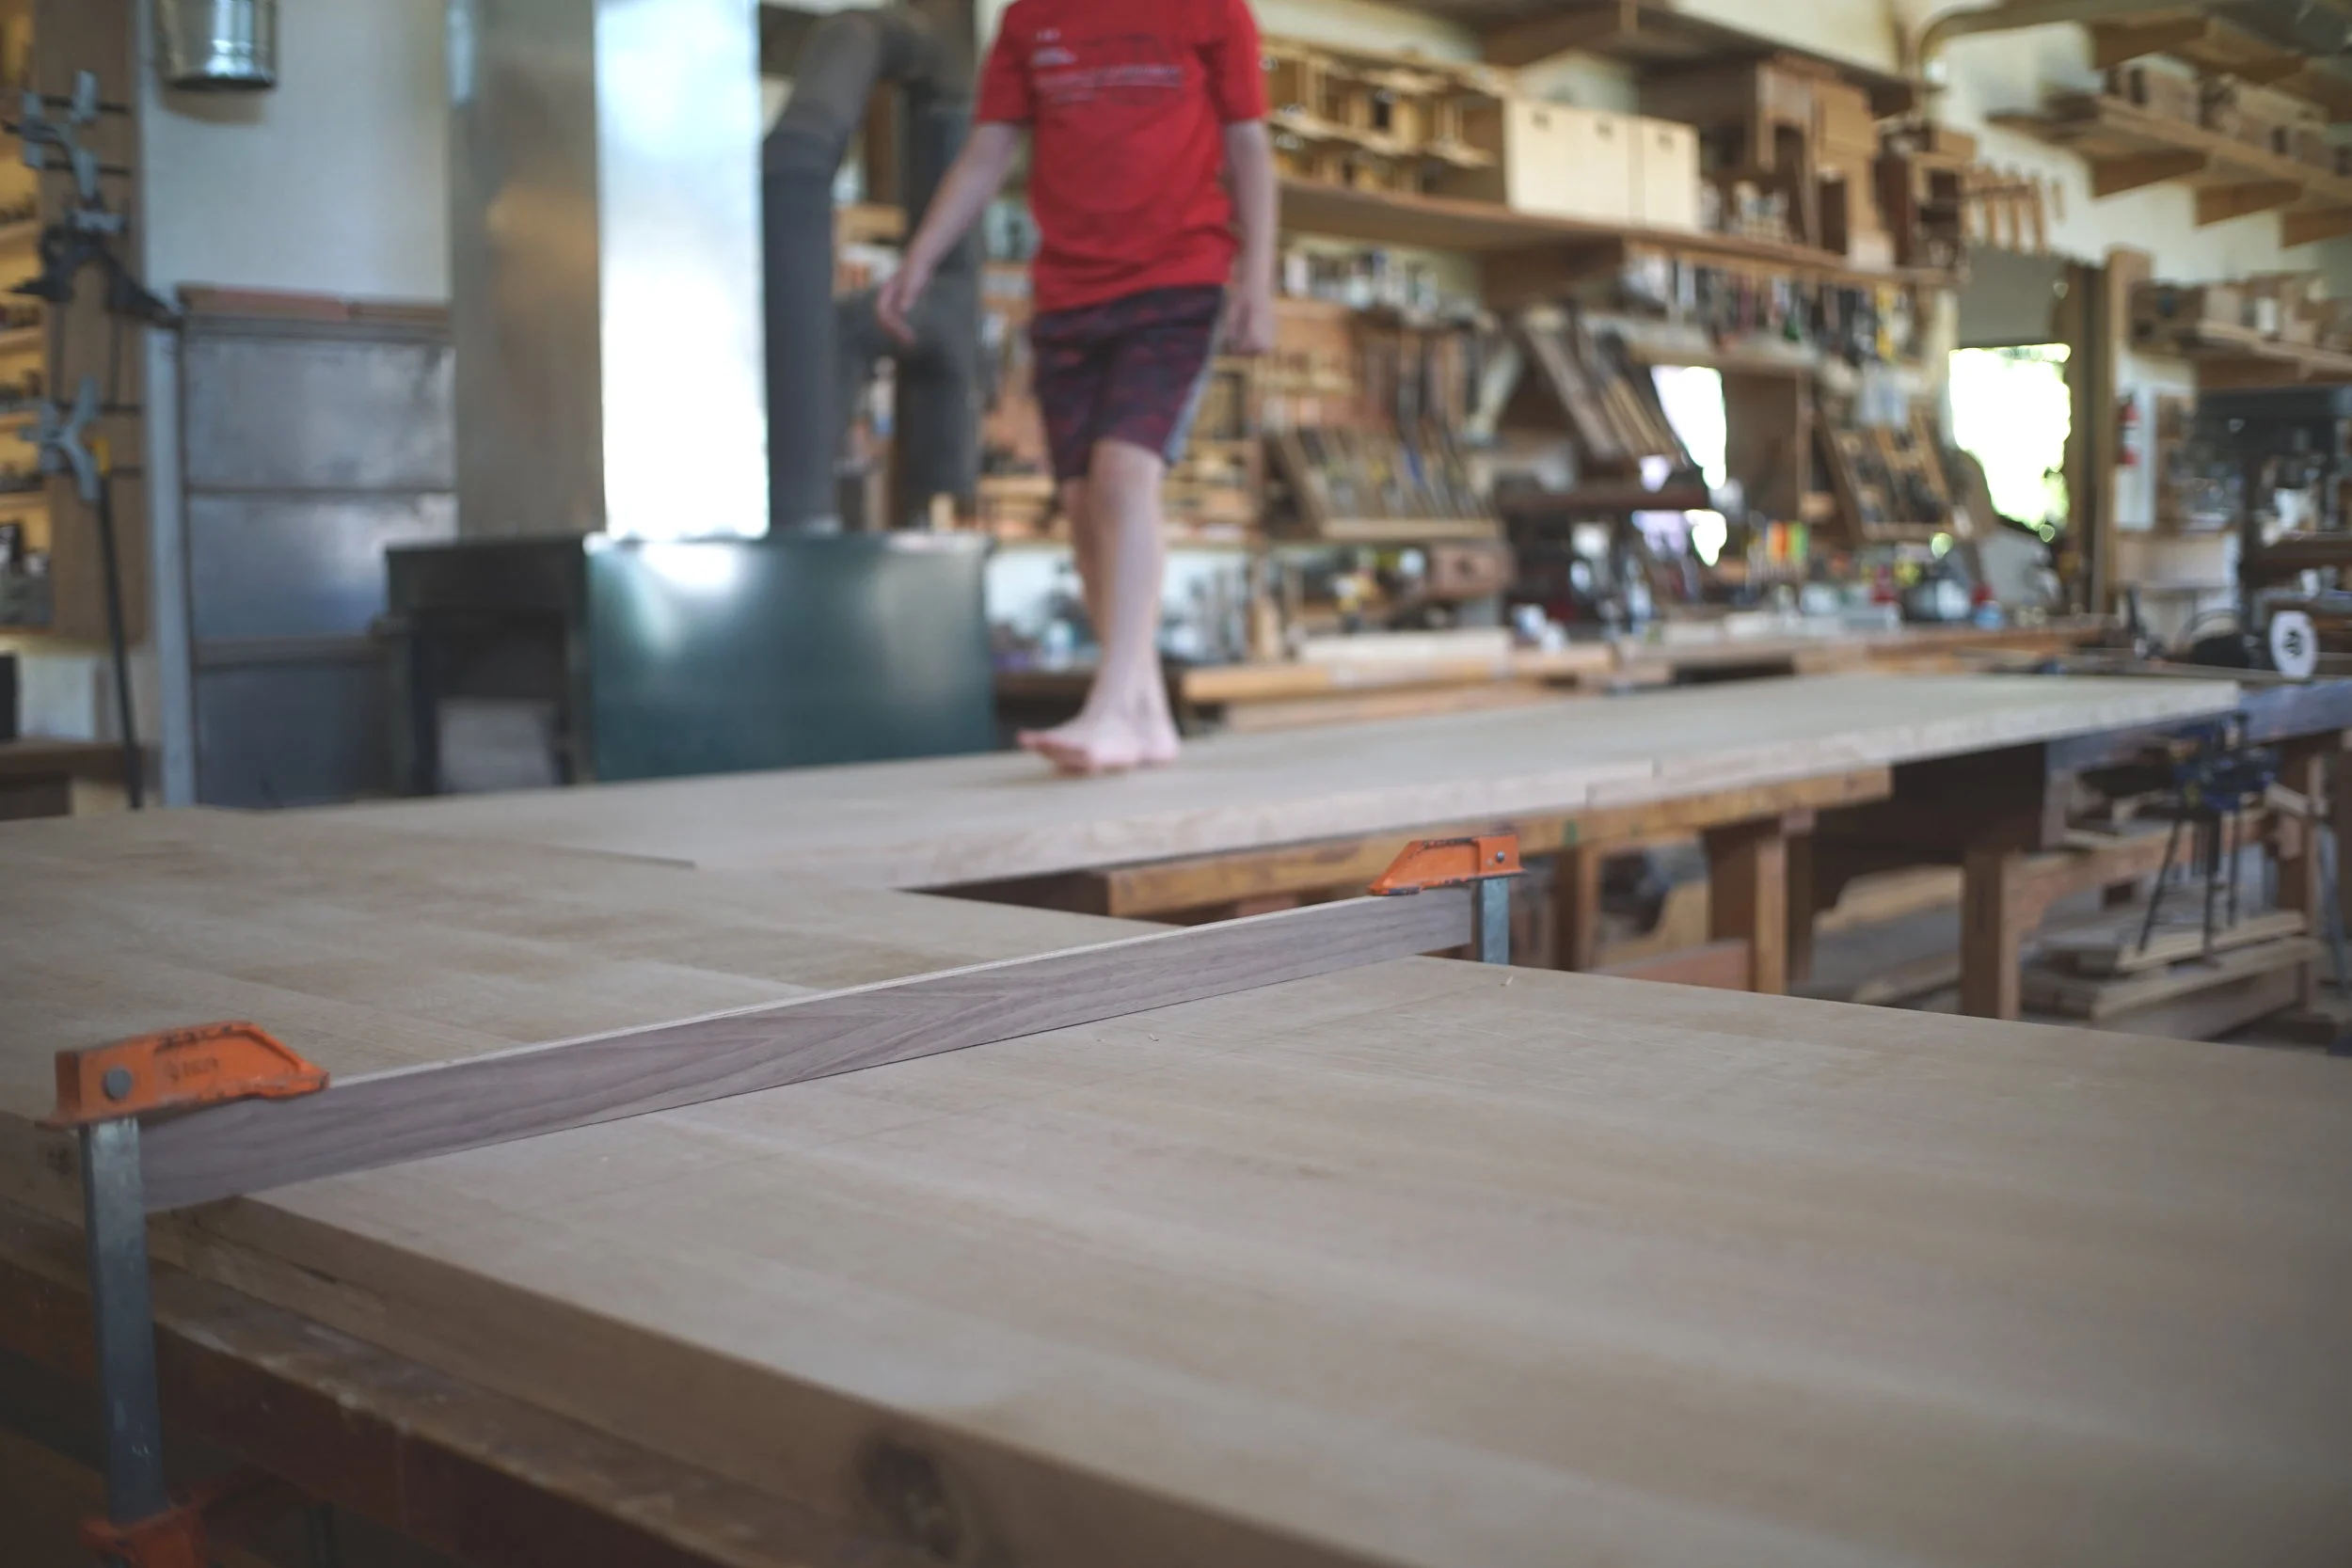
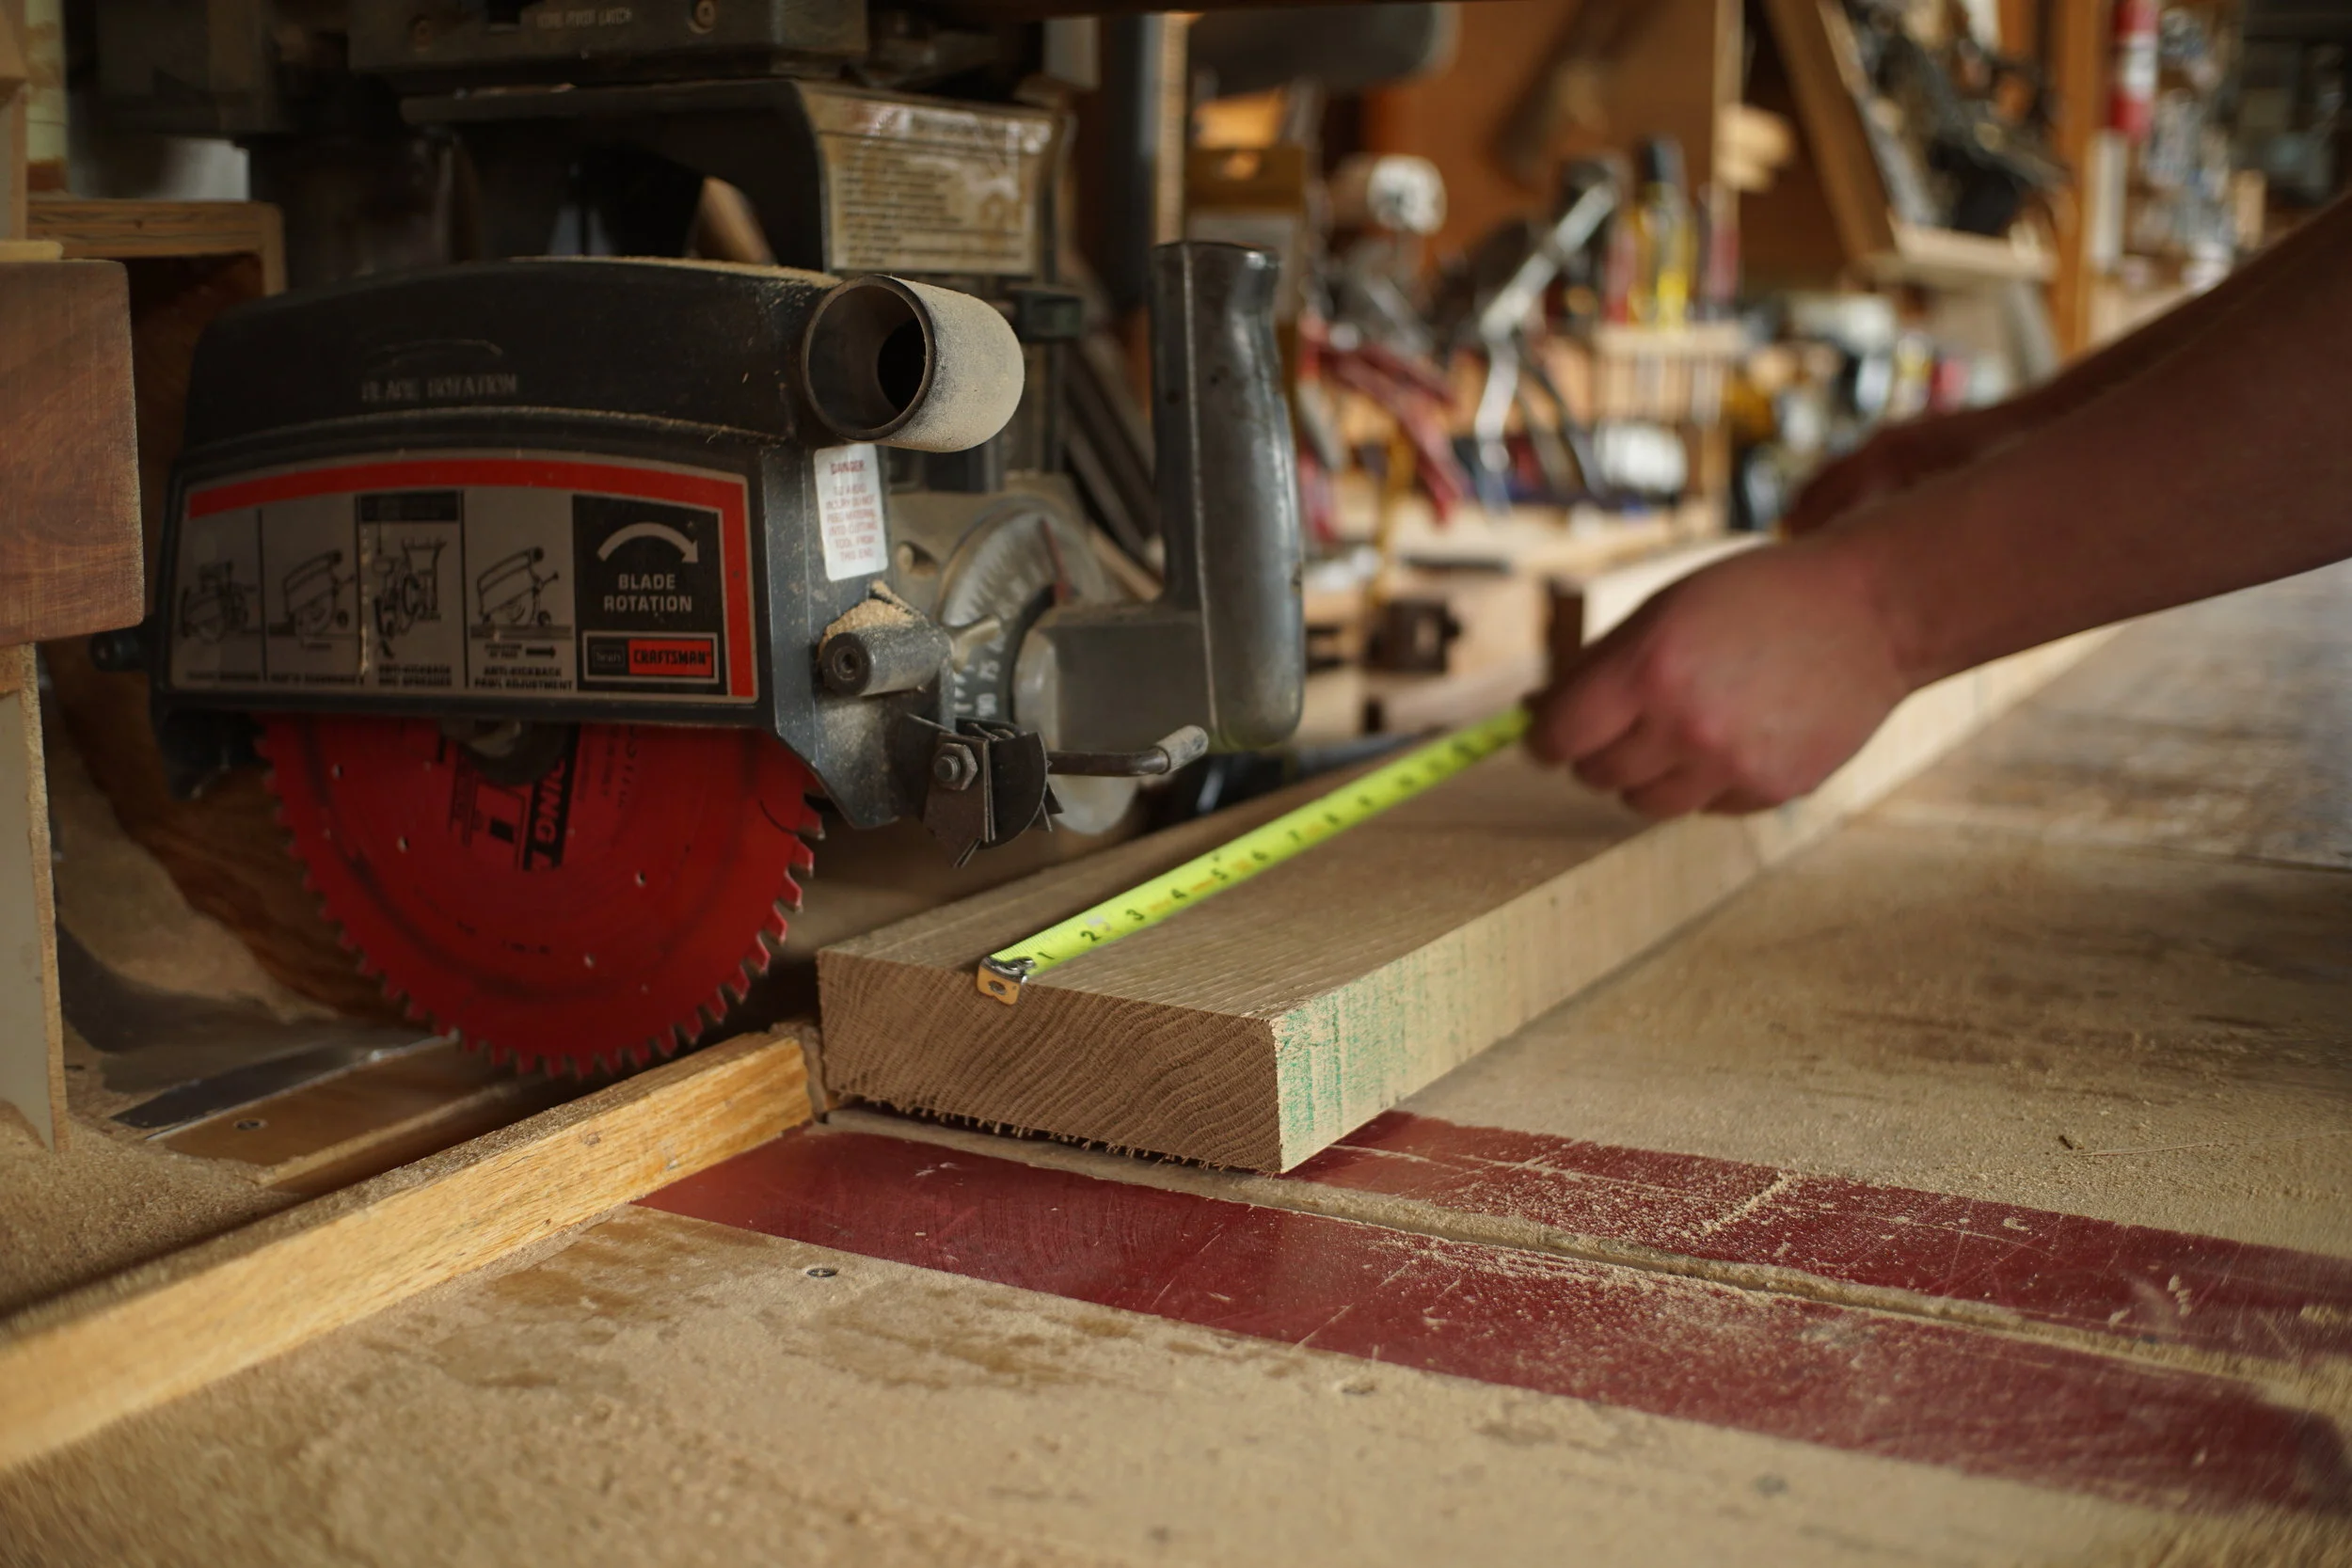
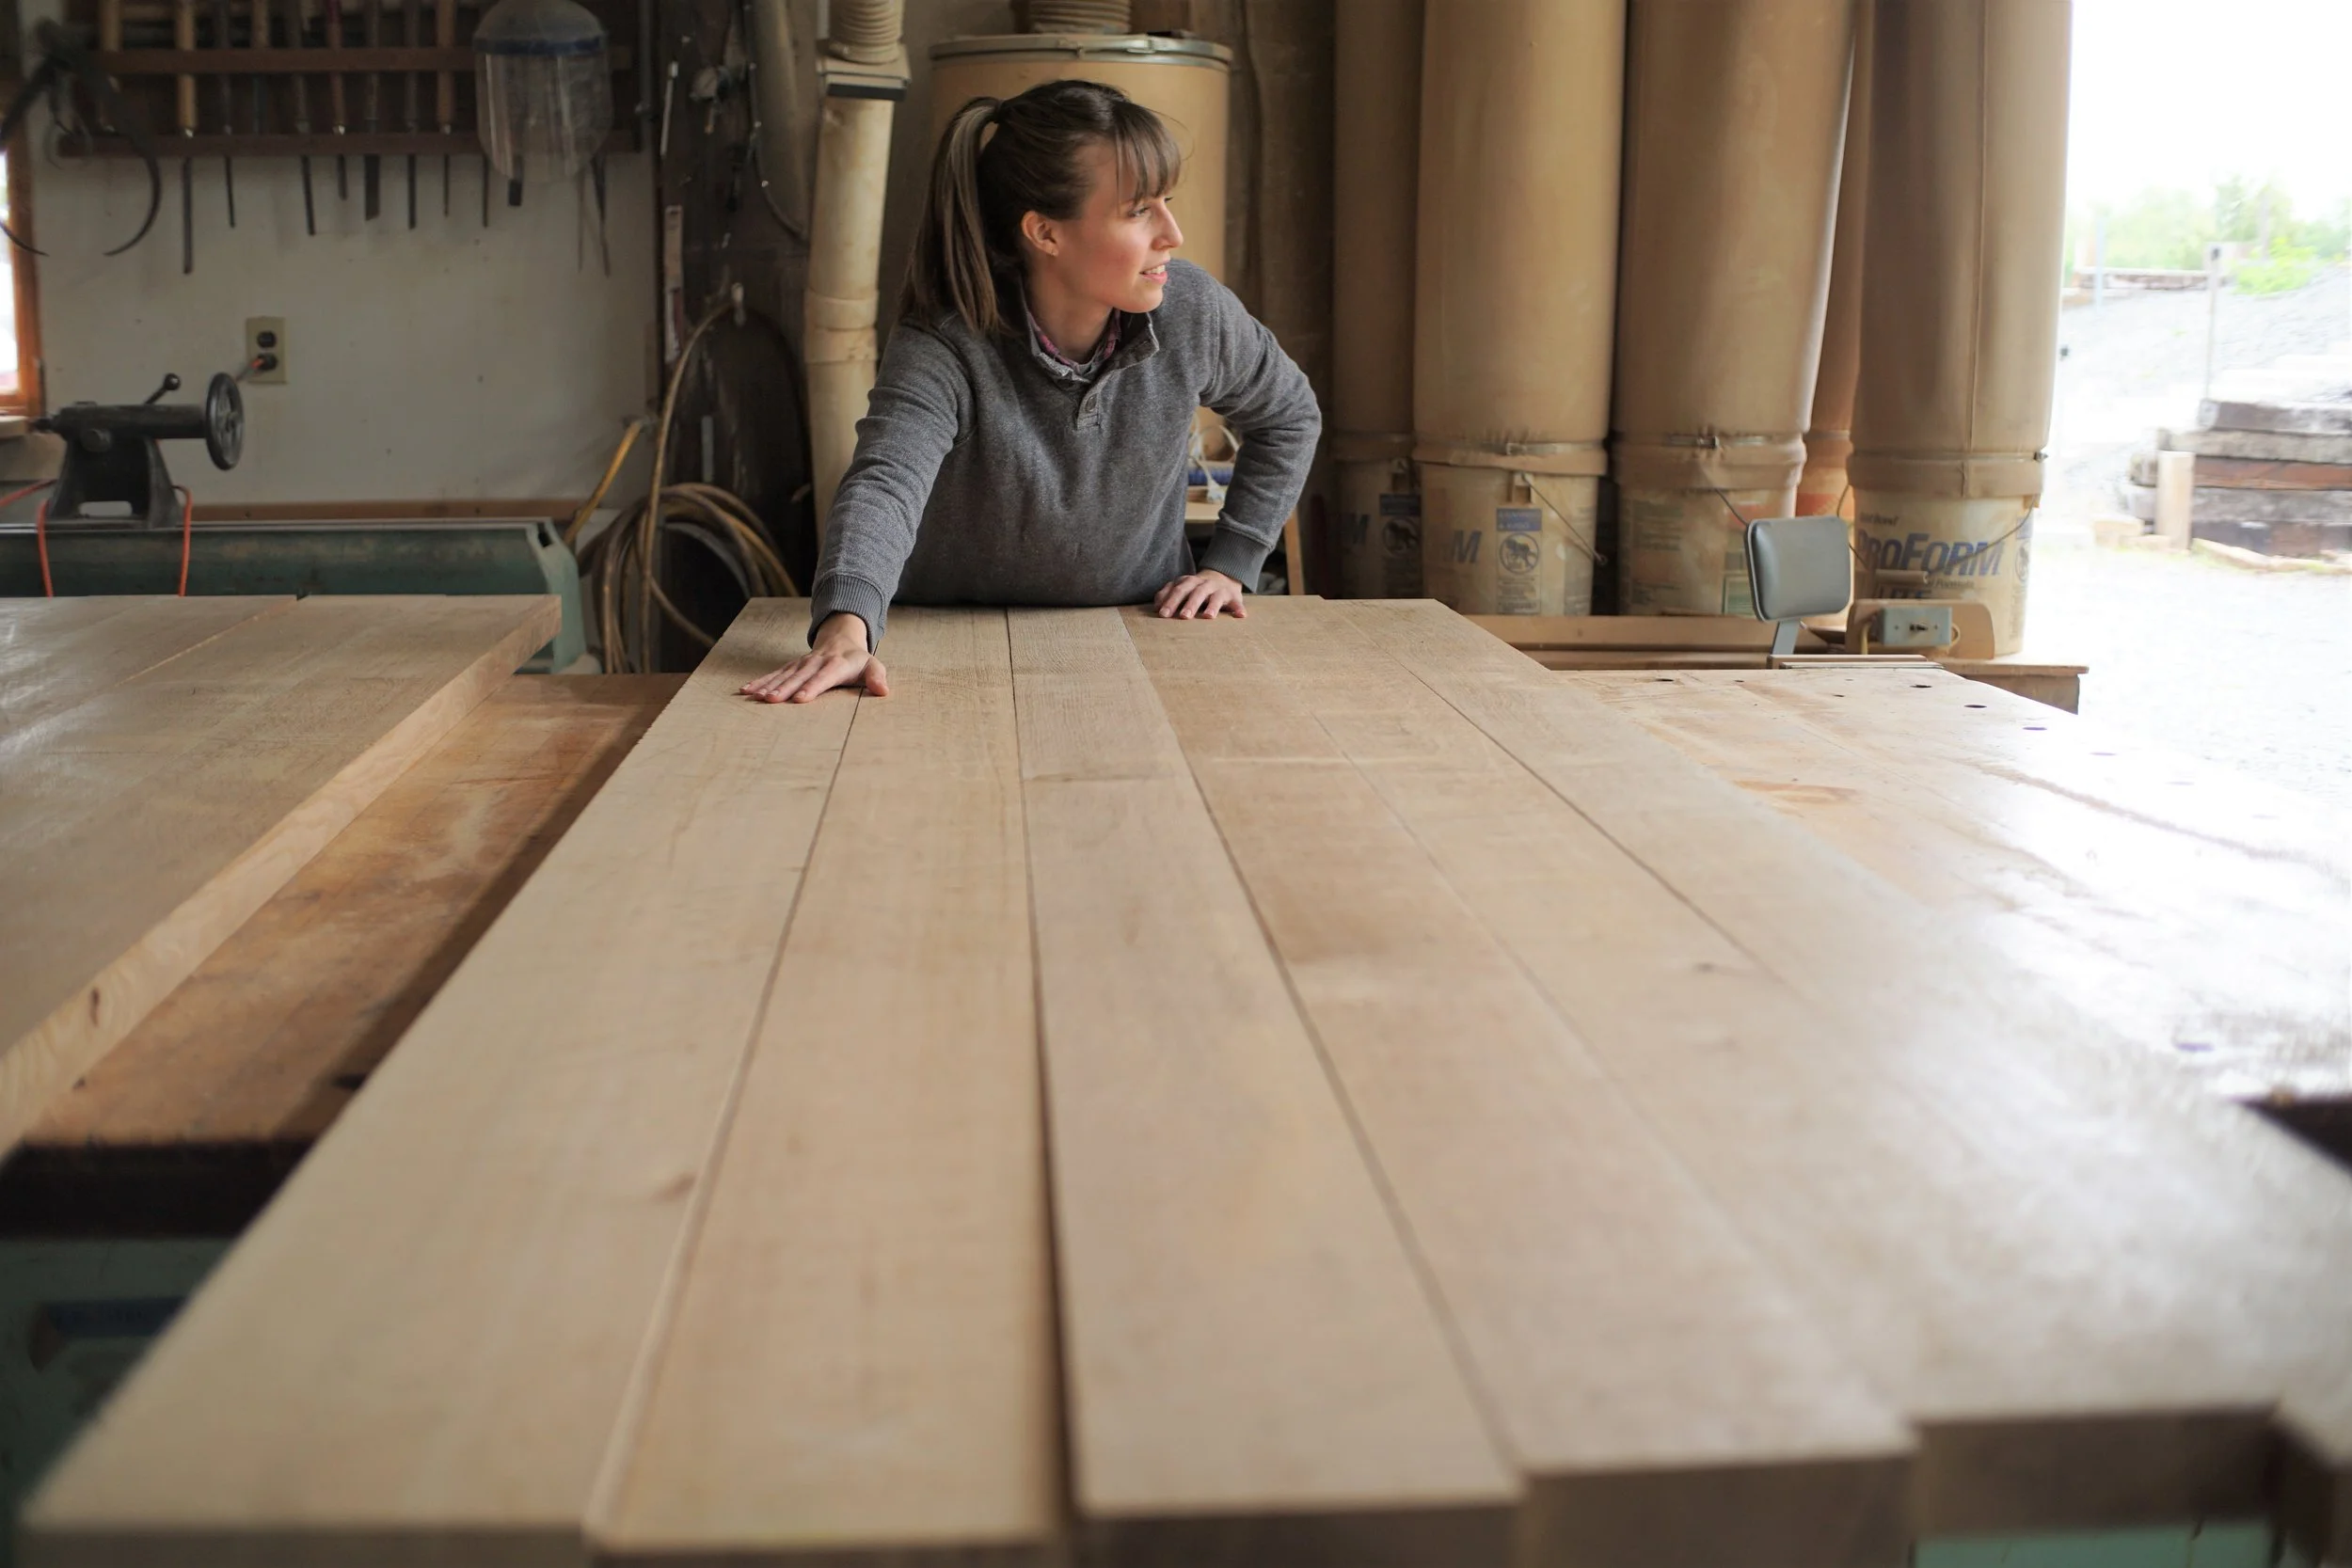
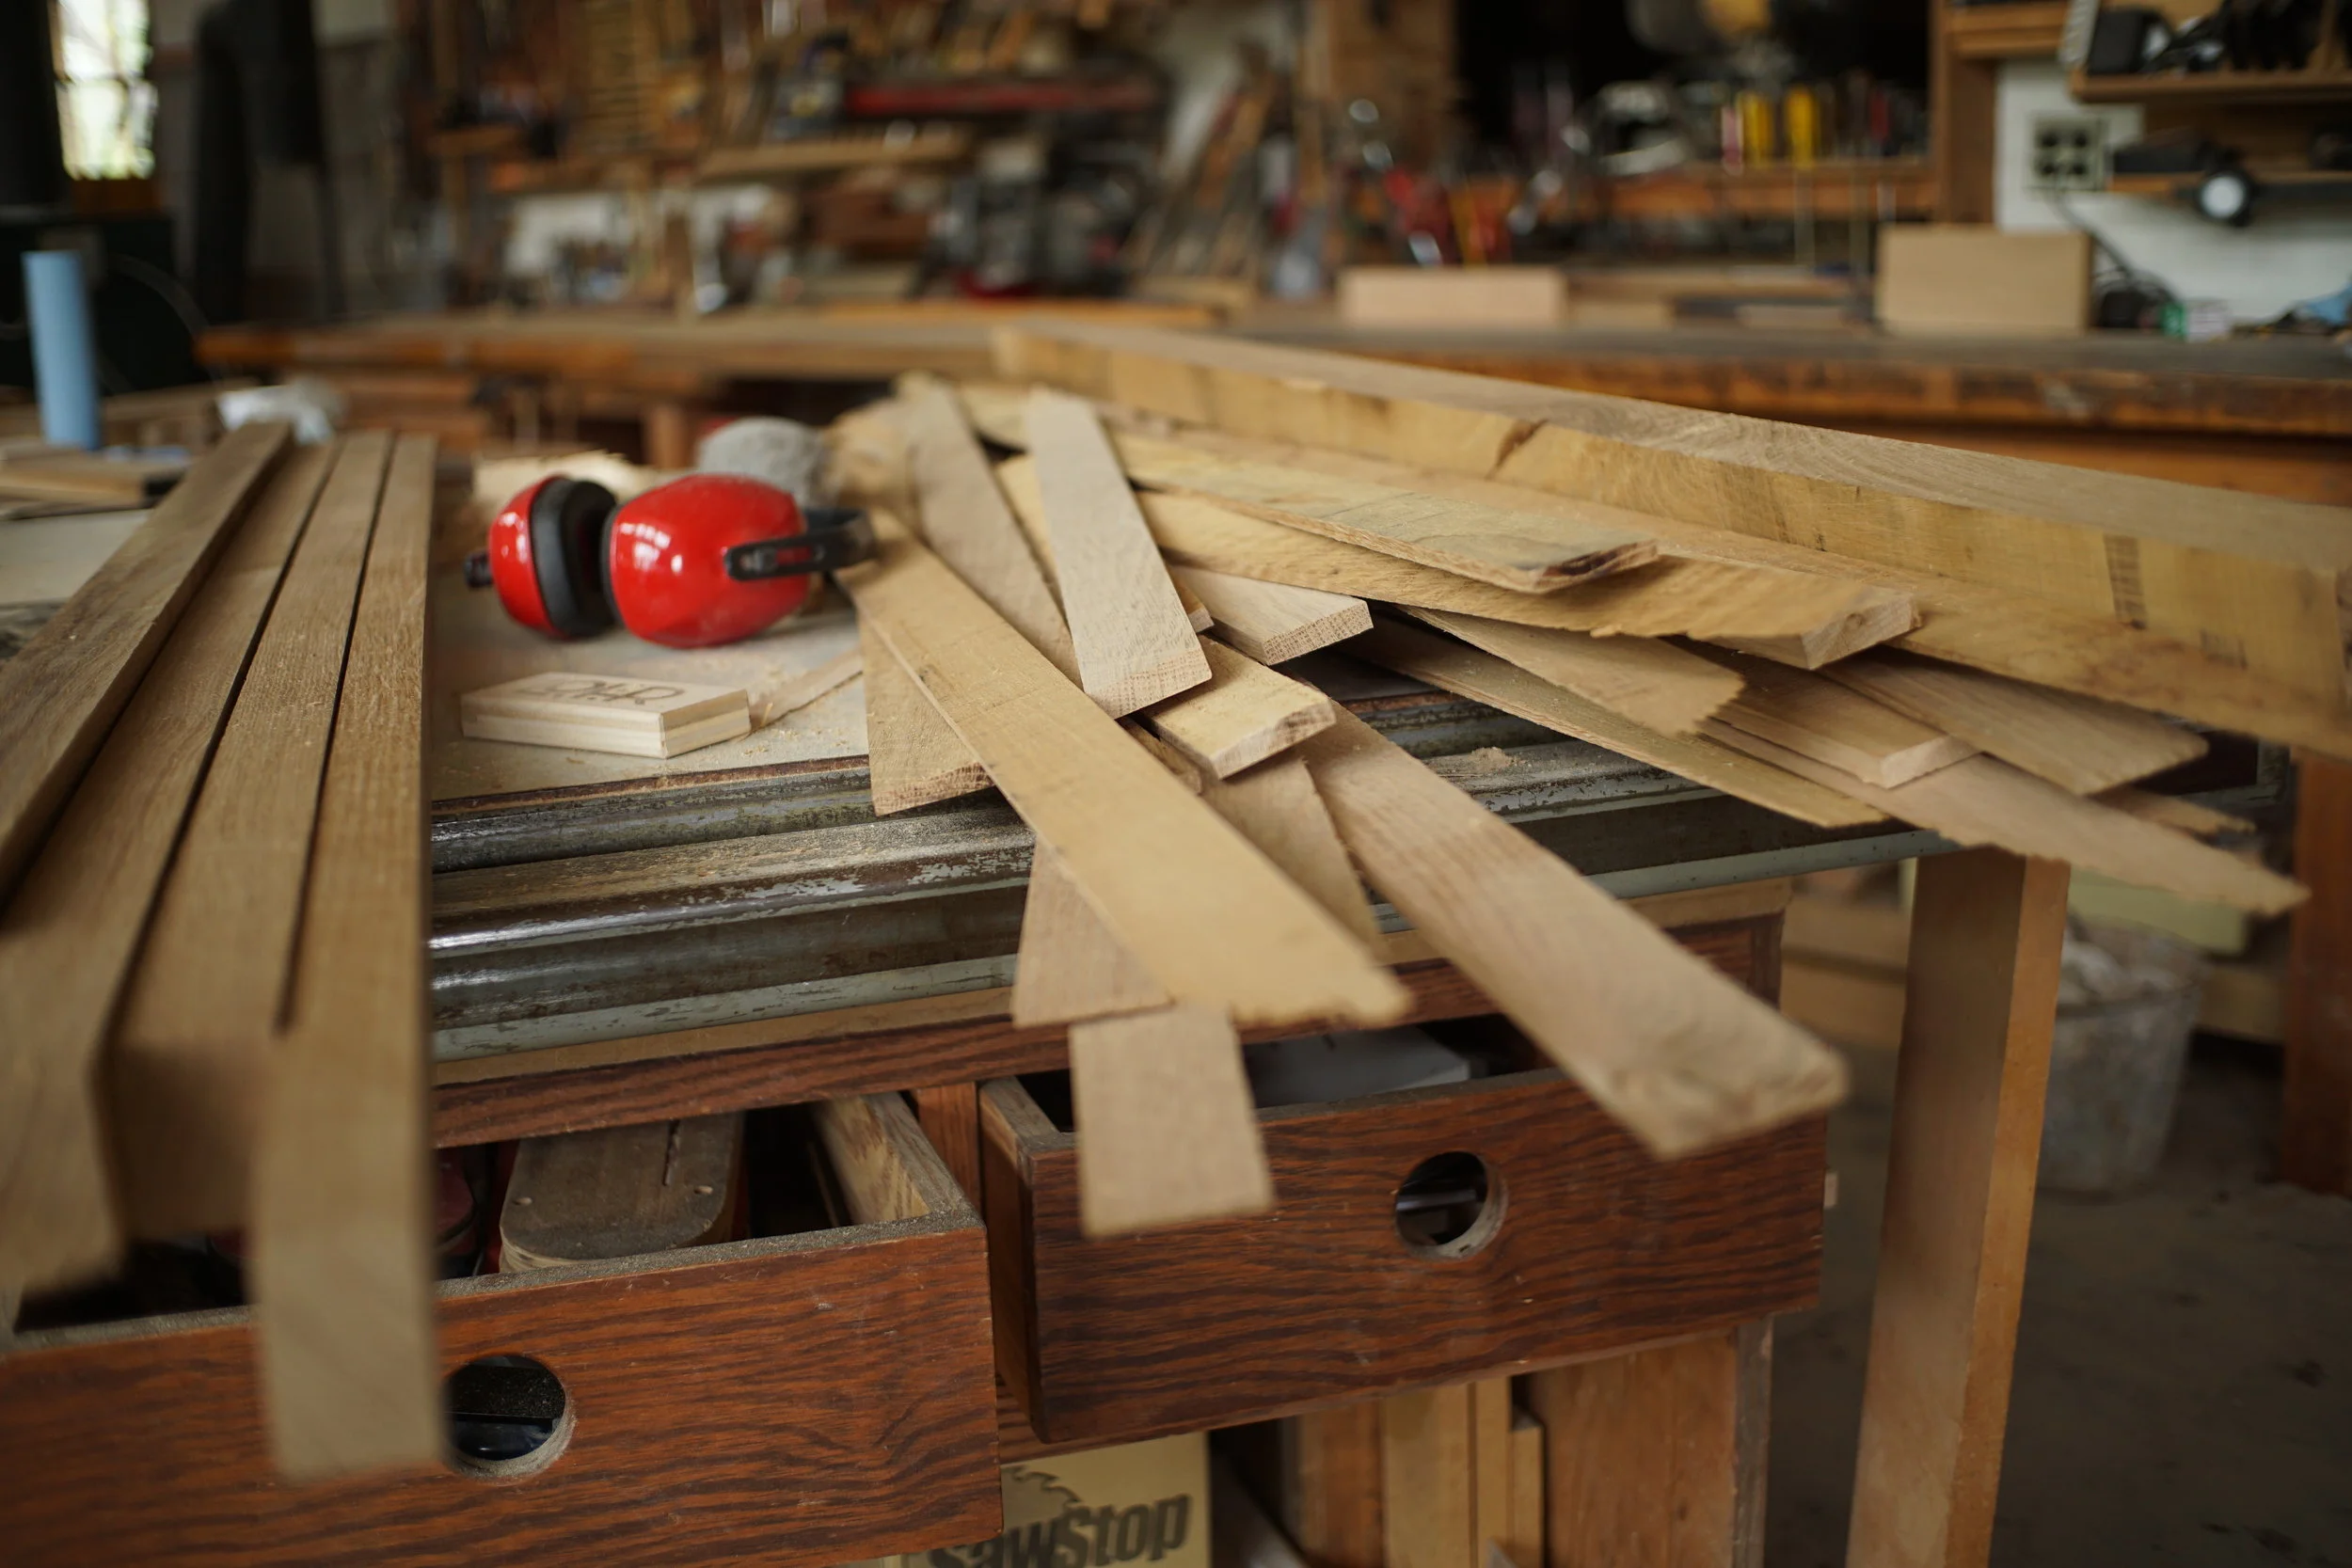
We’ve never done a job with this much material. So many boards, so much to do. We started by organizing the material into groups of similar grain and color tone. After measuring the space, we began to match up the sections of the bar. The wetness on the boards in the photo above is denatured alcohol. This gives us a look at the color so we can make the best possible matches on the seams. Each section is made up of six boards and will be 32” wide. After bringing templates to the bar, we found this was the perfect width for comfort. After the boards were cut to length, each edge was cut with a straight edge jig on the table saw, then jointed for a smooth glue joint. Rob spent three days doing this and he made a big mess.
A Big Mess


First Stages of Joinery
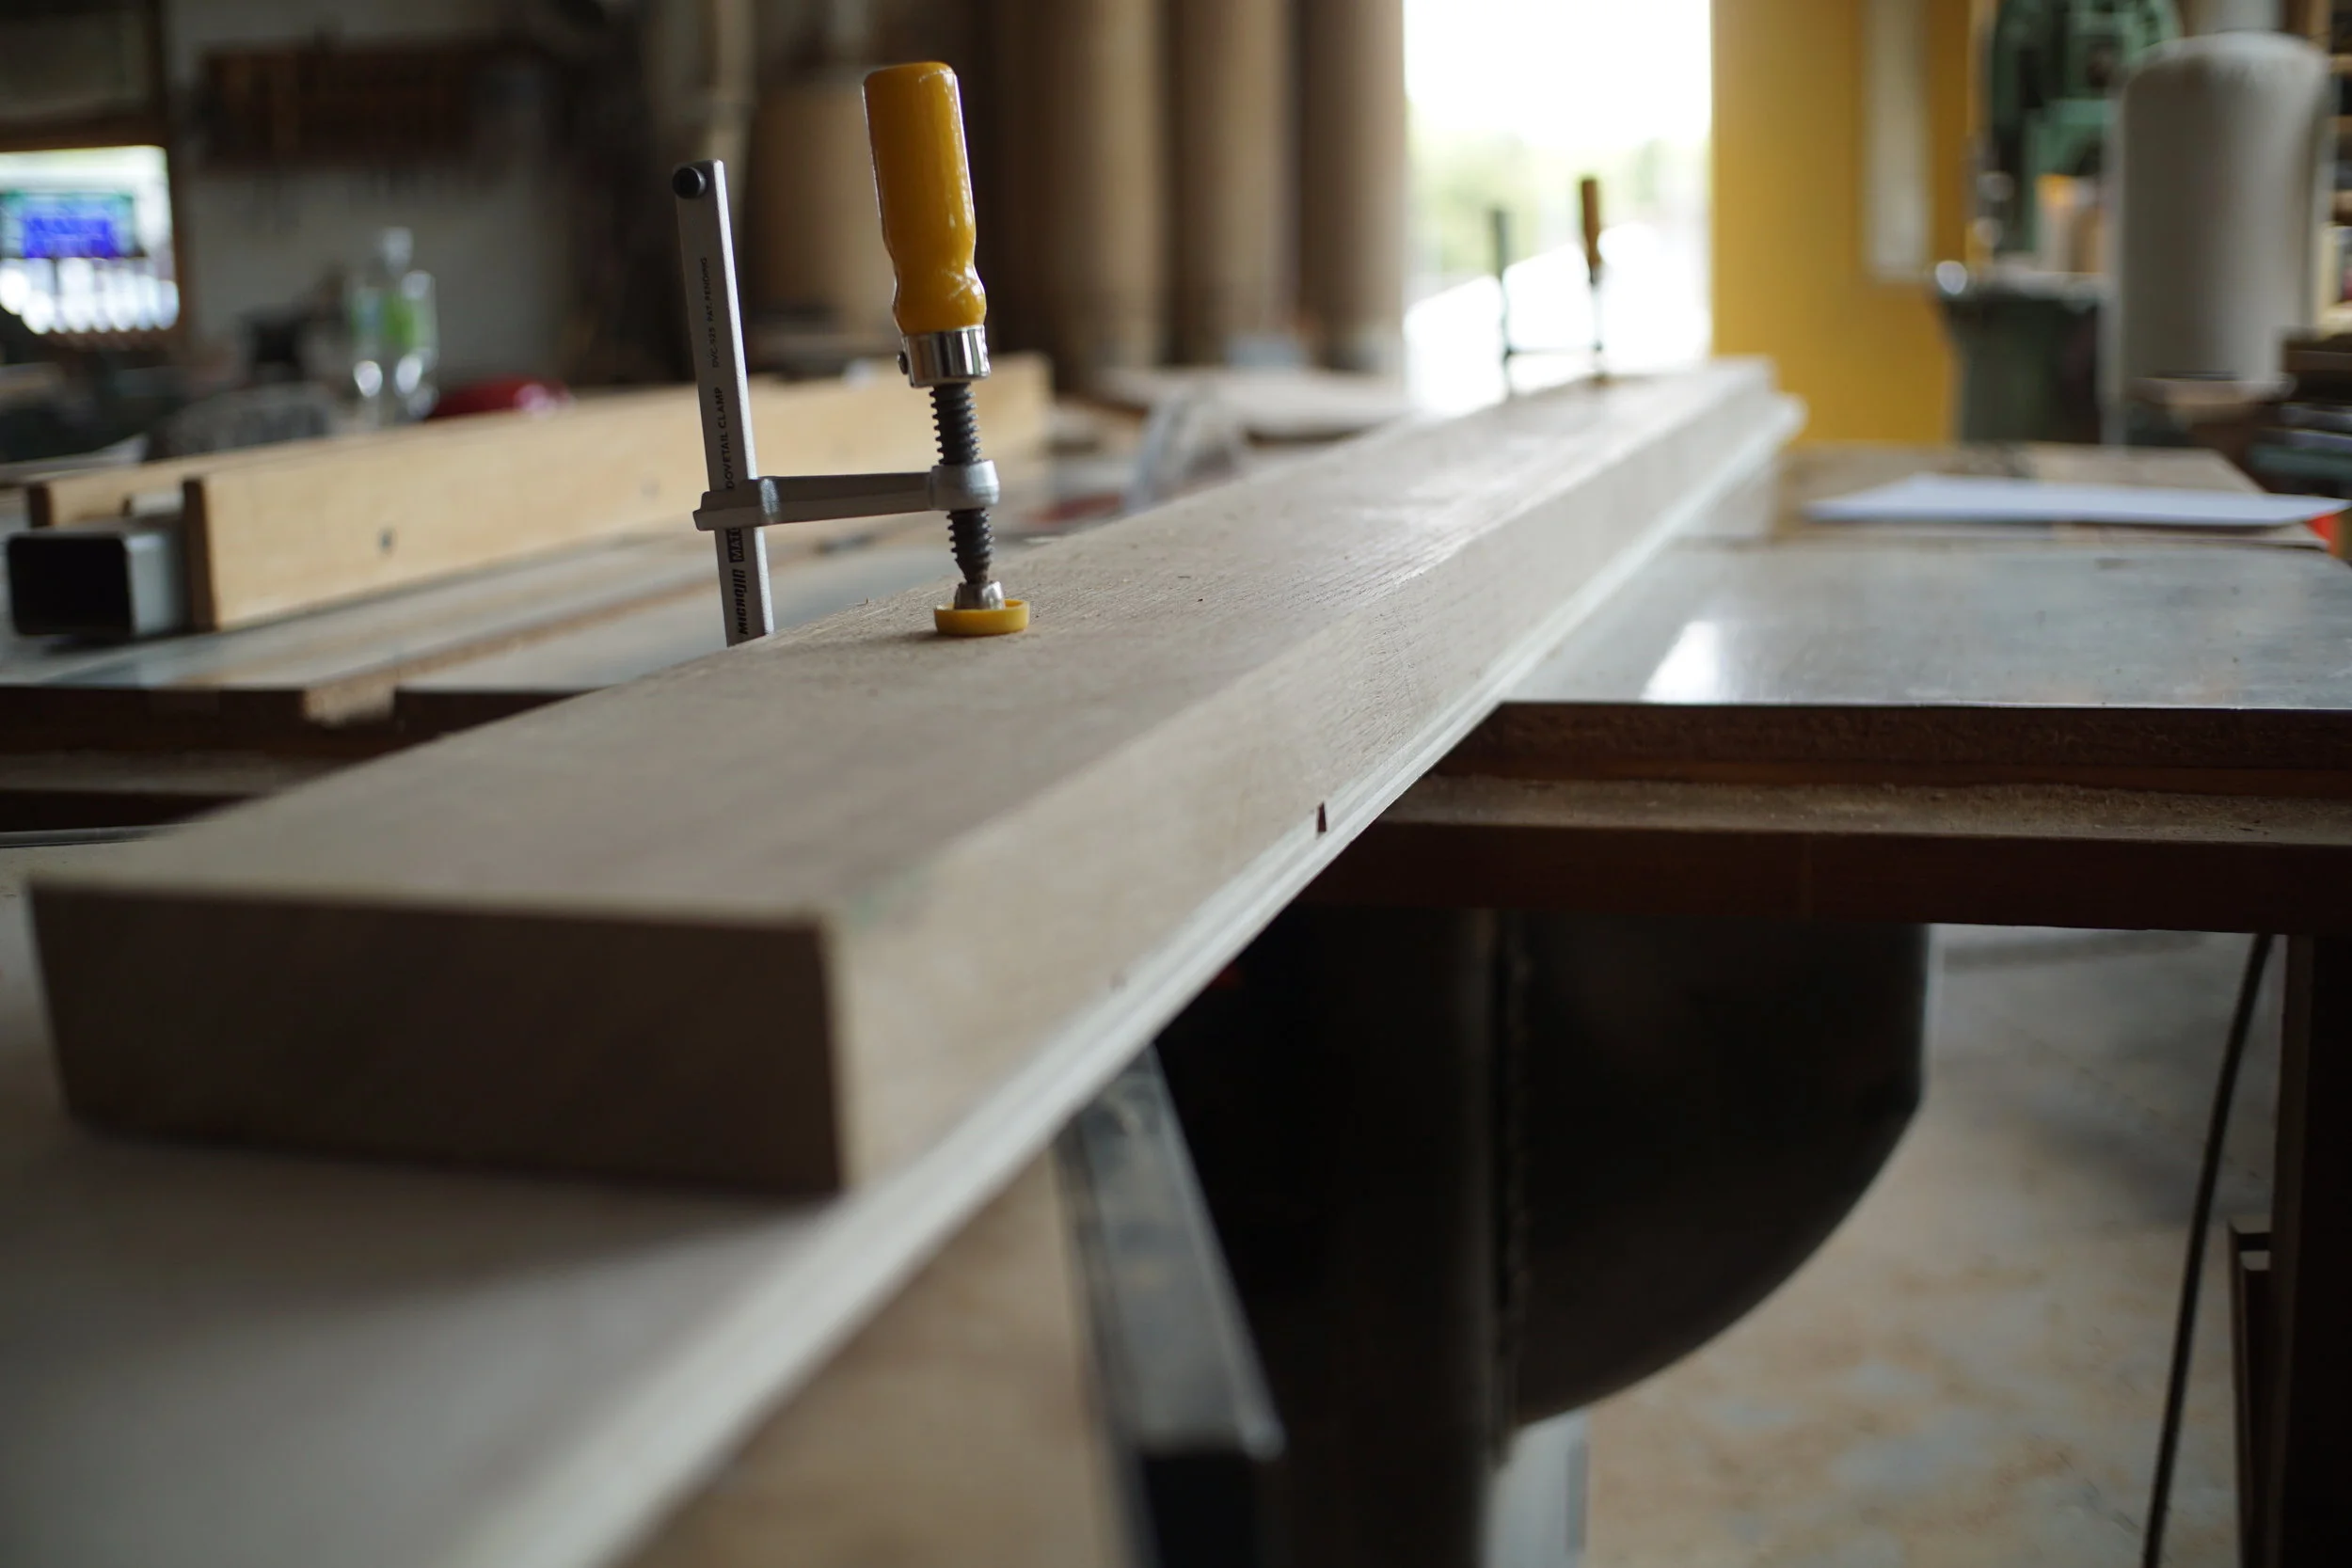
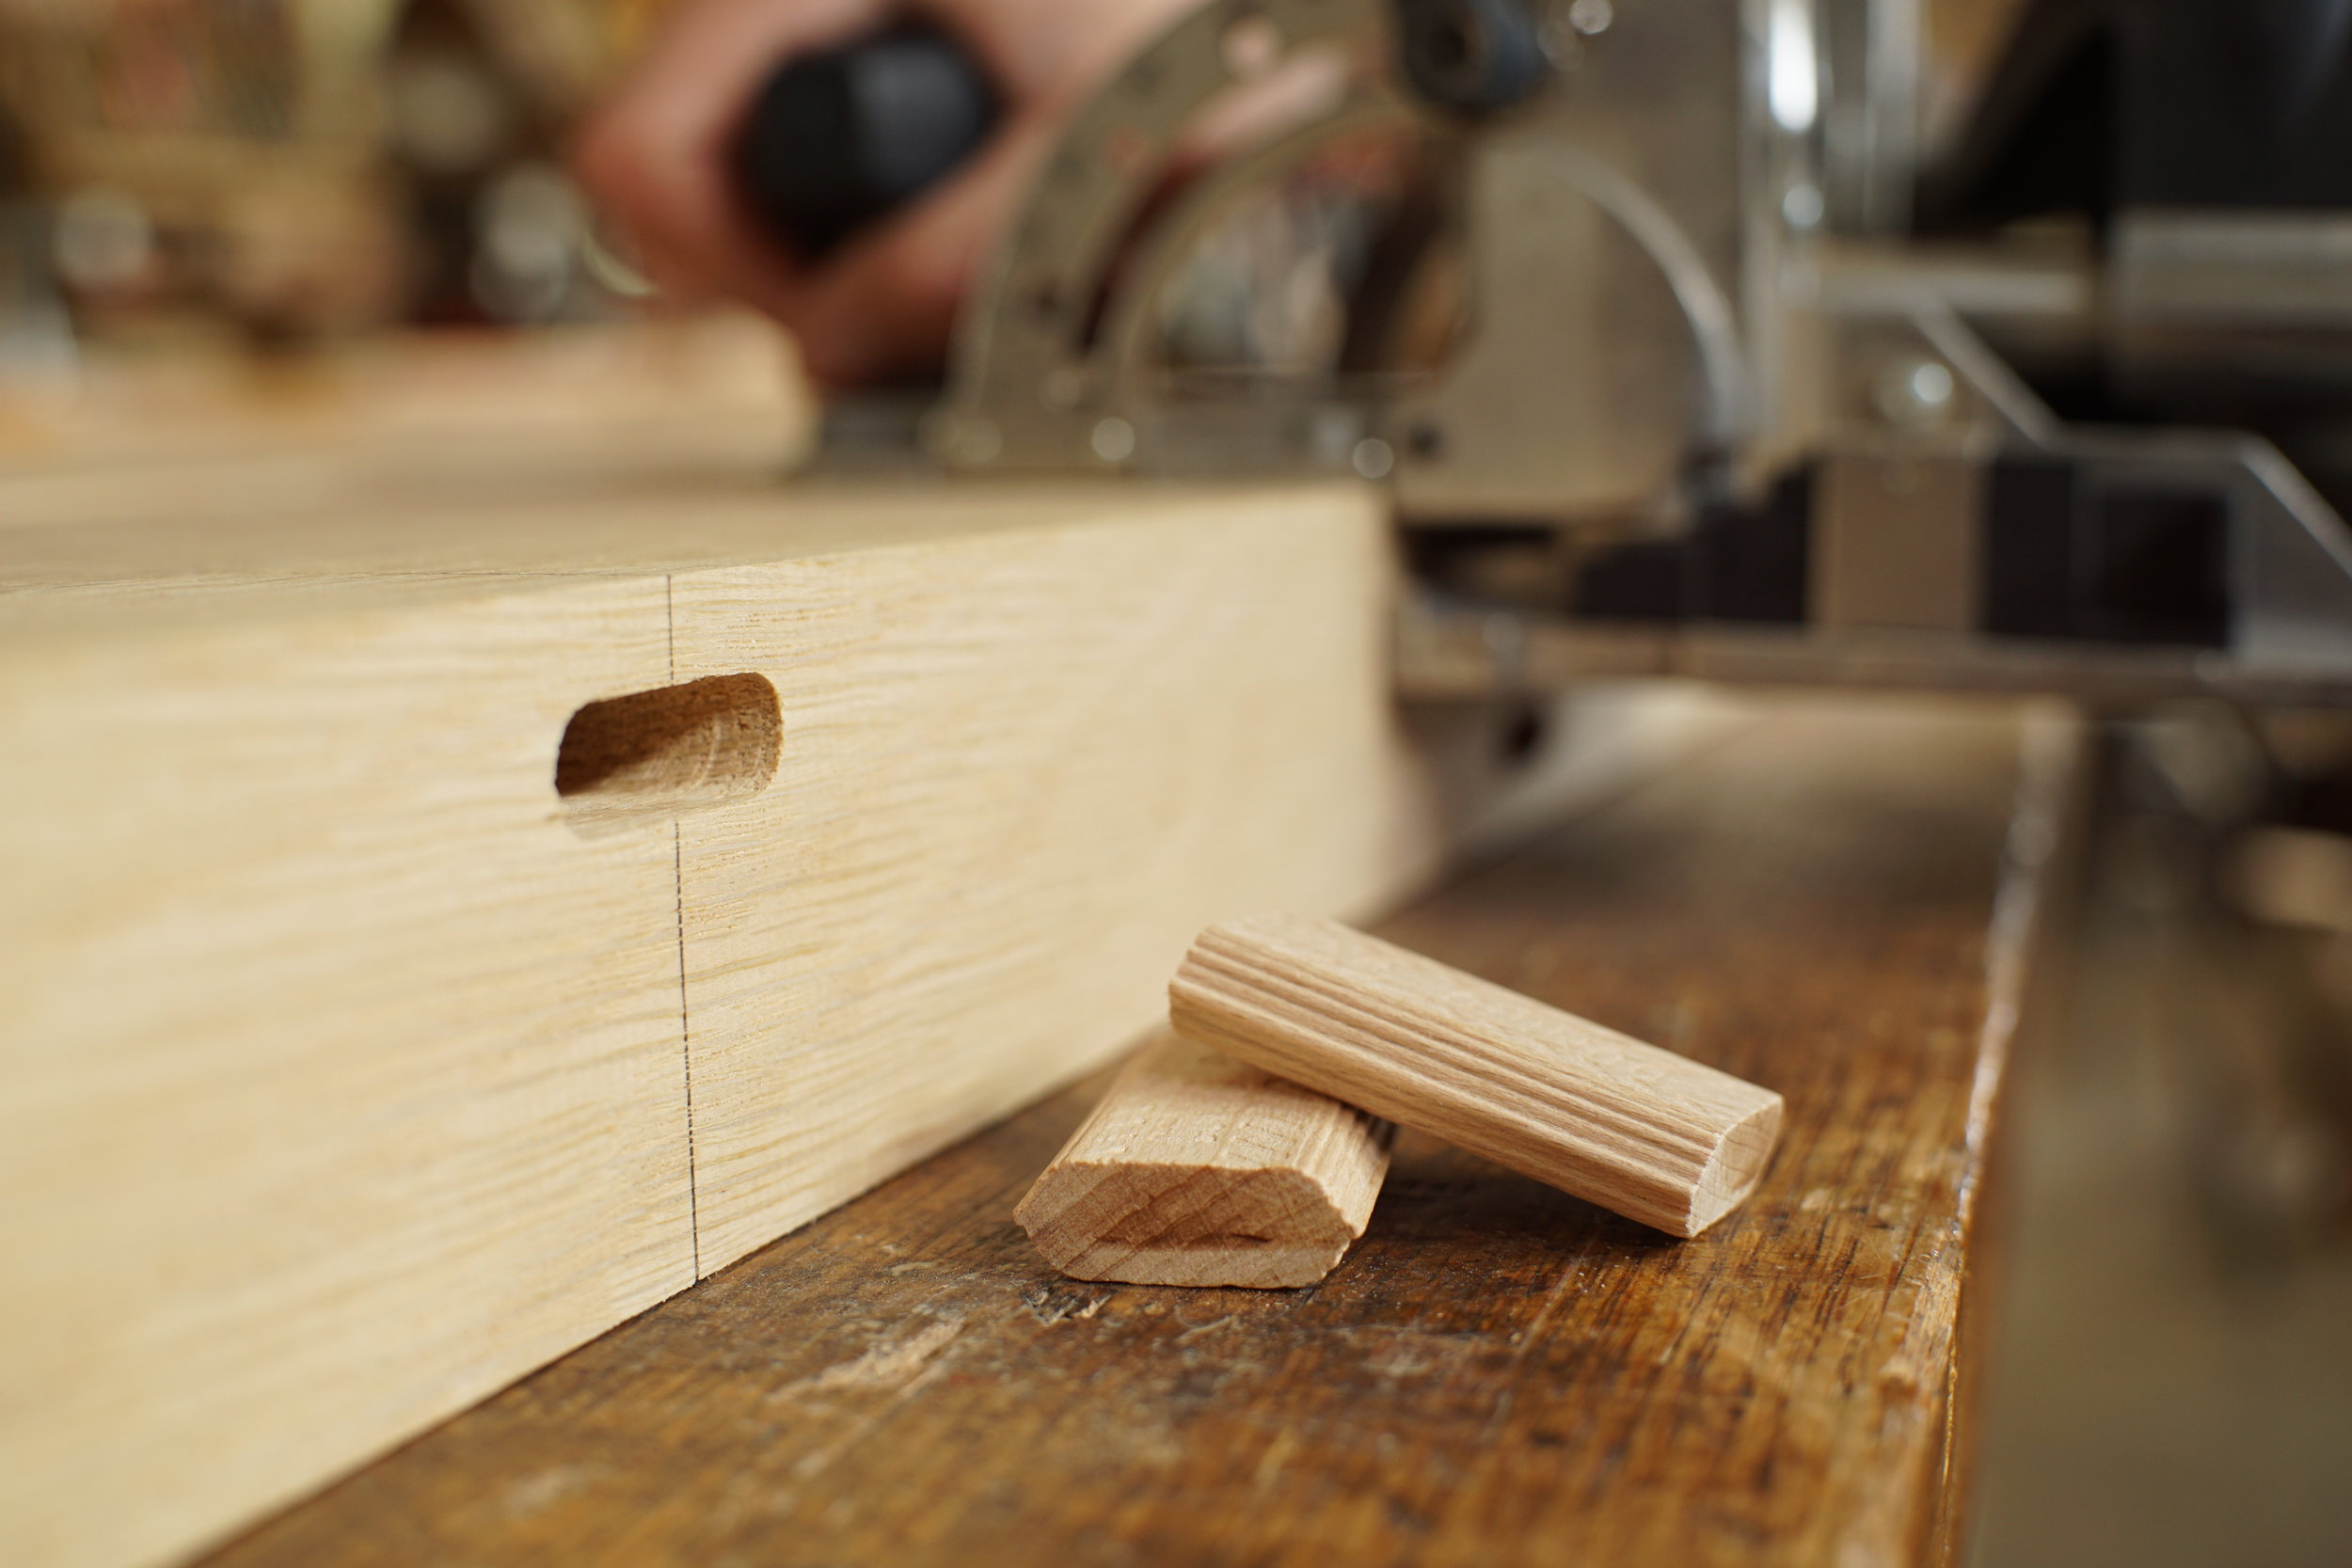
Larissa spent the last three days cutting loose tenons into the edges of the bar top. These little guys are like dowels, but give a stronger connection. They help to keep each board in the glue up level and they add exceptional strength to the joint. There will likely be 500 of these little tenons hiding inside the bar top. Eventually, Larissa was finished.
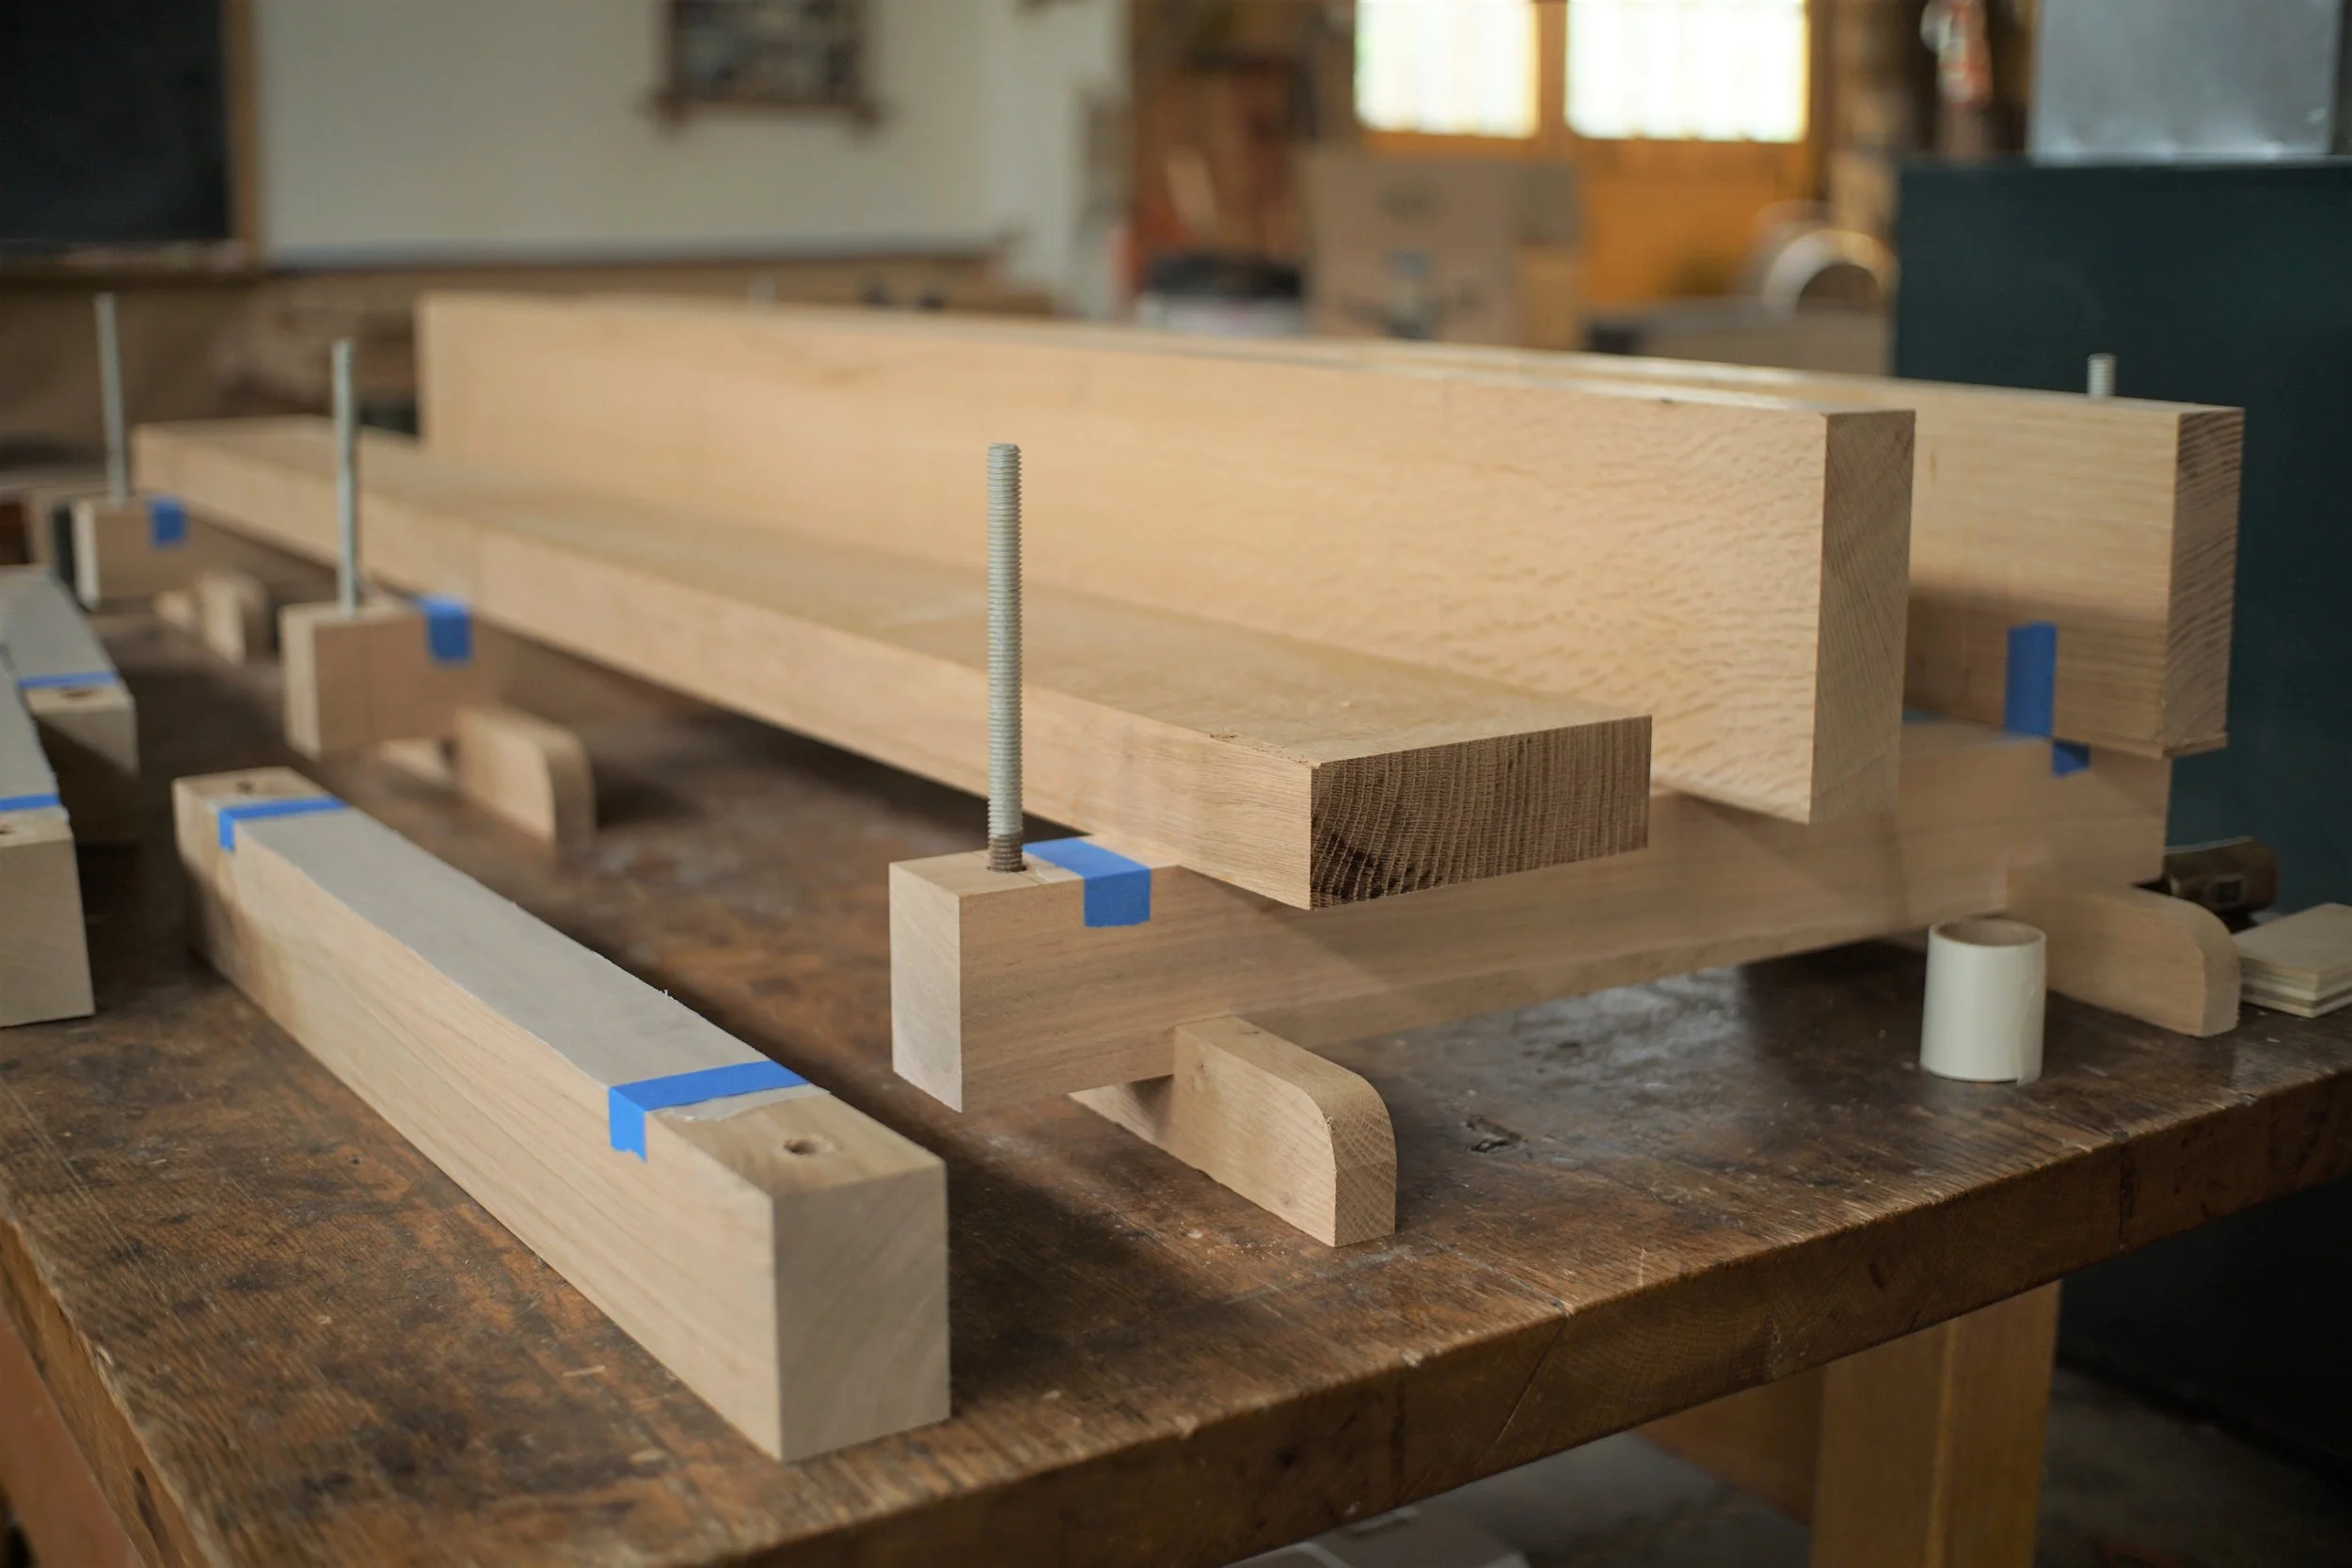
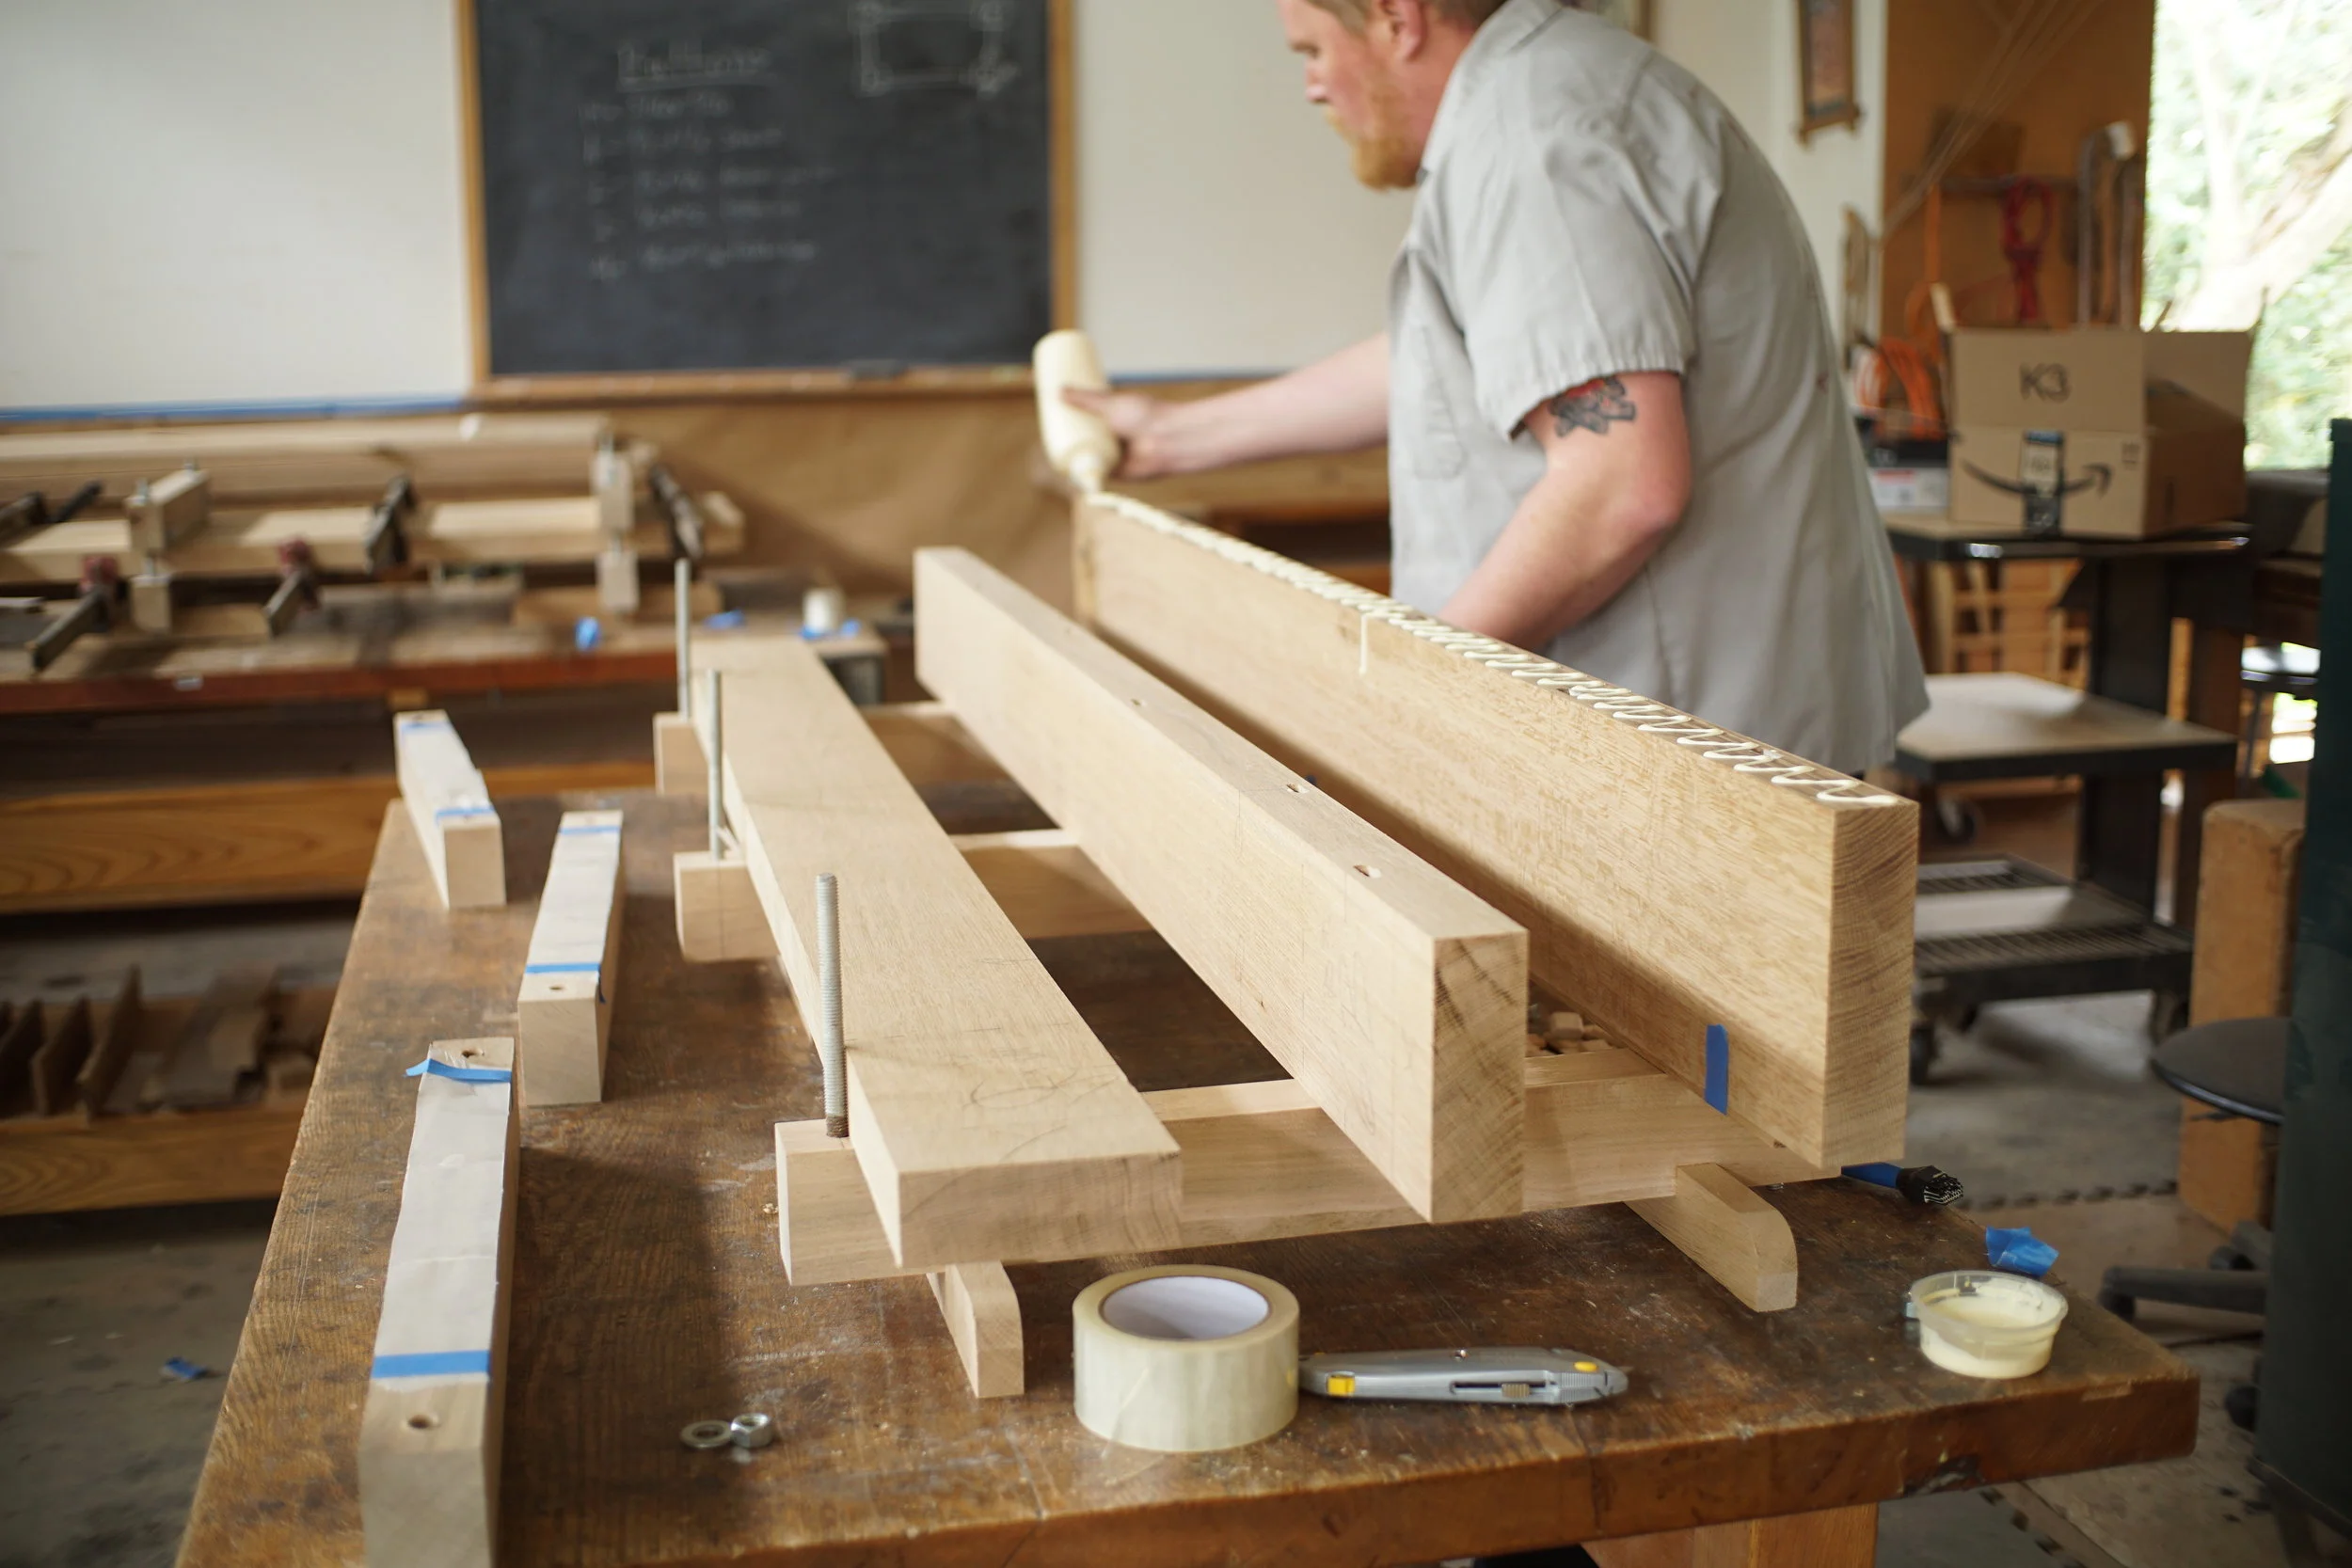


Gluing Up
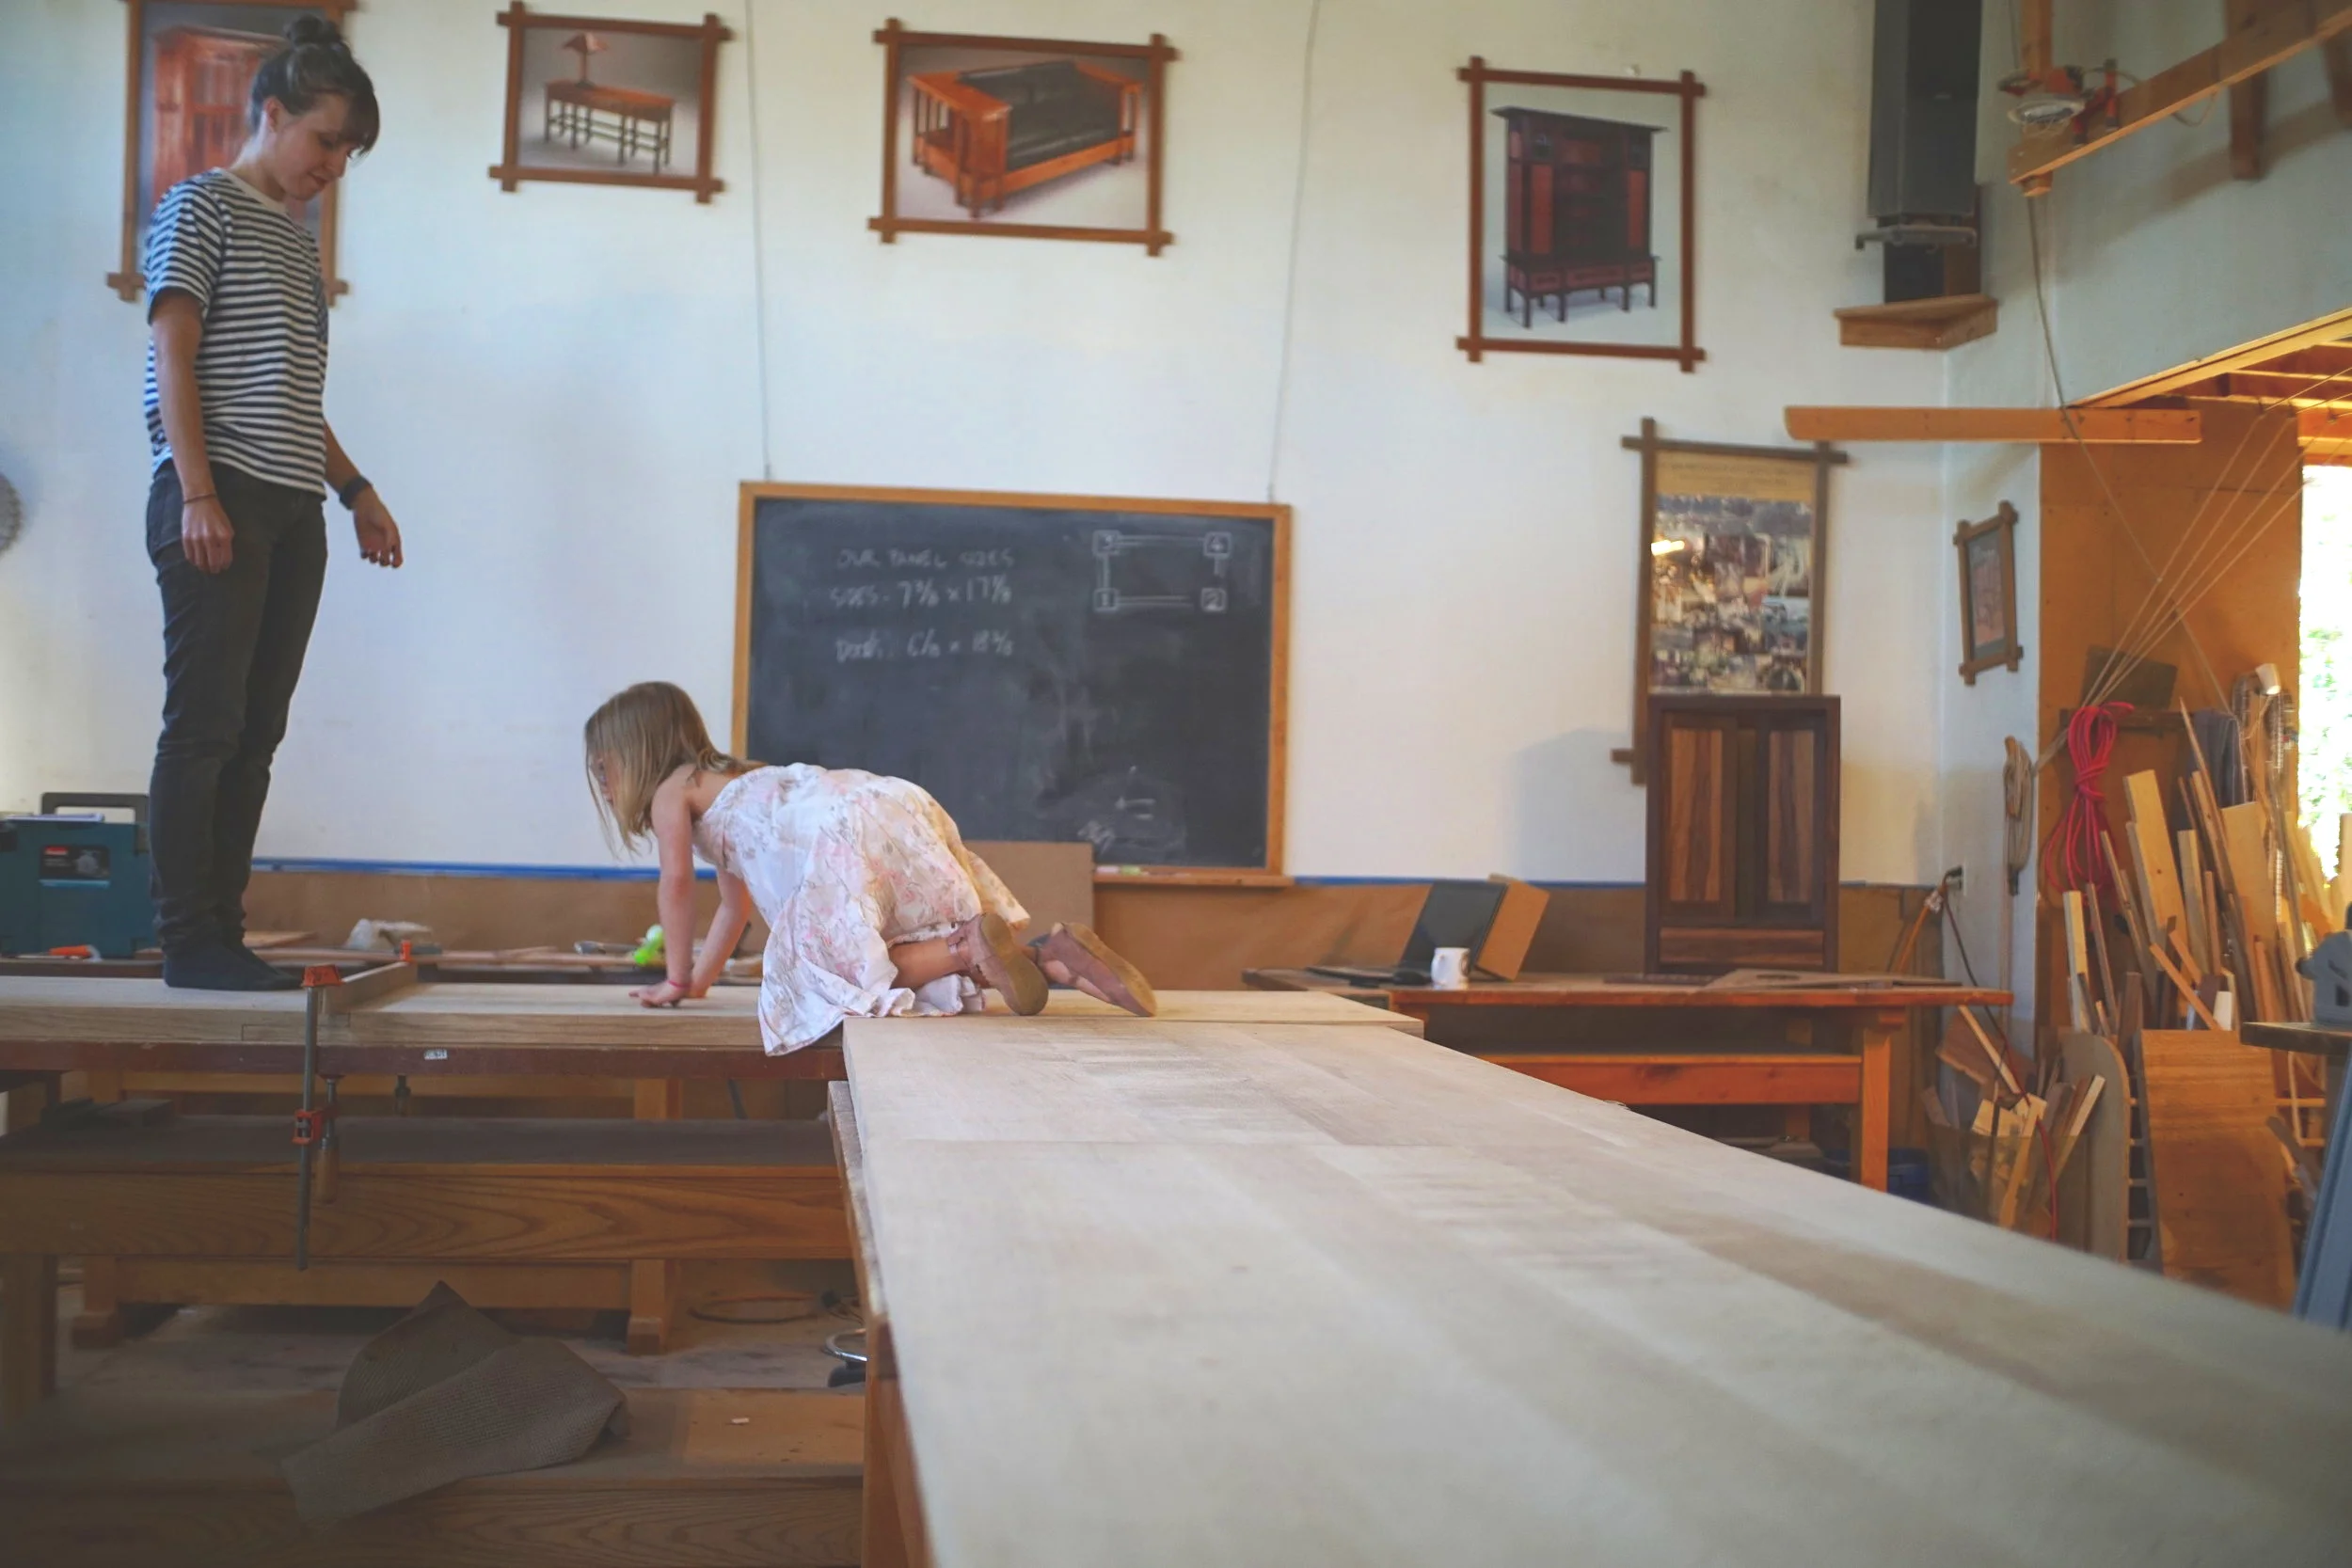
What we learned most of all in our trial run is that we’d better keep these sections as flat as possible if we want the joinery to be easier later in the process. The jigs picutred help to keep all boards aligned on the same plane. The next week will be spent gluing each section up in halves. After that, we’ll plane each half to their finished thickness, and move on to the final glue up. We’ll get all of the sections glued up, then we have a class coming in. We’ll resume our regularly scheduled programming in mid-May. Until then, Go Sixers.
June Update
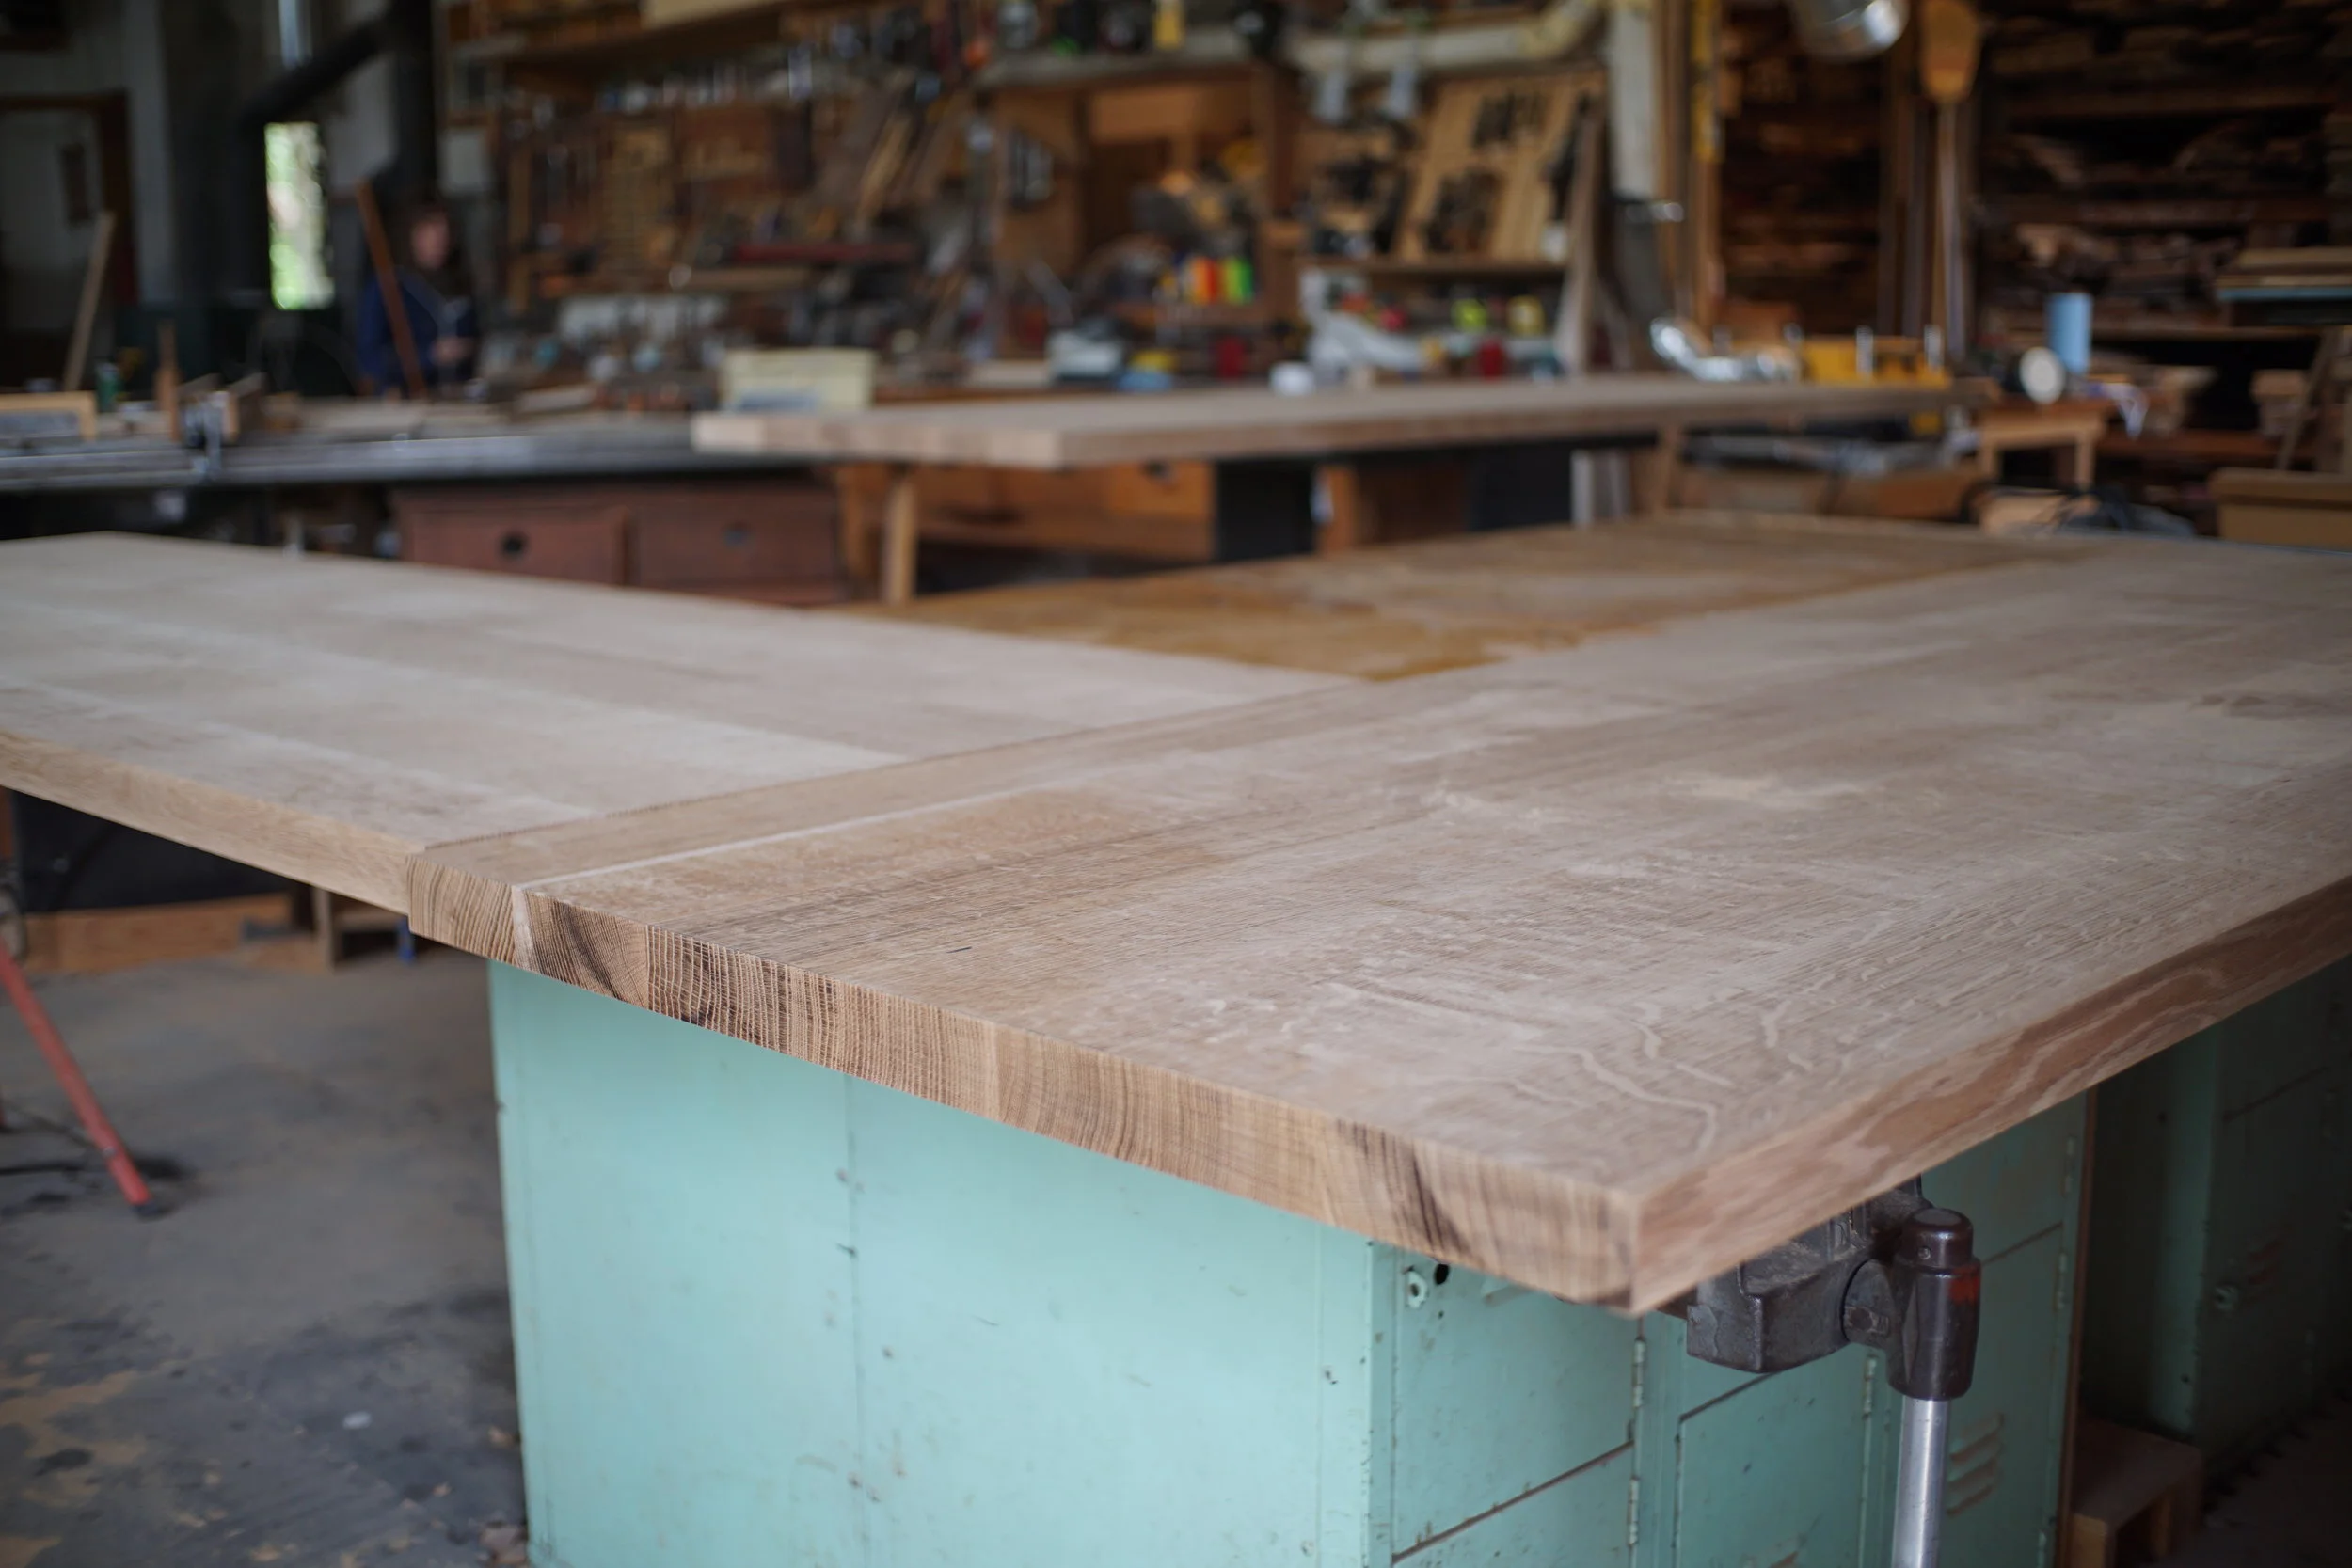
After class was out, we jumped back in on the bar. Our class schedule is heavy this time of year, so in one week between we took all of our bar sections to the Boyertown Planing Mill to have them run through a super-huge industrial wide belt sander. This leveled up all of the seams and made short work of it. Once we got the sections back to the shop, we were on to cutting everything to it’s proper width and length. I suppose we didn’t get many pictures because we were excited to move on to the joinery.
Monster Half Lap Joints
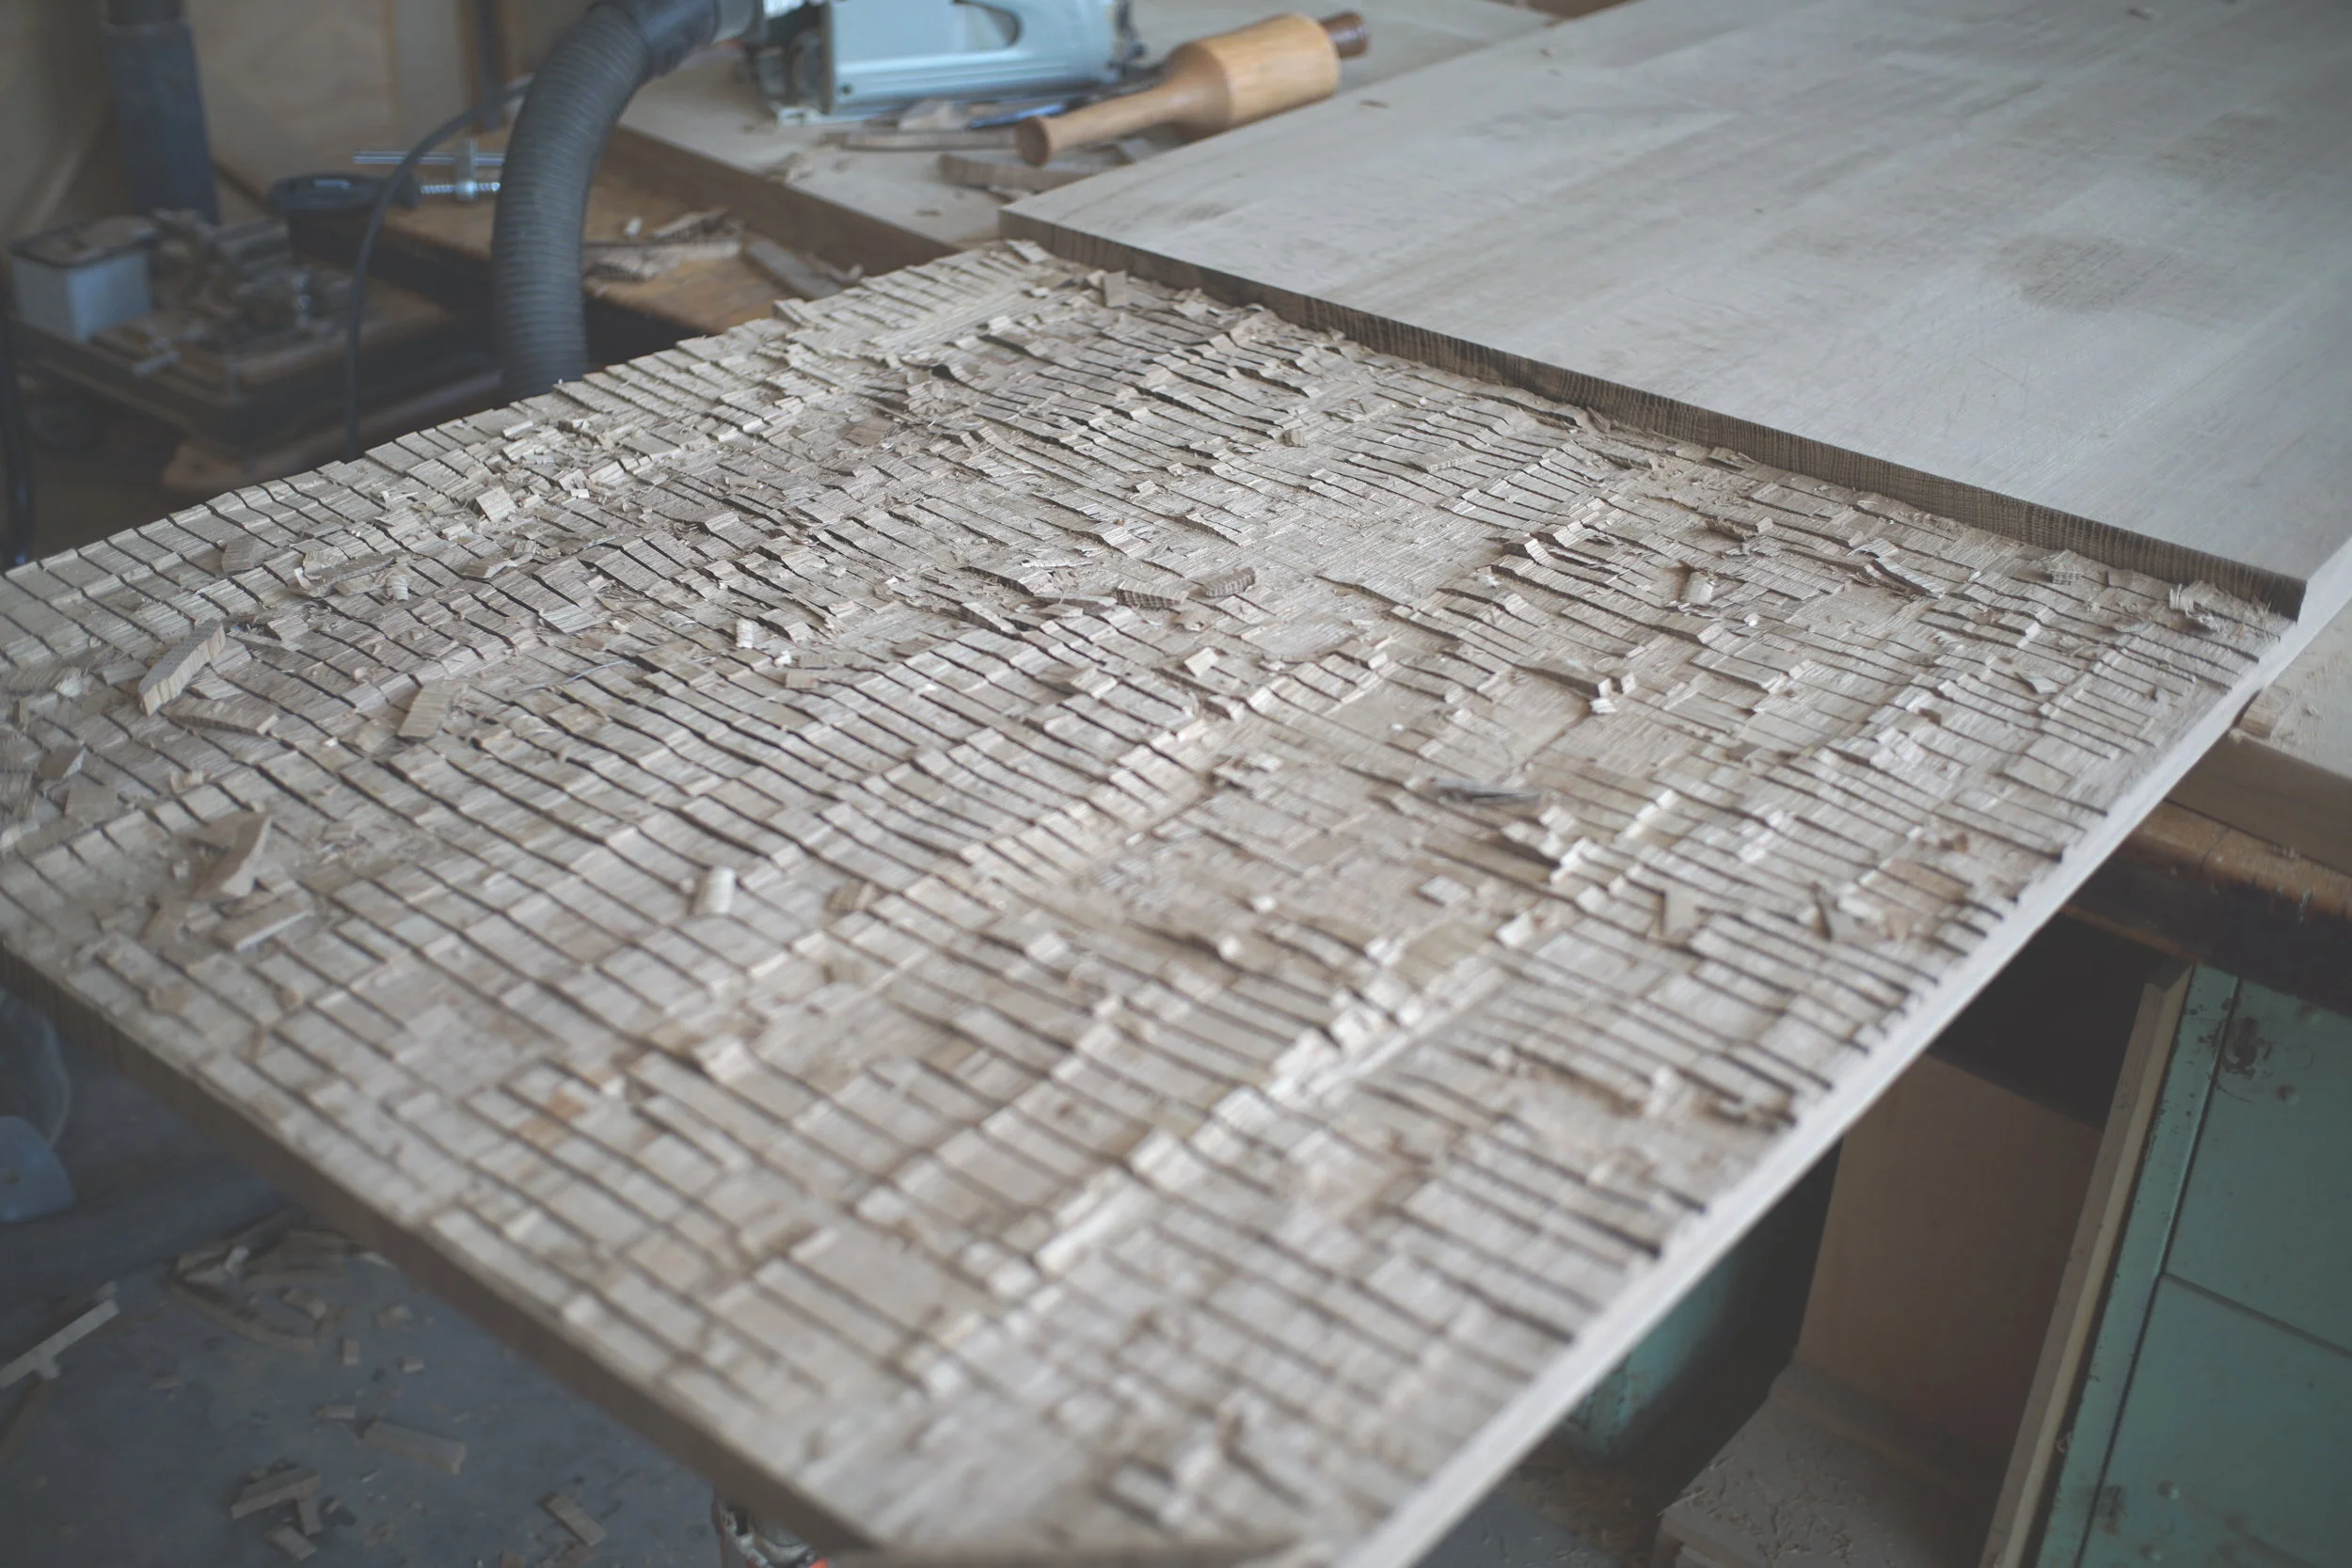
If you notice any comments on our Instagram posts, the main query from woodworkers would be: “What in the hell are you doing!?” These may win the Guiness World Record for lap joint size. We started on the smaller ones that will join sections mid-run. The technique is borrowed from timber framing and we are usually using a chainsaw and claw hammer for that kind of rugged work.

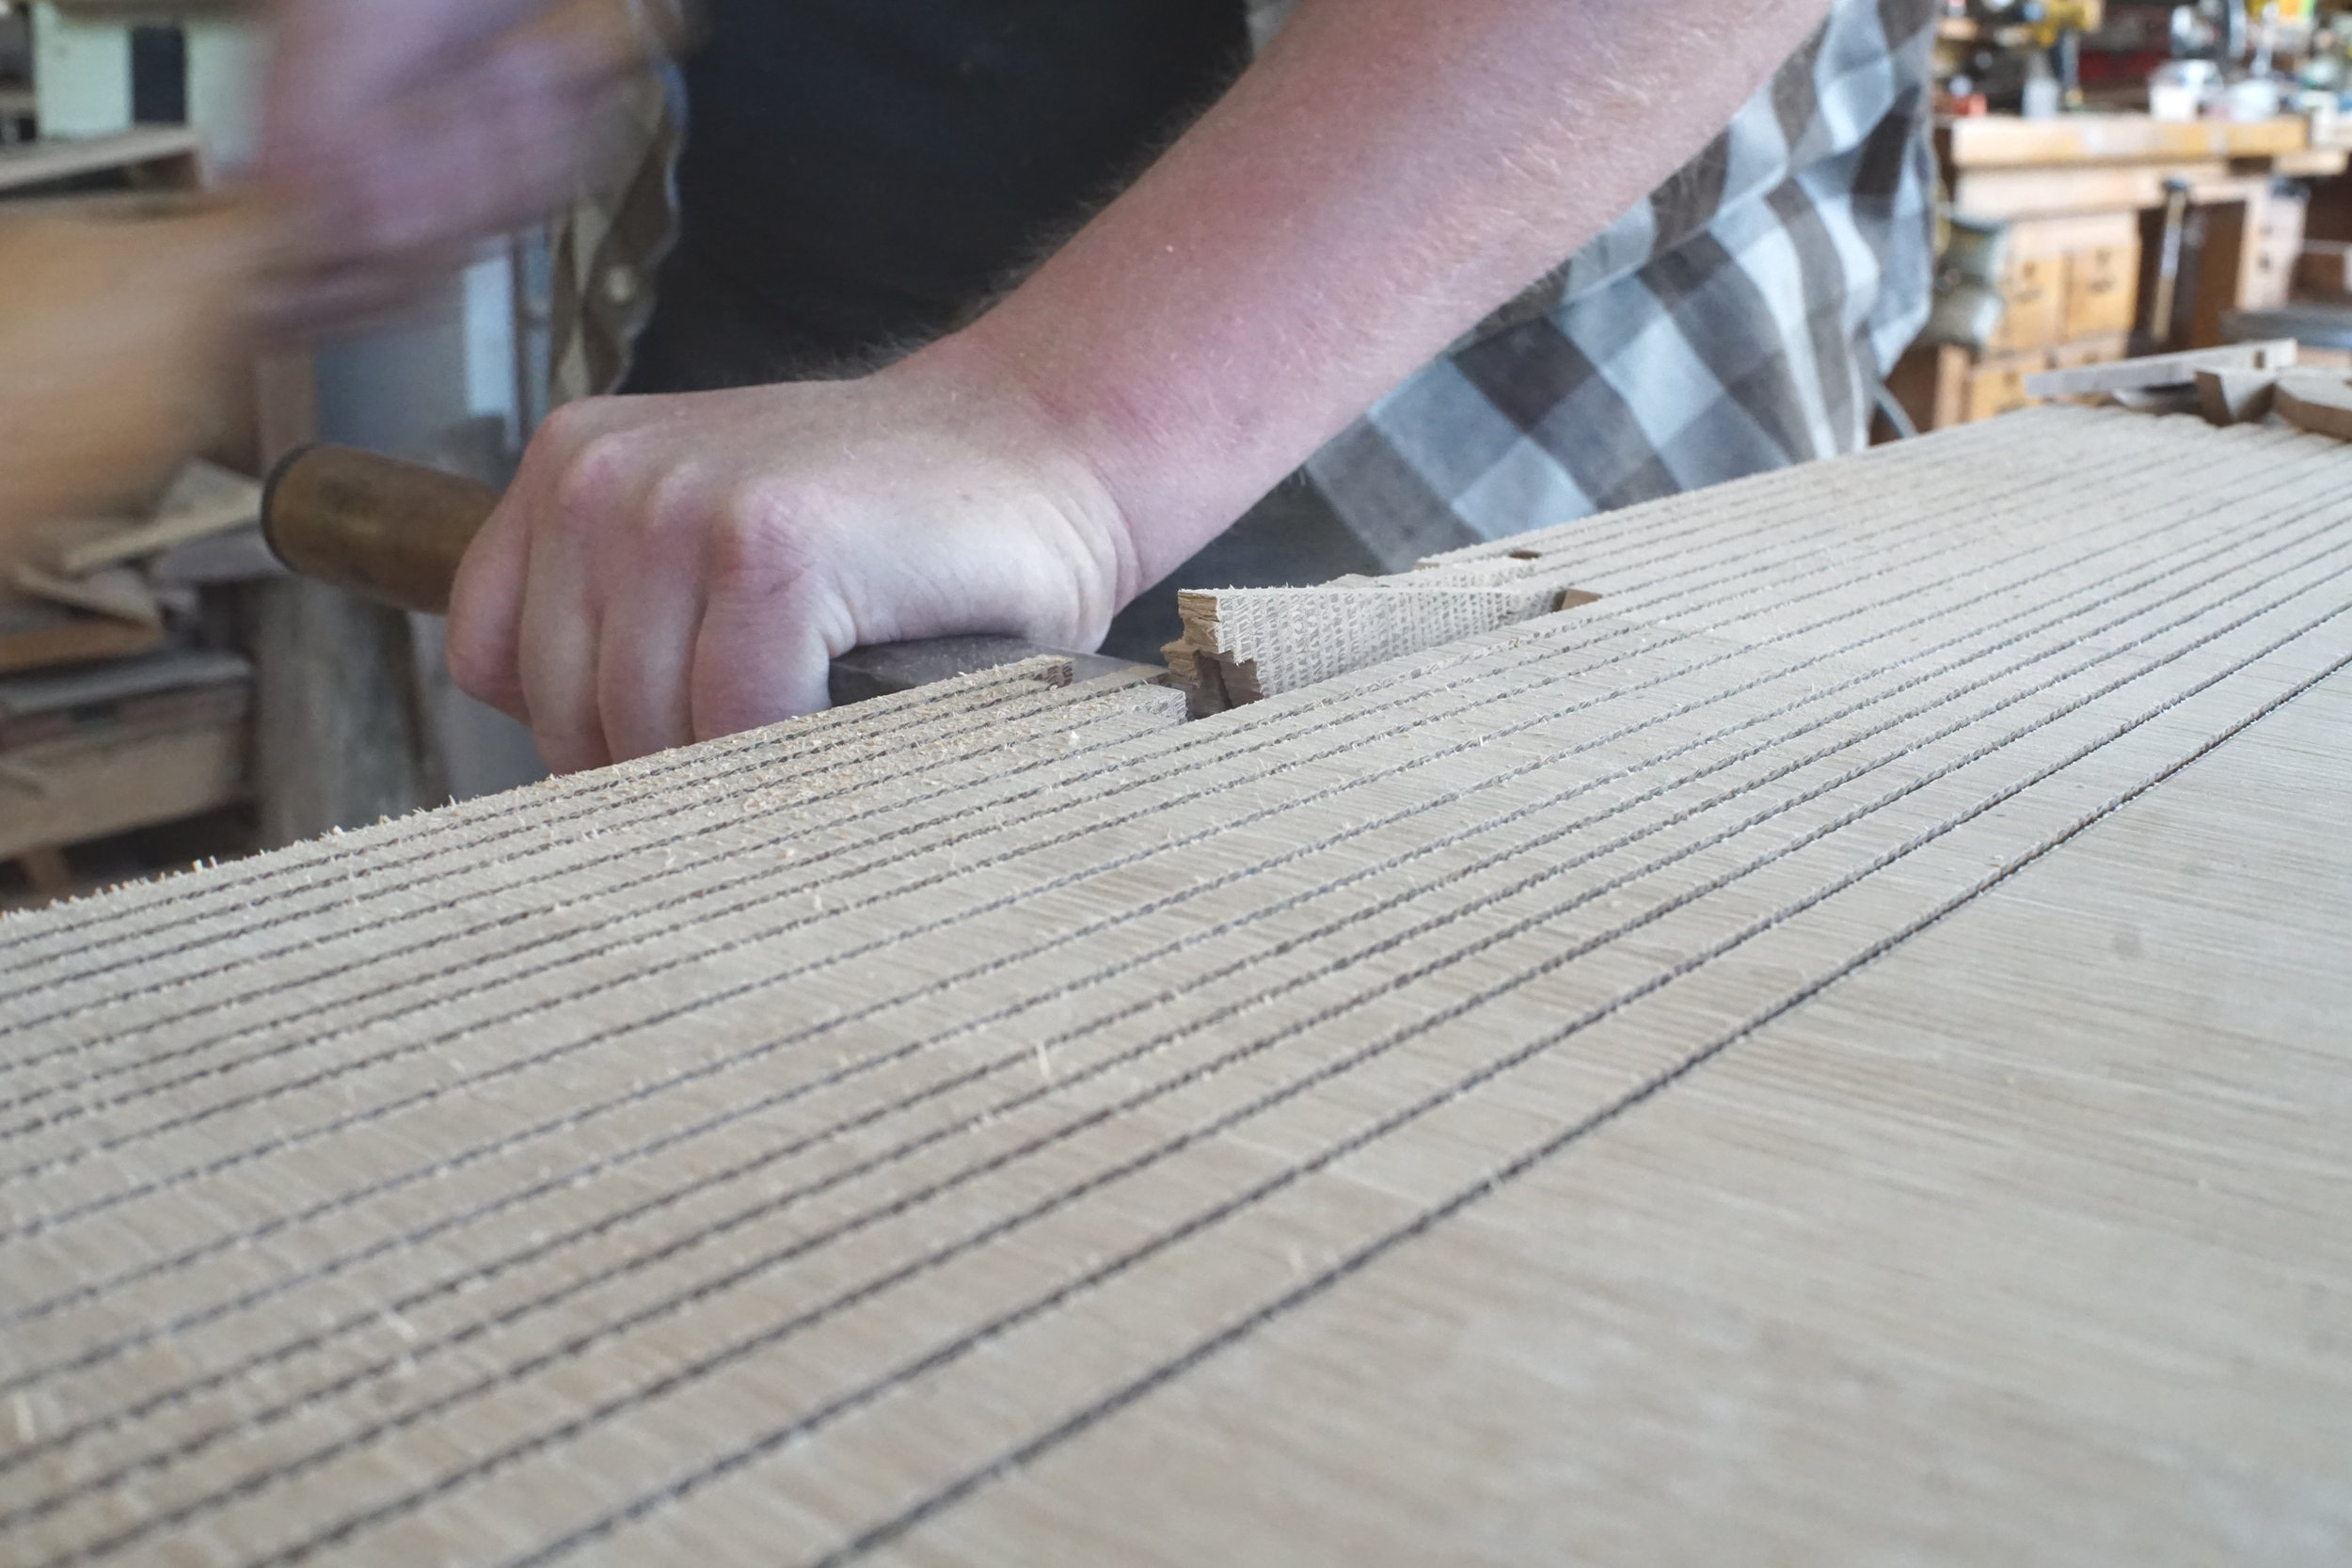


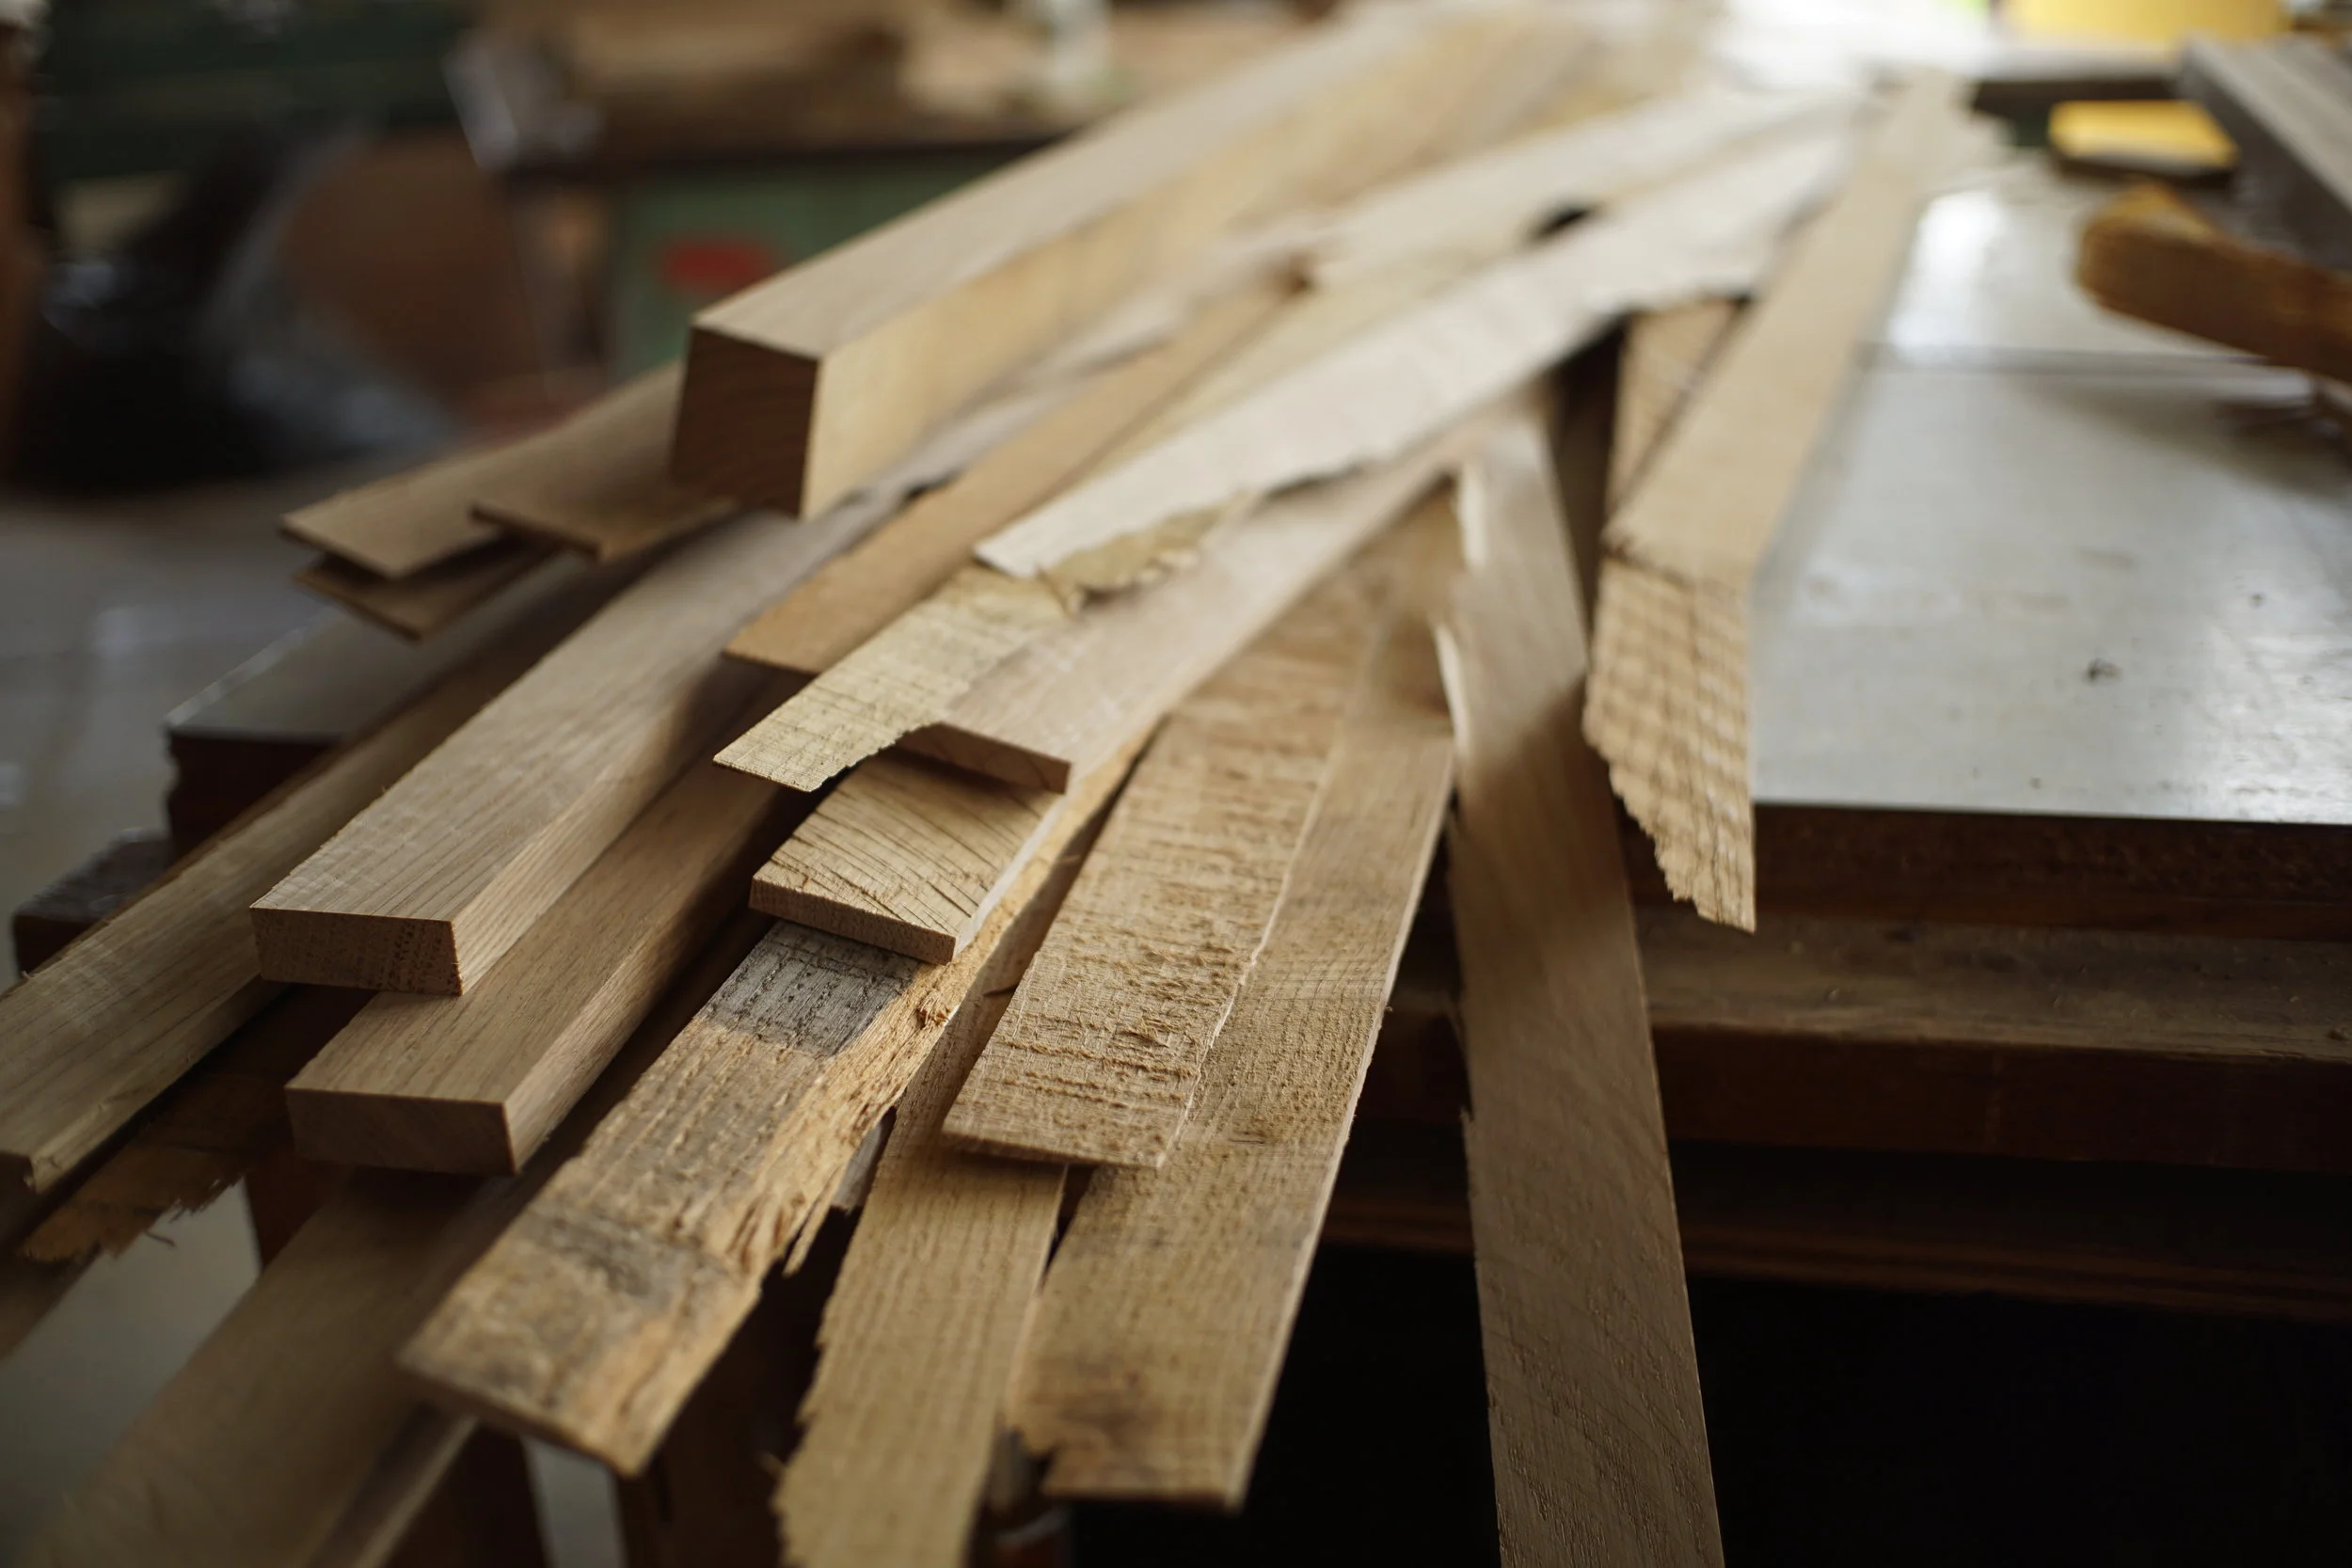
In this case, we used a plunge cutting track saw to saw to a uniform depth. All of the waste then pops off at the depth of that saw cut. After that, a router travels over the surface to smooth out the bumps. Each joint is cut half of it’s thickness and will overlap the next. The two corners of the bar are the largest joints.


Over the next few weeks, we’ll get into finishing off these joints and securing them together with a mix of knockdown fittings. After that, we get to shape the joinery and this thing will really start coming to life. If you feel like stopping in at any point to see the raw state of things we’d be happy to have you!
These off-cuts of the lap joint will find new life this summer in my smoker.
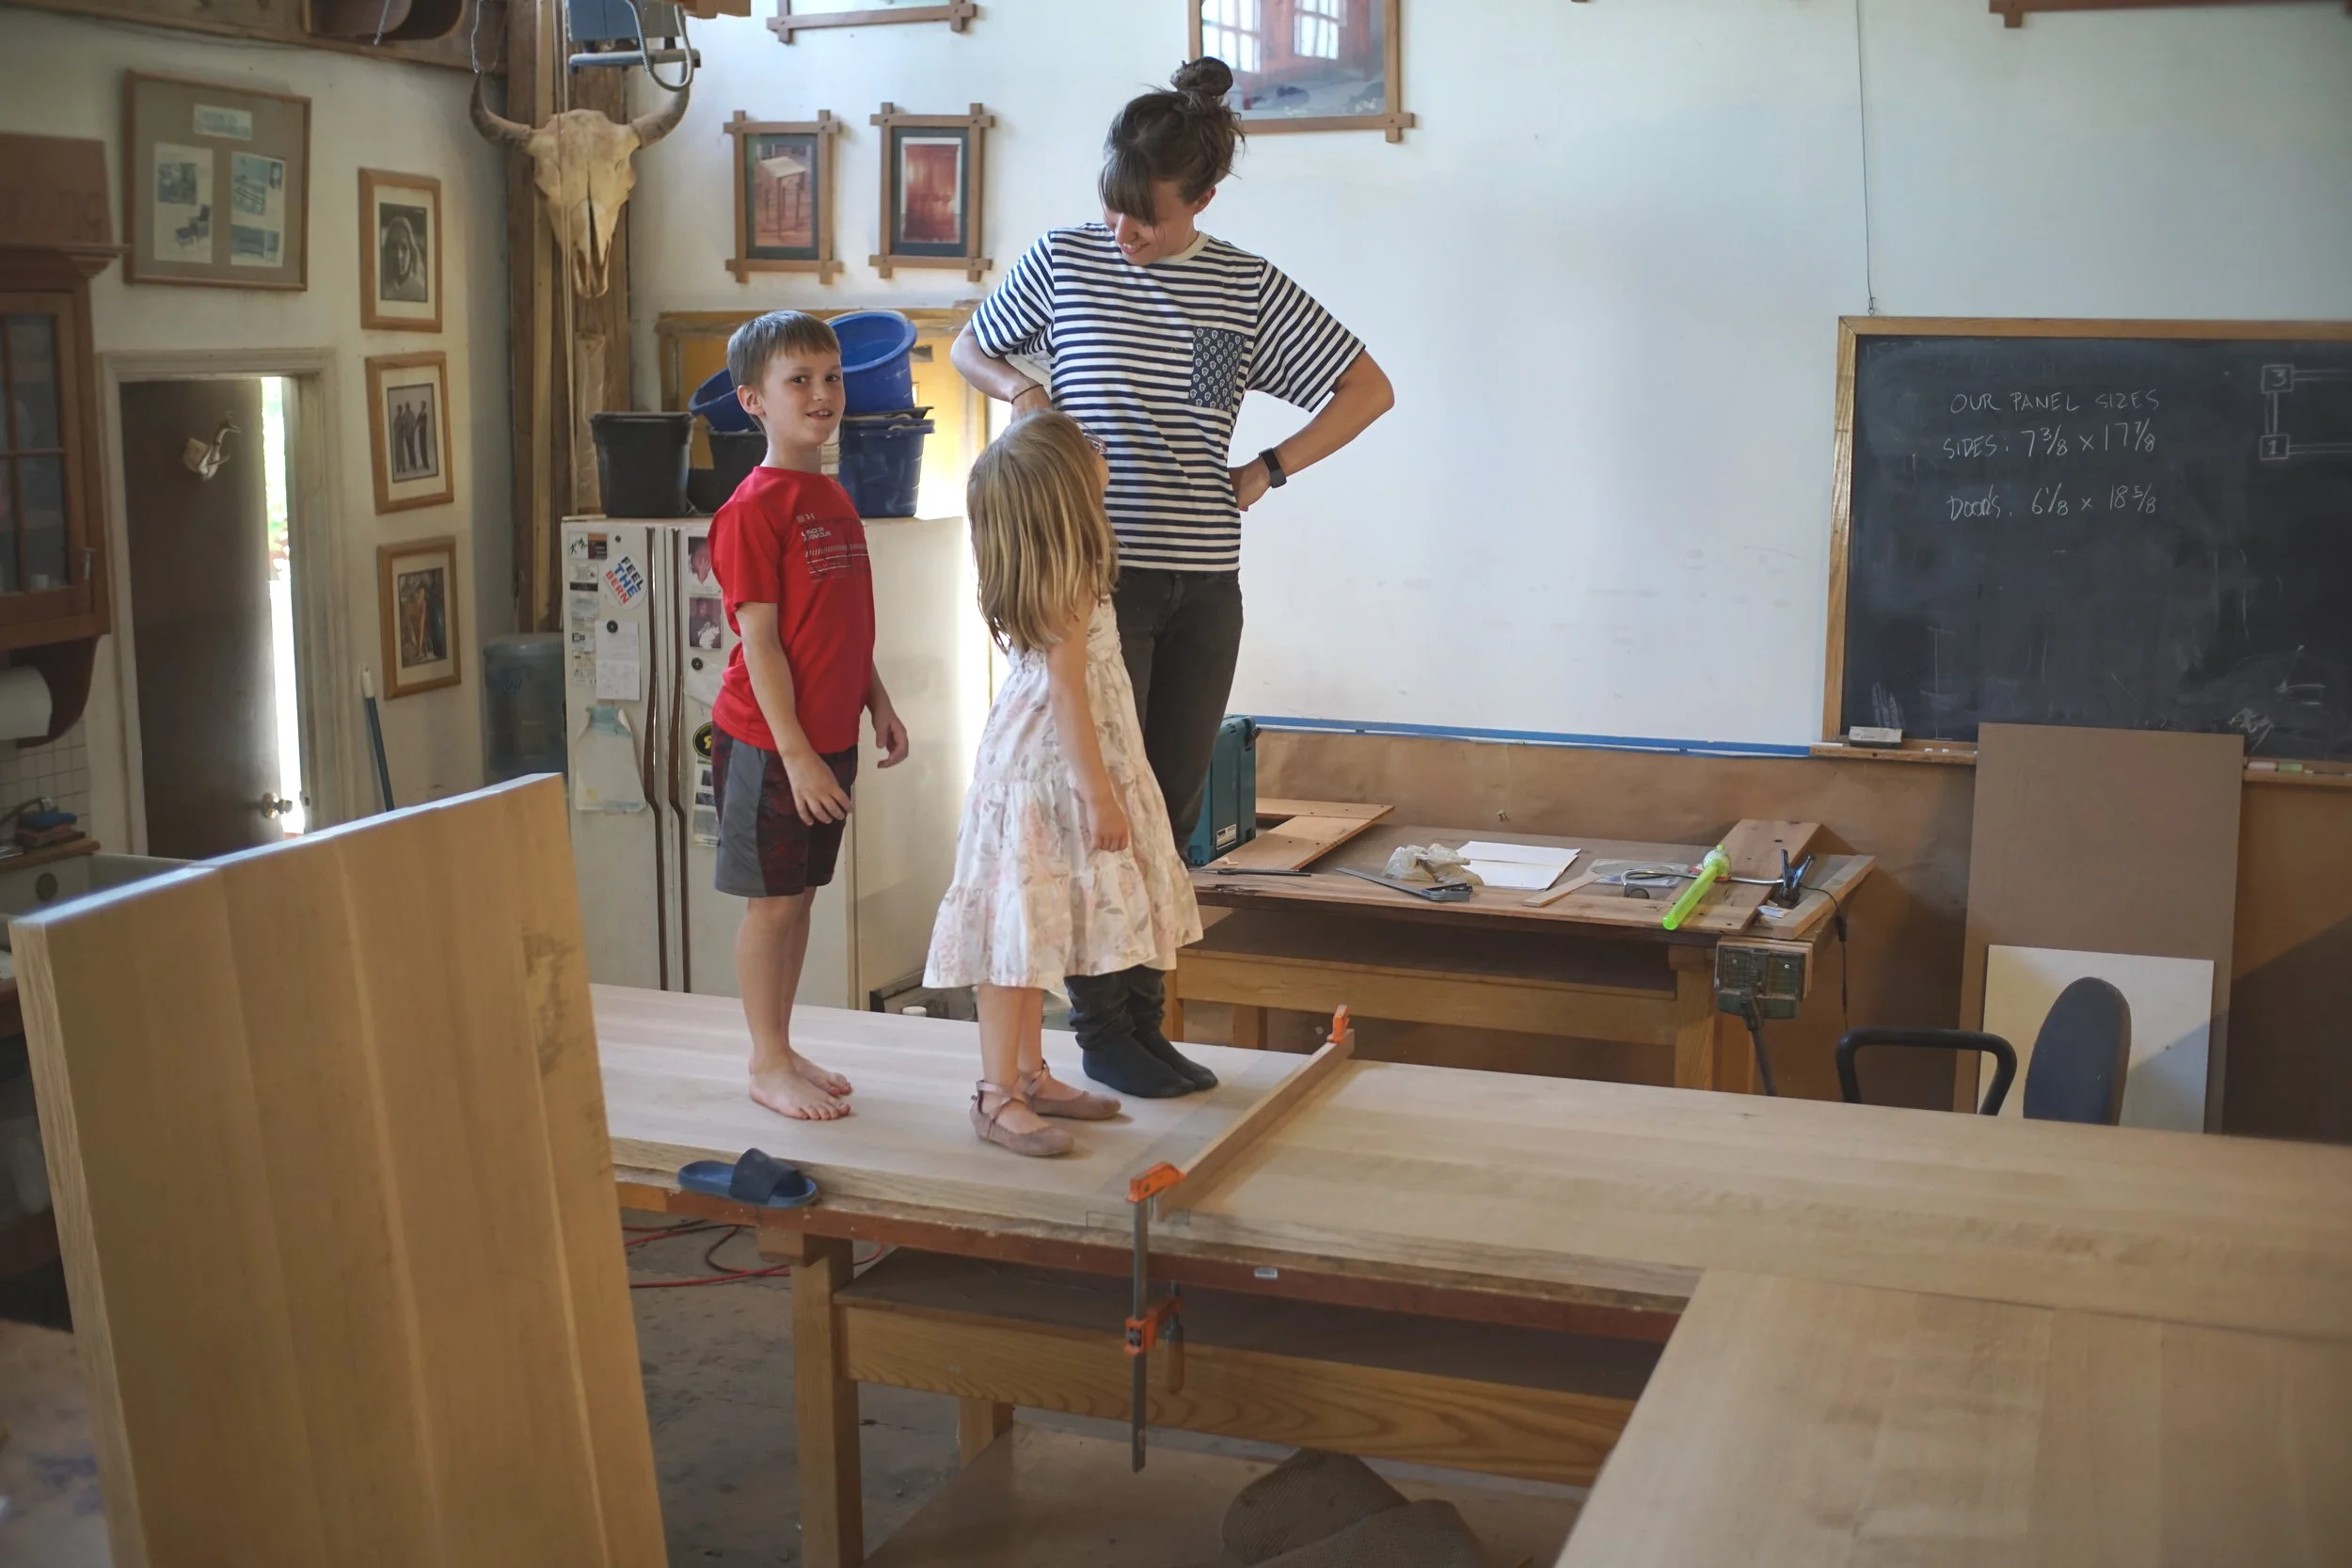
Sid, Laura, and Larissa test out the bar. We’ve also put the test finish through it’s paces. I left a large puddle of water under a glass for a weekend. When we returned, the water had evaporated and there was no sign of any problems. This gives me a high level of confidence it this particular varnish. It’ll be tough and have a great look and feel.